Stream Data Using NiFi
NiFi provides a highly intuitive streaming user interface that is compatible with most types of data sources.
-
Drag
 (processor icon) to your workspace.
NiFi displays the Add Processor dialog box.
(processor icon) to your workspace.
NiFi displays the Add Processor dialog box. -
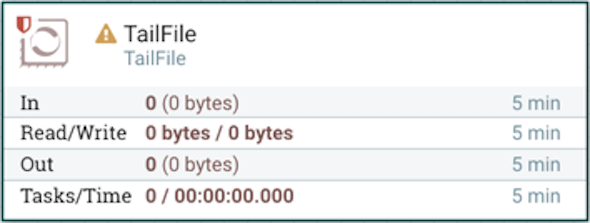
Select the TailFile type of processor and click
ADD.
NiFi displays a new TailFile processor:
-
Right-click the processor icon and select Configure to
display the Configure Processor dialog box.
-
In the Settings tab, change the name to
Ingest $DATASOURCE Events:

-
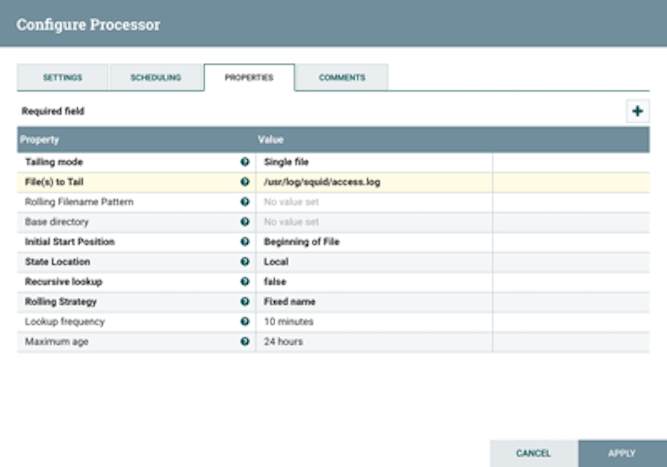
In the Properties tab, enter the path to the data
source file in the Value column for the
File(s) to Tail property:
-
In the Settings tab, change the name to
Ingest $DATASOURCE Events:
-
Add another processor by dragging (processor icon) to your workspace.
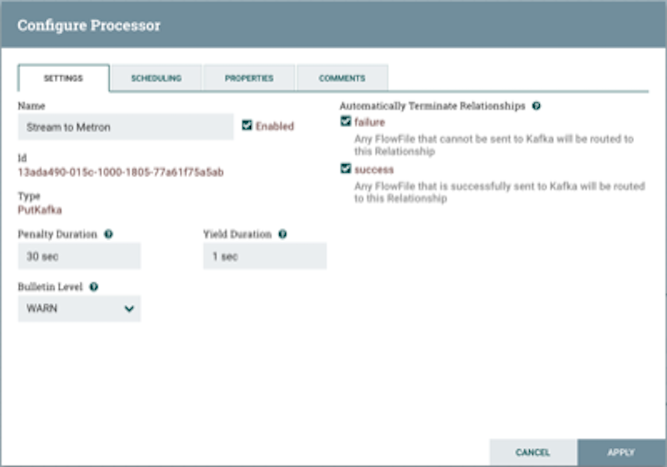
- In the Settings tab, change the name to Stream to
Metron and then select the relationship check boxes for
failure and success.
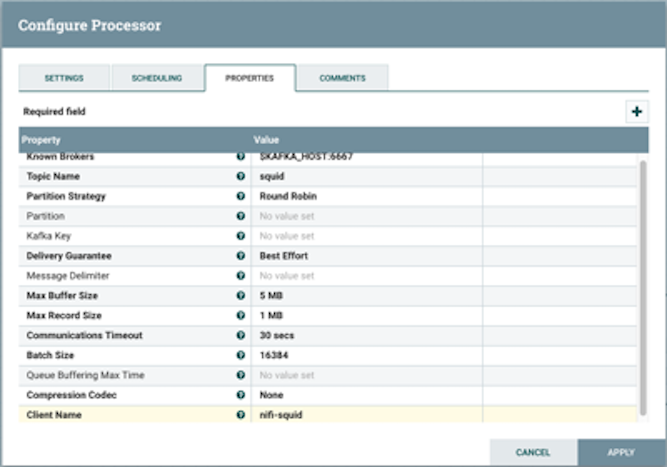
- In the Properties tab, set the following three properties:
- Known Brokers
-
$KAFKA_HOST:6667
- Topic Name
-
$DATAPROCESSOR
- Client Name
-
nifi-$DATAPROCESSOR
-
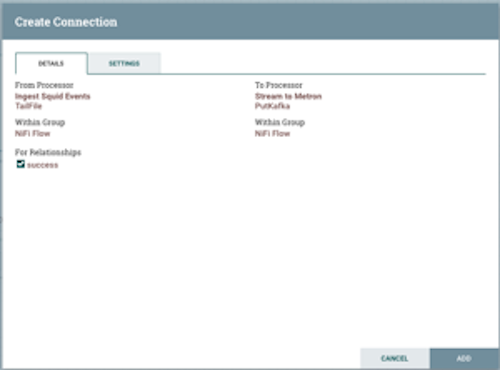
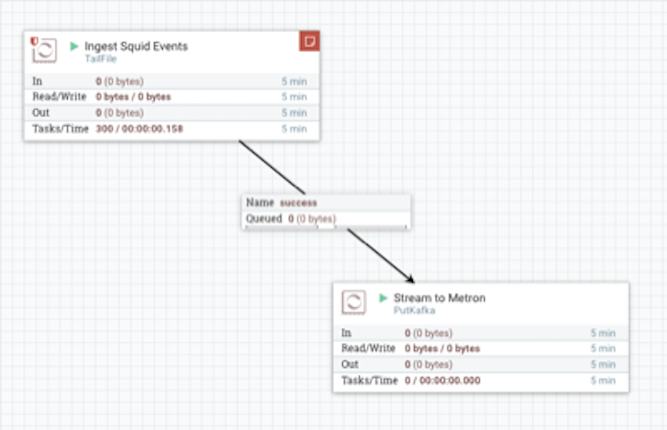
Create a connection by dragging the arrow from the Ingest $DATAPROCESSOR Events
processor to the Stream to Metron processor.
NiFi displays Configure Connection dialog box.
-
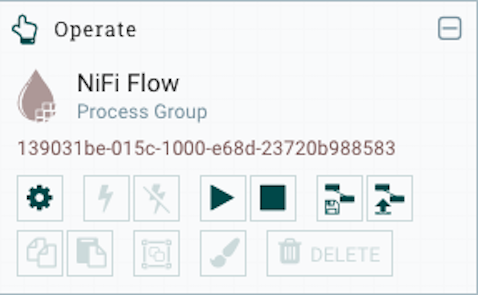
Press Shift and draw a box around both parsers to select
the entire flow.
All of the processor icons turn into green arrows:
- In the Operate panel, click the arrow icon.