Install, Configure, and Deploy a HDP Cluster with CCP
You can use the Ambari Install wizard running in your browser to install, configure, and deploy your cluster.
-
Choose the services to install onto the cluster, and then click
Next.
You can ignore any limited functionality warnings and click PROCEED ANYWAY.
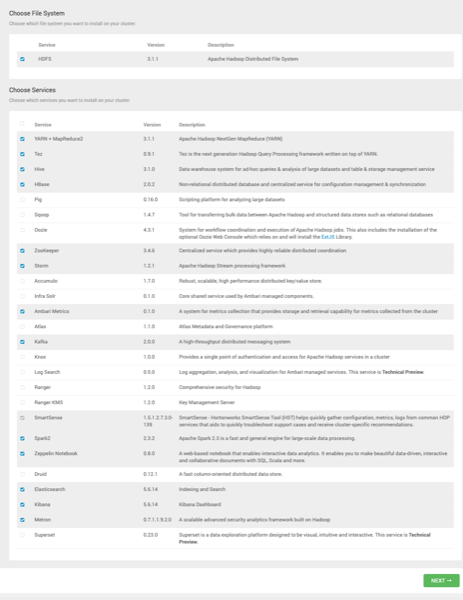
CCP requires the following services:- HDFS
- Yarn + MapReduce2
- Tez
- Hive
- HBase
- ZooKeeper
- Storm
- Ambari Metrics
- Kafka
- Spark2
- Zeppelin Notebook
- Elasticsearch or Solr
Elasticsearch can be installed either manually or by Ambari. We recommend installing Elasticsearch by Ambari.
- Kibana (Can be installed either manually or by Ambari. Hortonworks recommends installing Kibana by Ambari.)
- Metron
- HDFS
Ambari displays the Assign Masters window. -
Use the Assign Masters window to assign the Master
components to the appropriate hosts in your cluster.
- All Metron components must reside on the same node.
- The node containing the Metron components must have a Kafka broker.
- The node containing the Metron components must have a ZooKeeper server.
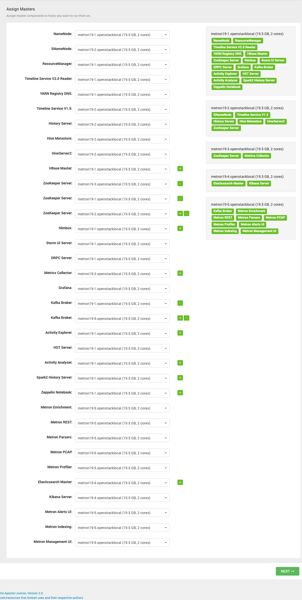
If Ambari detects any errors in your master component assignments, it will indicate the error in red. -
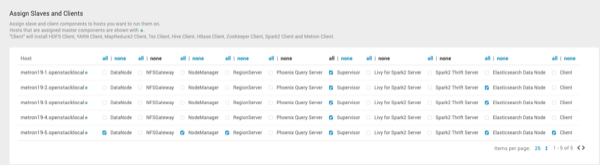
Use the Assign Slaves and Clients window to assign cluster
nodes (DataNodes, NodeManagers, and RegionServers) to run with worker processes such
as Elasticsearch.
The node containing the Metron host must have a Supervisor.
-
Fine-tune your selections by using the check boxes next to specific
hosts.
-
Fine-tune your selections by using the check boxes next to specific
hosts.
-
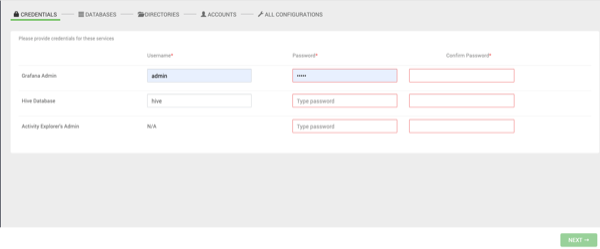
Assign a username and password for any services that require credentials.
-
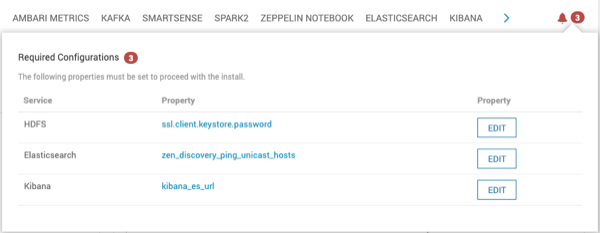
Click
 at the
top right of the SETTINGS window to list the configuration
properties you must set to proceed with the installation:
at the
top right of the SETTINGS window to list the configuration
properties you must set to proceed with the installation:
-
After you have completed configuring the required properties, click the
BACK button to display the ALL
CONFIGURATIONS window, then click METRON to
display the Metron configurations.
You might need to click the arrow button to see METRON:

-
You must either set up your JDBC information or enable LDAP prior to deploying
METRON:
-
To set up your JDBC information, provide the required information under the
REST tab:
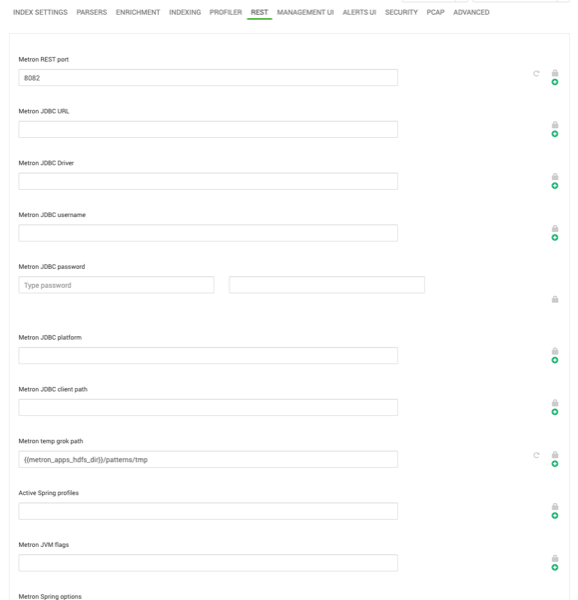
- Metron REST port
- Use 8082.
- Metron JDBC URL
jdbc:mysql://mysql_host:3306/metronrest- Metron JDBC Driver
com.mysql.jdbc.Driver- Metron JDBC Username
- Metron REST user name
- Metron JDBC Password
- Metron REST password
- Metron JDBC client path
<MYSQL_JAVA_CONNECTOR_PATH>/mysql-connector-java-5.1.41-bin.jar
-
To set up your JDBC information, provide the required information under the
REST tab:
-
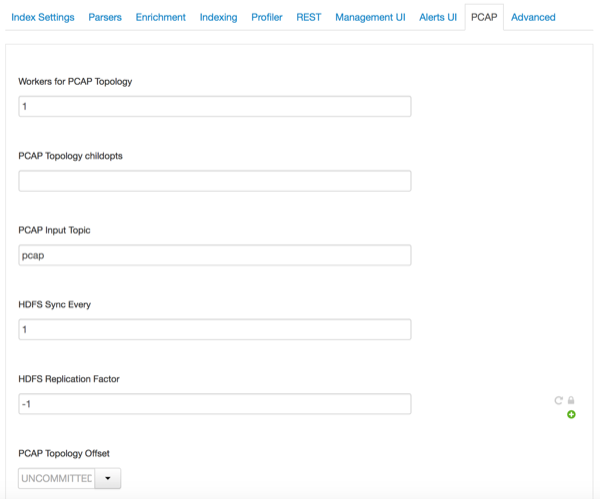
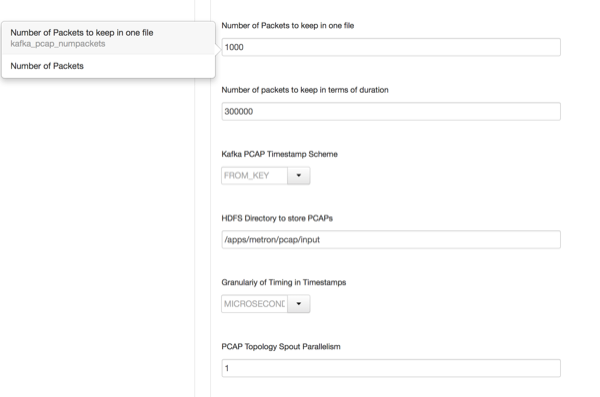
OPTIONAL: Configure the PCAP topology by setting your PCAP properties in the
PCAP tab.
-
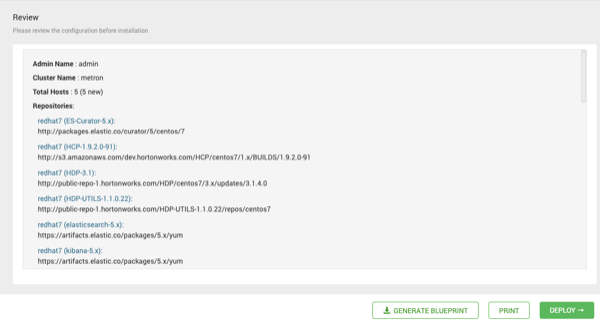
Check the assignments displayed by Ambari to ensure that everything is correct,
and then click Deploy.
If you need to make changes, use the BACK button to return to the appropriate screen.
 The progress of the install displays on the screen. Ambari installs, starts, and runs a simple test on each component. Overall status of the process displays in a progress bar at the top of the screen and host-by-host status displays in the main section. Do not refresh your browser during this process. Refreshing the browser might interrupt the progress indicators.