Adding Catalogs
You need to add Cloudera Schema Registry, Kudu, Hive, Confluent Schema Registry or other services as a Catalog using the Streaming SQL Console in SQL Stream Builder (SSB) to use them with Flink DDL.
- Make sure that you have the required service on your cluster.
- Make sure that you have the right permissions set in Ranger for SSB and the services.
-
Click
 next to Catalogs.
-
Select New Catalog.
The Add Catalog window appears.
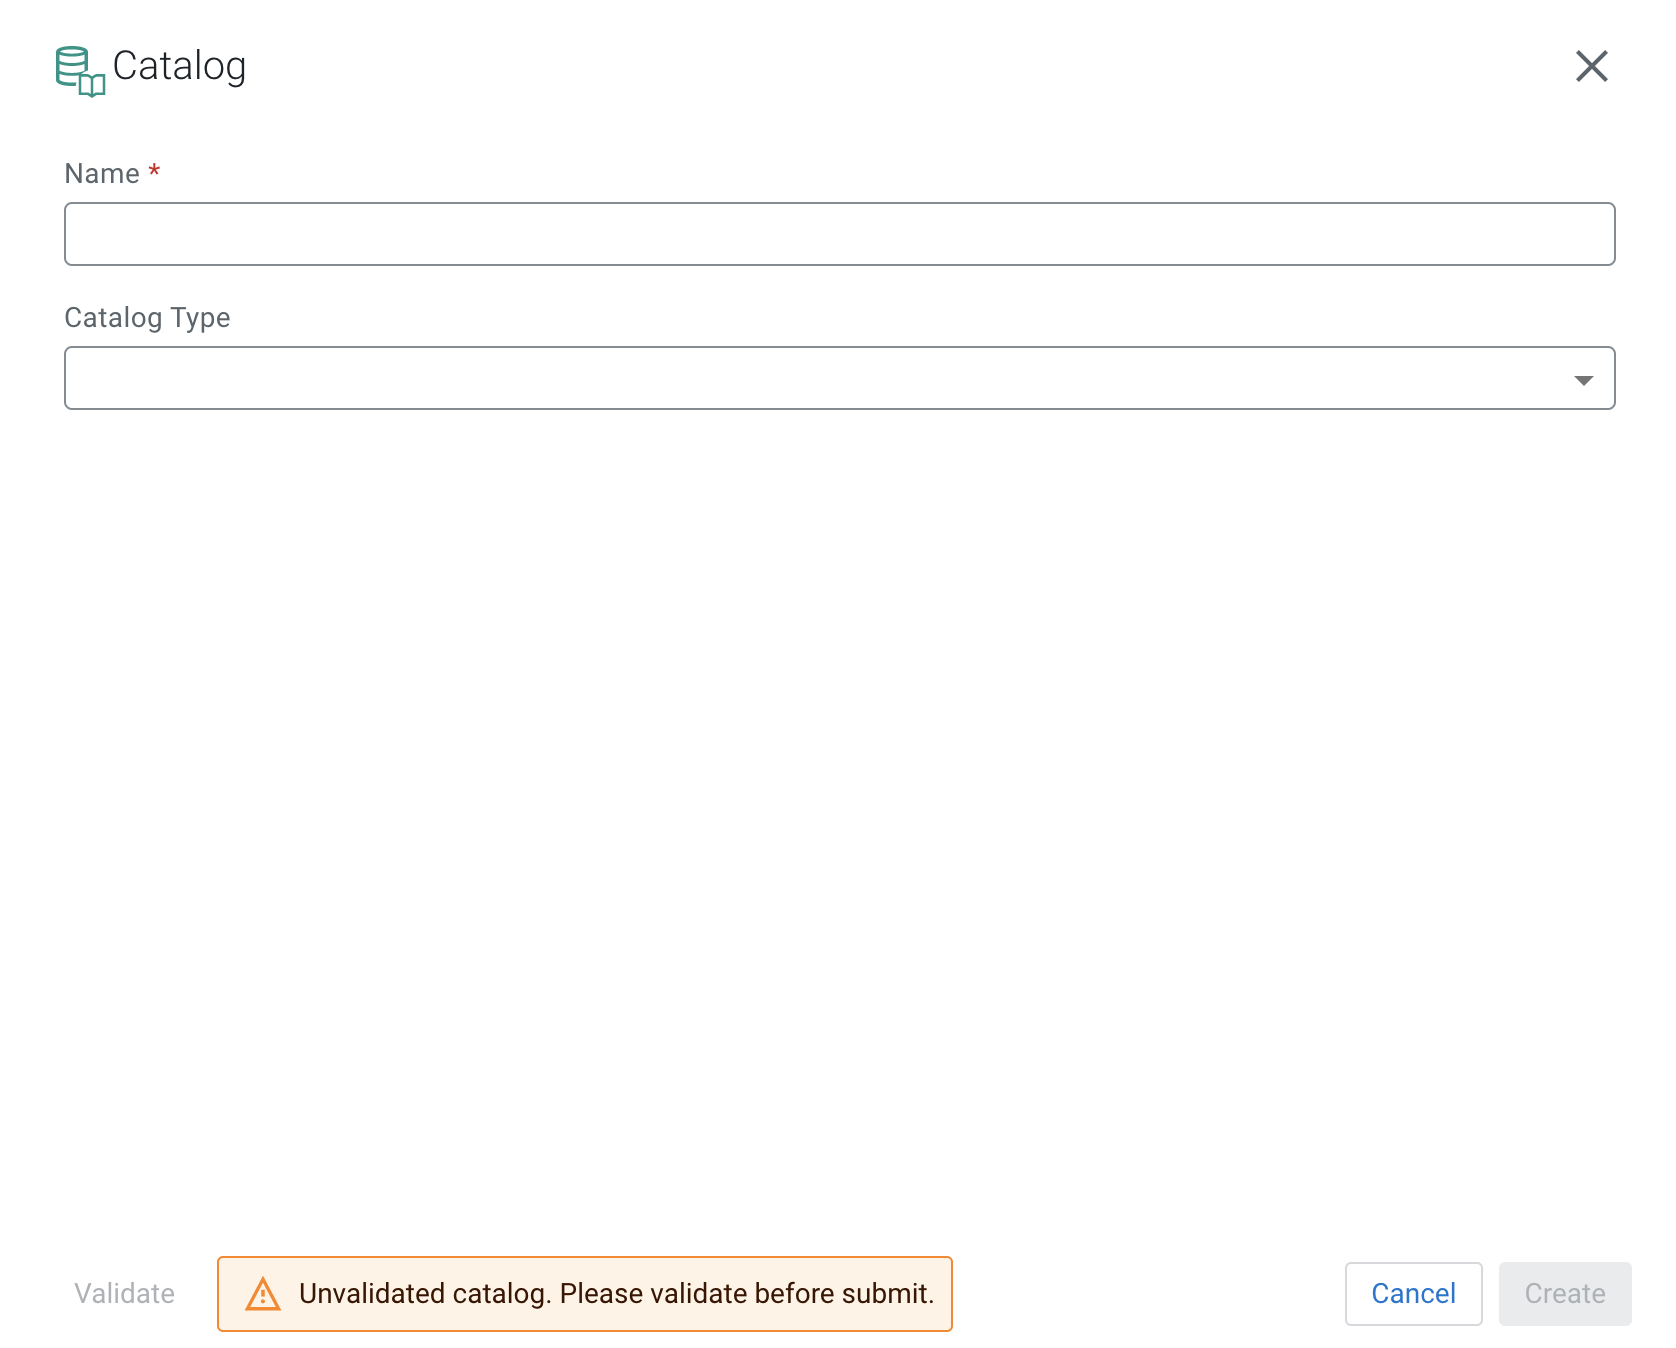
-
Select the Catalog Type from the following
options:
- Add a Name to your catalog.
- Select Schema Registry from the
Catalog Type drop-down.
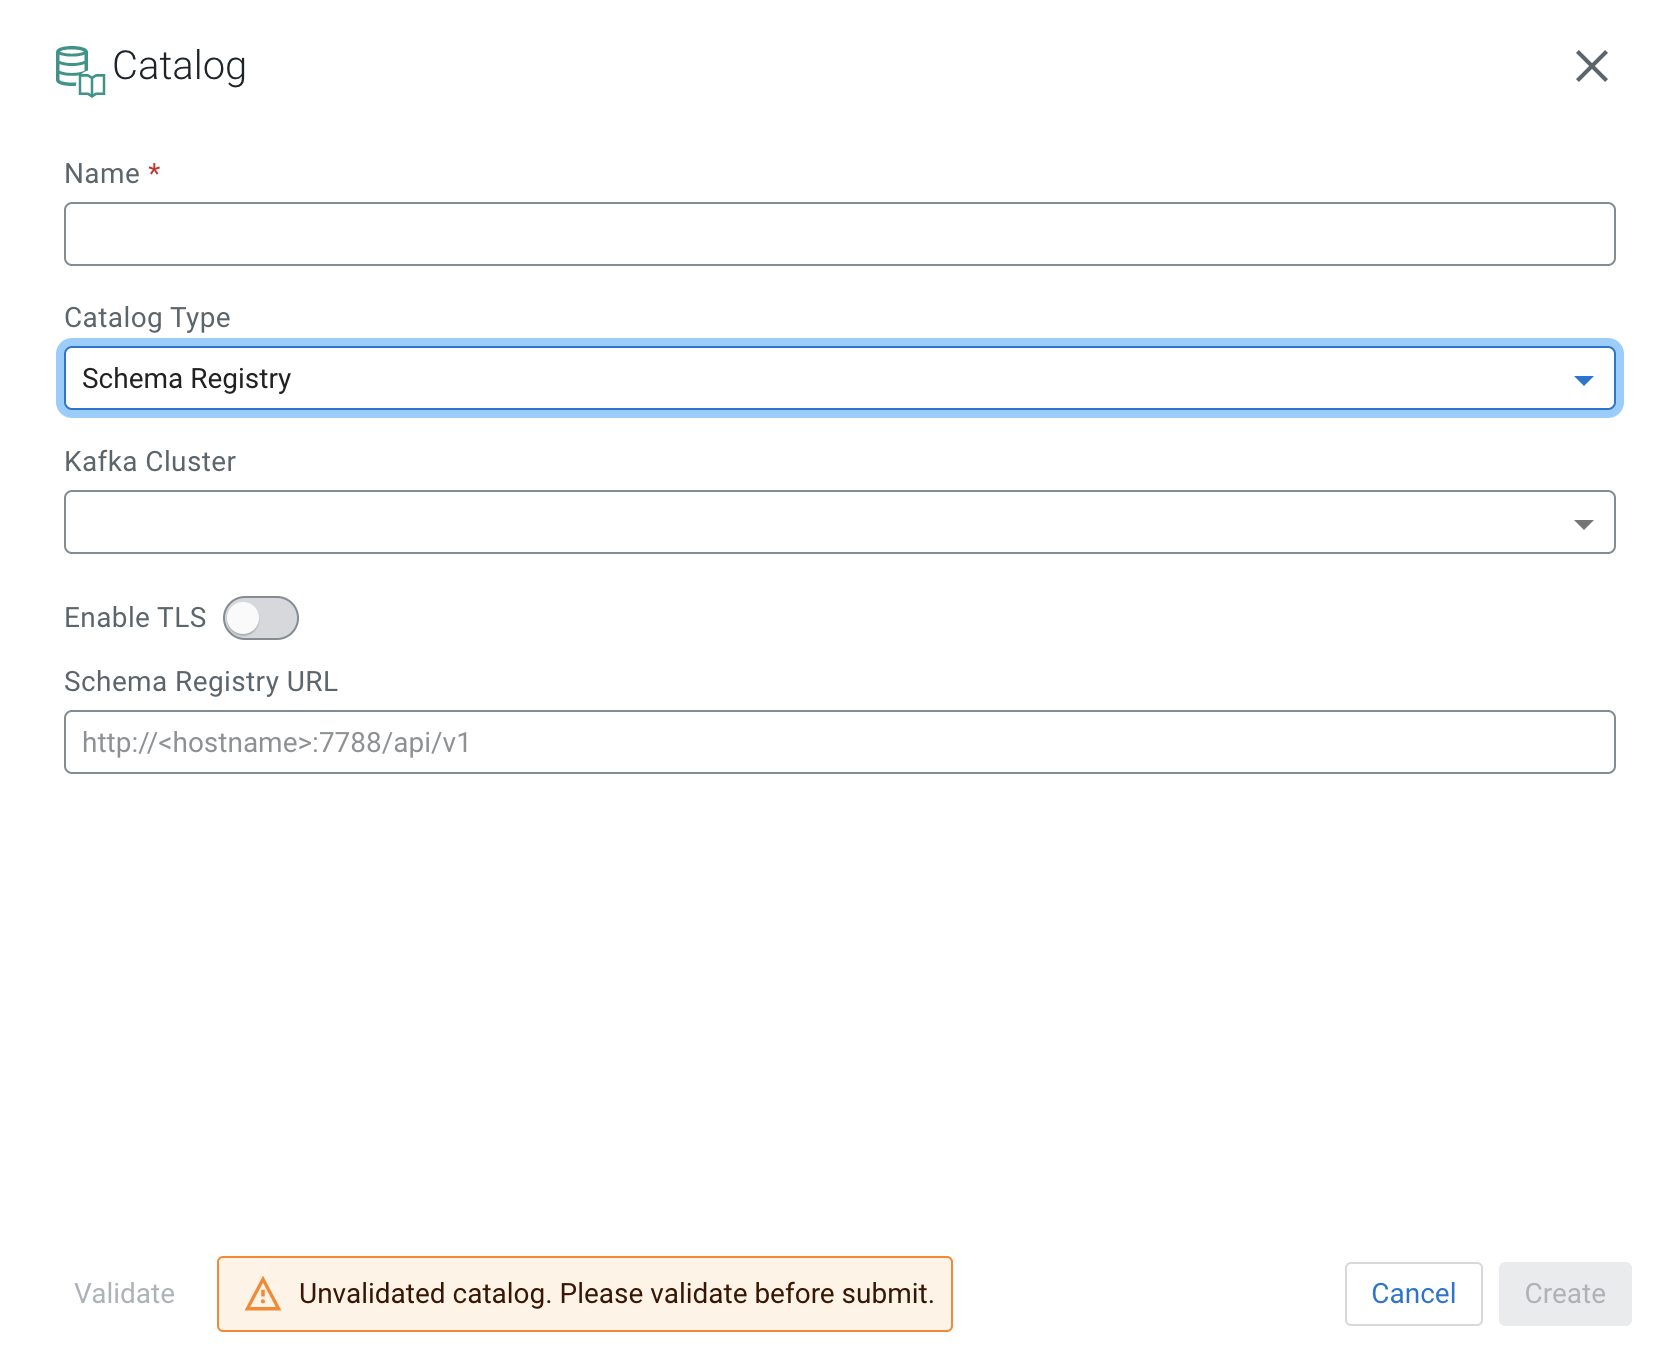
- Select the Kafka cluster you registered as Data Source.
- Enable TLS, if needed for the communication.
- If you enabled TLS, provide the Schema Registry Truststore location and password to the SR TrustStore and SR TrustStore Password field.
- Add the Schema Registry URL.
- Go to the Streams Messaging cluster in your environment.
- Select Cloudera Manager from the list of services.
- Select Schema Registry from the list of services.
- Click on Instances.
- Copy the Hostname of Schema Registry.
- Add the default port of Schema Registry after the
hostname.Example:
http://docs-test-1.vpc.cloudera.com:7788/api/v1
- Select Kudu from the Catalog Type
drop-down.
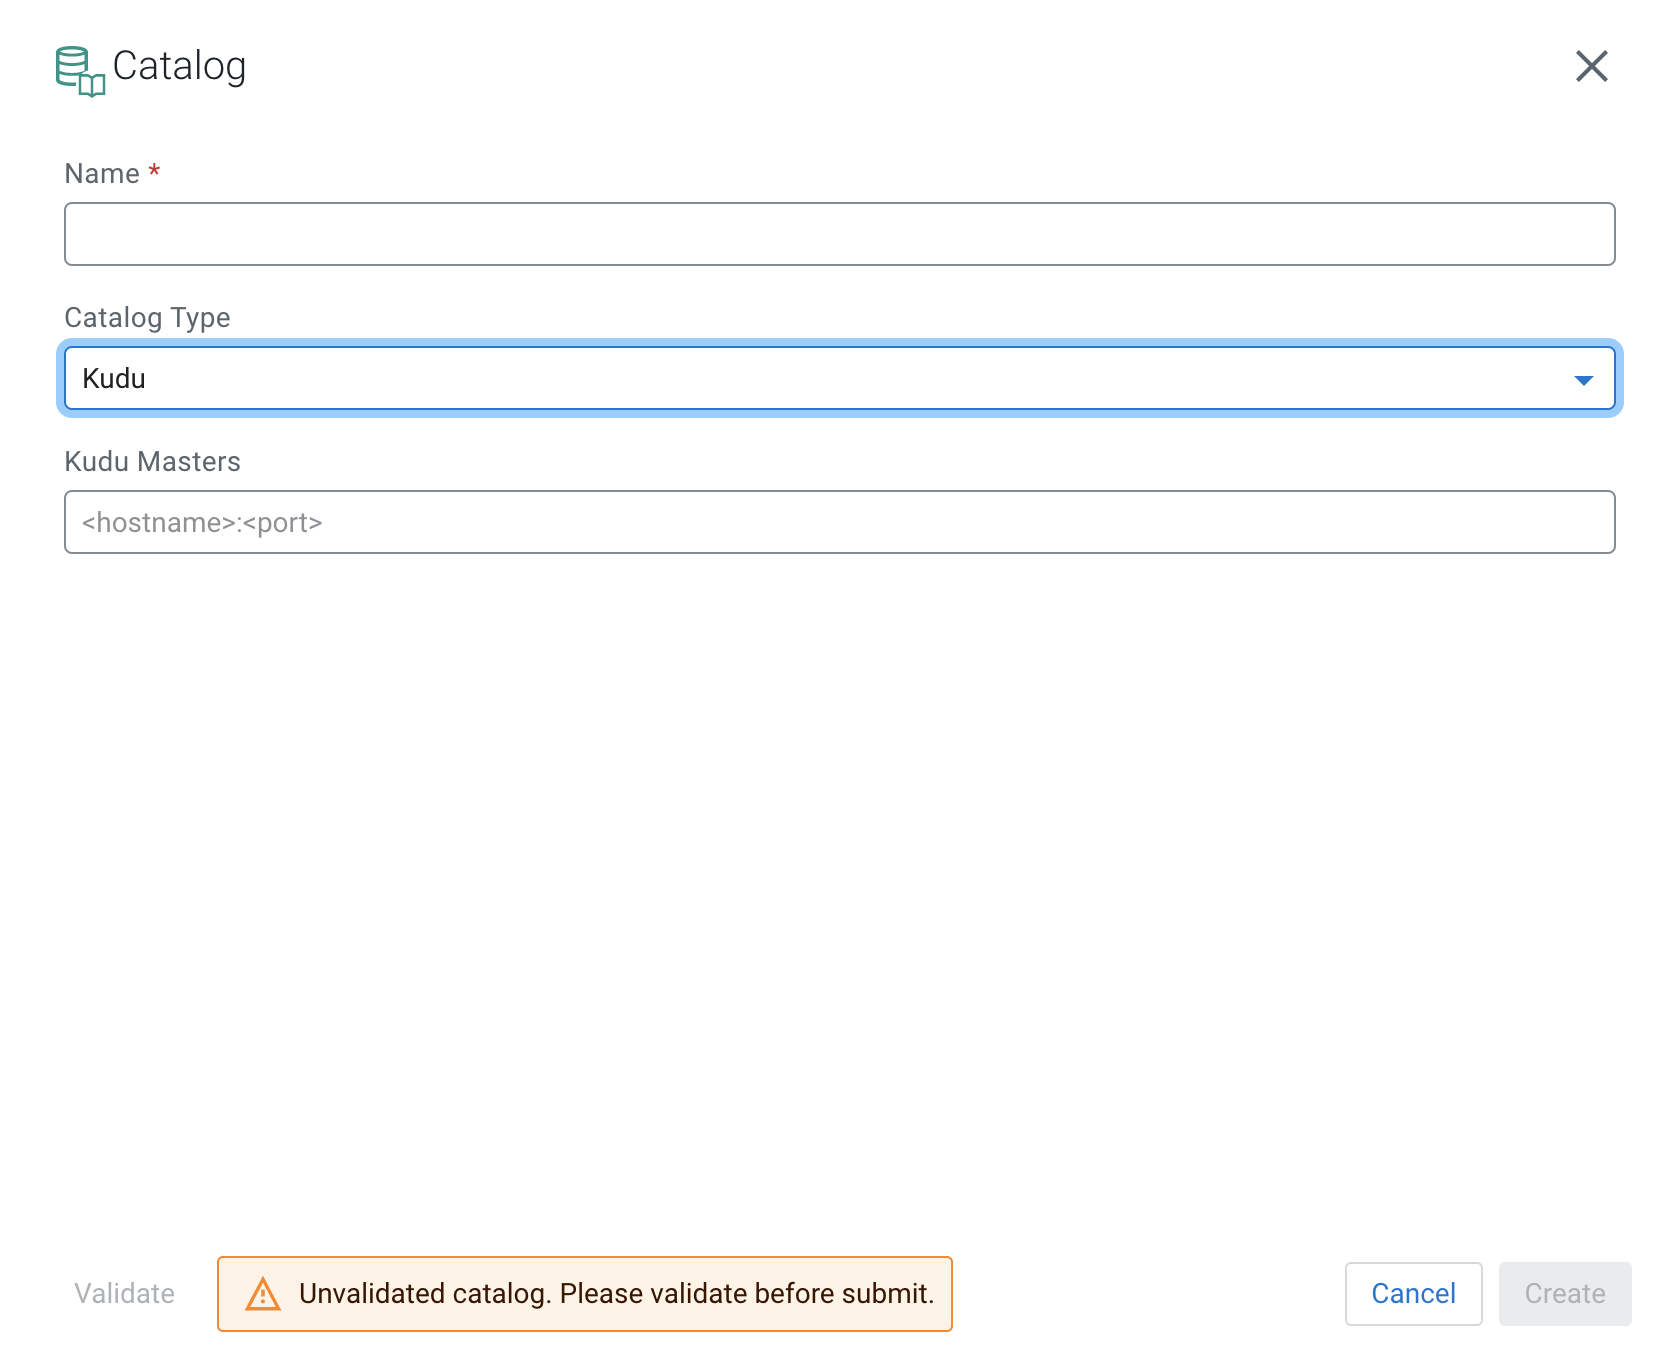
- Add the host URL of Kudu Masters.
- Go to the Real-Time Data Mart cluster in your environment.
- Select Cloudera Manager from the list of services.
- Select Kudu from the list of services.
- Click on Instances.
- Copy the Hostname of the Master Default Group.
- Add the default port of Kudu after the
hostname.Example:
docs-test-1.vpc.cloudera.com:7051
- Select Hive from the Catalog Type
drop-down.
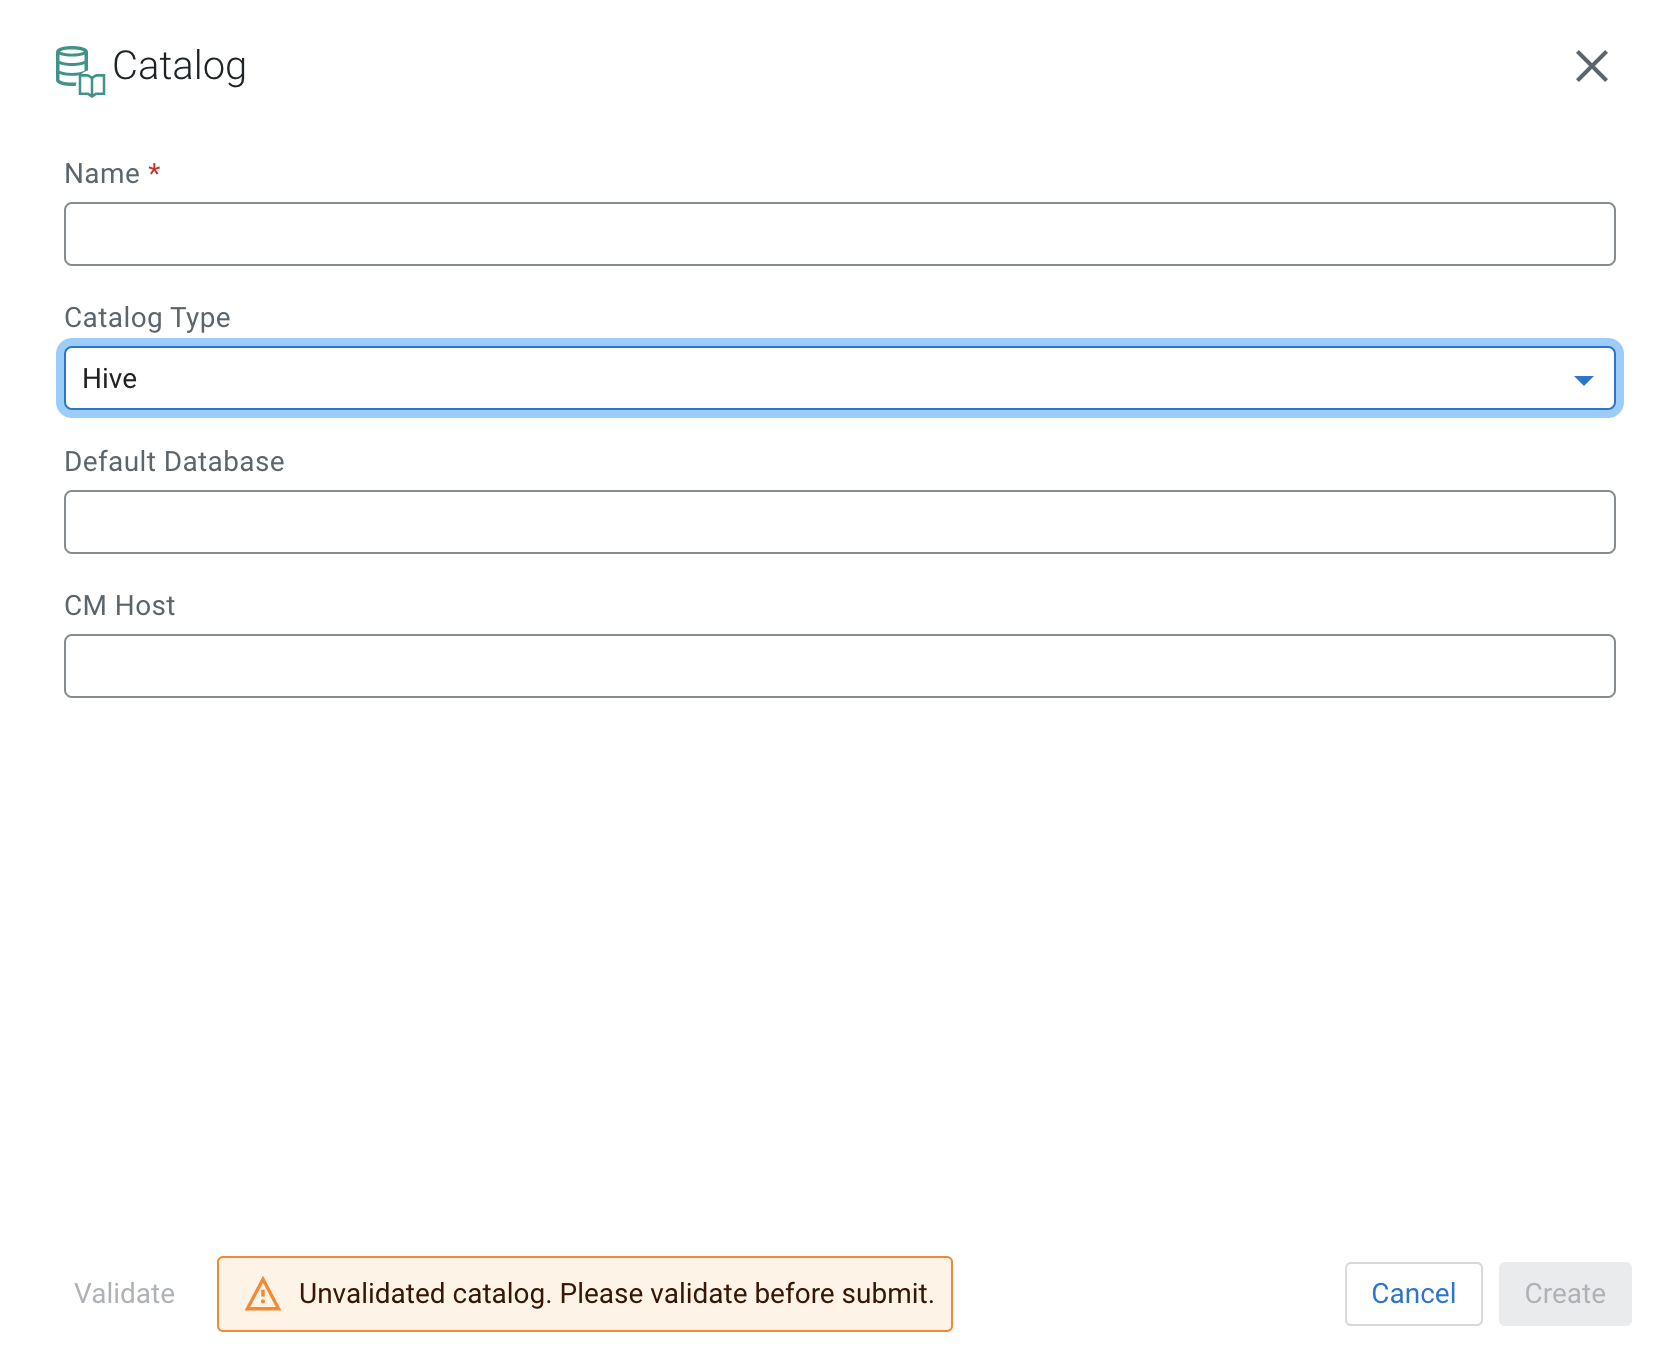
- Provide a Name to the Hive catalog created in SSB.
- Provide the name of the Default Database in Hive.
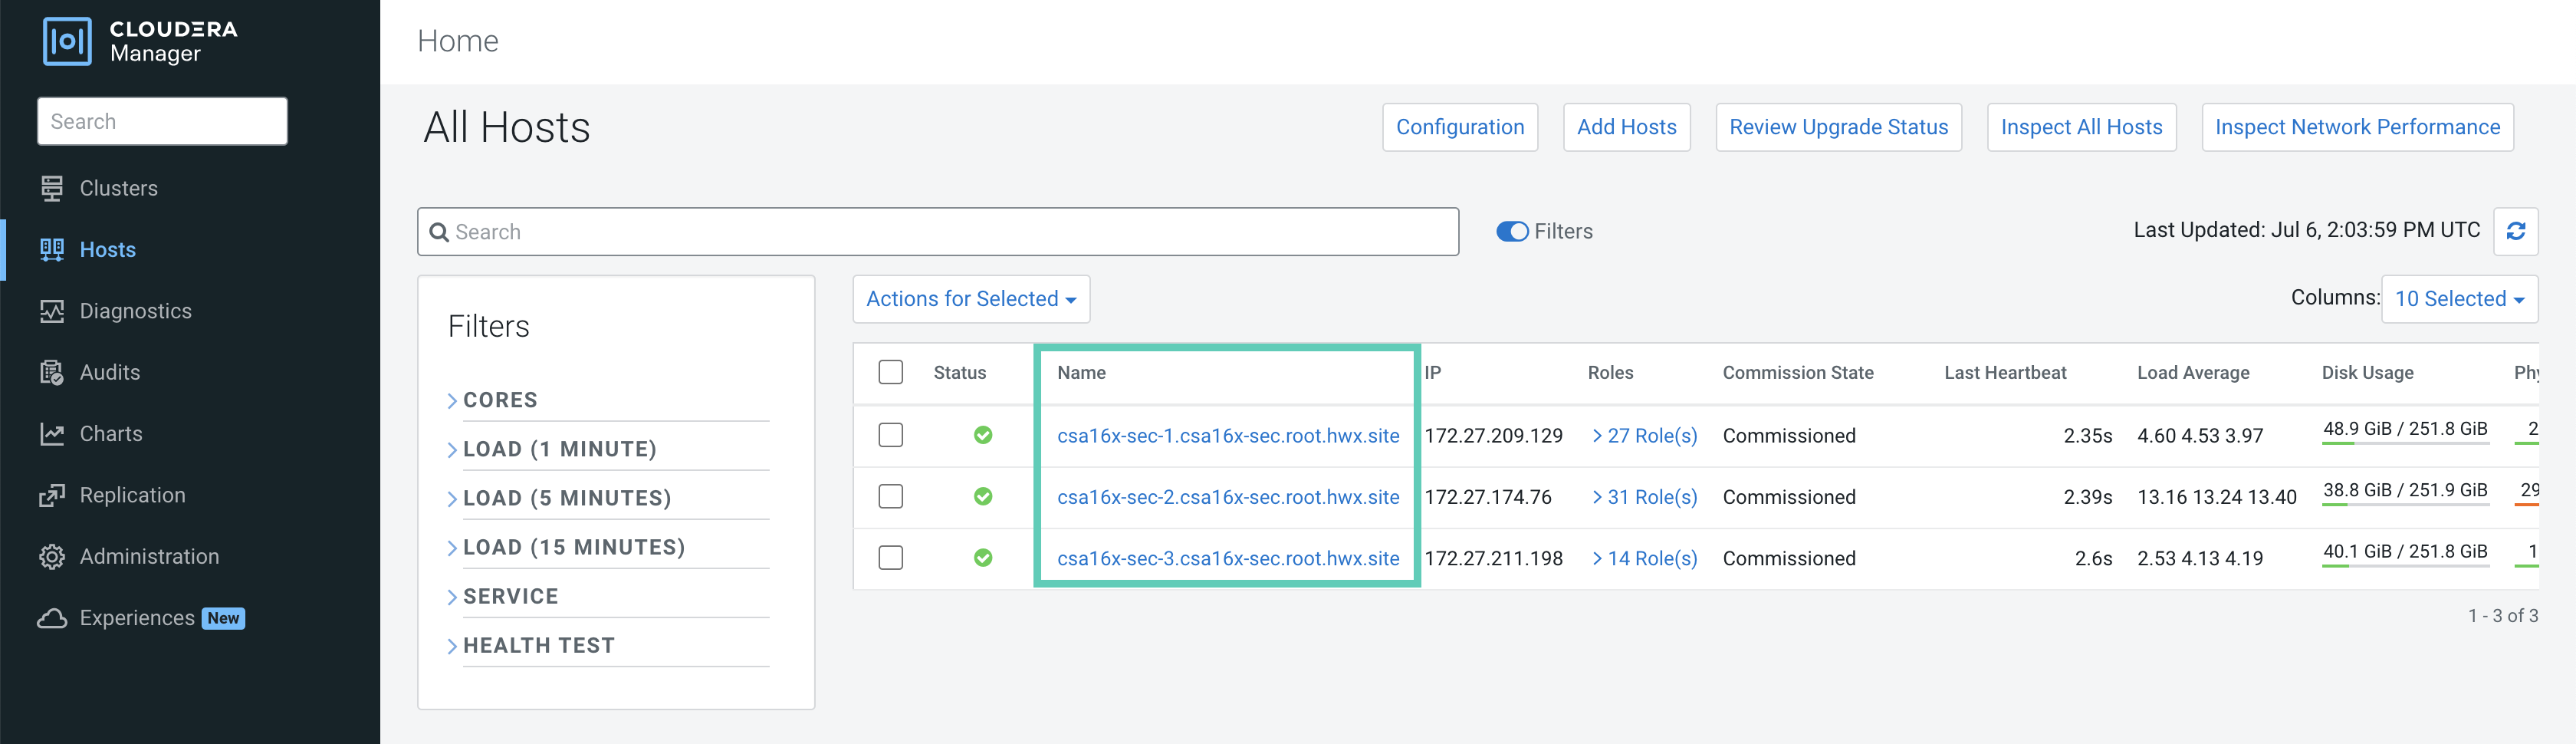
- Provide the hostname of Cloudera
Manager at CM Host.You need to provide the Cloudera Manager hostname where the Hive service is also located. You can check the hostname of Cloudera Manager by clicking CM-UI from the Services of the CDP Public Cloud environment page, then access from the Cloudera Manager homepage:
- Select Confluent Schema Registry from the
Catalog Type drop-down.
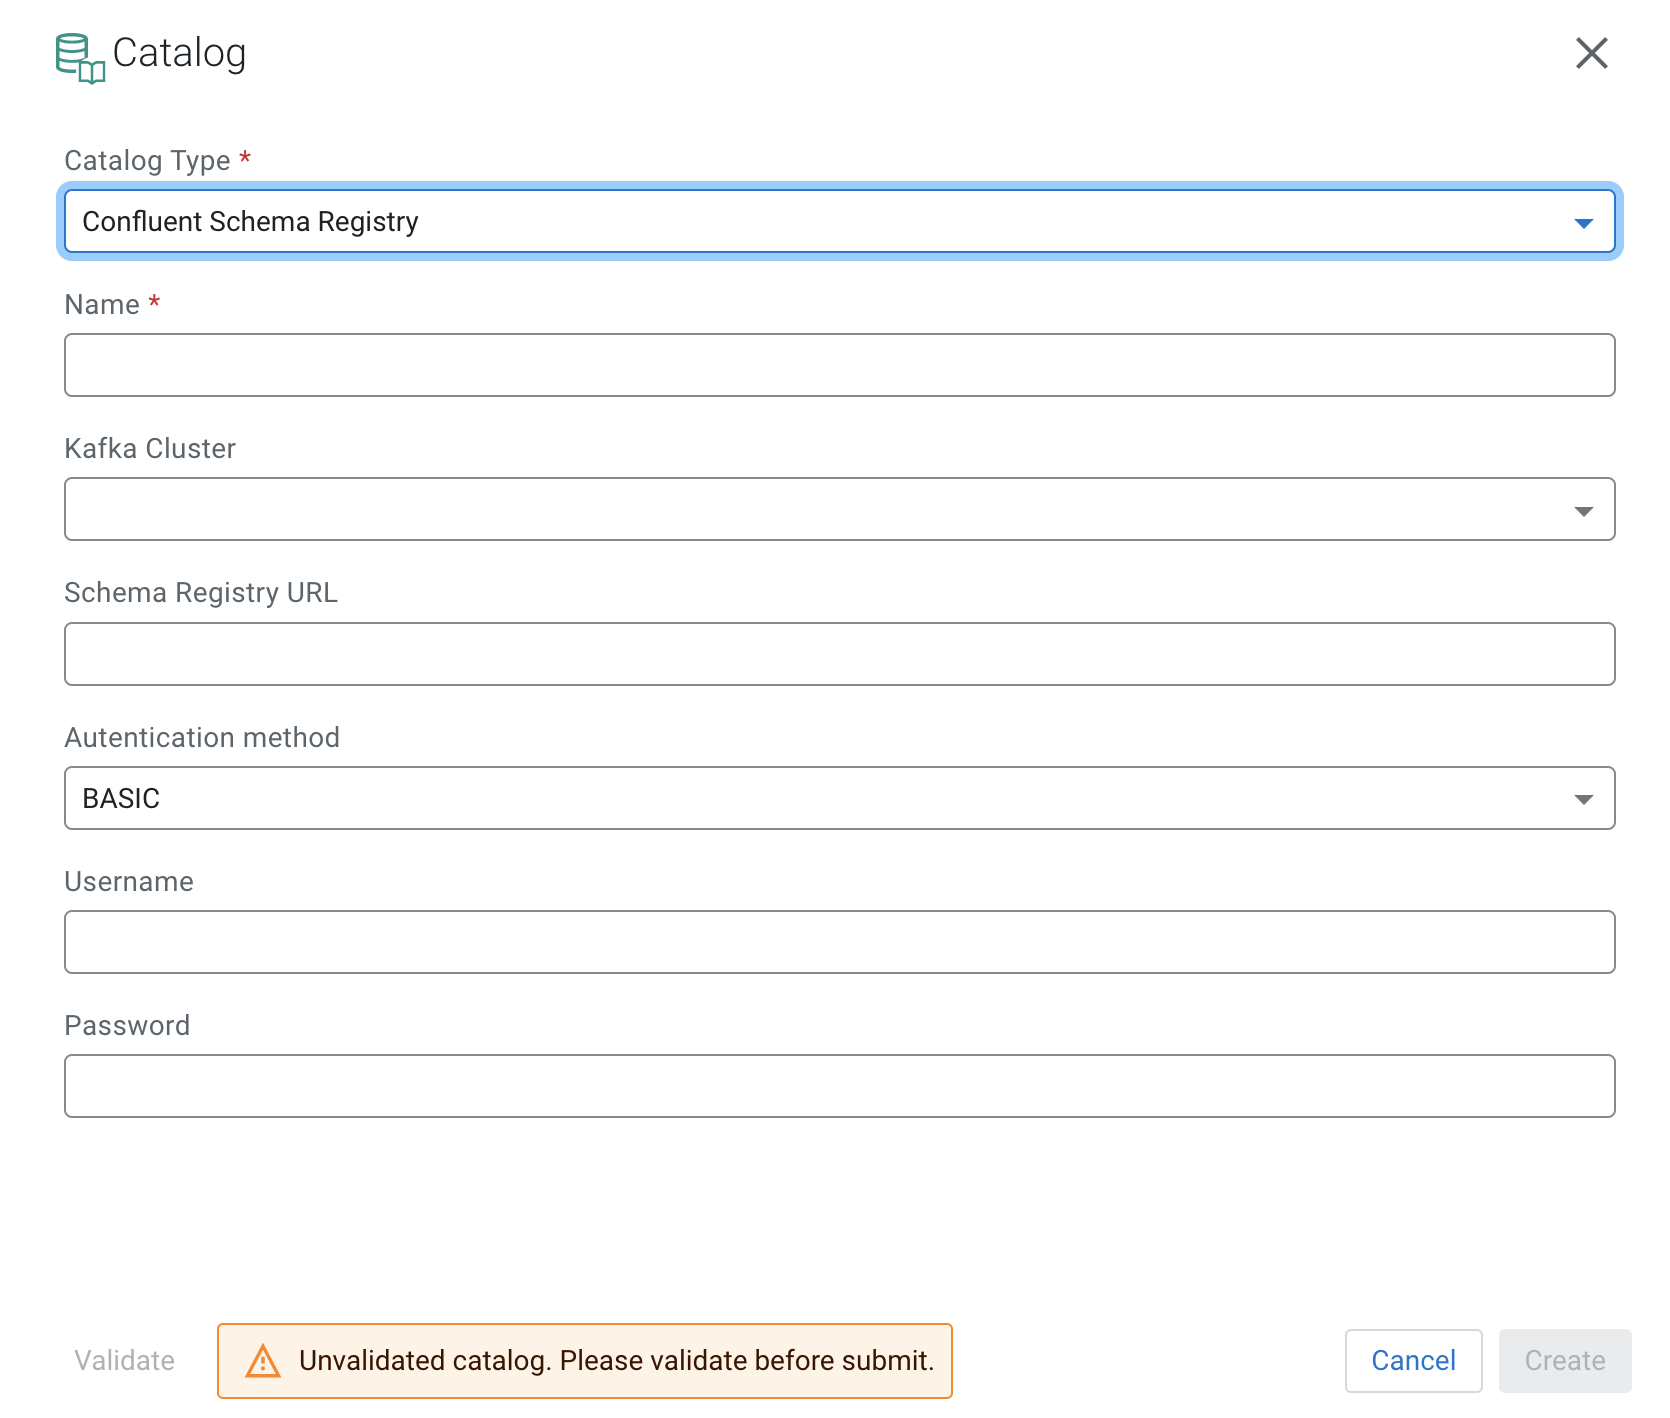
- Add a Name to your catalog.
- Select the Kafka cluster you registered as Data Source.
- Add the Confluent Cloud Schema Registry URL provided by your Confluent connection configurations.
- Choose an Authentication method from the following:
- BASIC
- If the basic authentication method is selected, you must provide the username and password.
- CUSTOM
- Custom authentication methods include bearer
authentication, SSL authentication and so on. If
the custom authentication method is selected, you
must provide the authentication property keys to
the Custom Properties field
as they are set for the Confluent Cloud Schema
Registry. For example, if the Confluent Cloud
Schema Registry is configured with bearer
authentication, you need to provide the
bearer.auth.credentials.sourceandbearer.auth.token. If SSL authentication is configured, theschema.registry.ssl.keystore.location,schema.registry.ssl.keystore.passwordand so on must be provided.
- Select Custom from the Catalog Type
drop-down.
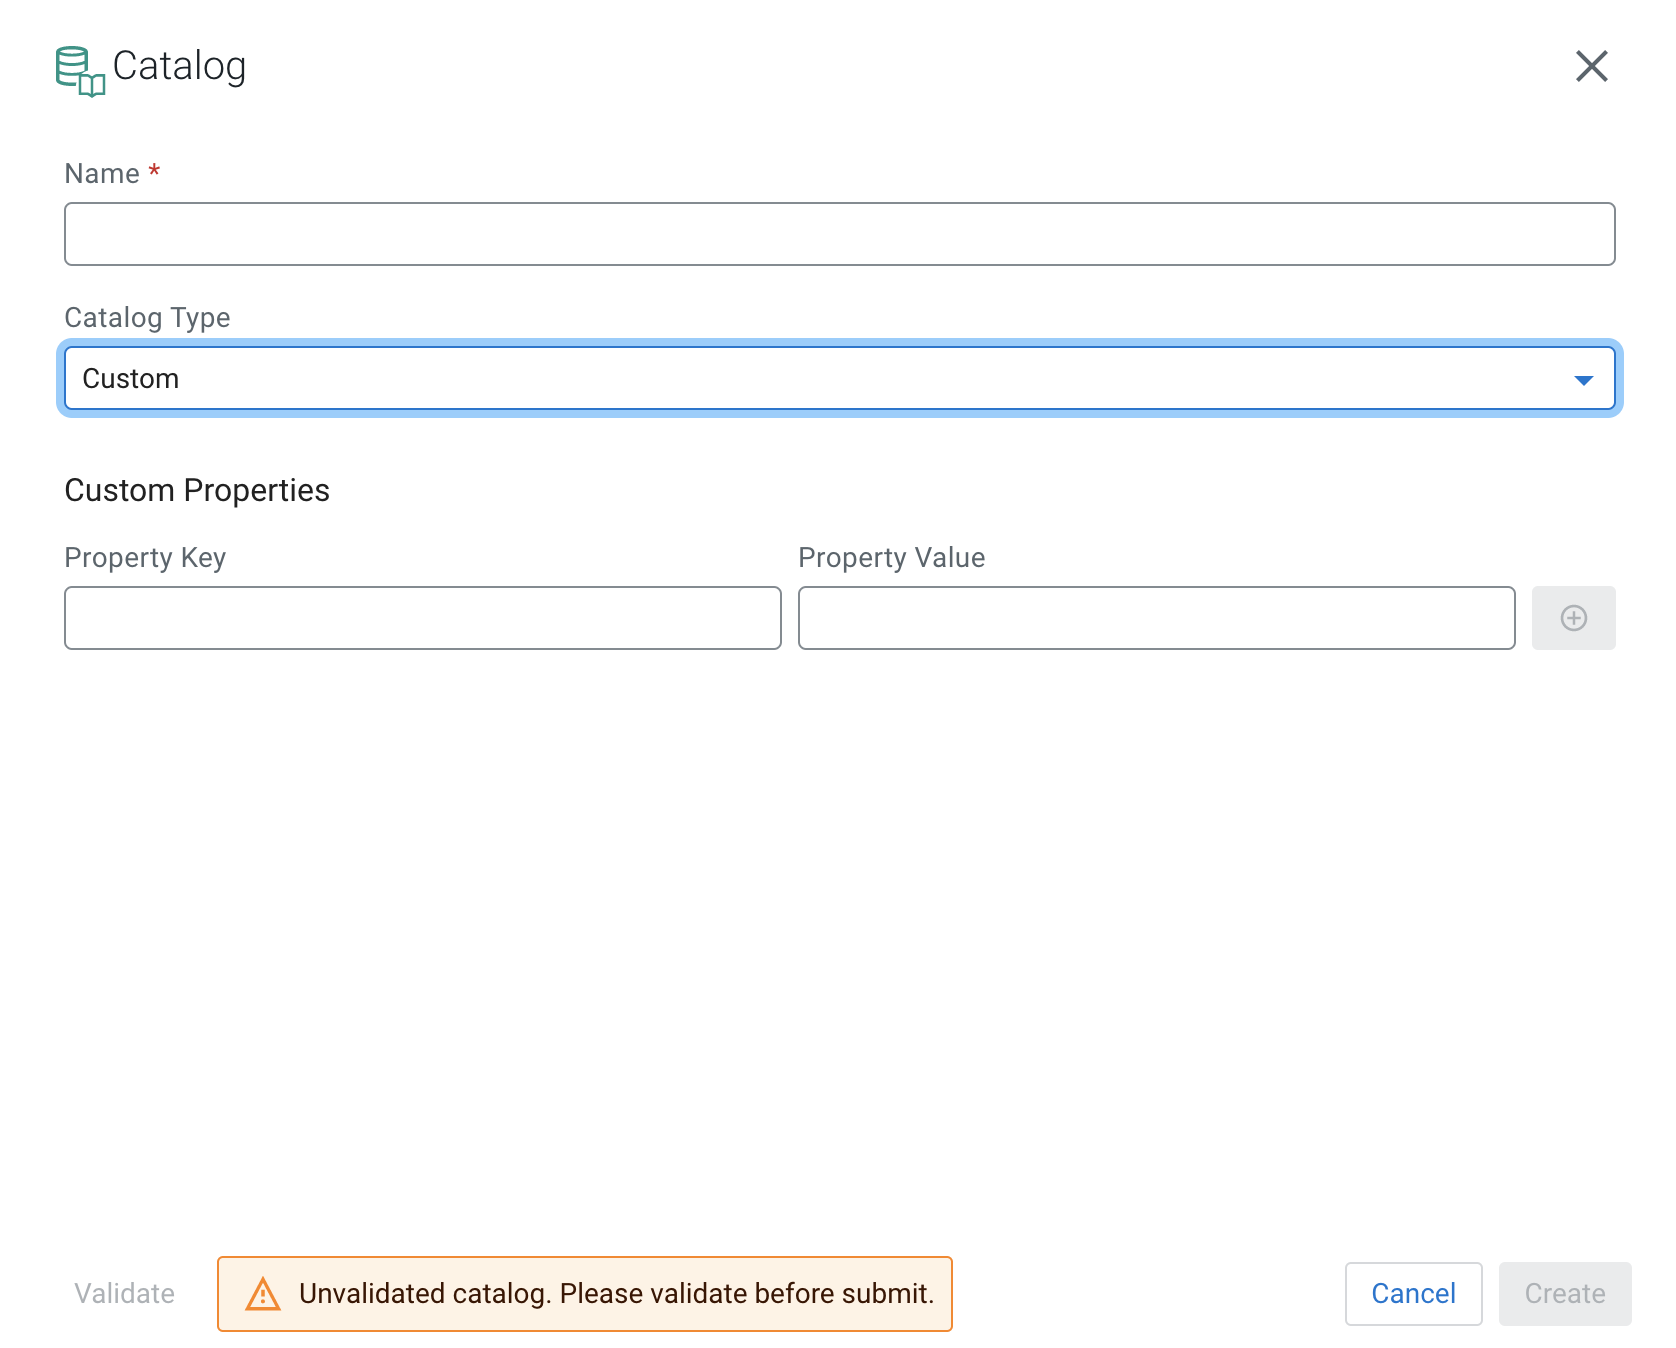
- Provide a Property Key.
- Proivde a Property Value.
If needed, you can specify more custom properties by using the plus icon.
- Open Data Sources from the Explorer view.
- Click next to Catalogs.
- Select Manage.
The Catalogs tab opens where the registered catalogs are listed. You have the following options to manage the catalog sources:
- Click on one of the existing catalogs to edit its configurations.
- Click
 to remove the catalog.
 - Click
 to duplicate the catalog with
its configurations.
to duplicate the catalog with
its configurations.