Creating Materialized Views

After executing a SQL Stream job, you can set up the Materialized Views to have a snapshot of your queried data. You can use the URL Pattern from the Materialized View to visualize the generated data.

  1. Navigate to the Streaming SQL Console.
    1. Navigate to Management Console > Environments, and select the environment where you have created your cluster.
    2. Select the Streaming Analytics cluster from the list of Data Hub clusters.
    3. Select Streaming SQL Console from the list of services.
      The Streaming SQL Console opens in a new window.
  2. Open a project from the Projects page of Streaming SQL Console.
    1. Select an already existing project from the list by clicking the Open button or Switch button.
    2. Create a new project by clicking the New Project button.
    3. Import a project by clicking the Import button.
    You are redirected to the Explorer view of the project.
  3. Click next to Jobs from the Explorer.
  4. Select New Job .
    The SQL Editor for the created job opens in a tab.
  5. Add a SELECT statement to the SQL Editor.
  6. Click Materialized View.
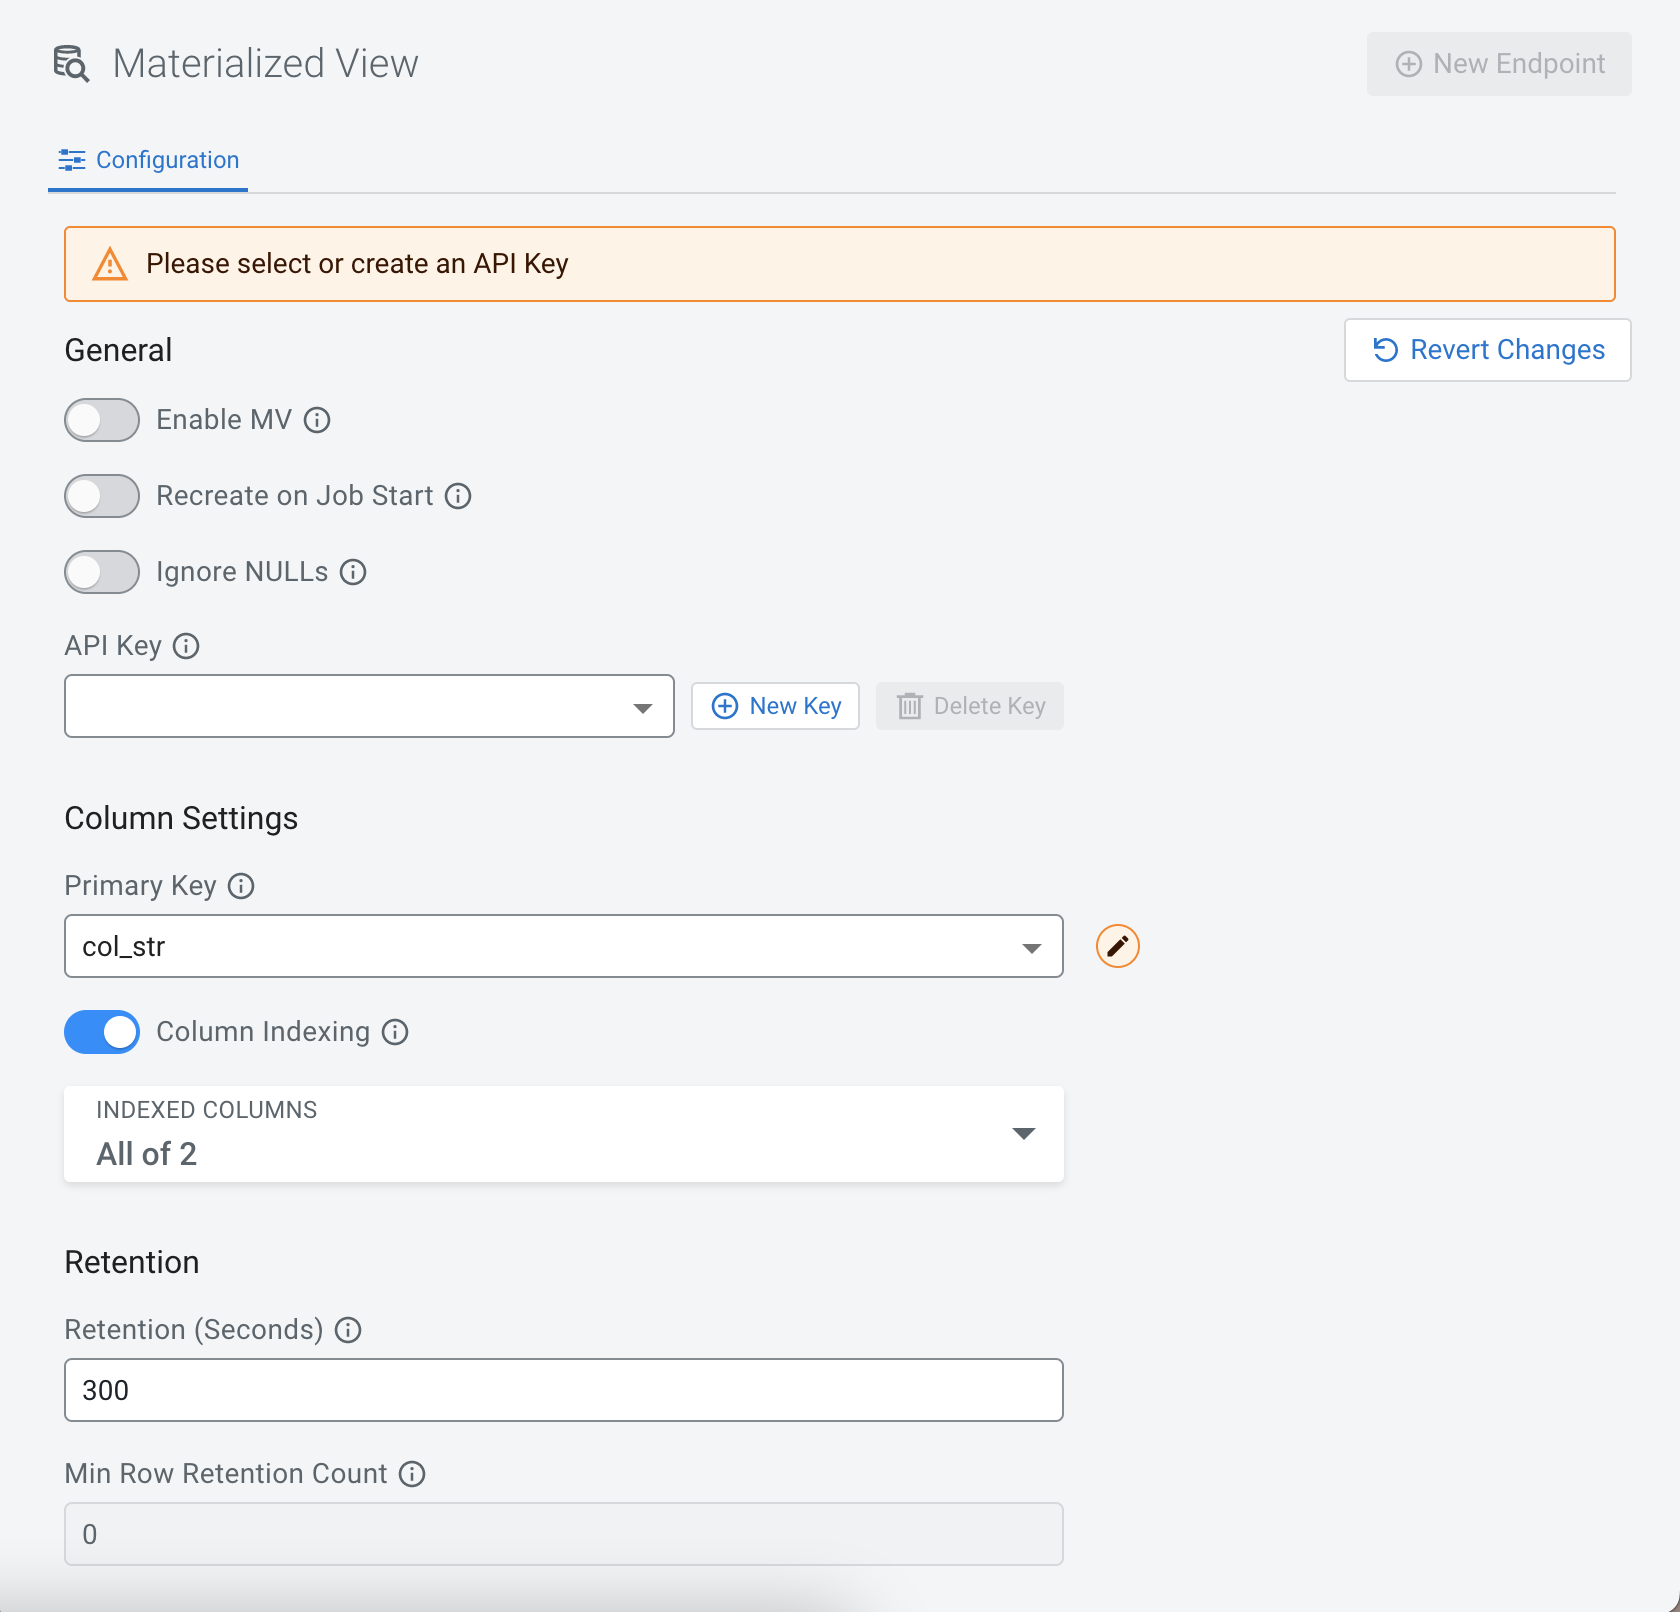
    The configuration window for the Materialized View opens.
  7. Switch Enable MV toggle.
  8. Enable or disable Recreate on Job Start.
    If enabled, the Materialized View is deleted when a job is started or restarted.
  9. Enable or disable Ignore NULLS.
    If enabled, NULL values will NOT update values that are non null - they are ignored.
  10. Select an API Key.
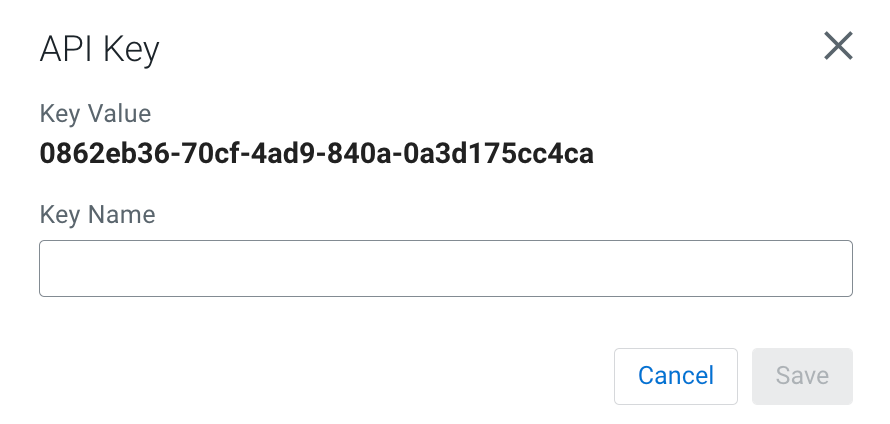
    In case there are no API Keys, click Add API key, or click Materialized Views from the main menu. The add API key window appears. Provide a name for the API key, and click Save Changes.
    To check your created API keys:
    1. Click > Manage at the API Keys from the Project Explorer, or click on the created API key under the API Keys.
  11. Configure the Column Settings for the Materialized View.
    1. Select a Primary Key.
      If this list is empty, then no SQL is specified in the SQL Editor or the SQL query is invalid. Select a key as a primary key for the Materialized View. All data will be updated by this key.
    2. Enable Column Indexing if needed, and select the column by which you need the results to be indexed.
  12. Configure the retention time for the Materialized View.
    For more information about how you can set the retention time, see the Configuring Retention Time for Materialized View section.
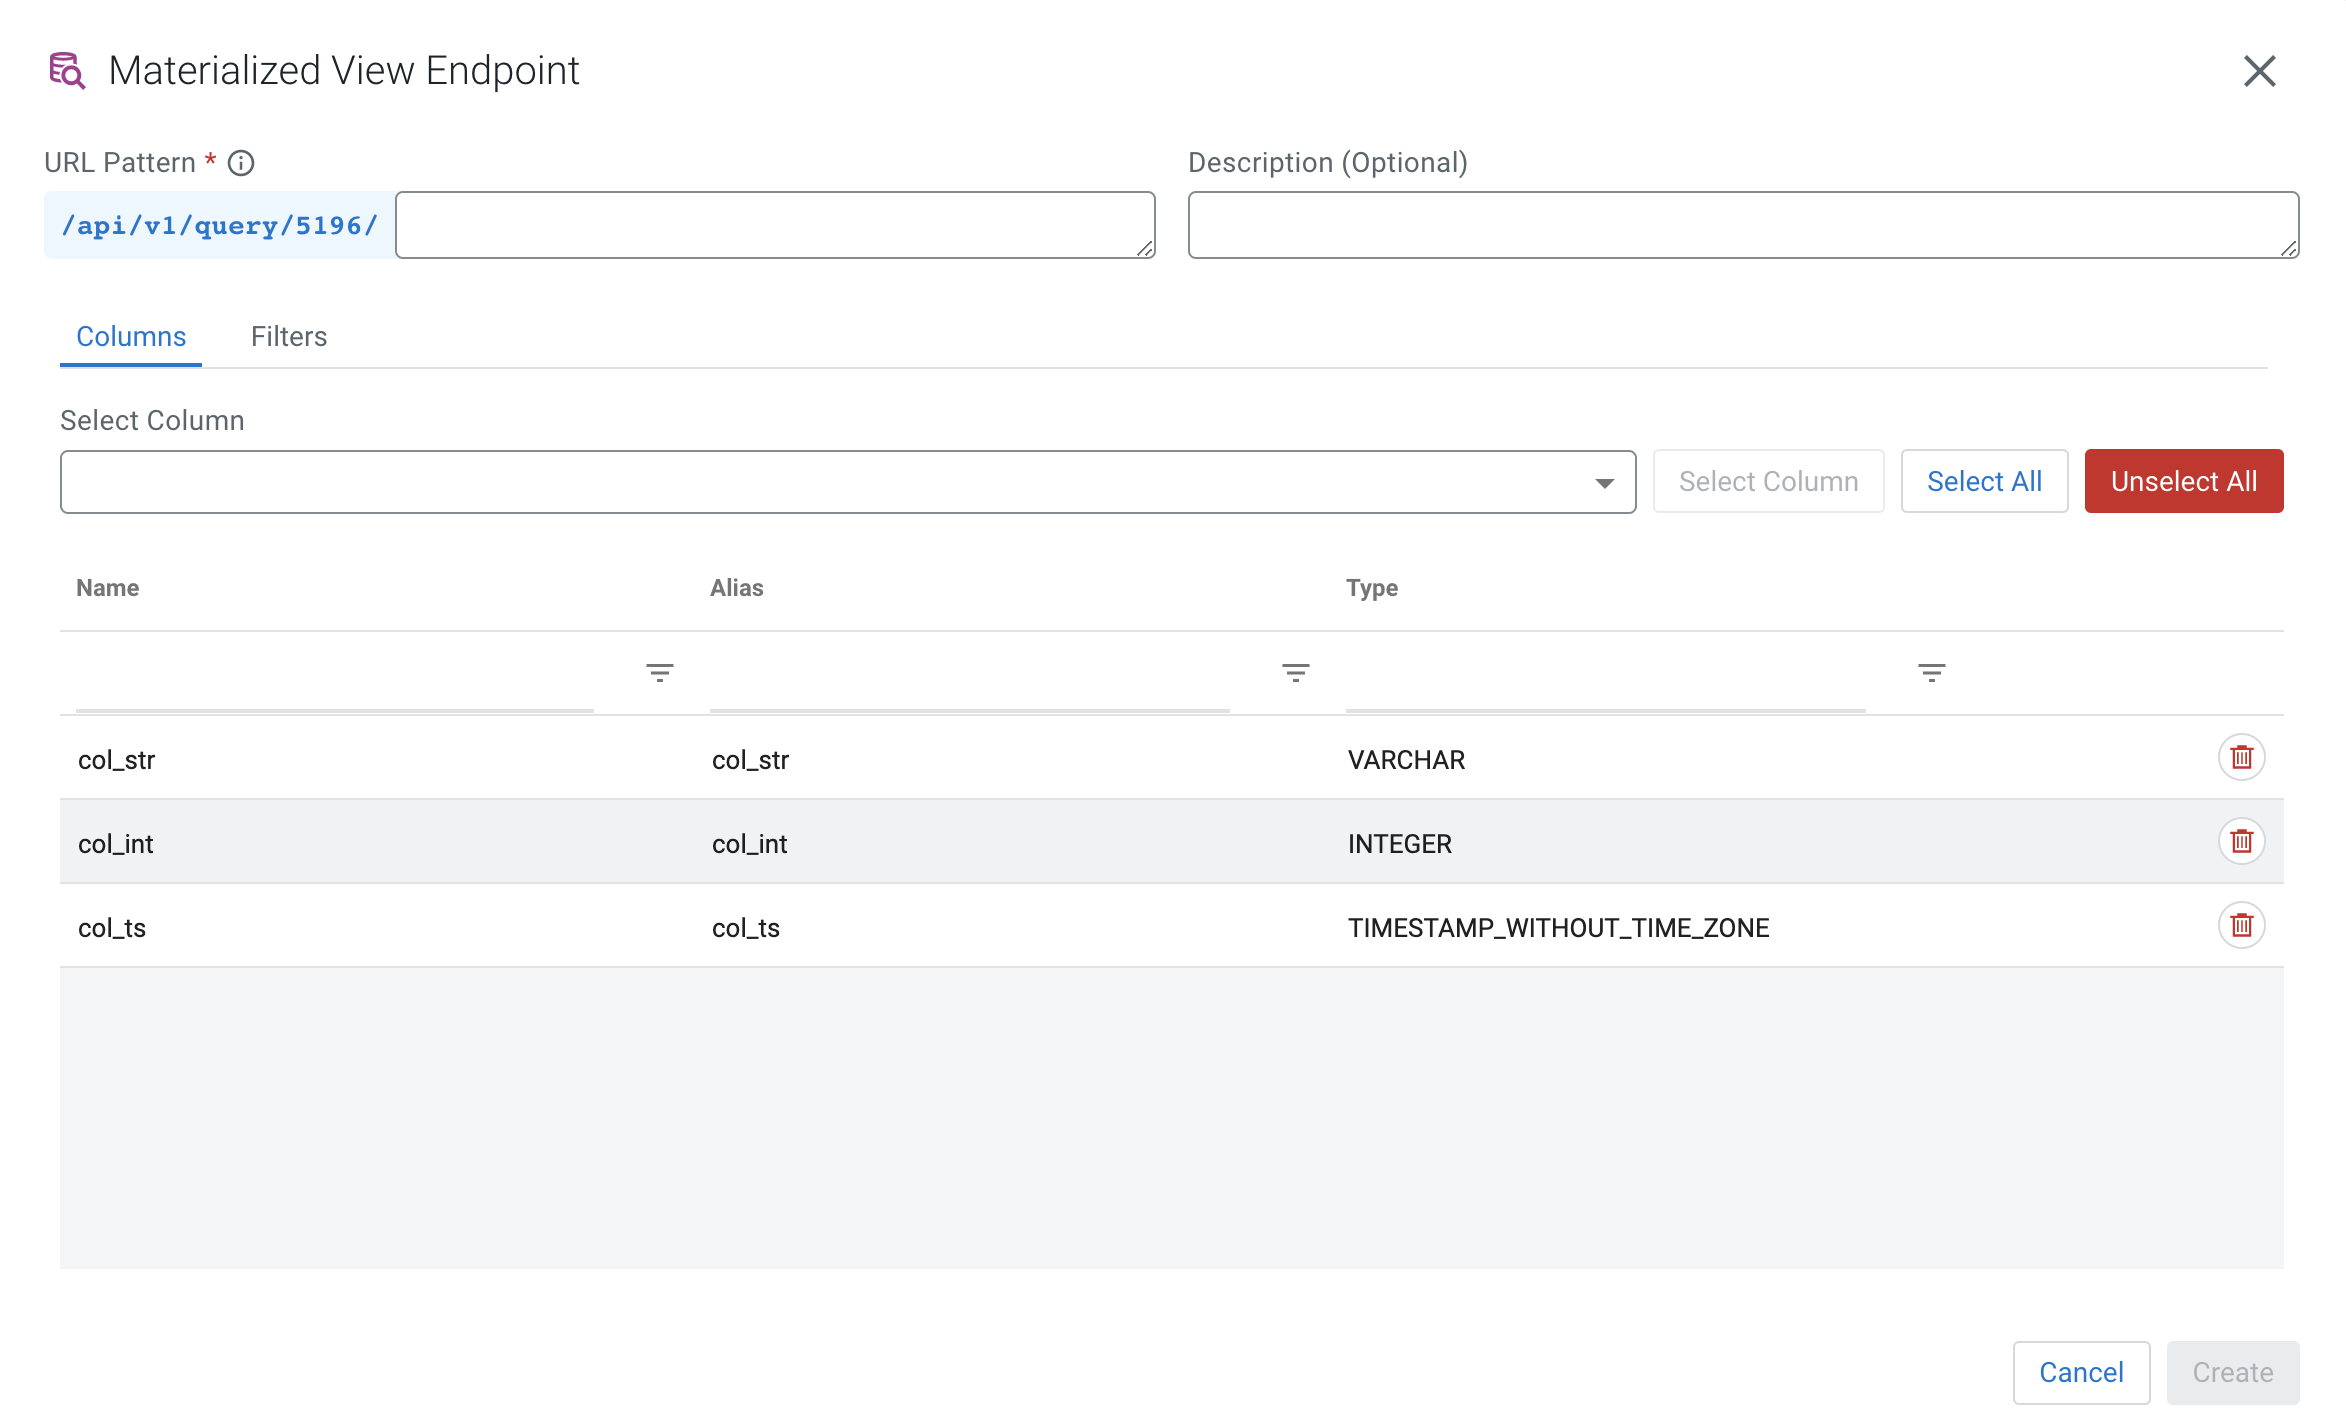
  13. Click New Endpoint to create the Materialized View query.
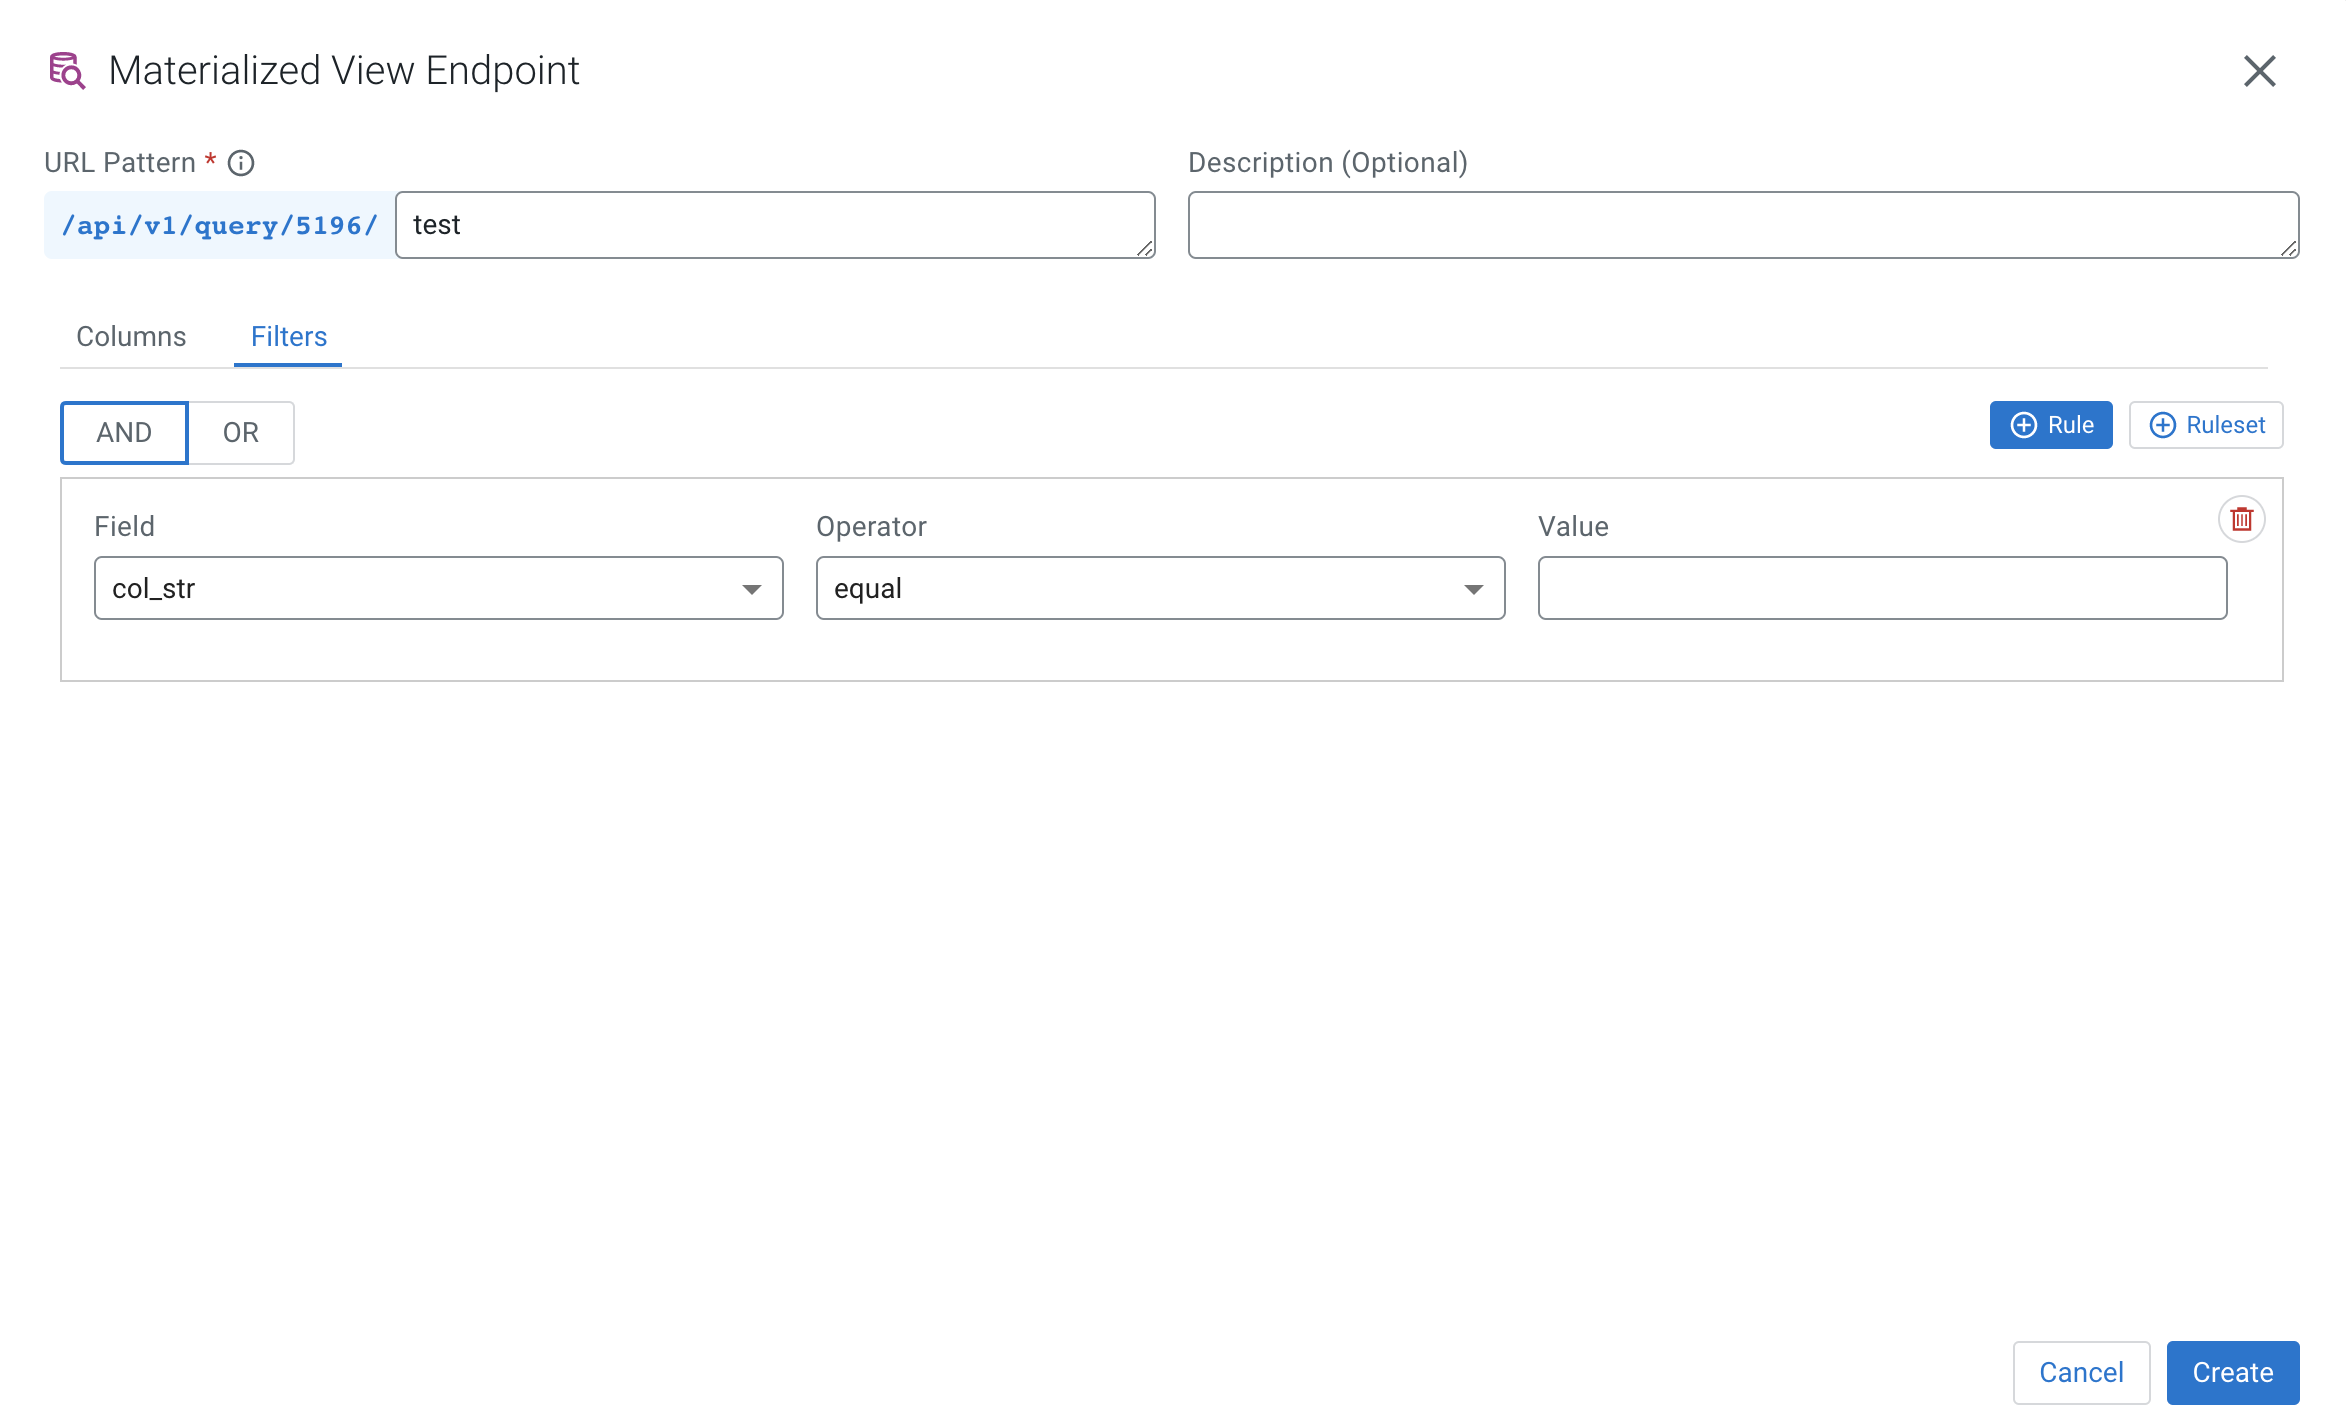
    The Materialized View Endpoint window appears.
  14. Provide a name in the URL Pattern field.
  15. Provide a description of the Materialized View Query, if needed.
  16. Customize the Materialized View in the Endpoint Editor.
    1. Select the columns of the SQL job you want to use in the Materialized View Query.
      You can select every column in the table by clicking on the Select All button.
    2. Click Filters tab to apply computations and further enrichment of your data.
    3. Provide details of the filter by selecting the Field, Operator and Value.
      You can add more rules or set a ruleset for the query.
  17. Click Create.
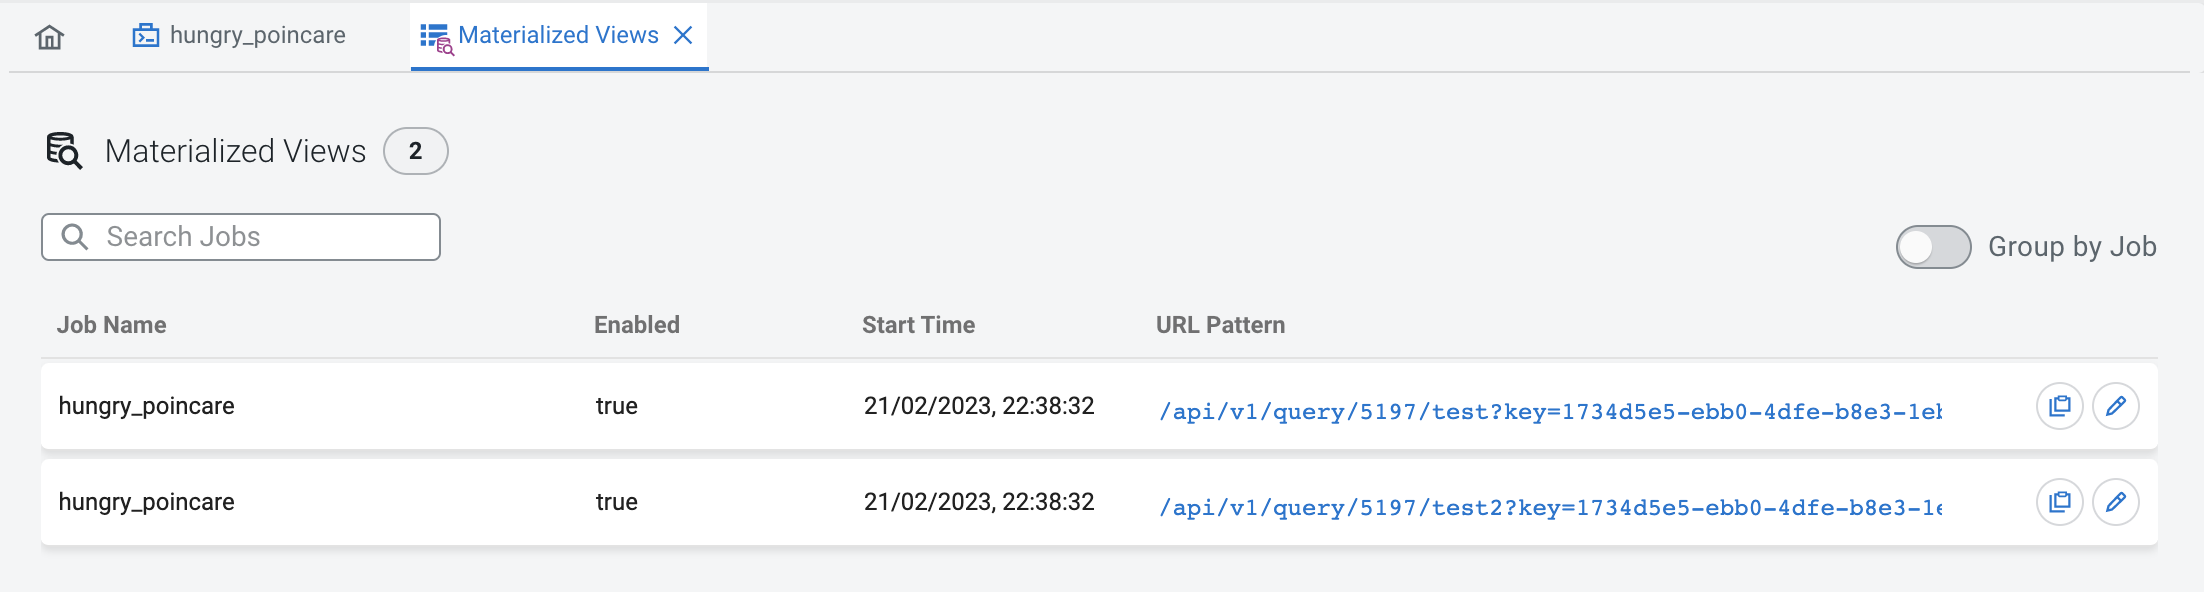
    You can access the queried results by clicking > Manage at the Materialized Views from the Project Explorer, and clicking on the URL pattern.
You can click the created REST endpoint to review the data, or copy it and visualize the queried data in a Business Intelligence tool, notebook, code and so on. You can also review the list of Materialized View and API keys on the Materialized View page.