Building your dataflow

Set up the elements of your NiFi data flow that enables you to move data into Snowflake using Apache NiFi. This involves opening NiFi, adding processors to your NiFi canvas, and connecting the processors.

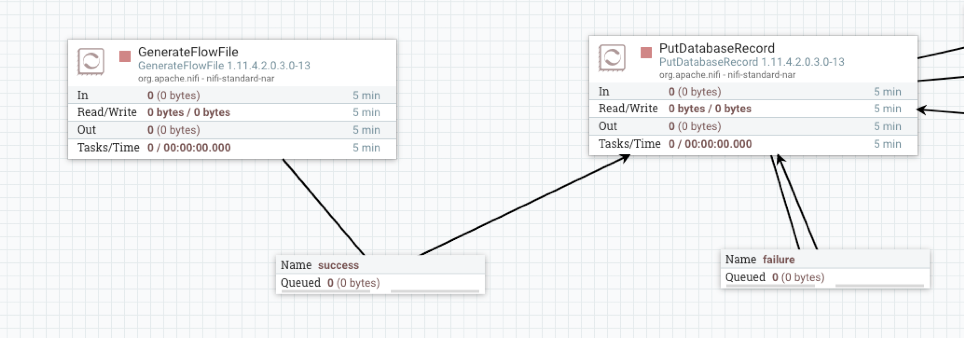
When you are building a flow to move data into Snowflake using Apache NiFi, you can consider using the following processors to build your data flow:

  • GenerateFlowFile
  • PutDatabaseRecord

You must have reviewed and met the prerequisites.

  1. Launch the NiFi from your CDP Public Cloud or CDP Private Cloud Base cluster.
  2. Add the NiFi processors to your canvas.
    1. Select the Processor icon from the Cloudera Flow Management Actions pane, and drag a processor to the canvas.
    2. Use the Add Processor filter box to search for the processor you want to add, and then click Add.
    3. Add each of the processors you want to use for your data flow.
  3. Connect the two processors to create a data flow.
    1. Click the Connection icon in the first processor, and drag it to the second processor.

      A Create Connection dialog displays. It has two tabs: Details and Settings where you can configure the connection's name, flow file expiration time period, thresholds for back pressure, load balance strategy, and prioritization.

    2. Click Add to close the dialog box and add the connection to your flow. Optionally, you can add success and failure funnels to your data flow, which help you see where flow files are routed when your data flow is running.

Once you have finished building the data flow, move on to the following steps:

  • Create controller services for your data flow.
  • Configure your source processor.
  • Configure your target processor.
  • Confirm your data flow success.