Step 4: Enable Kerberos using the wizard
How to enable Kerberos using the Cloudera Manager wizard.
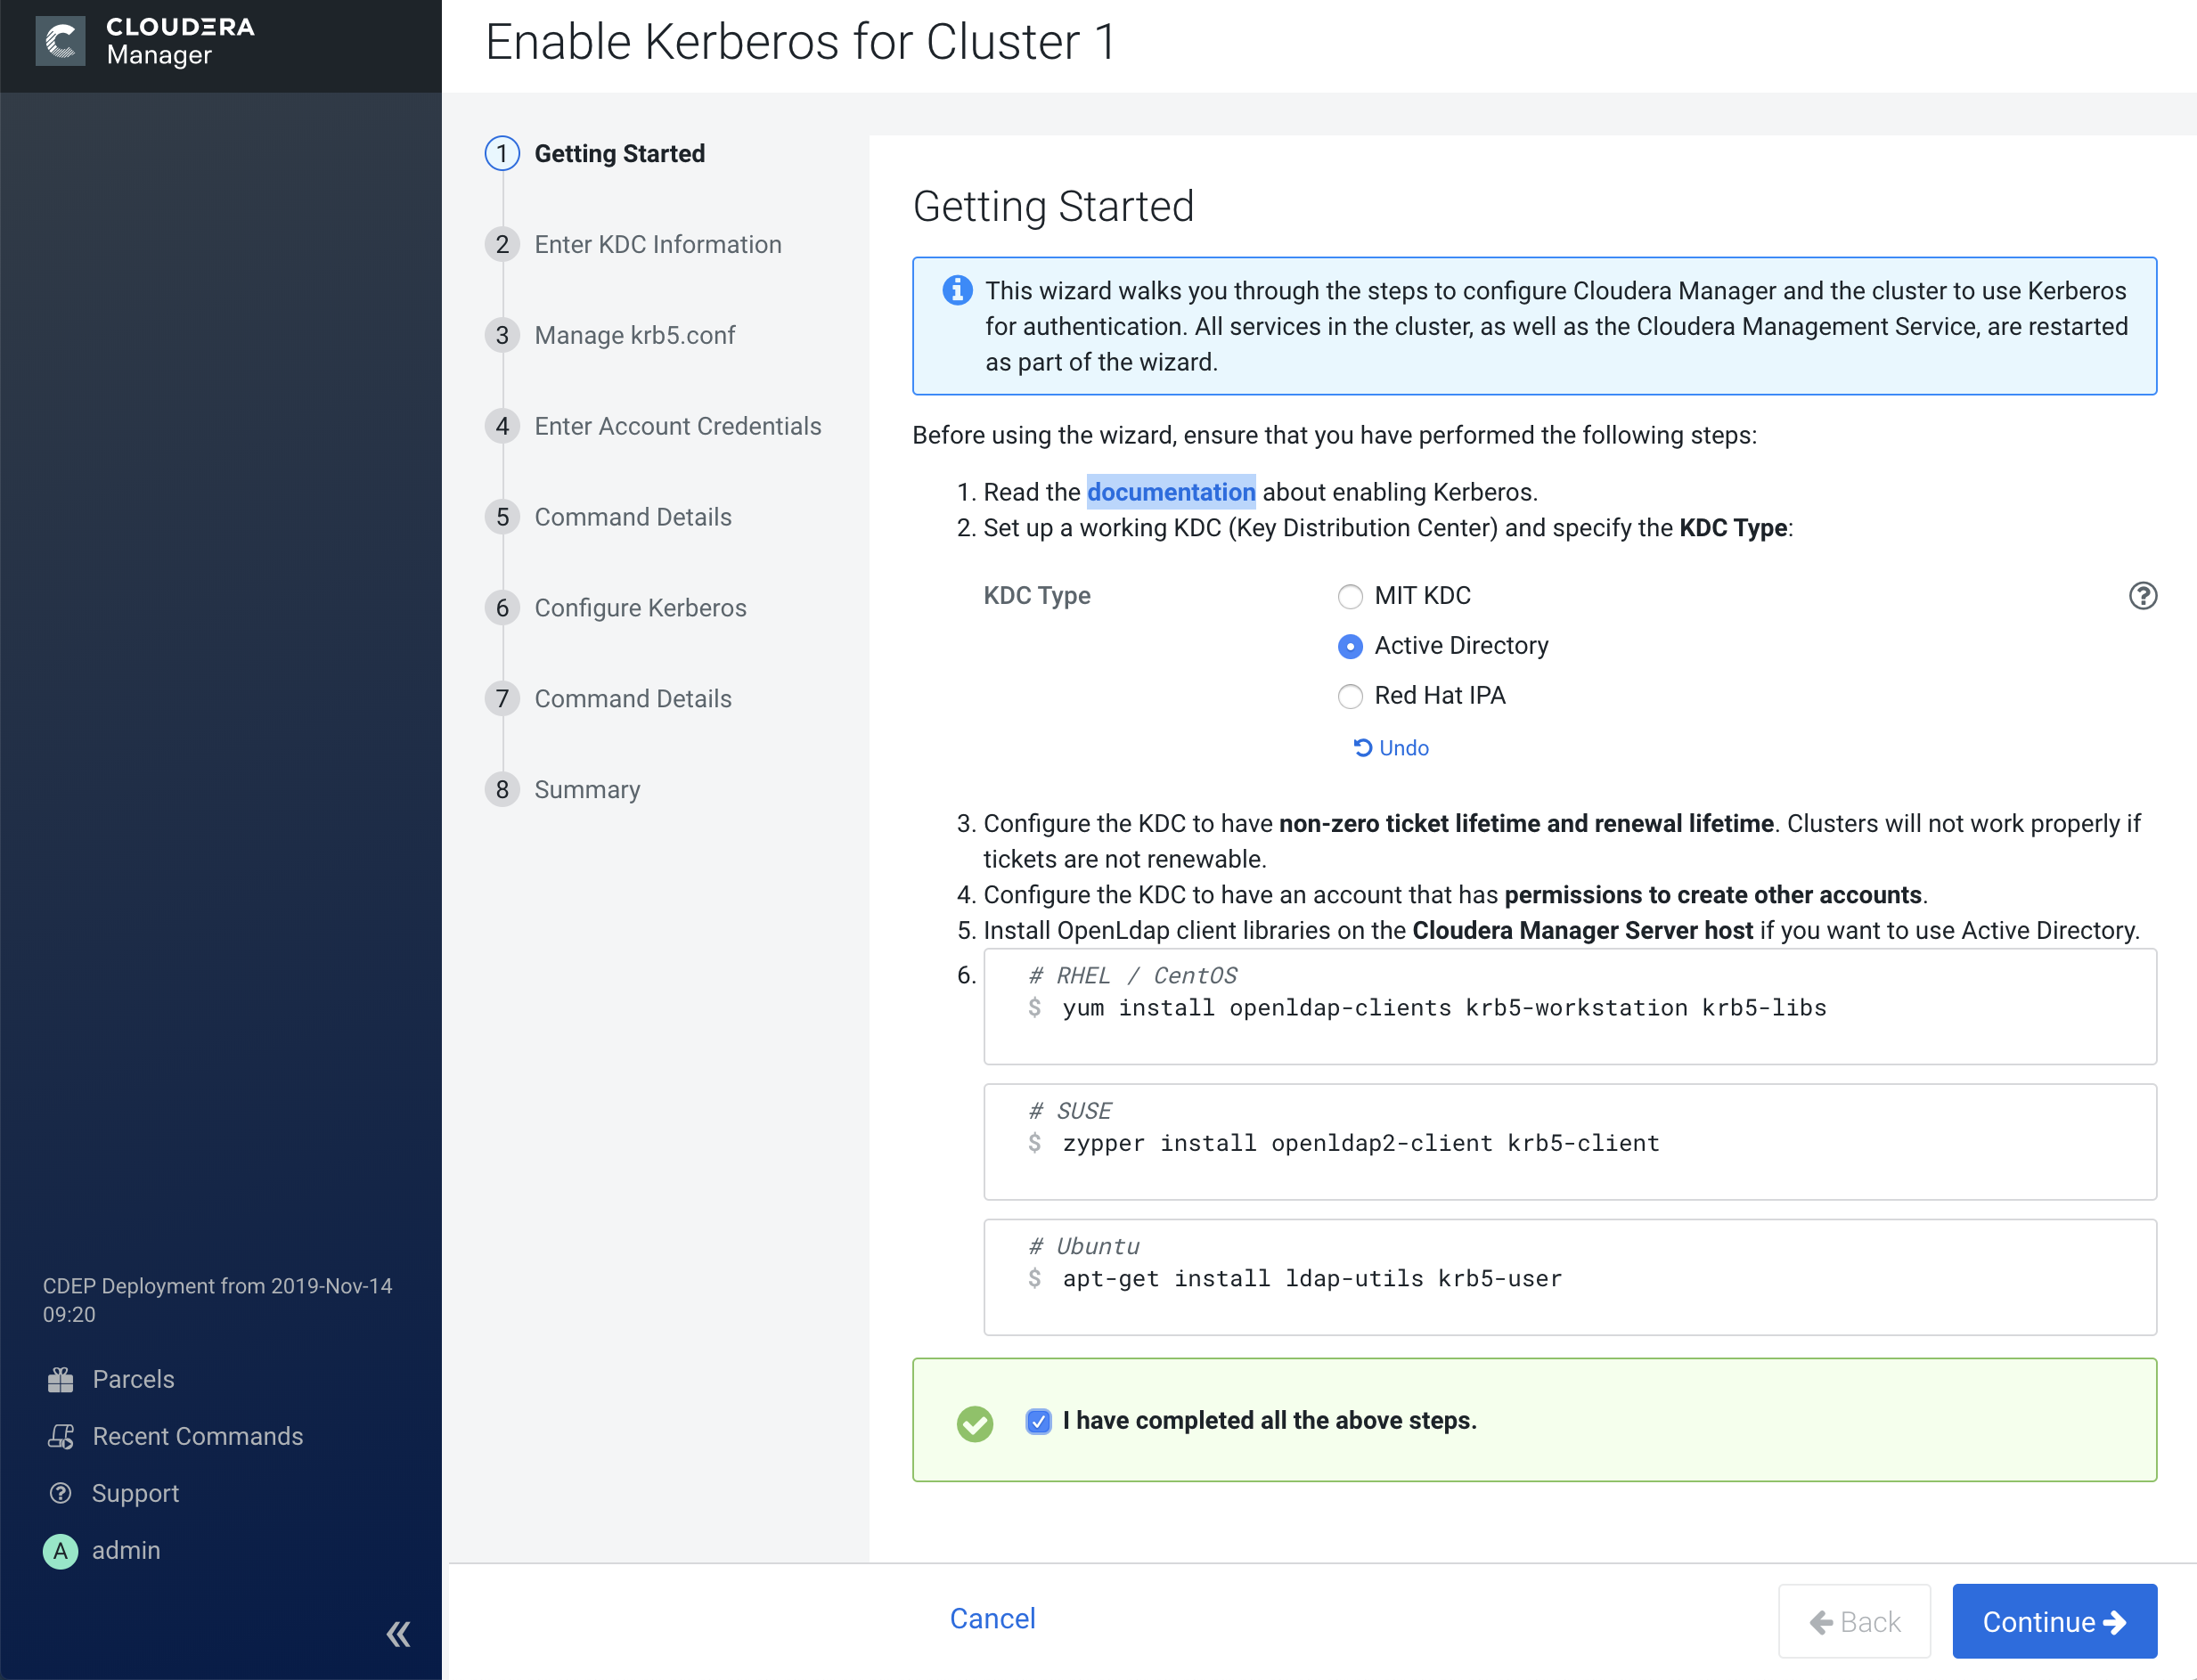
1. Getting Started
- Set up a working KDC in Step 1 of the wizard as described below. Cloudera Manager supports authentication with MIT KDC, Active Directory, and Red Hat Identity Management/FreeIPA.
- Configure the KDC to allow renewable tickets with non-zero ticket lifetimes.
Active Directory allows renewable tickets with non-zero lifetimes by default. You can verify this by checking in Active Directory.
For MIT KDC, make sure you have the following lines in thekdc.conf.max_life = 1d max_renewable_life = 7d - If you are using Active Directory, make sure LDAP over TLS/SSL (LDAPS) is enabled for the Domain Controllers.
- Host names must be in lowercase. If you use uppercase letters in any host name, the cluster services will not start after enabling Kerberos.
- Create an account for Cloudera Manager that has the permissions to create other
accounts in the KDC. This should have been completed as part of
Step 3: Create the Kerberos Principal for Cloudera Manager Server
.
-
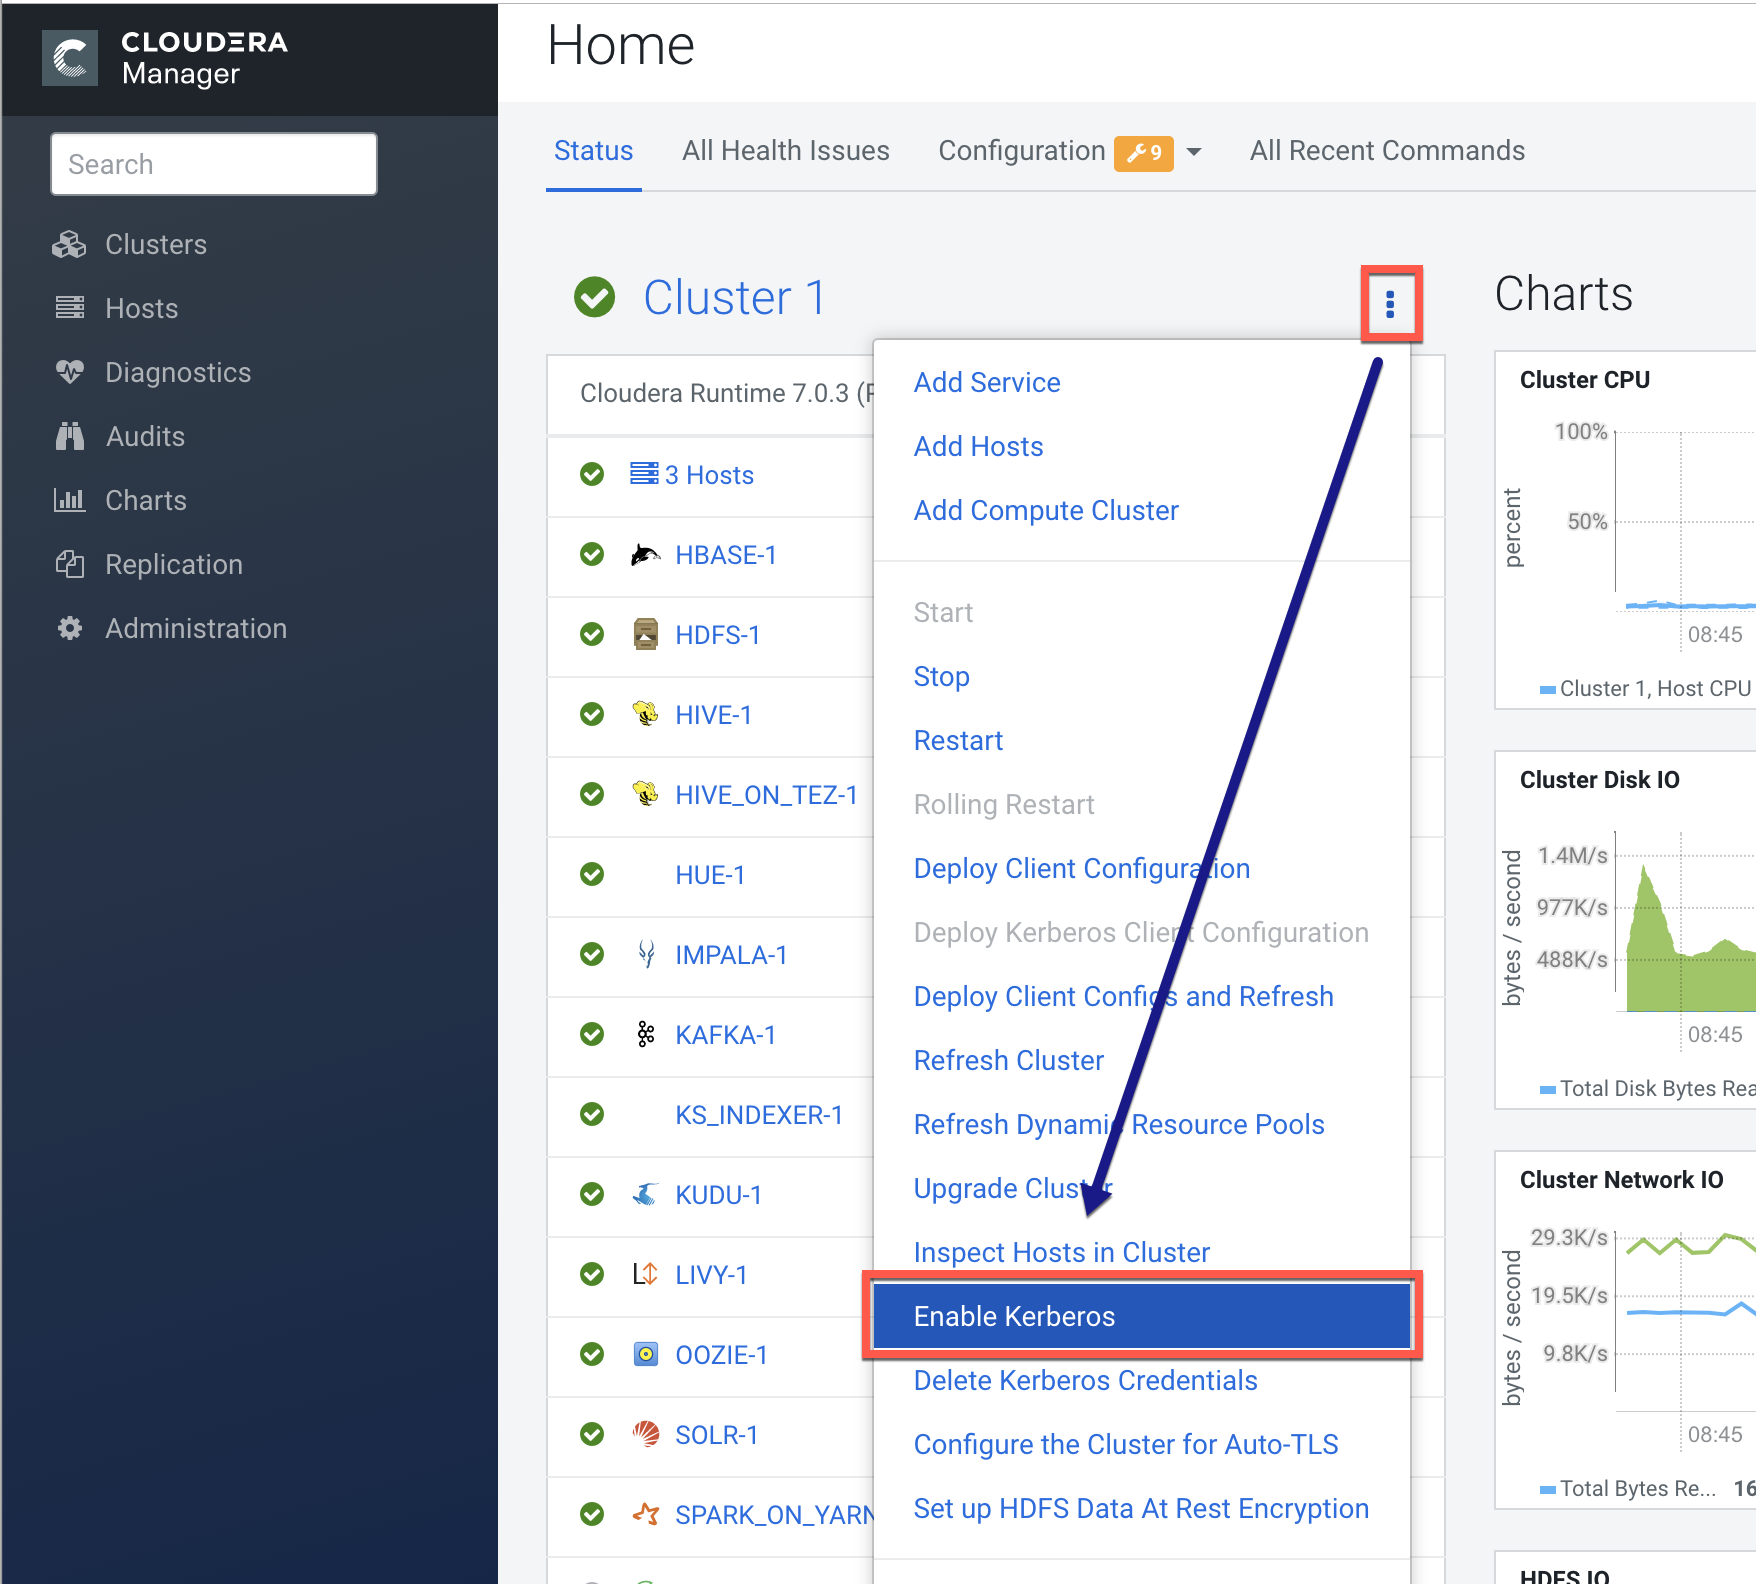
To start the Kerberos wizard, open the Cloudera Manager Admin Console, click the
options menu for the applicable cluster, then click Enable Kerberos.
-
After you open the Kerberos wizard, a Getting Started page appears. Select the
applicable KDC type to display configuration steps for your specific type of KDC. When
you have completed all of the configuration steps, select the I have completed all
the above steps check box, then click Continue.
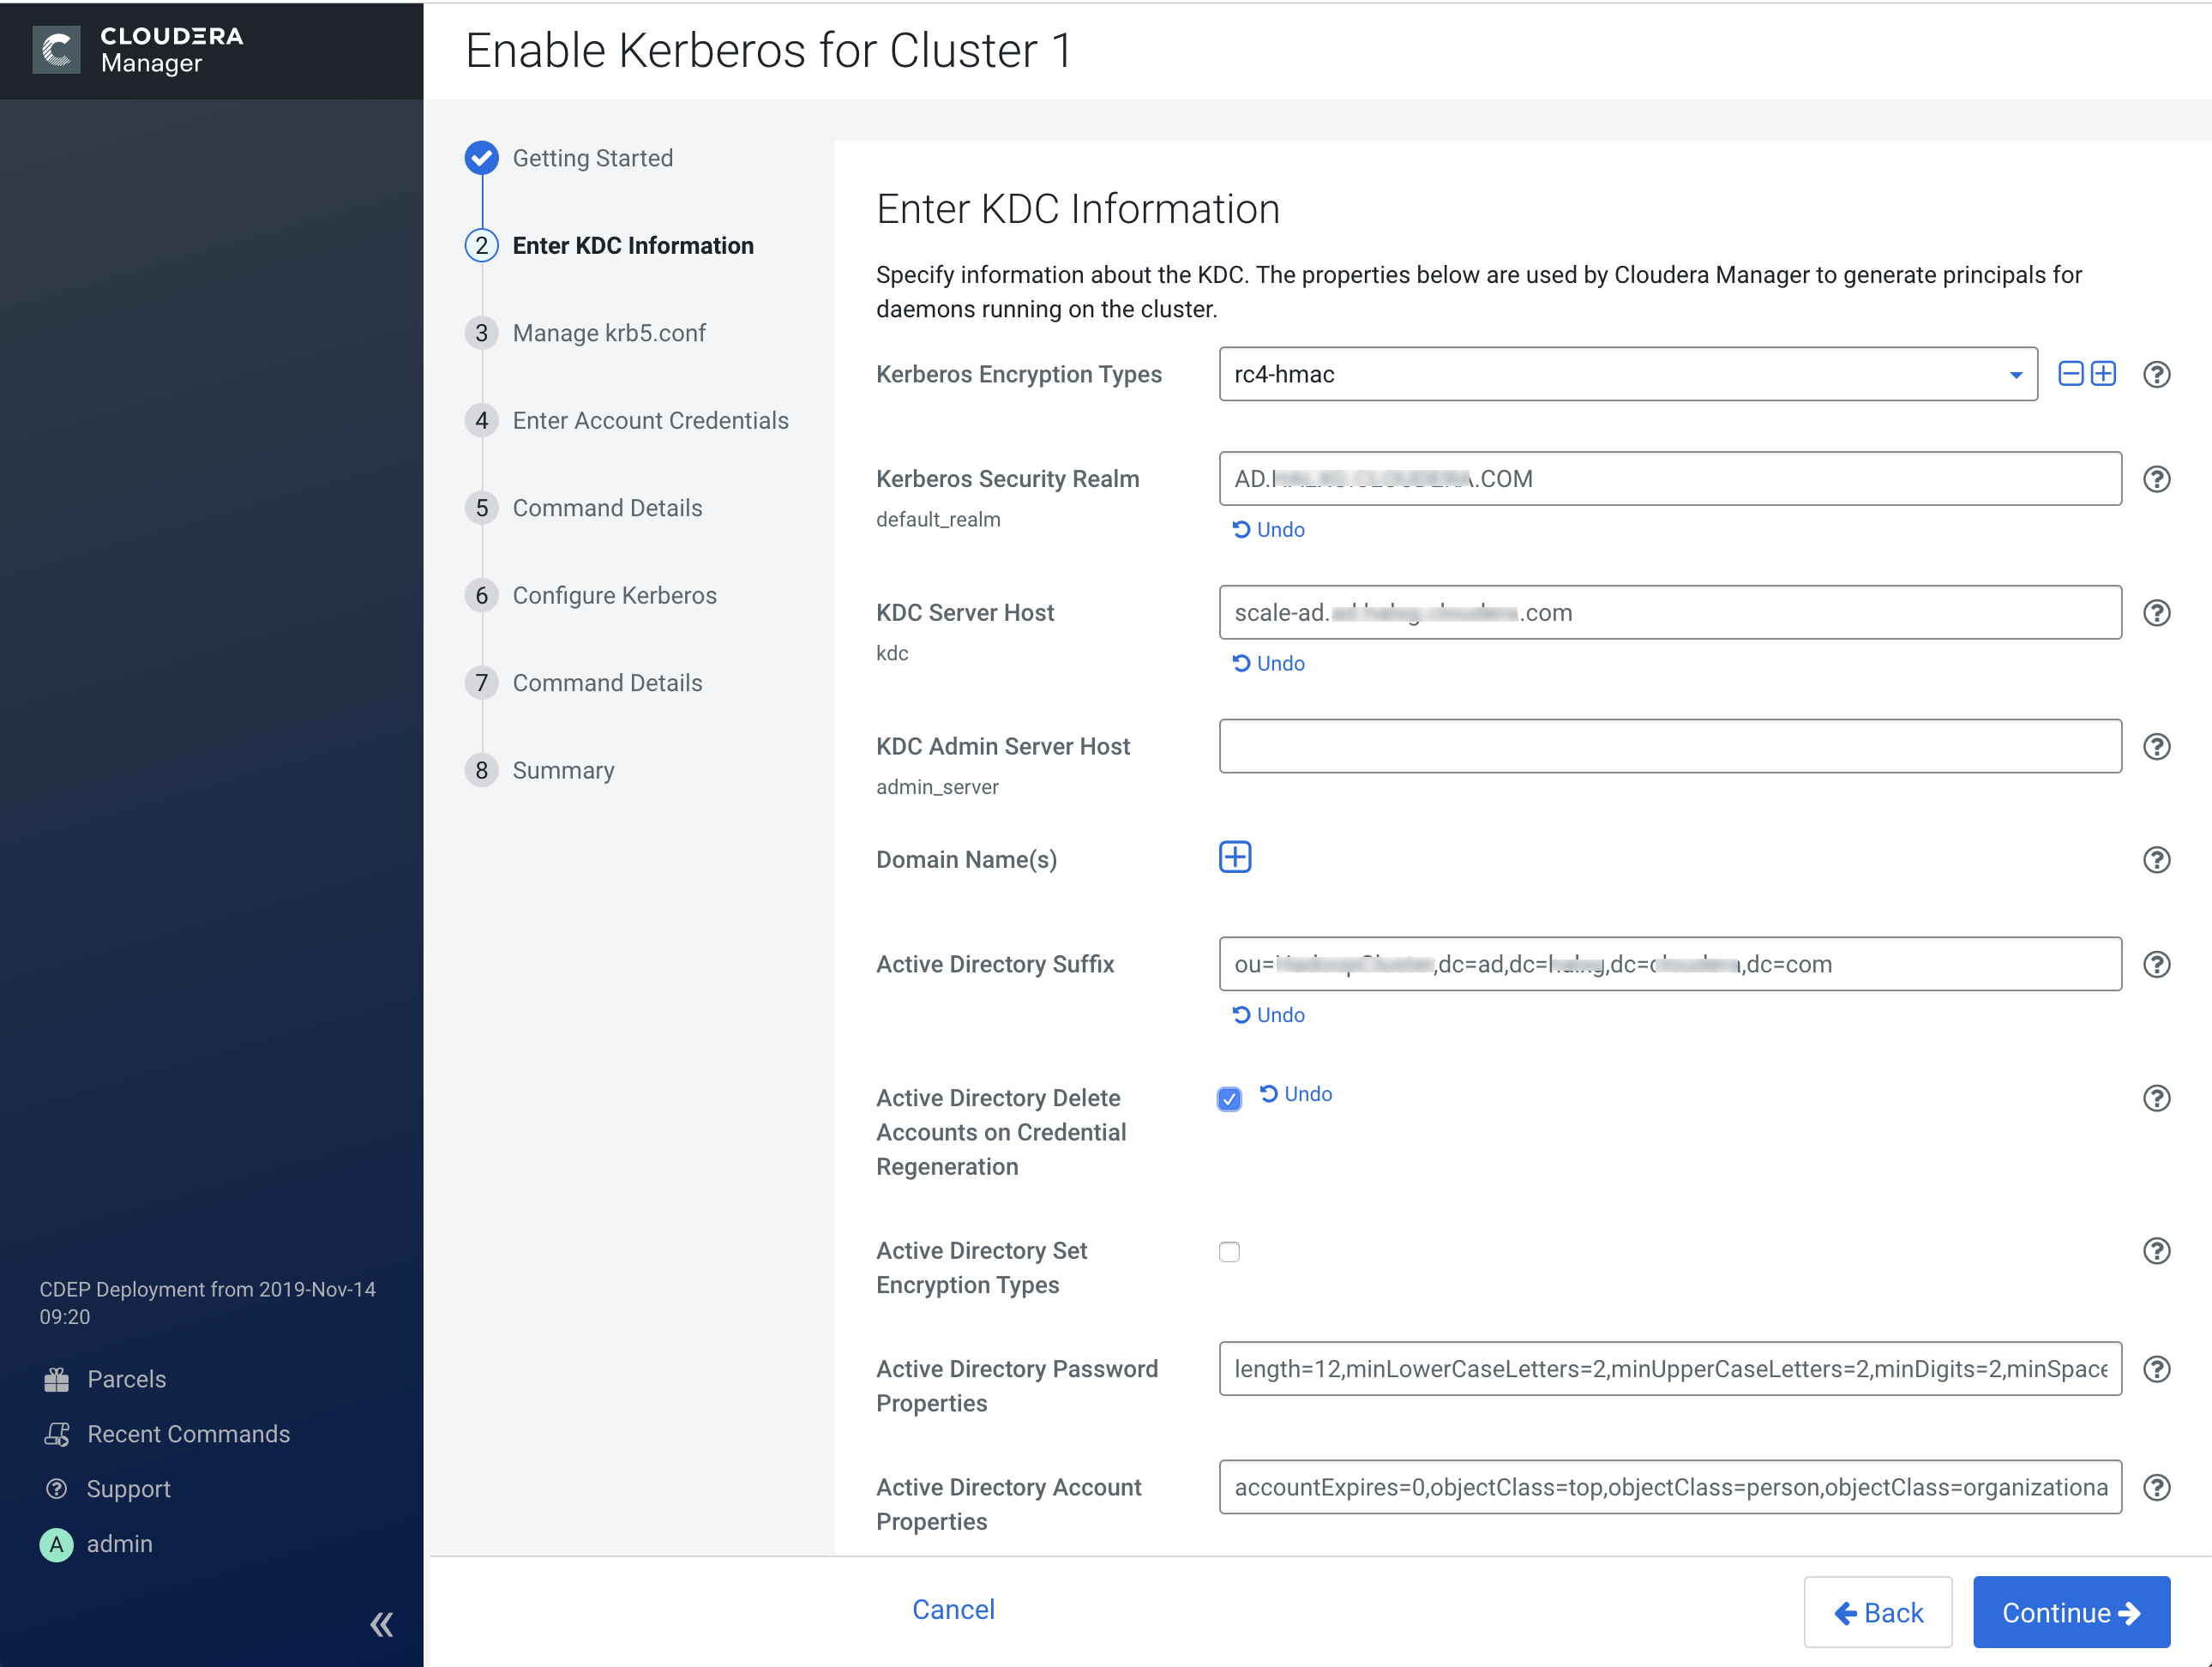
2. Enter KDC Information
-
In the Active Directory KDC example below, we entered values for the Kerberos
Security Realm, the KDC Server Host, and the Active Directory
Suffix, and also selected the Active Directory Delete Accounts on Credential
Regeneration check box.
3. Manage krb5.conf
You can use this page to specify whether or not Cloudera Manager deploys and manages the
krb5.conf file on your cluster.
-
If you select the Manage krb5.conf through Cloudera Manager check box, you can
use this page to configure the
krb5.conffile properties. In particular, the safety valves on this page can be used to configure cross-realm authentication.To configure multiple KDCs (as mentioned in the previous section), you can specify the additional Domain Controllers using the Advanced Configuration Snippet (Safety Valve) for the Default Realm in krb5.conf property box. For example:kdc = kdc2.supportlab.cloudera.com kdc = kdc3.supportlab.cloudera.com kdc = kdcN.supportlab.cloudera.com
4. Enter Account Credentials
-
Enter the user name and password for the user that can create principals for CDP
cluster in the KDC. This is the user/principal you created in
Step 3: Create the Kerberos Principal for Cloudera Manager Server
. Cloudera Manager encrypts the user name and password into a keytab and uses it as needed to create new principals.If you are using Red Hat IdM/FreeIPA, enter the IPA admin credentials here. These admin credentials are not stored, and are used only to create a new user and role (named
cmadin-<random_id>andcmadminrole, respectively) and retrieve its keytab. Cloudera Manager stores this keytab for future Kerberos operations, such as regenerating the credentials of the CDP service accounts.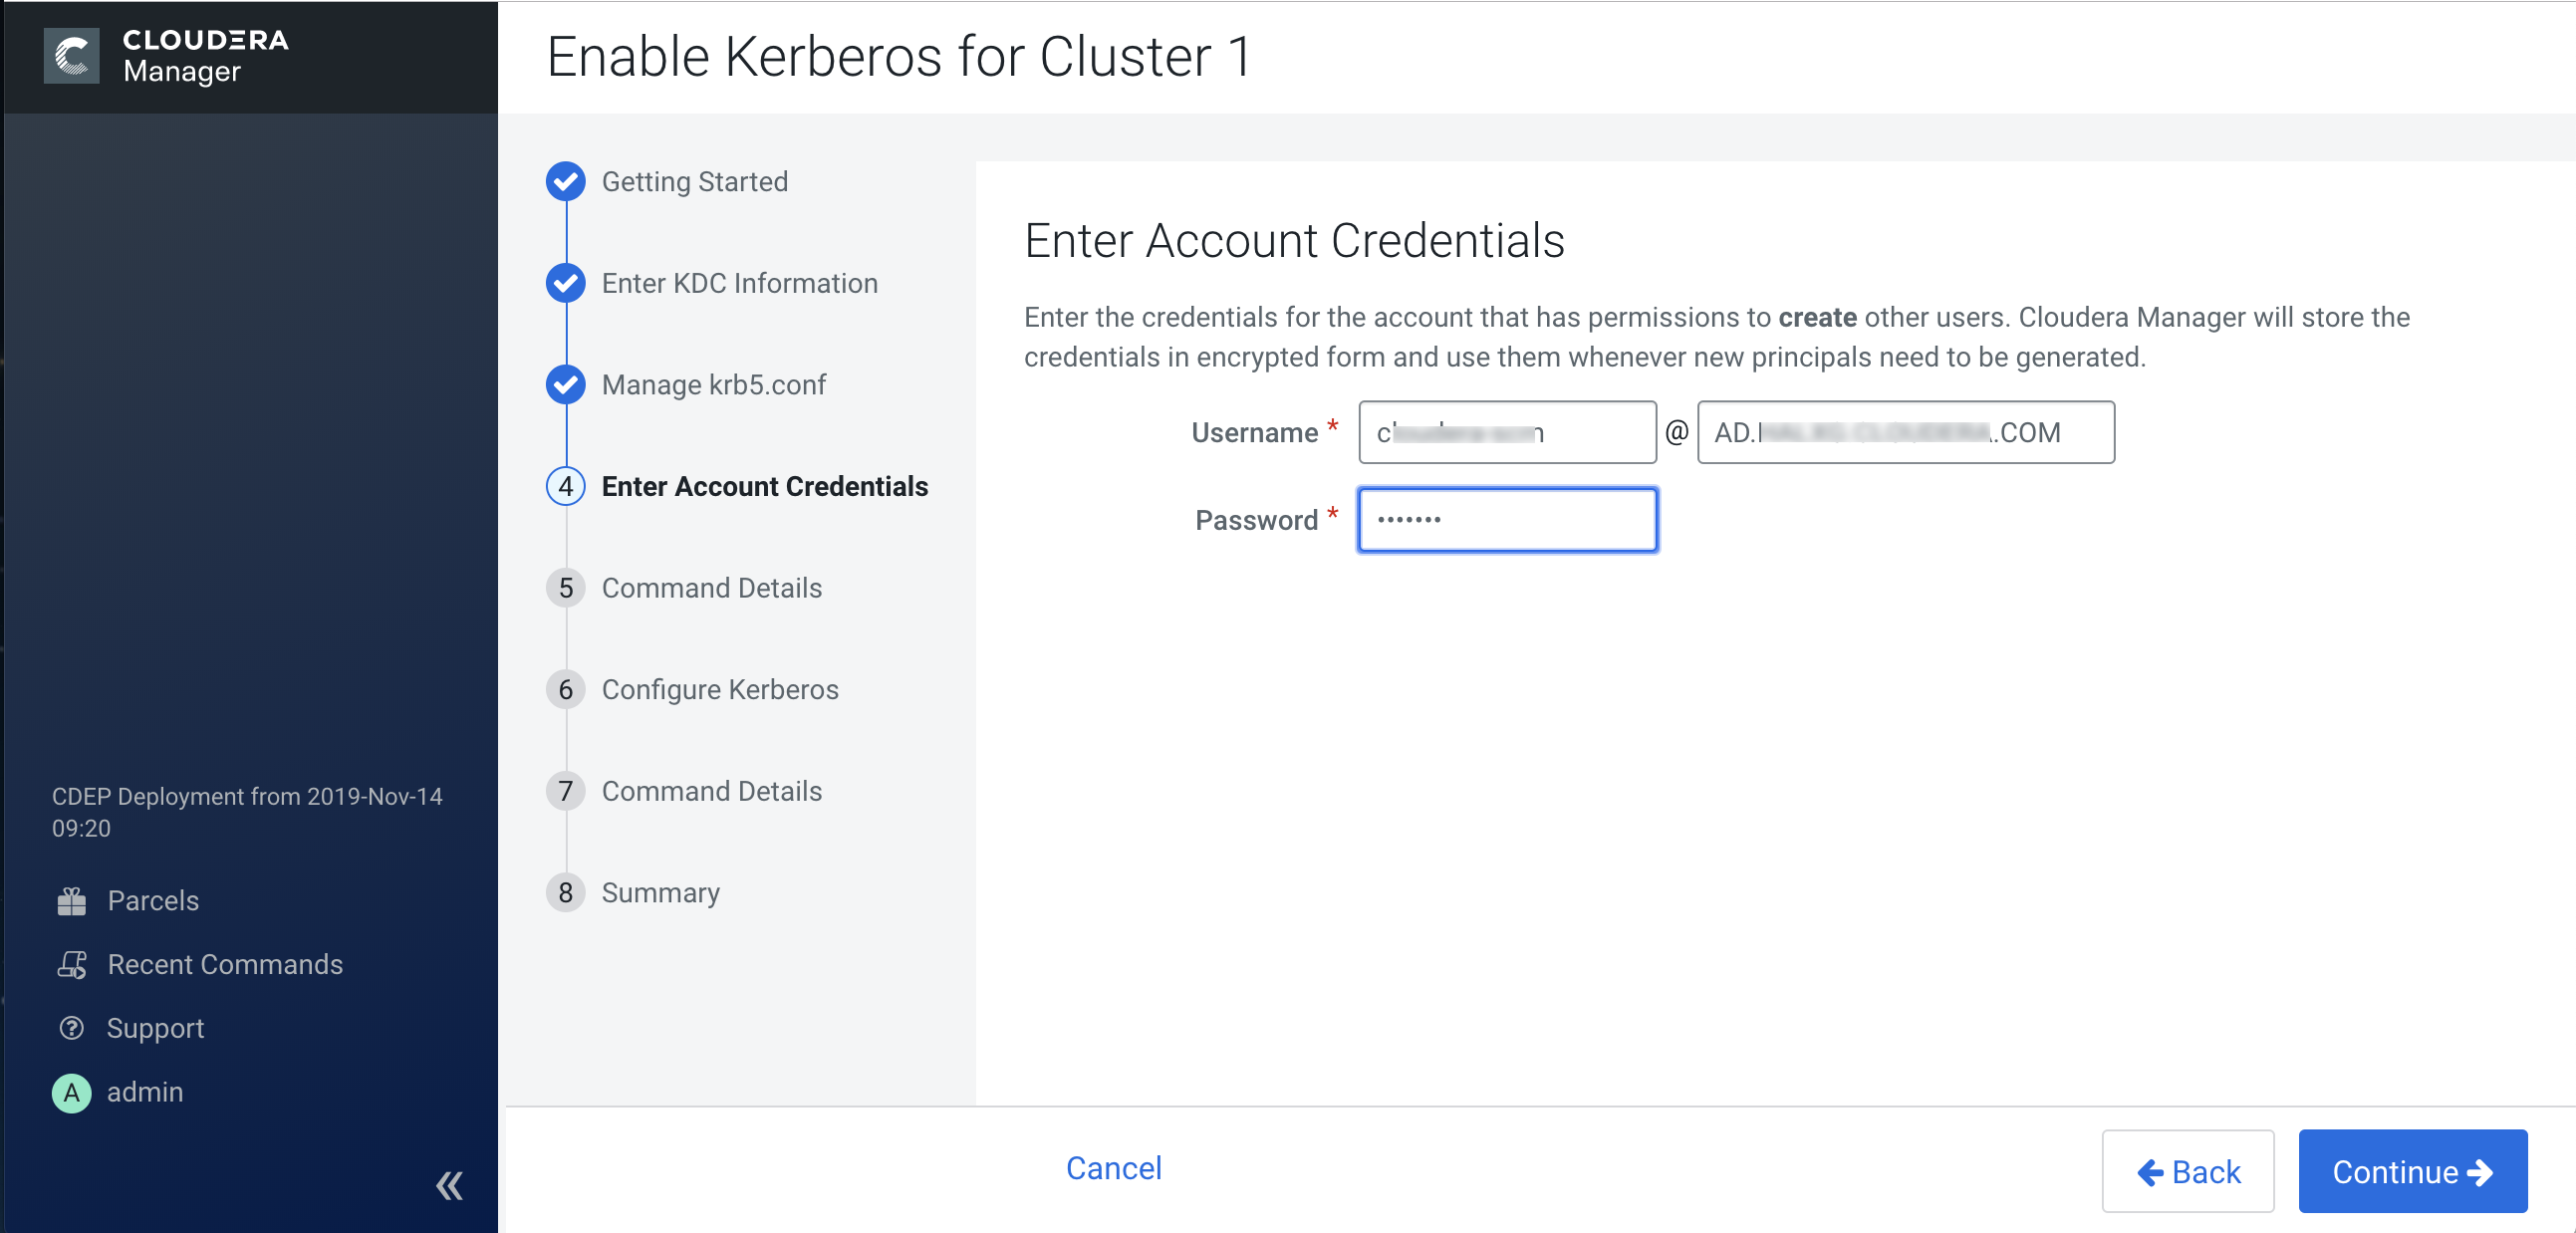
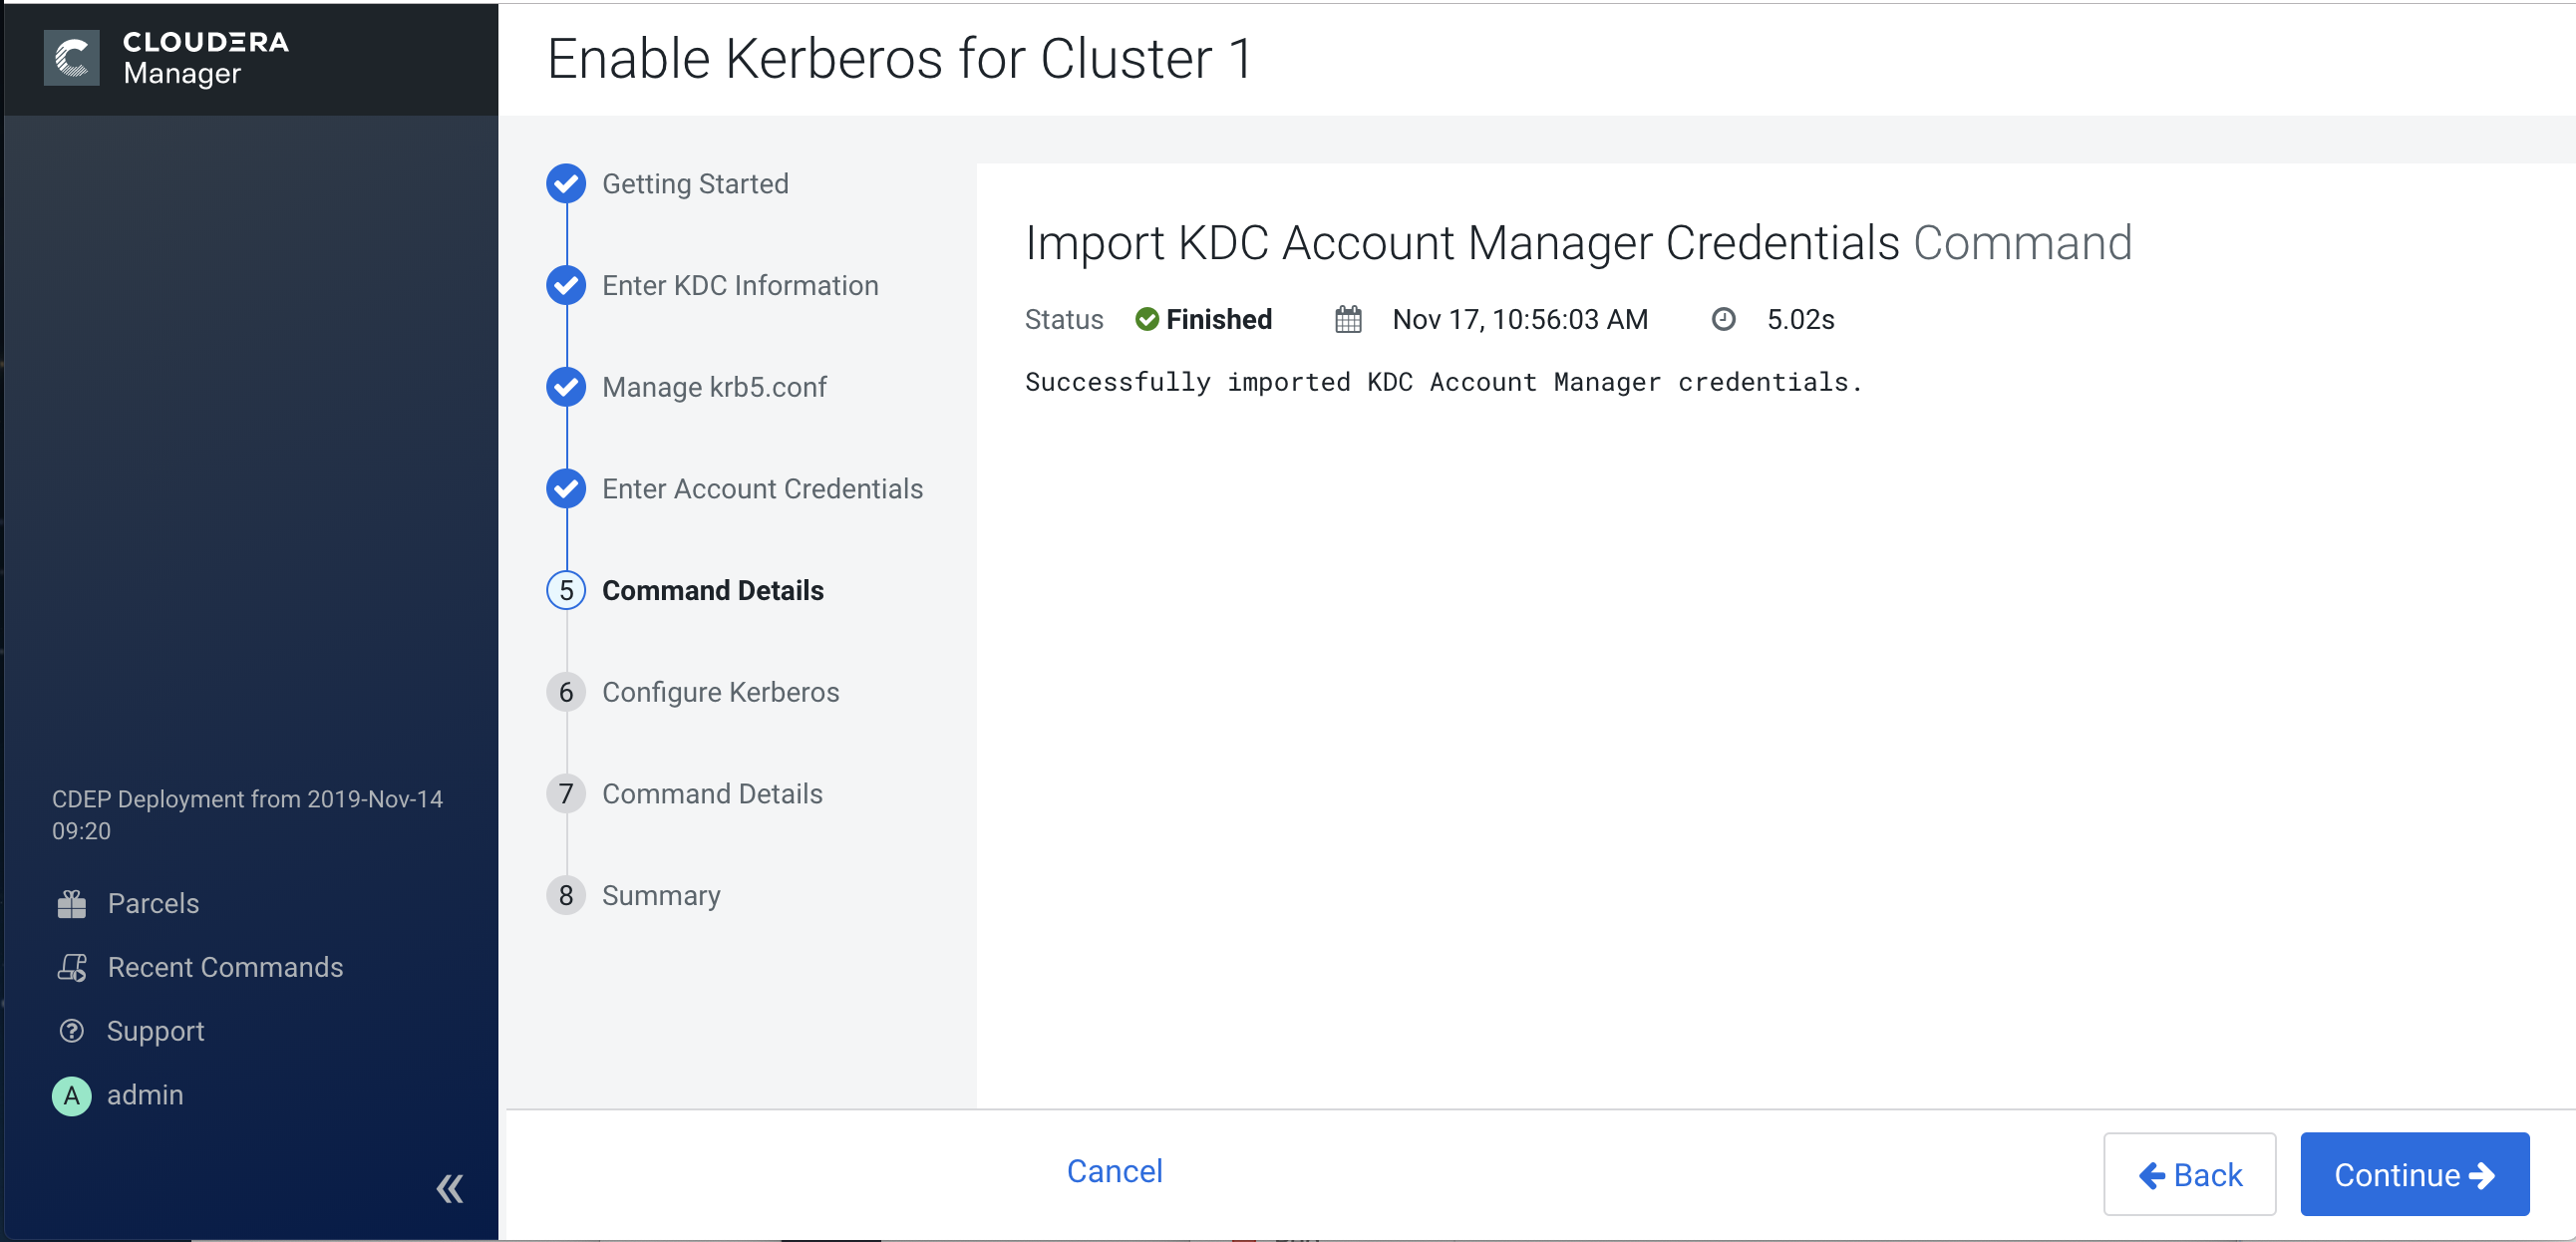
5. Command Details
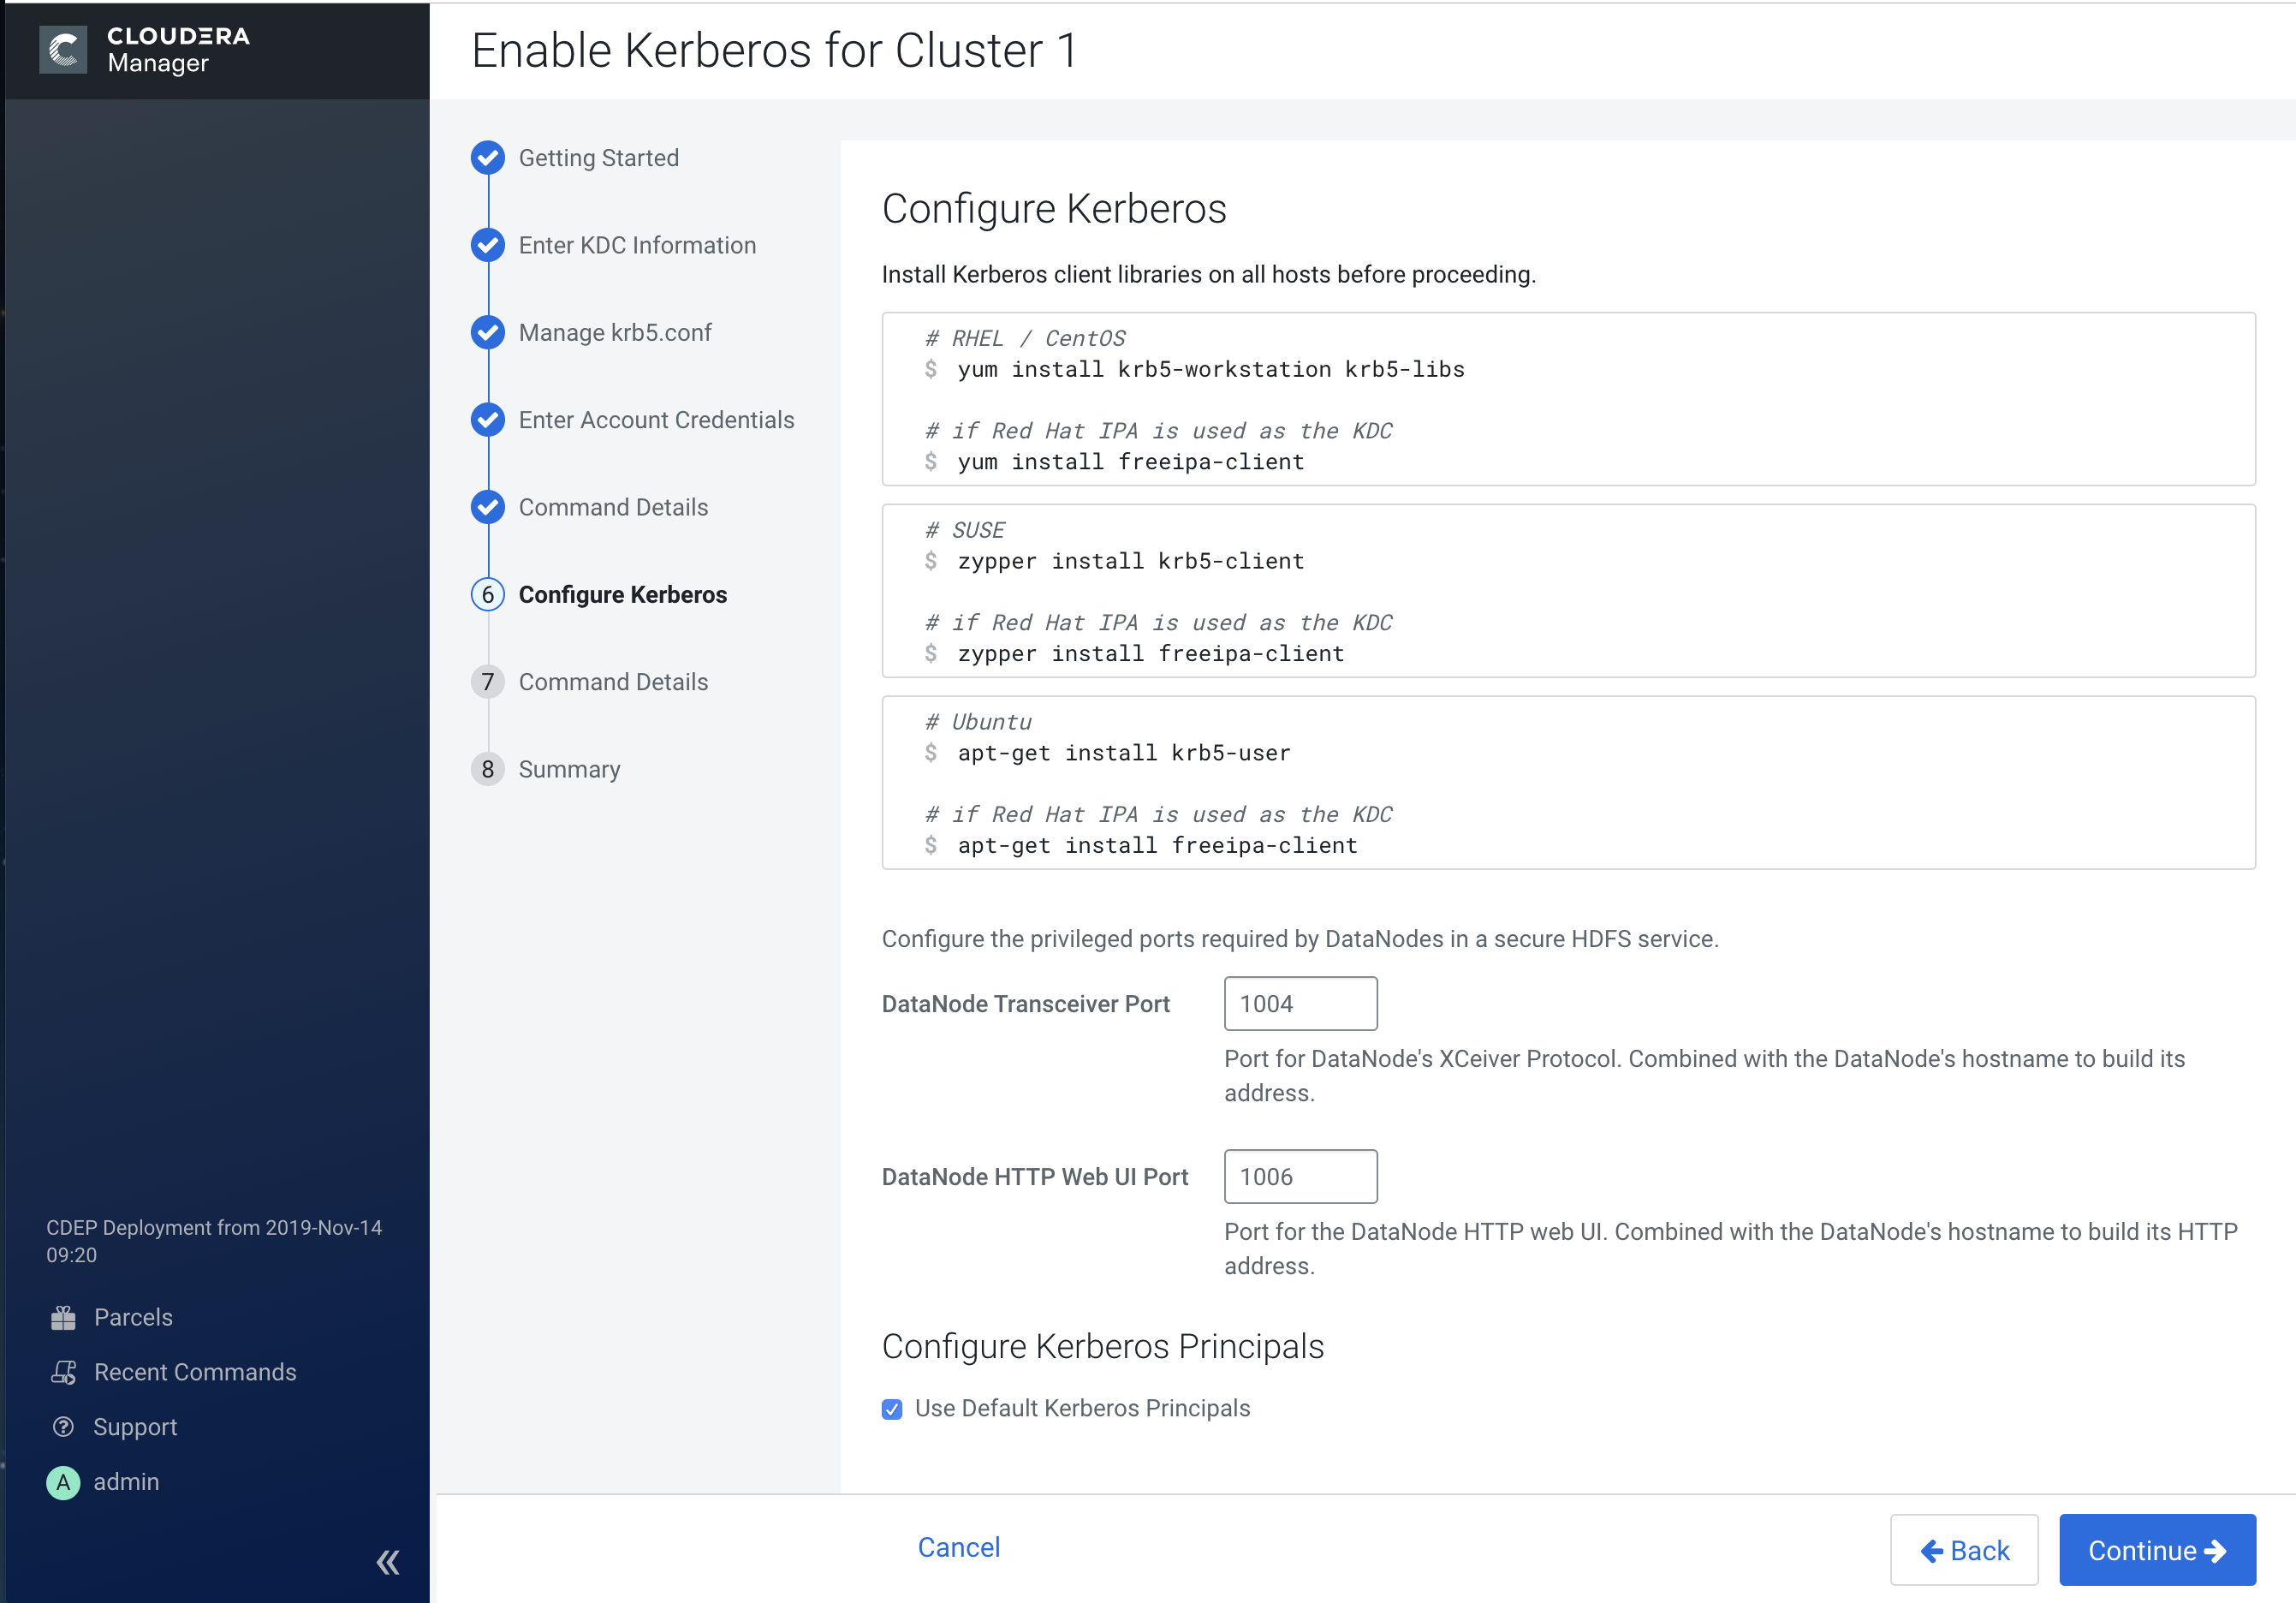
6. Configure Kerberos
-
If you have not already done so, run the provided commands on each cluster host to
install the Kerberos client libraries.
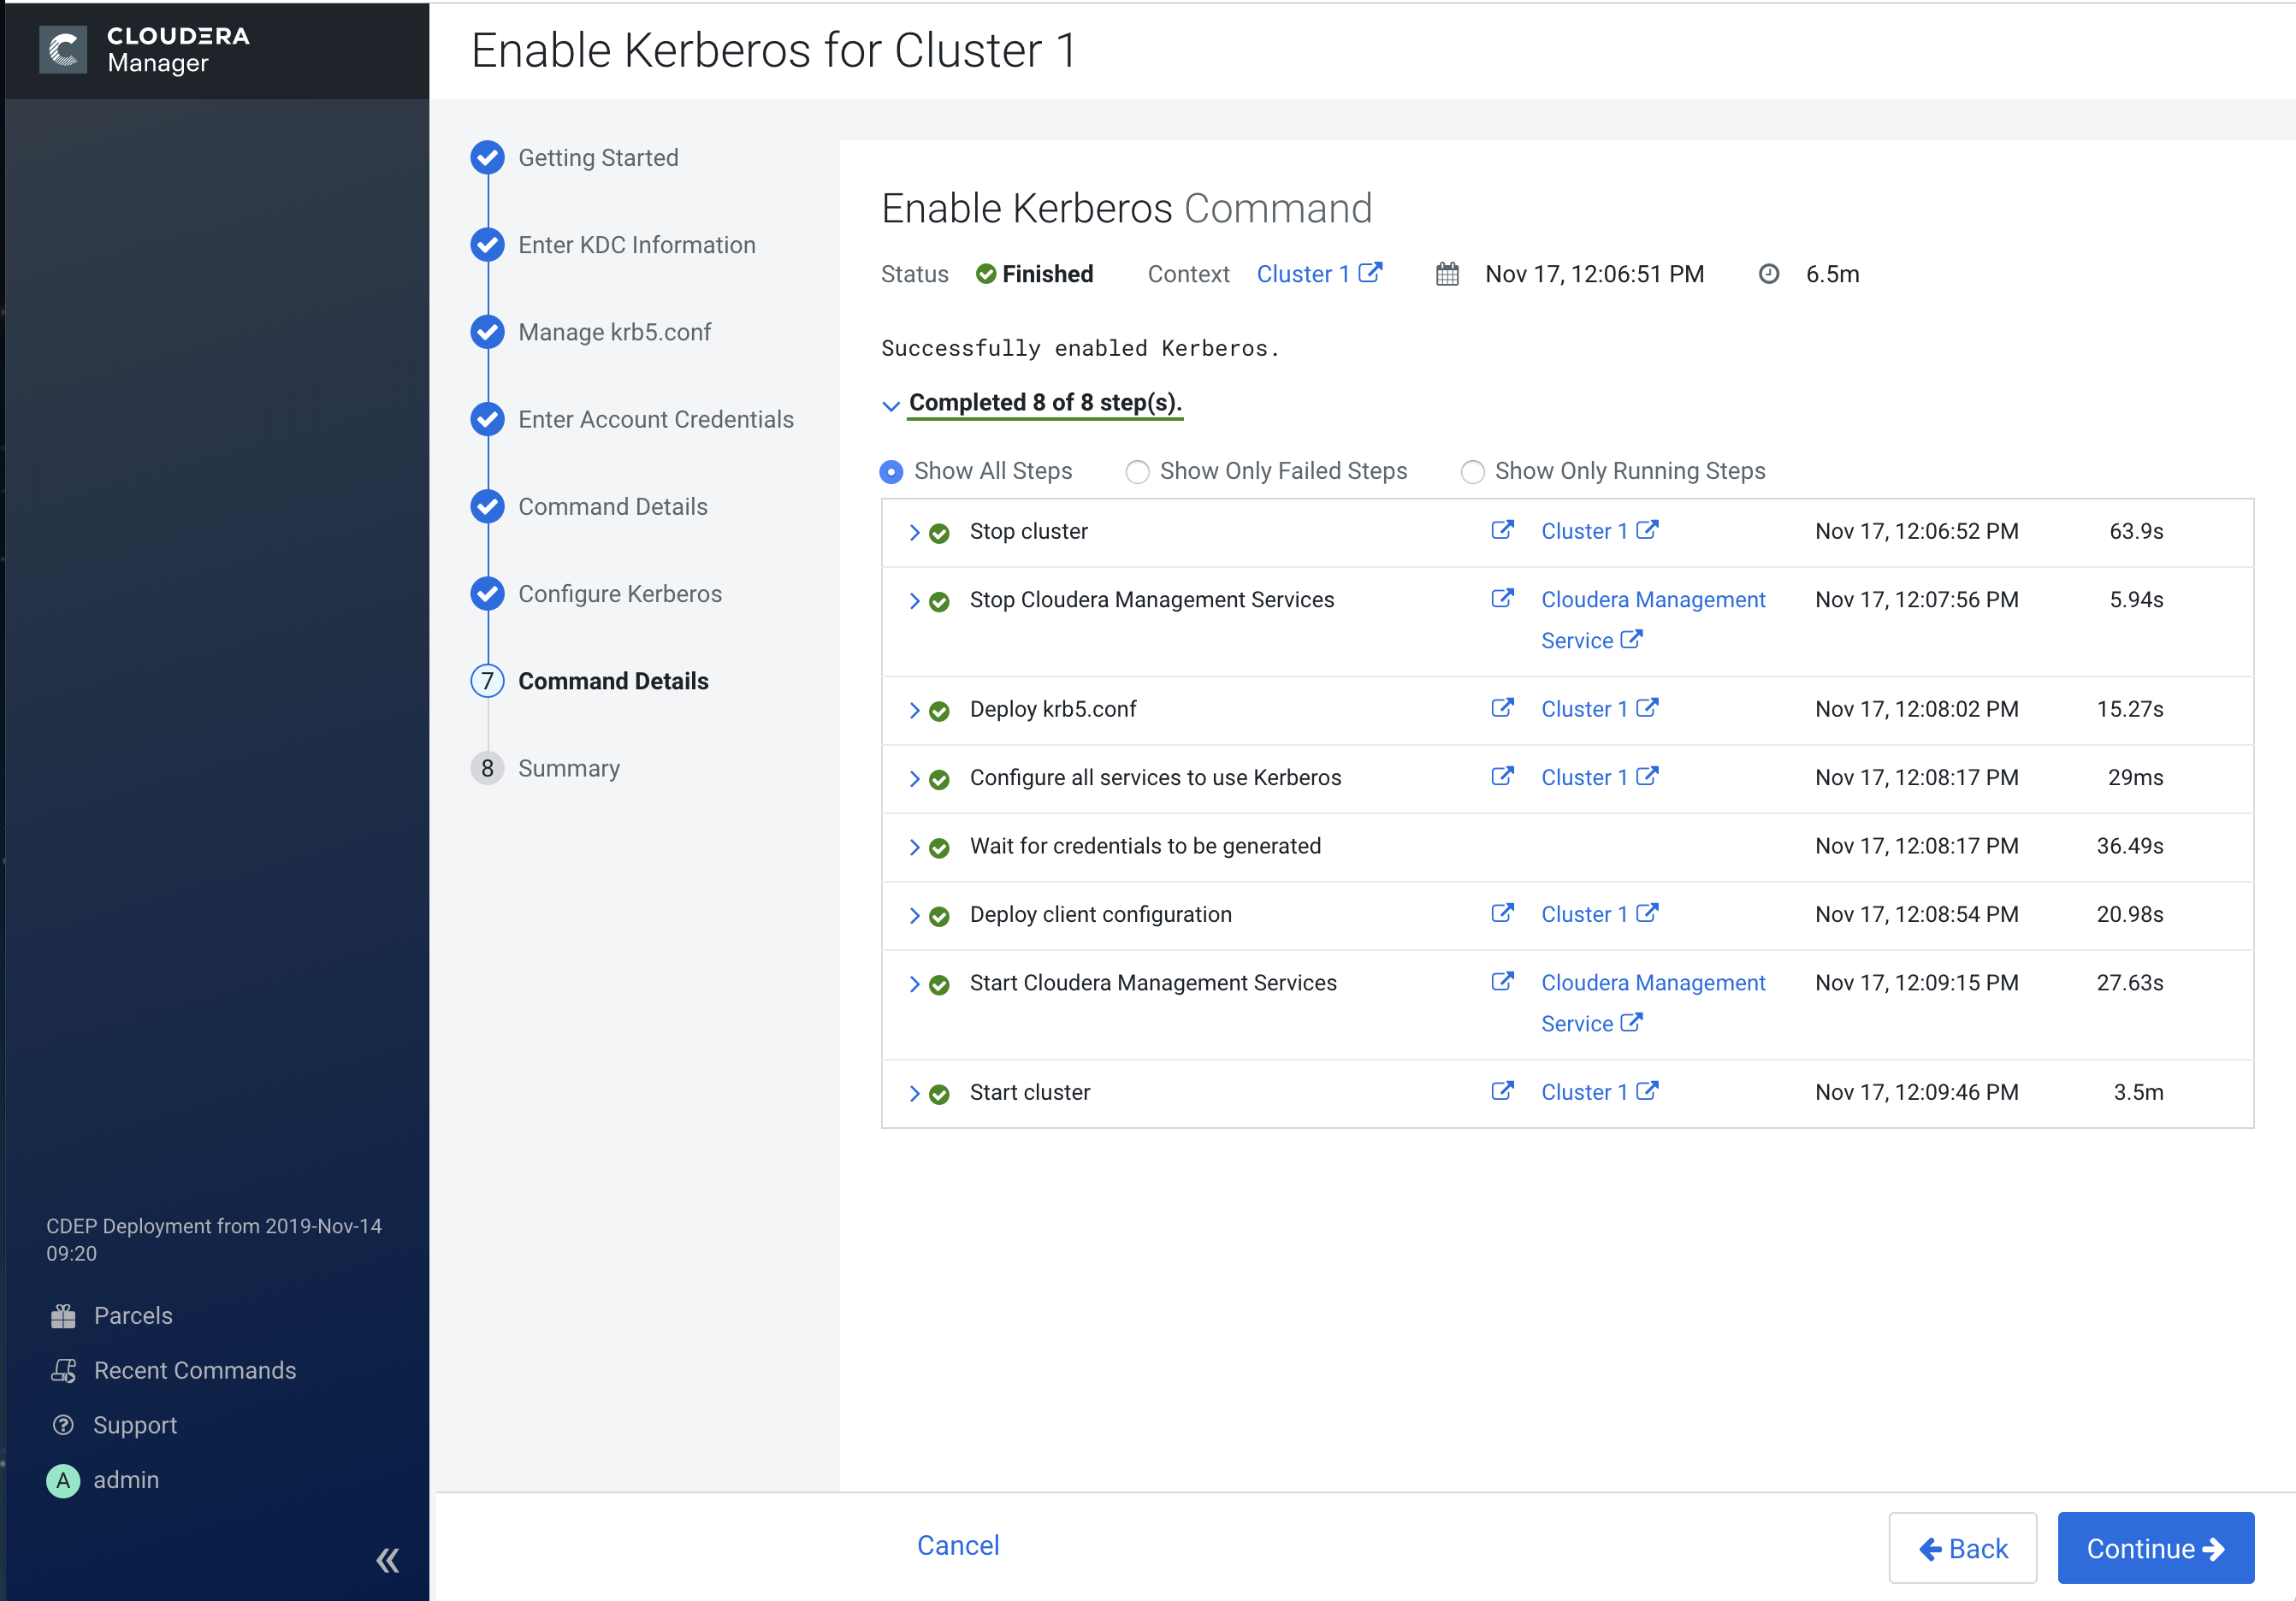
7. Command Details
If an error message appears, you can fix the error, then click Resume. In the following example, we select Administration > Settings > Kerberos, then enter an invalid file name in the Custom Kerberos Keytab Retrieval Script box.
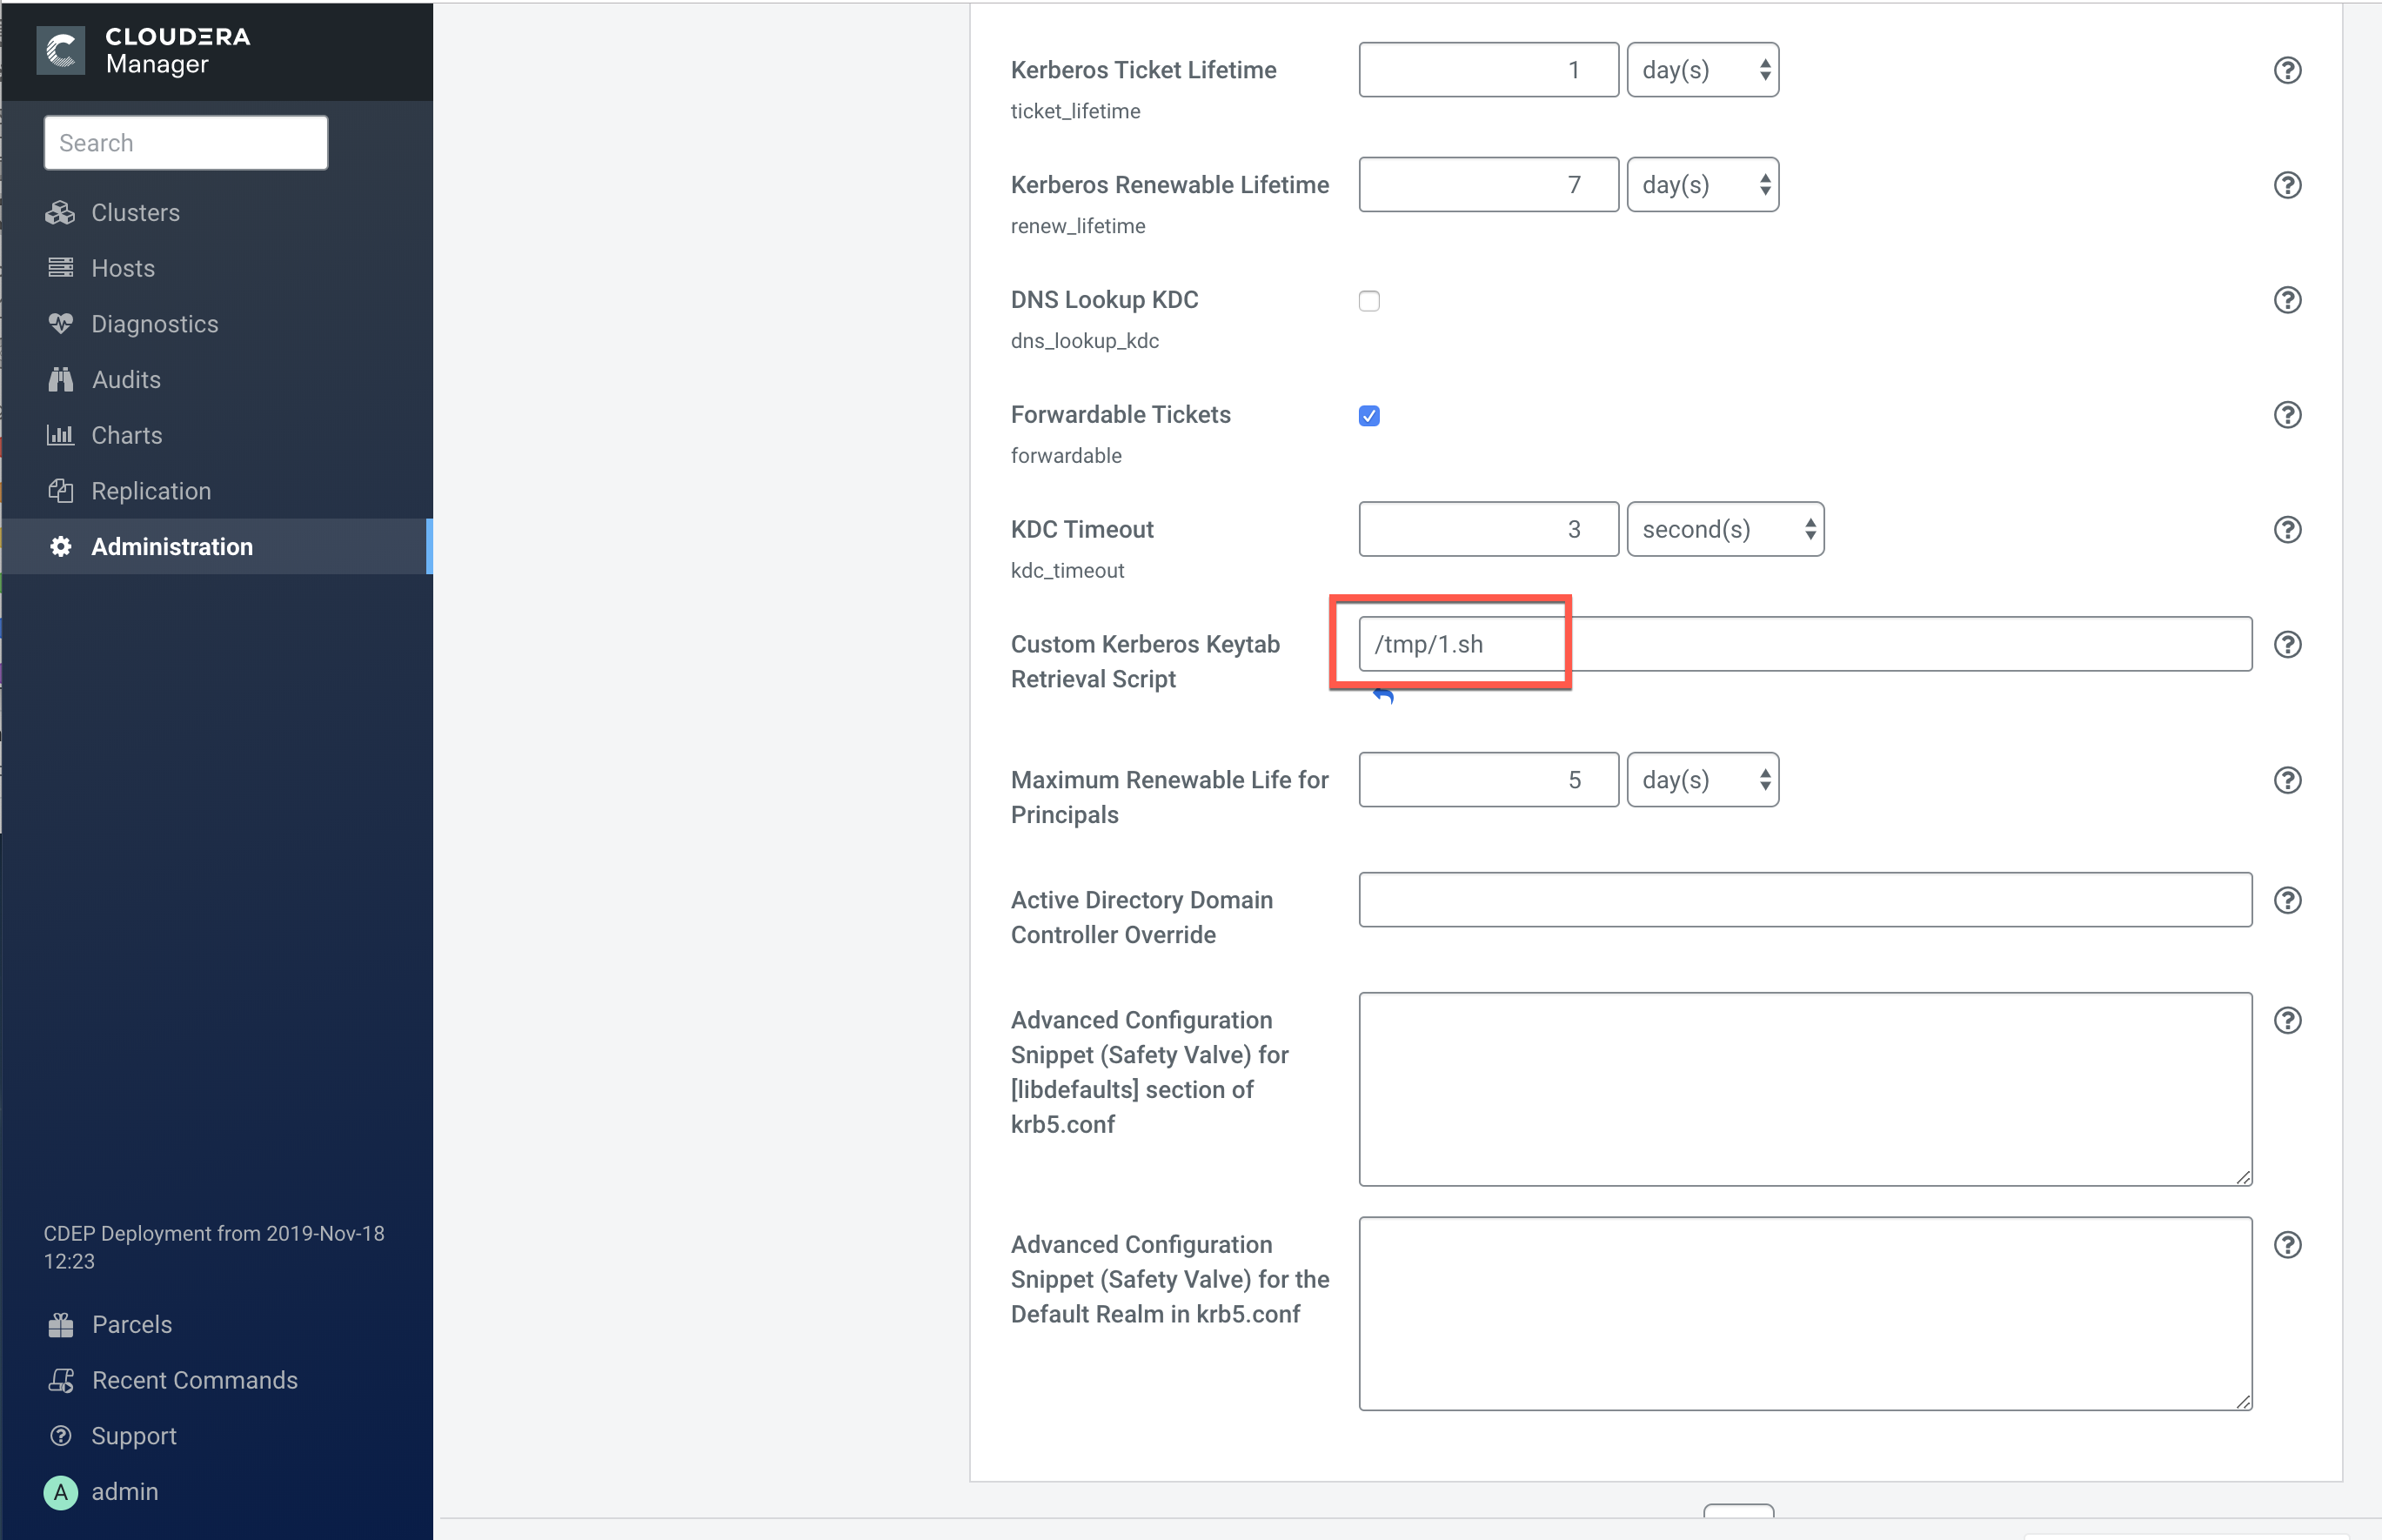
This causes a credential generation error. In this case we can remove the invalid script setting, then click Resume to resume the Enable Kerberos command.

After the command finishes running, click Continue to proceed.
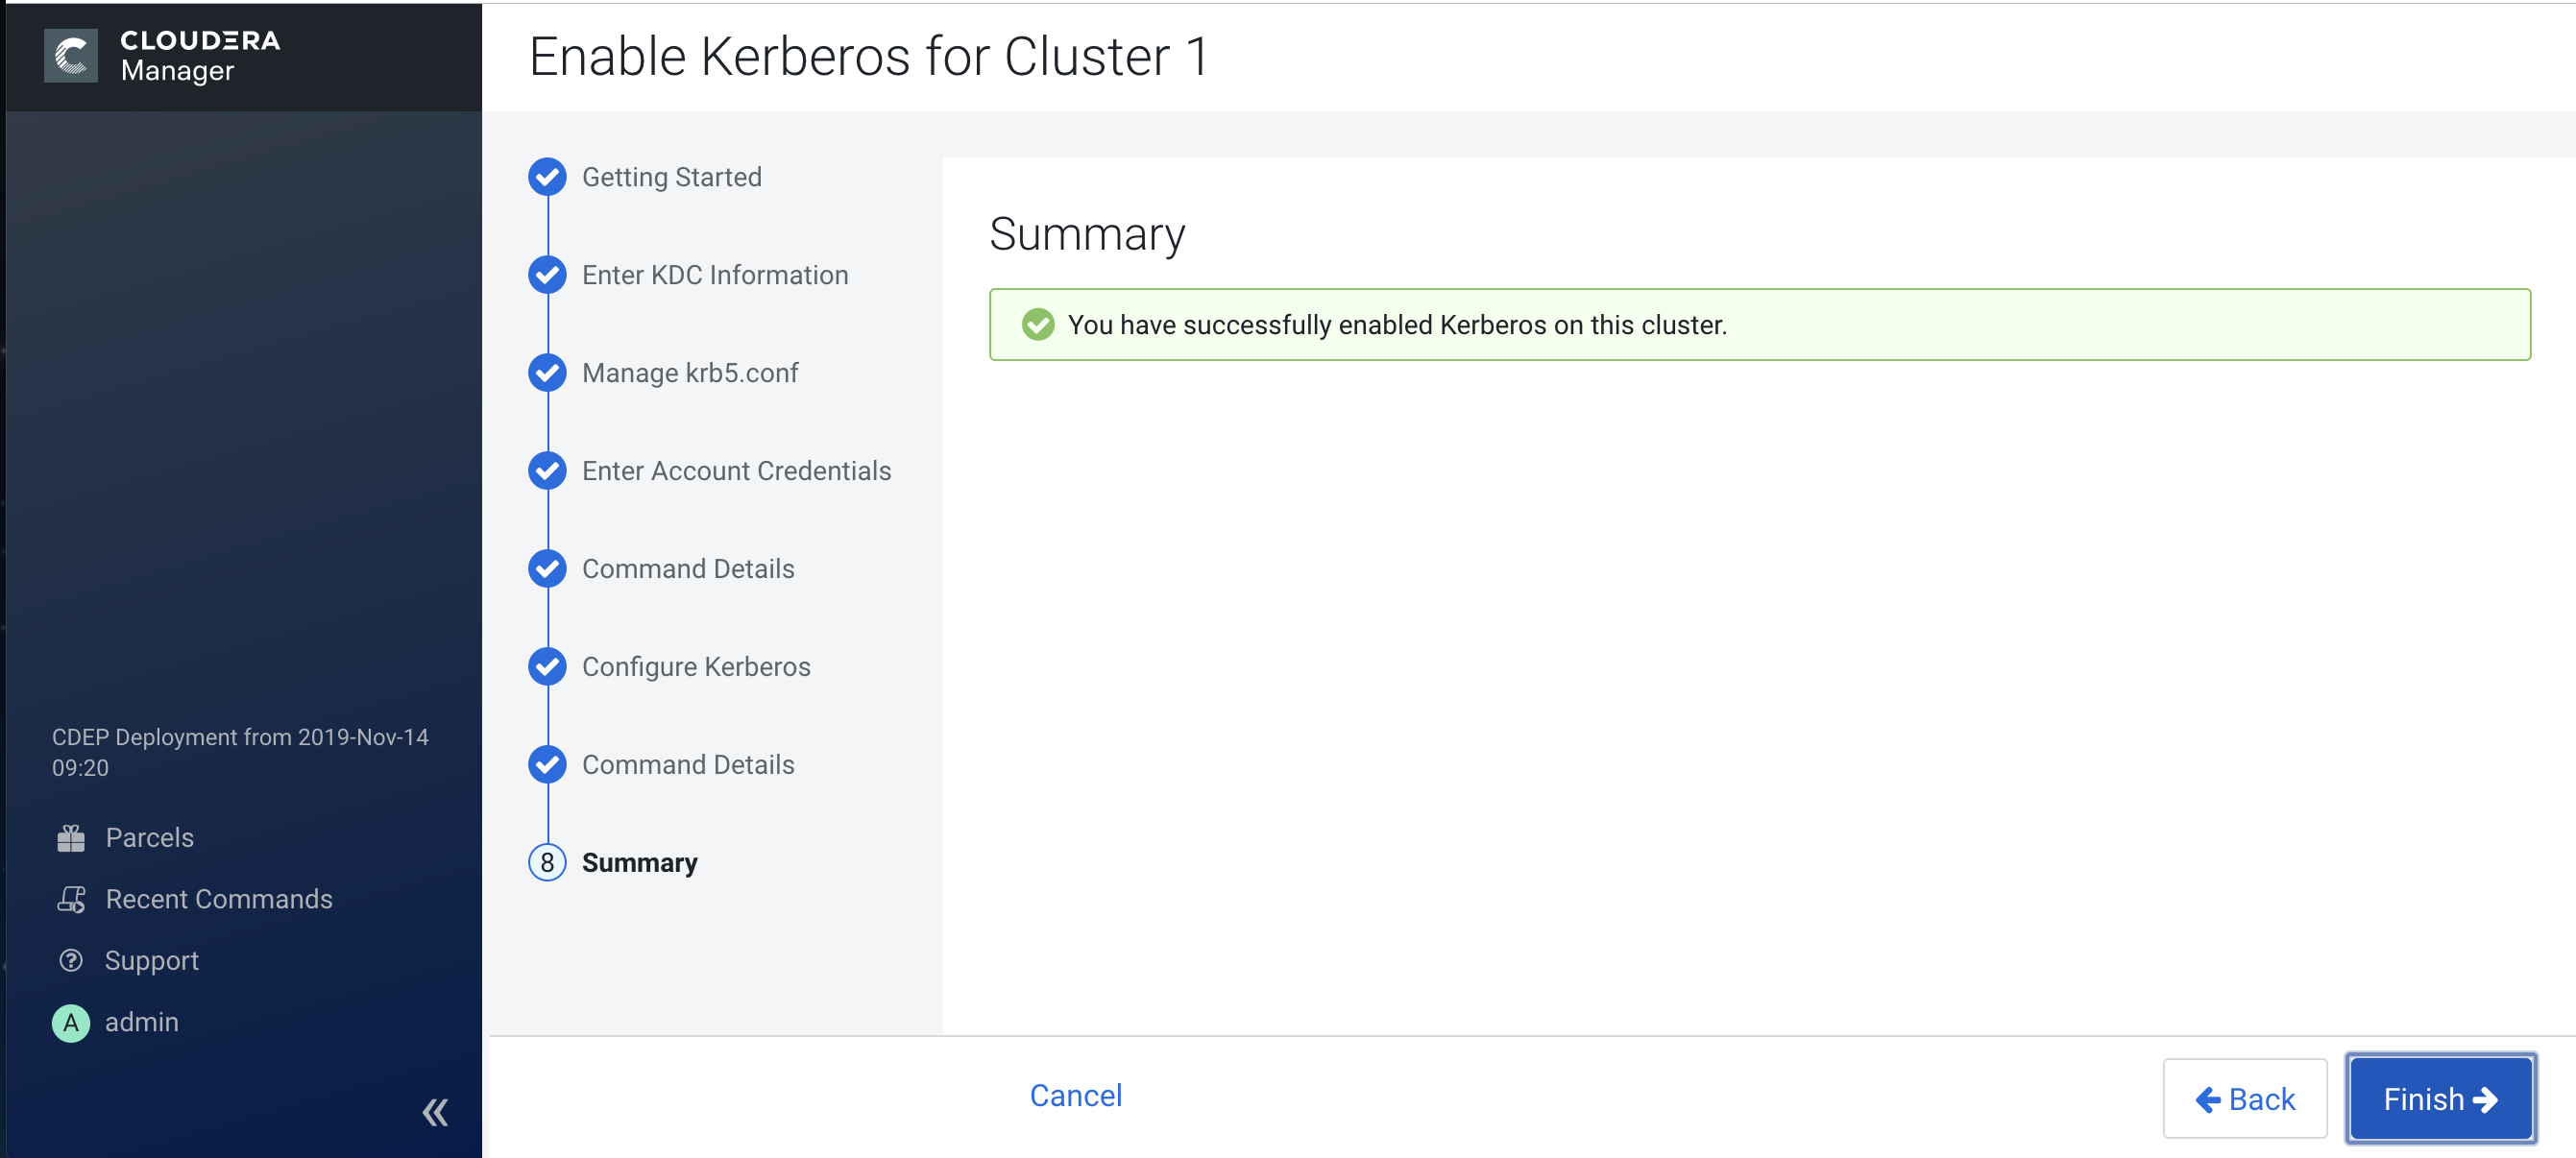
8. Summary
The final step of the wizard lists the cluster(s) for which Kerberos has been successfully enabled. Click Finish to return to the Cloudera Manager Admin Console home page.
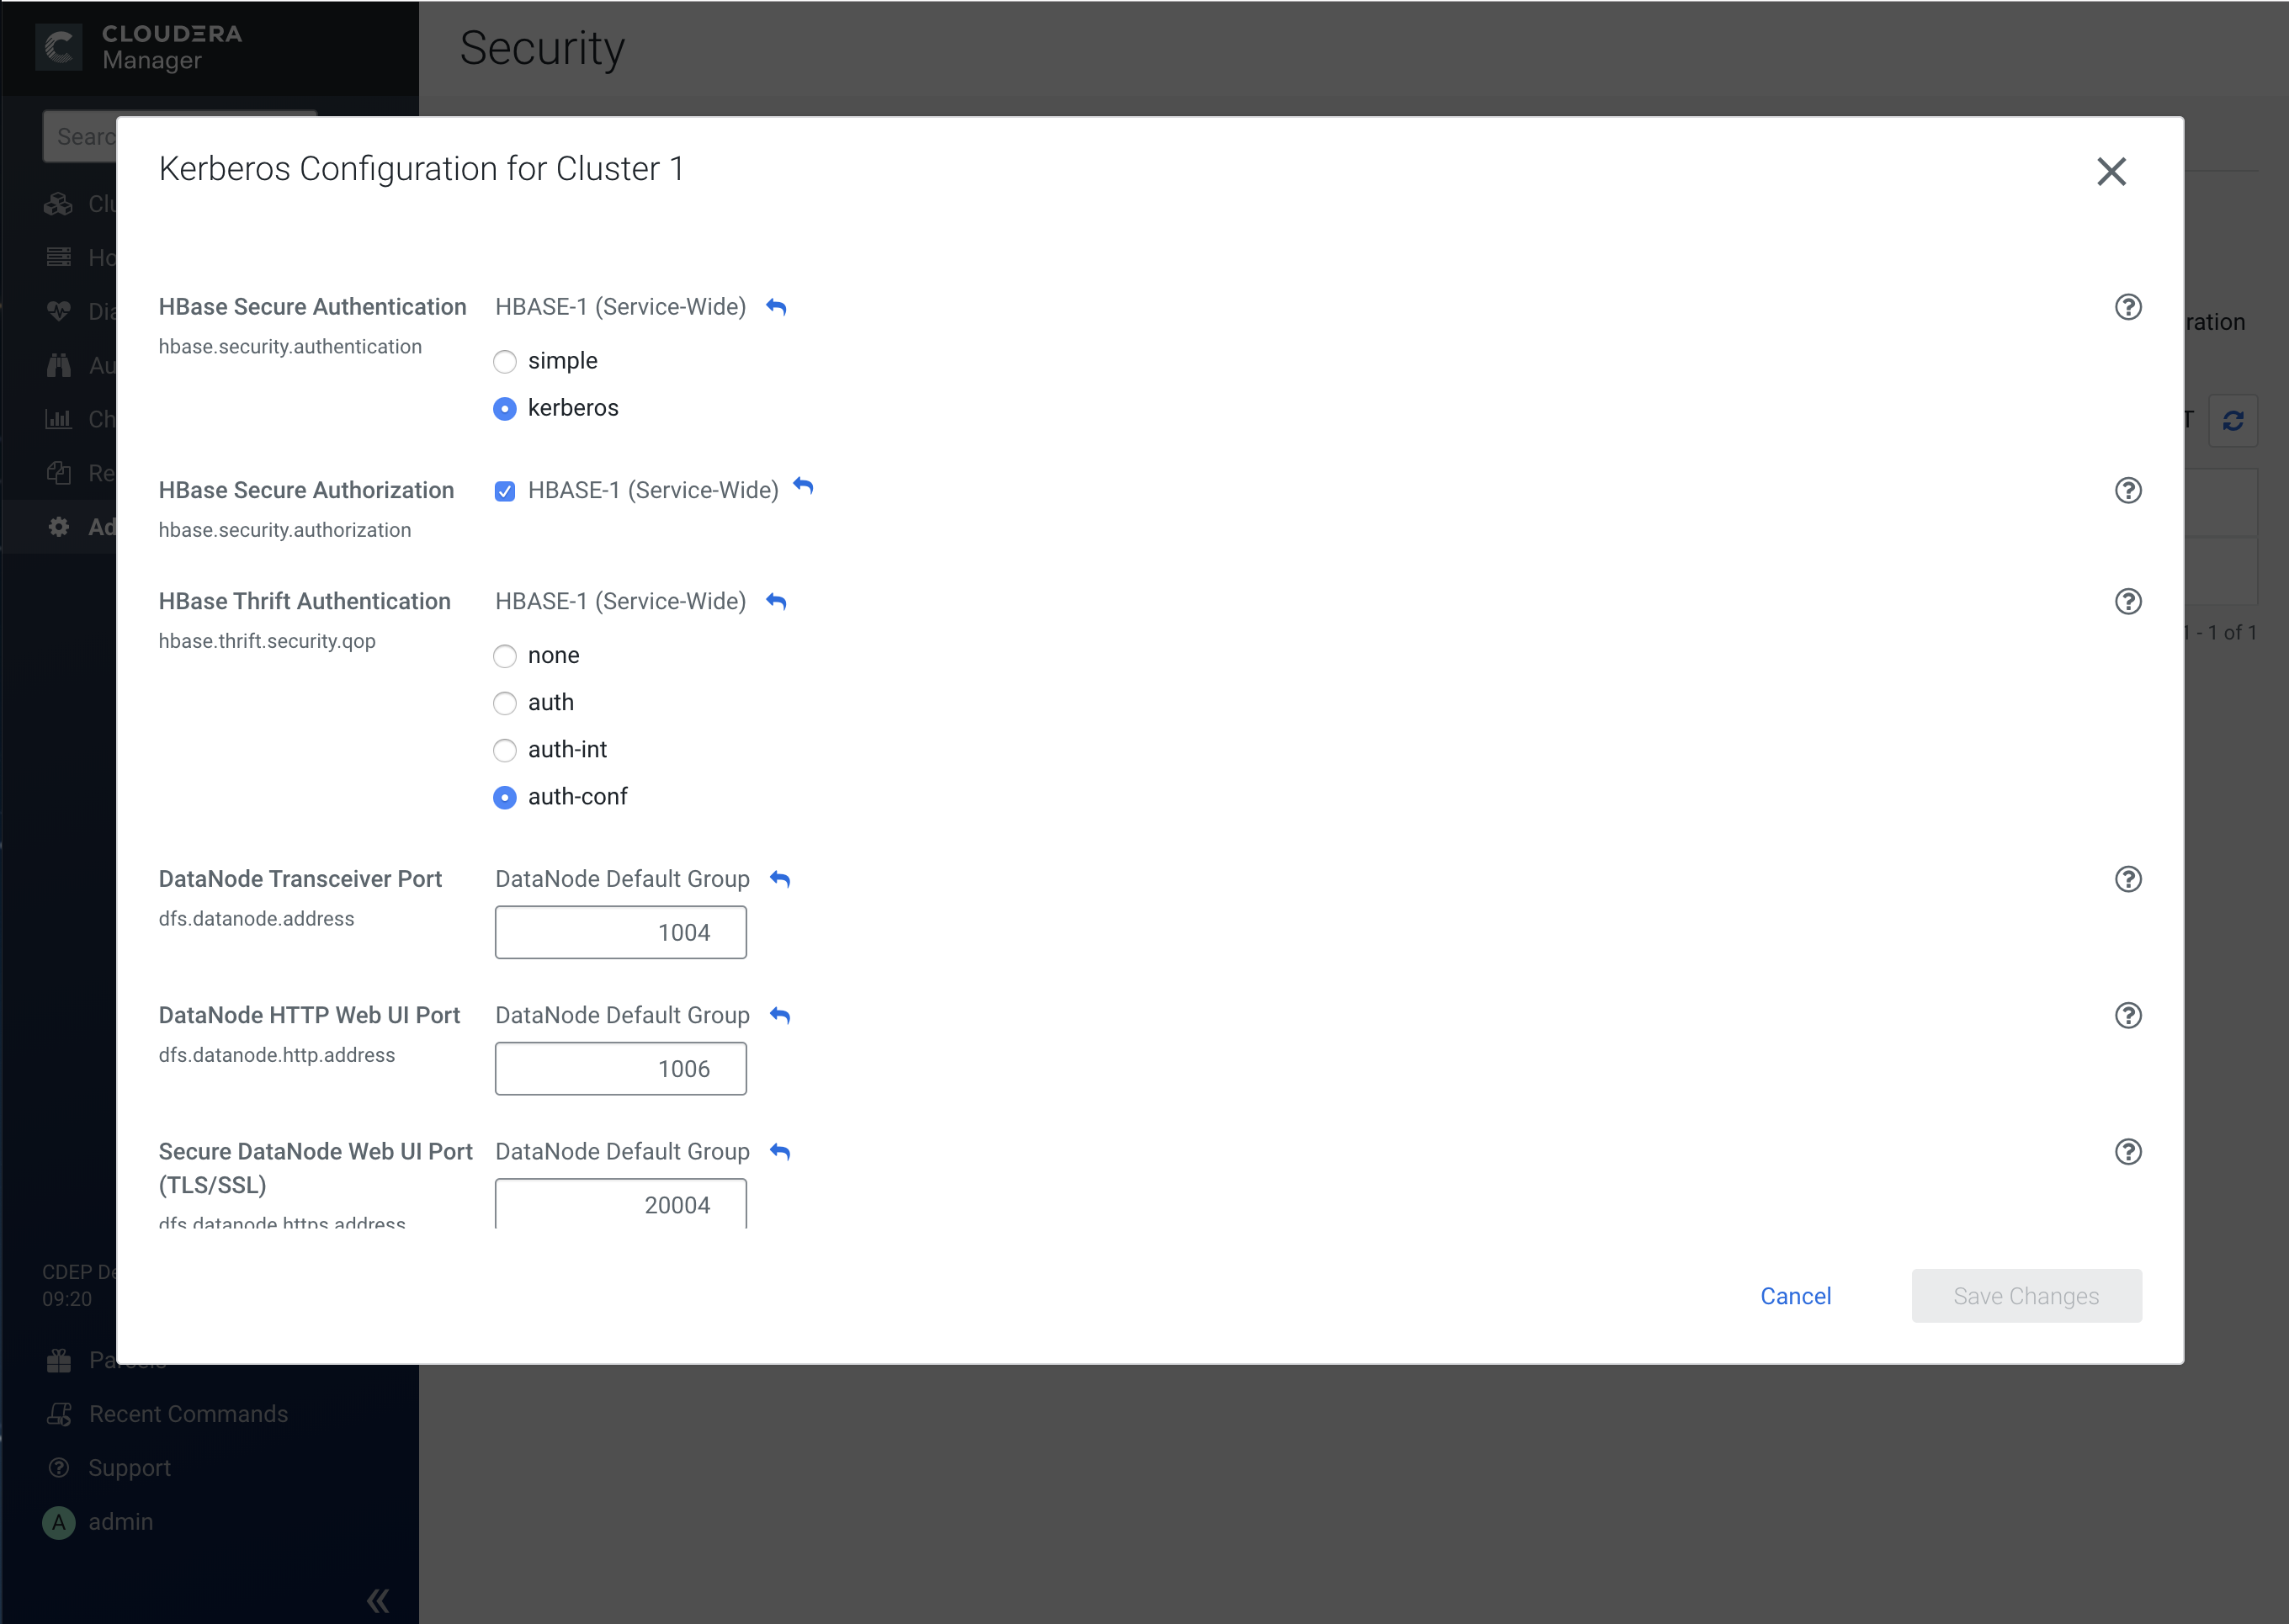
To view details about Kerberos-enabled services, select Administration > Security, then click the applicable row in the Kerberos column.
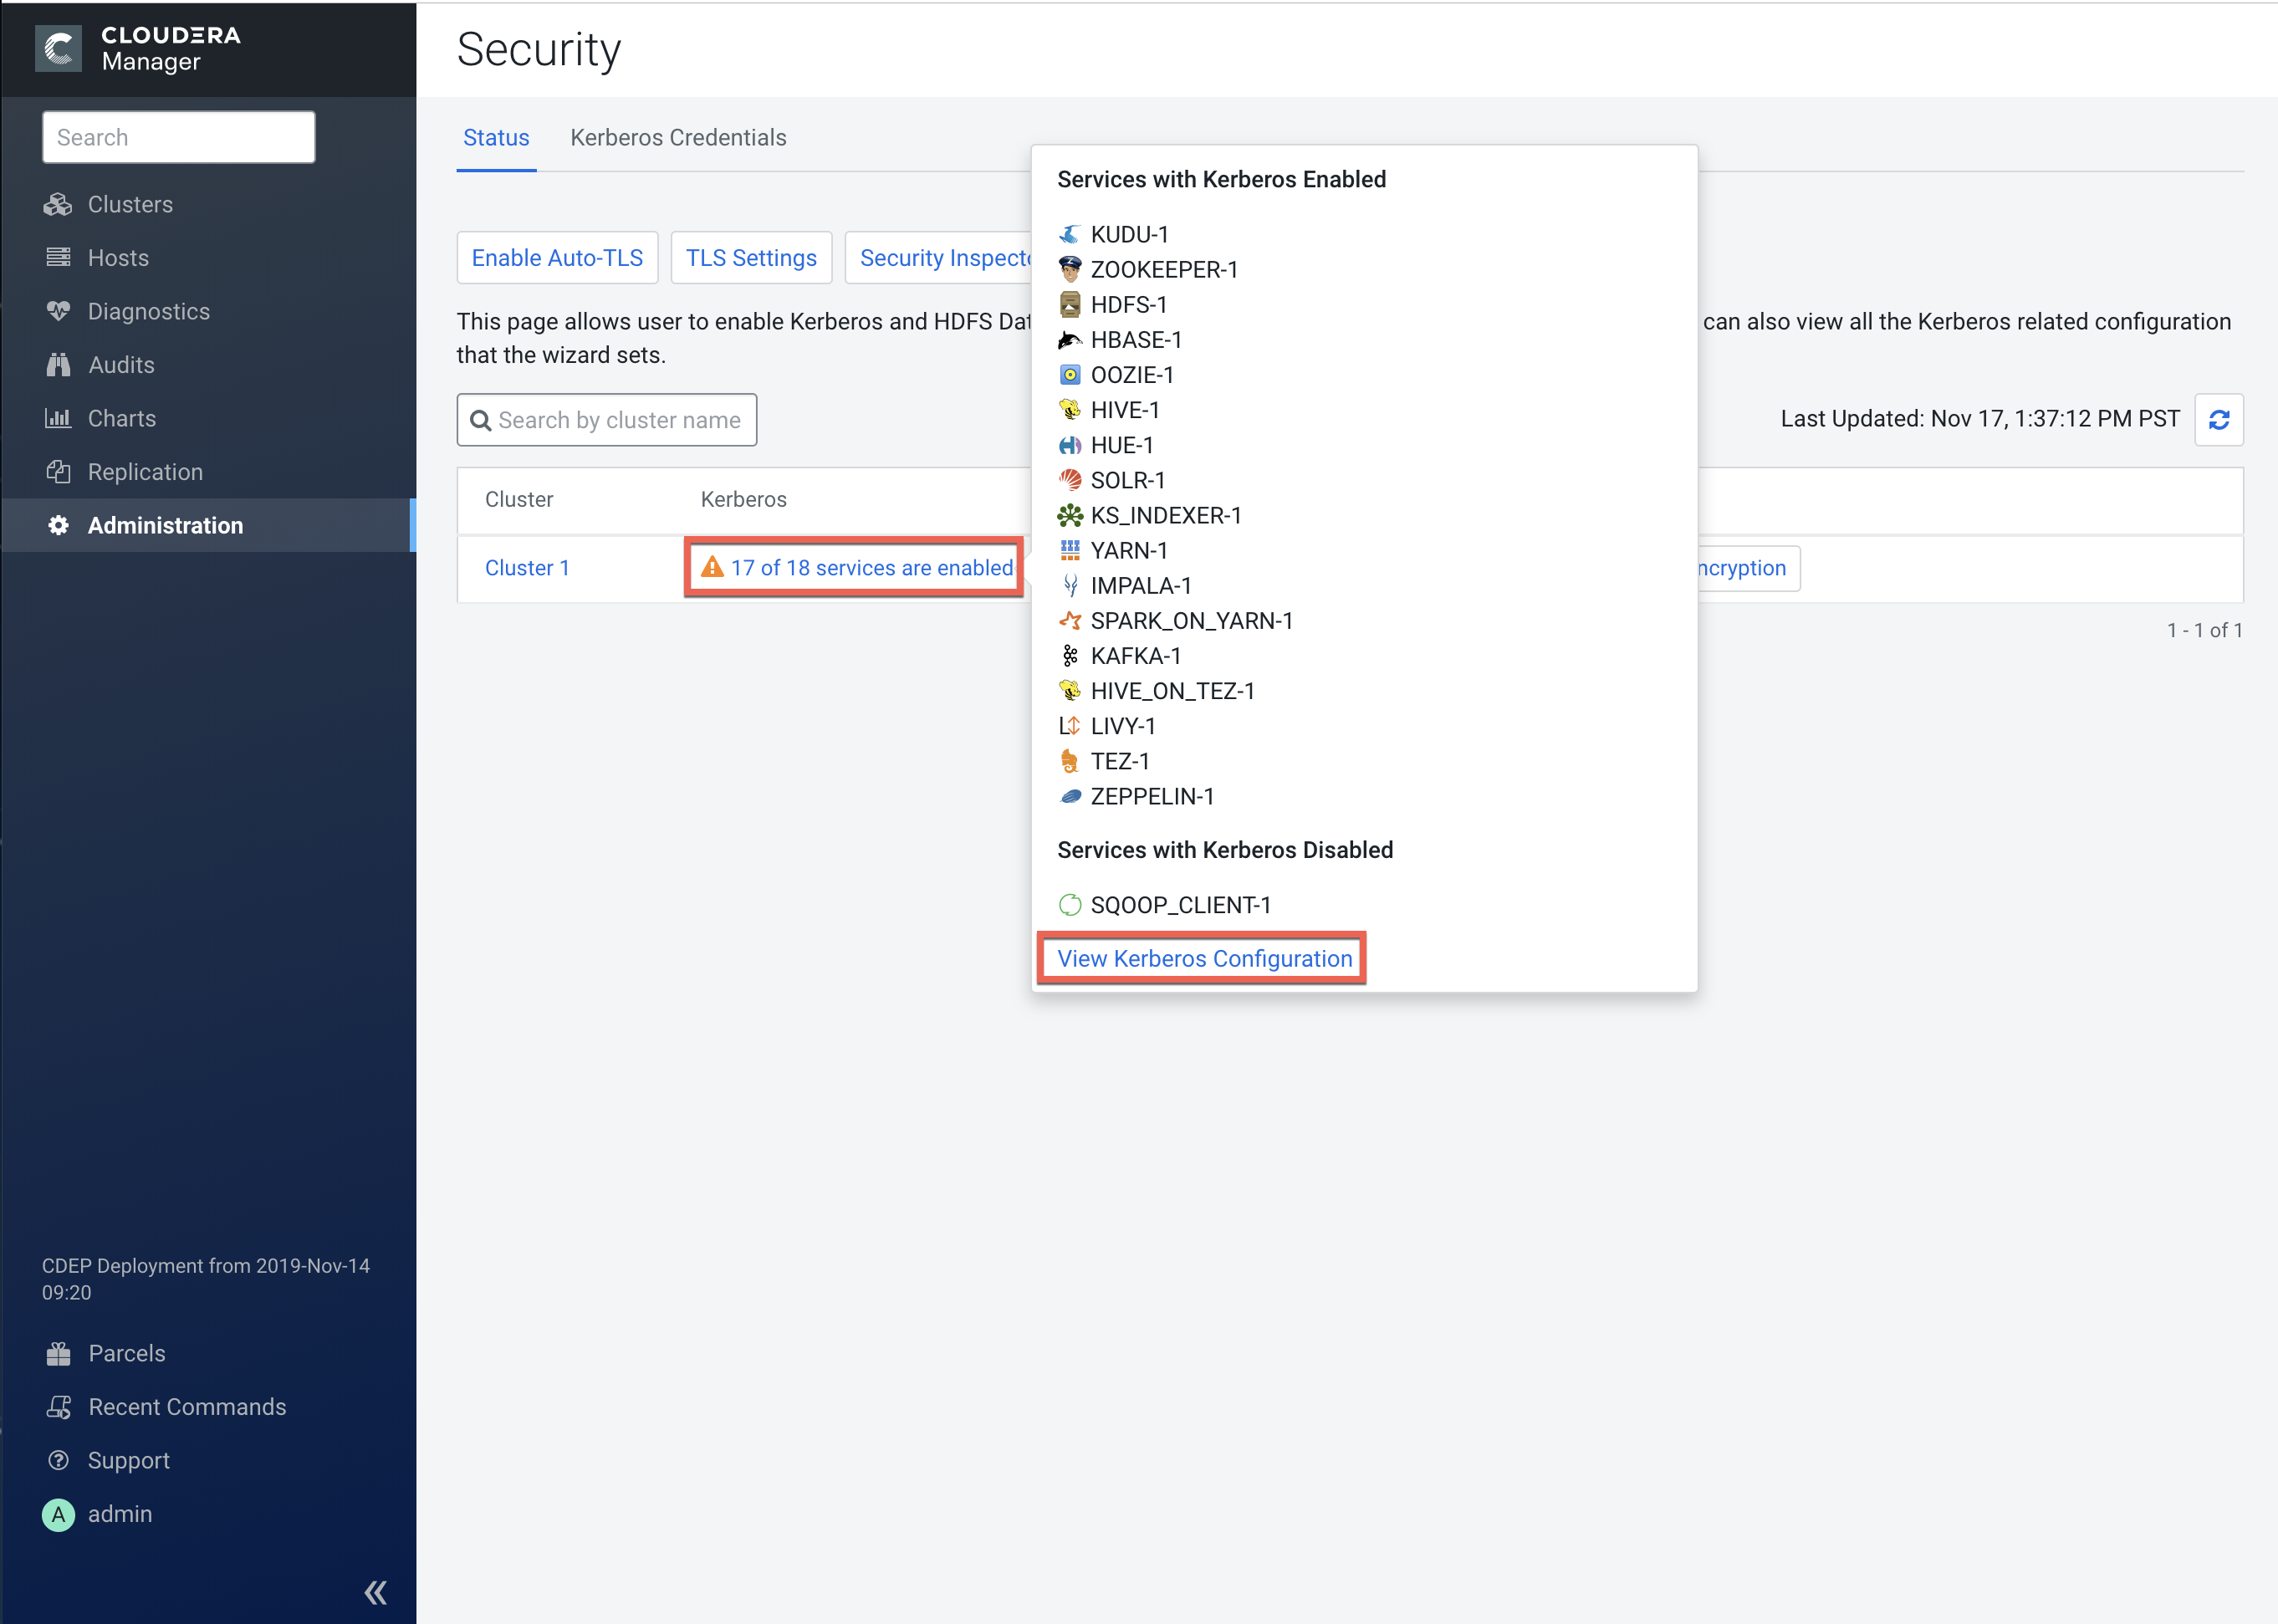
Click View Kerberos Configuration to view and edit configuration details for each service. Click Save Changes to save any configuration updates.