Installing Ranger KMS
Use these steps to install Ranger KMS with its associated keystore database.
- Apache Ranger must be installed and running.
- Ranger KMS requires a supported database. This should be a separate database than the one used for Ranger. For more information, see Configuring a database for Ranger or Ranger KMS.
- TLS/SSL should be enabled.
-
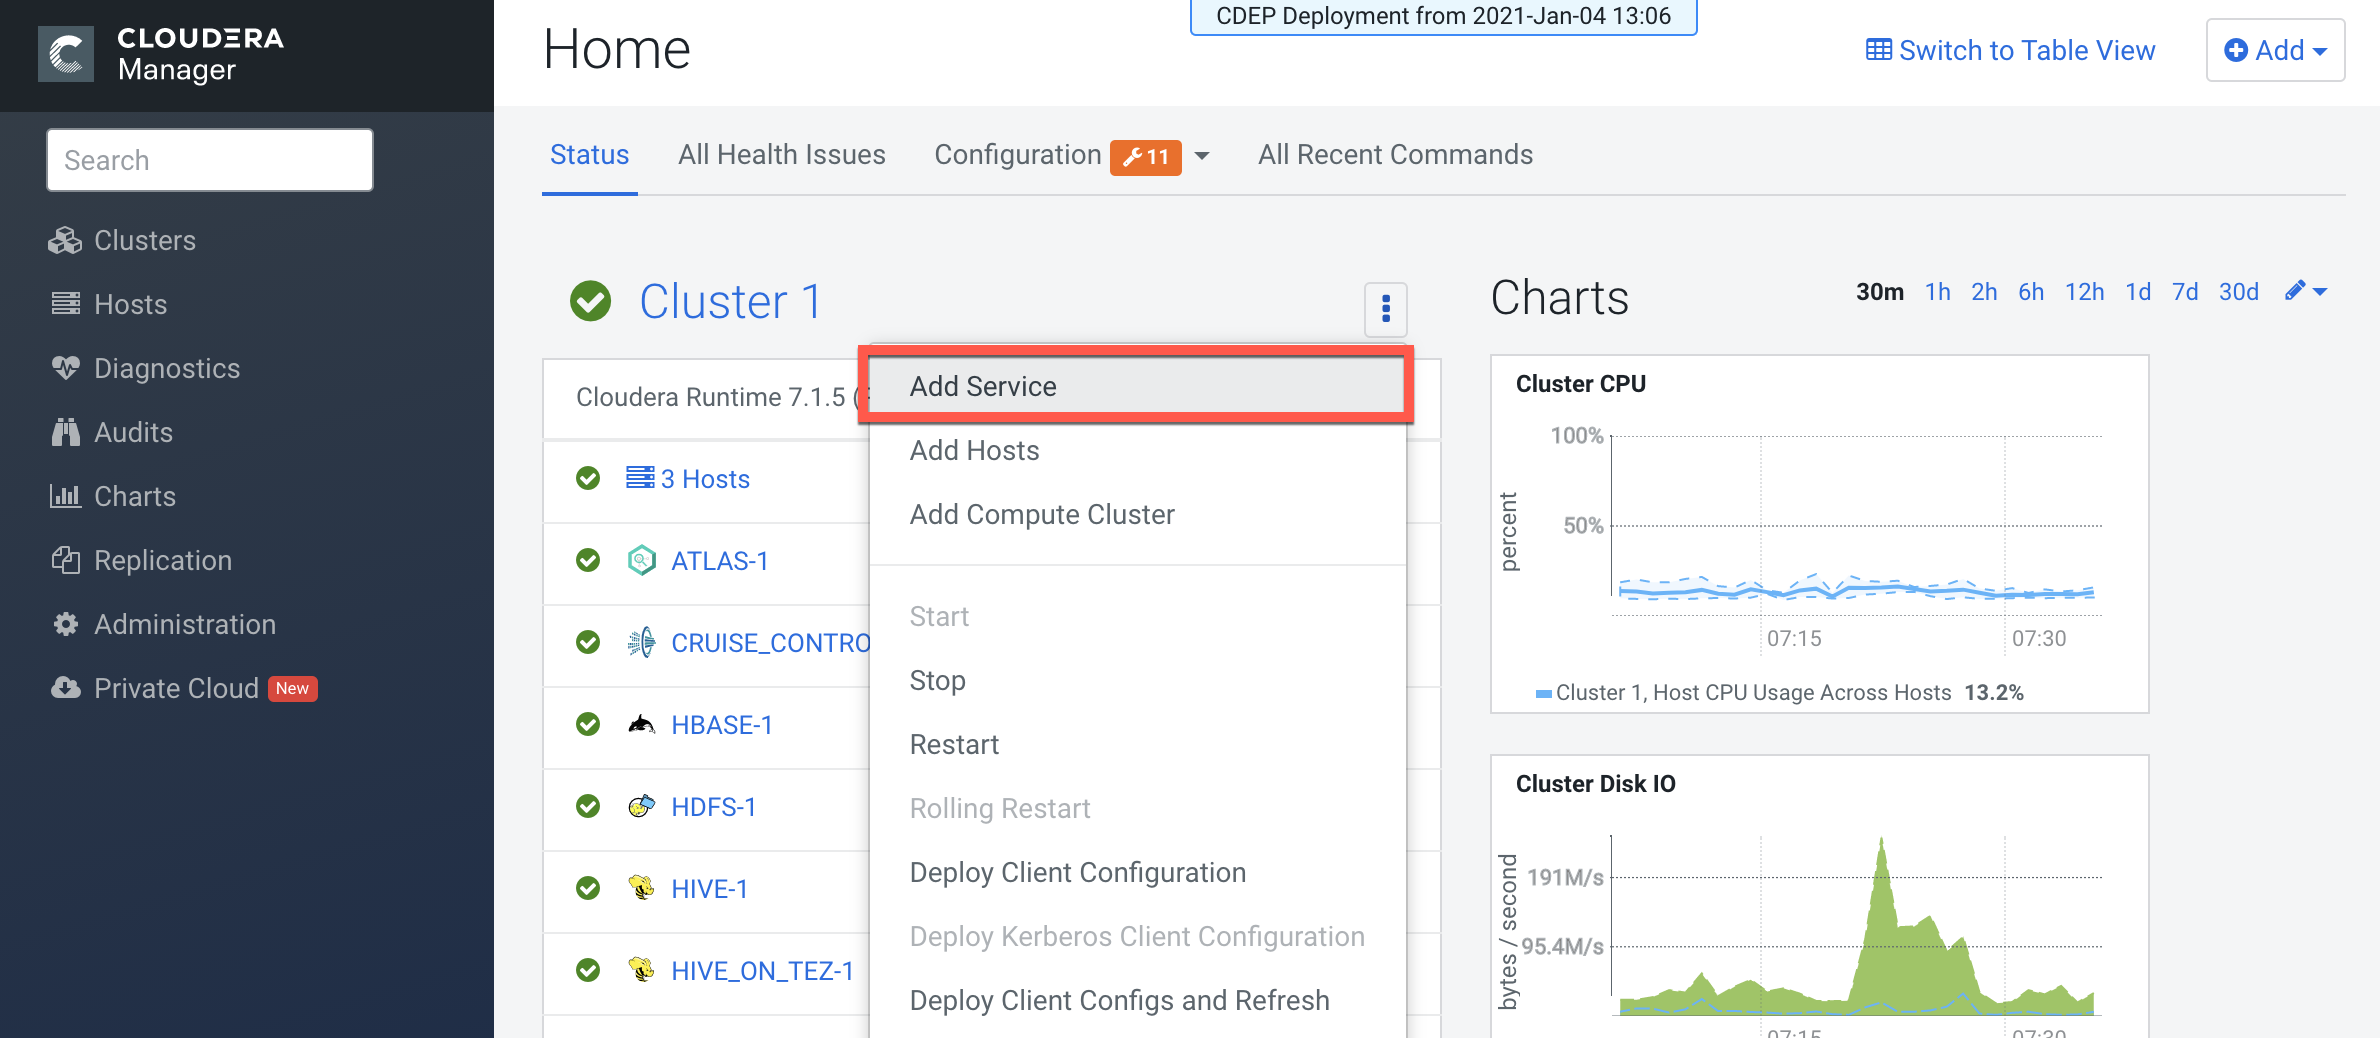
On the cluster home page, click the More Options (ellipsis) icon, then click Add
Service.
-
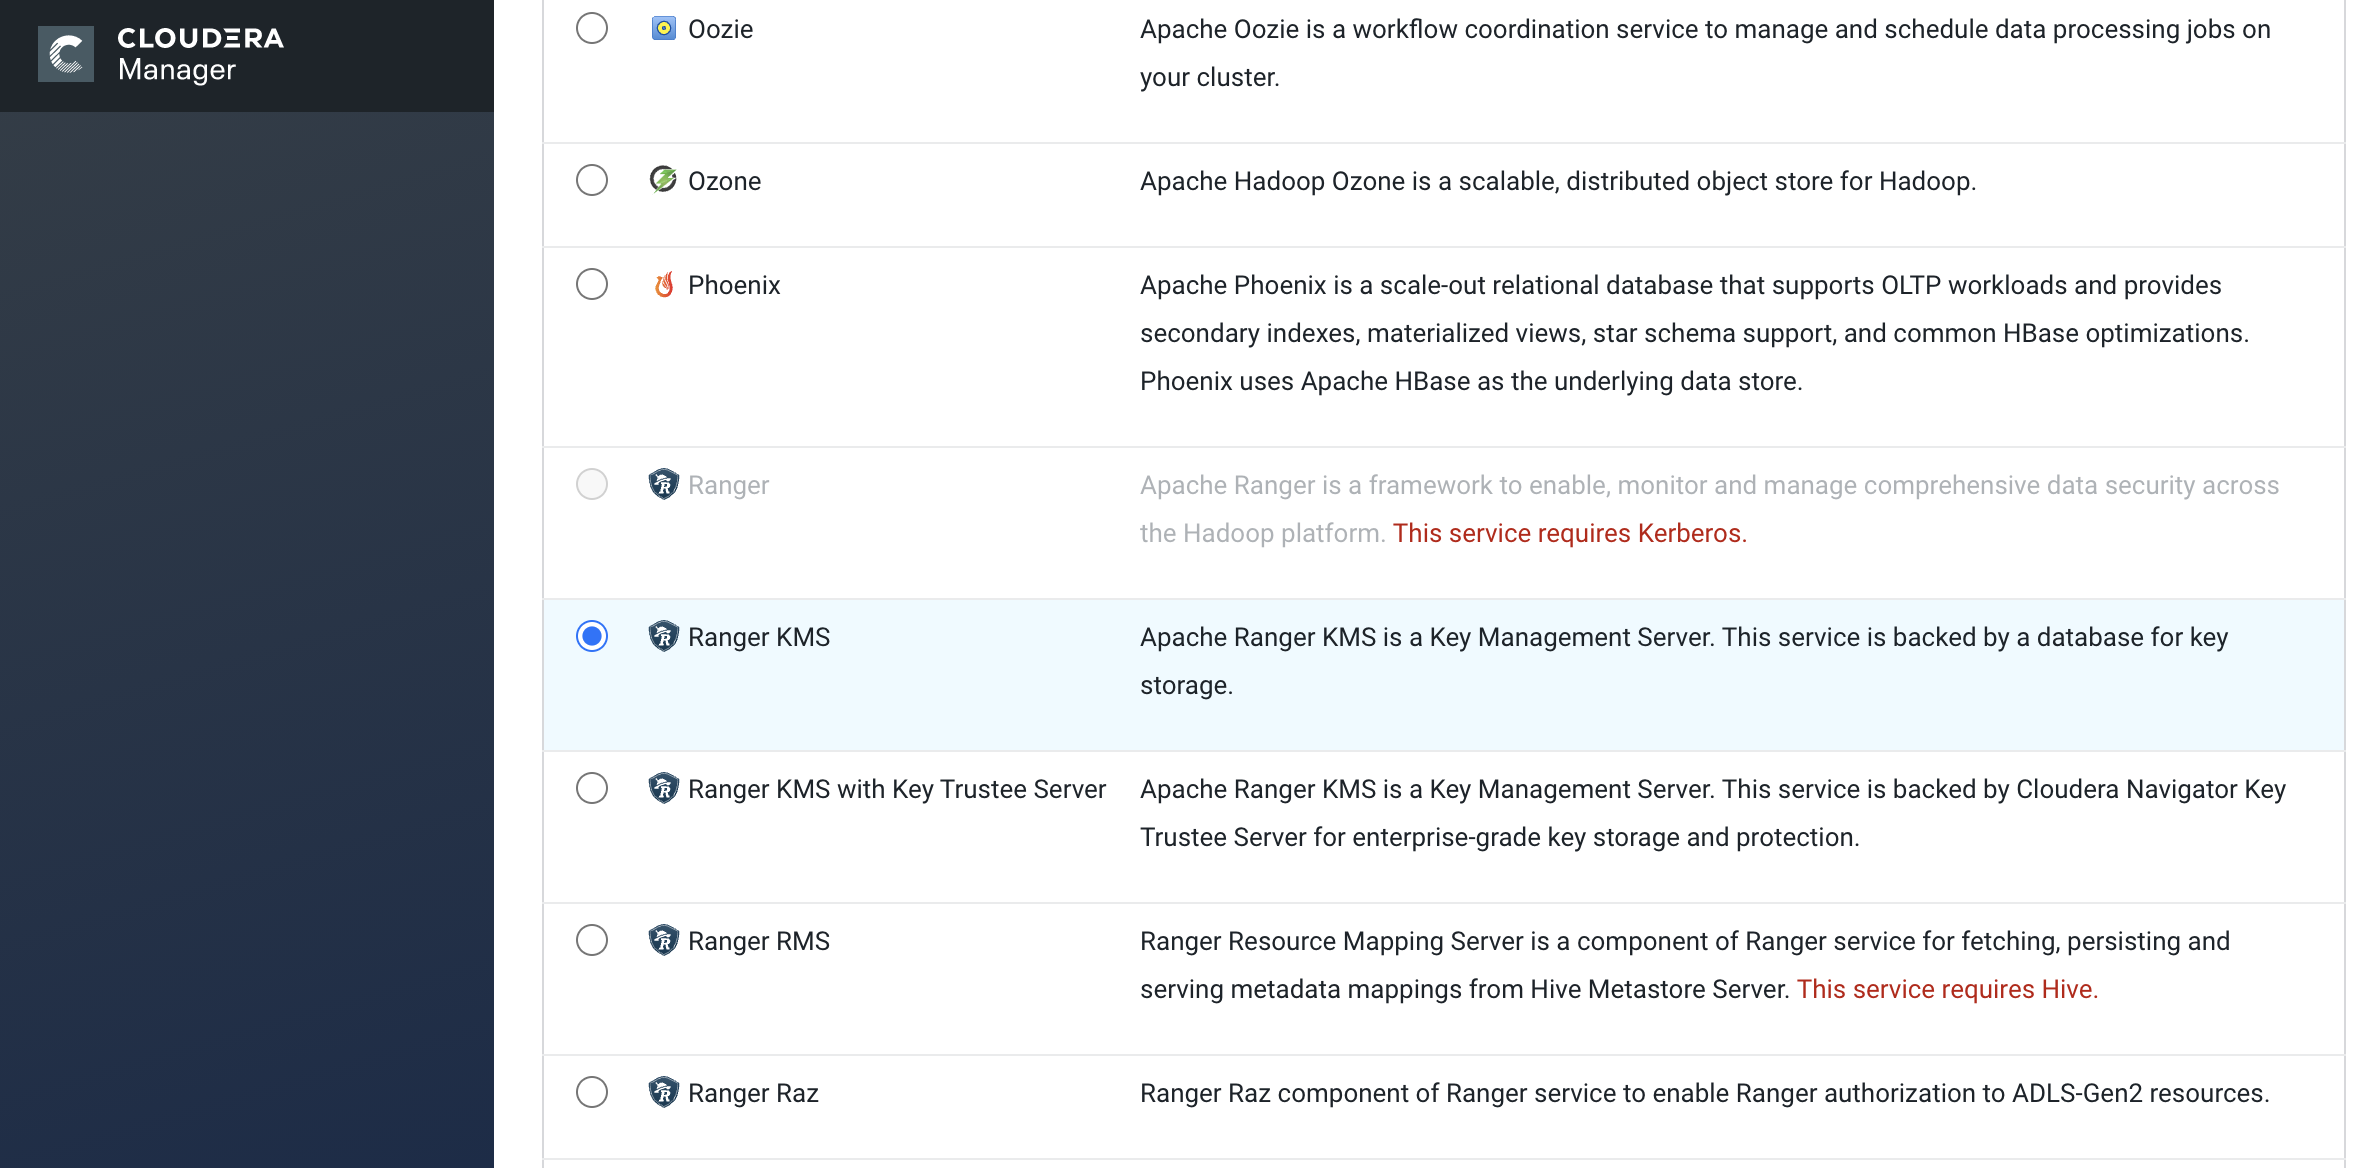
Select Ranger KMS, then click Continue.
-
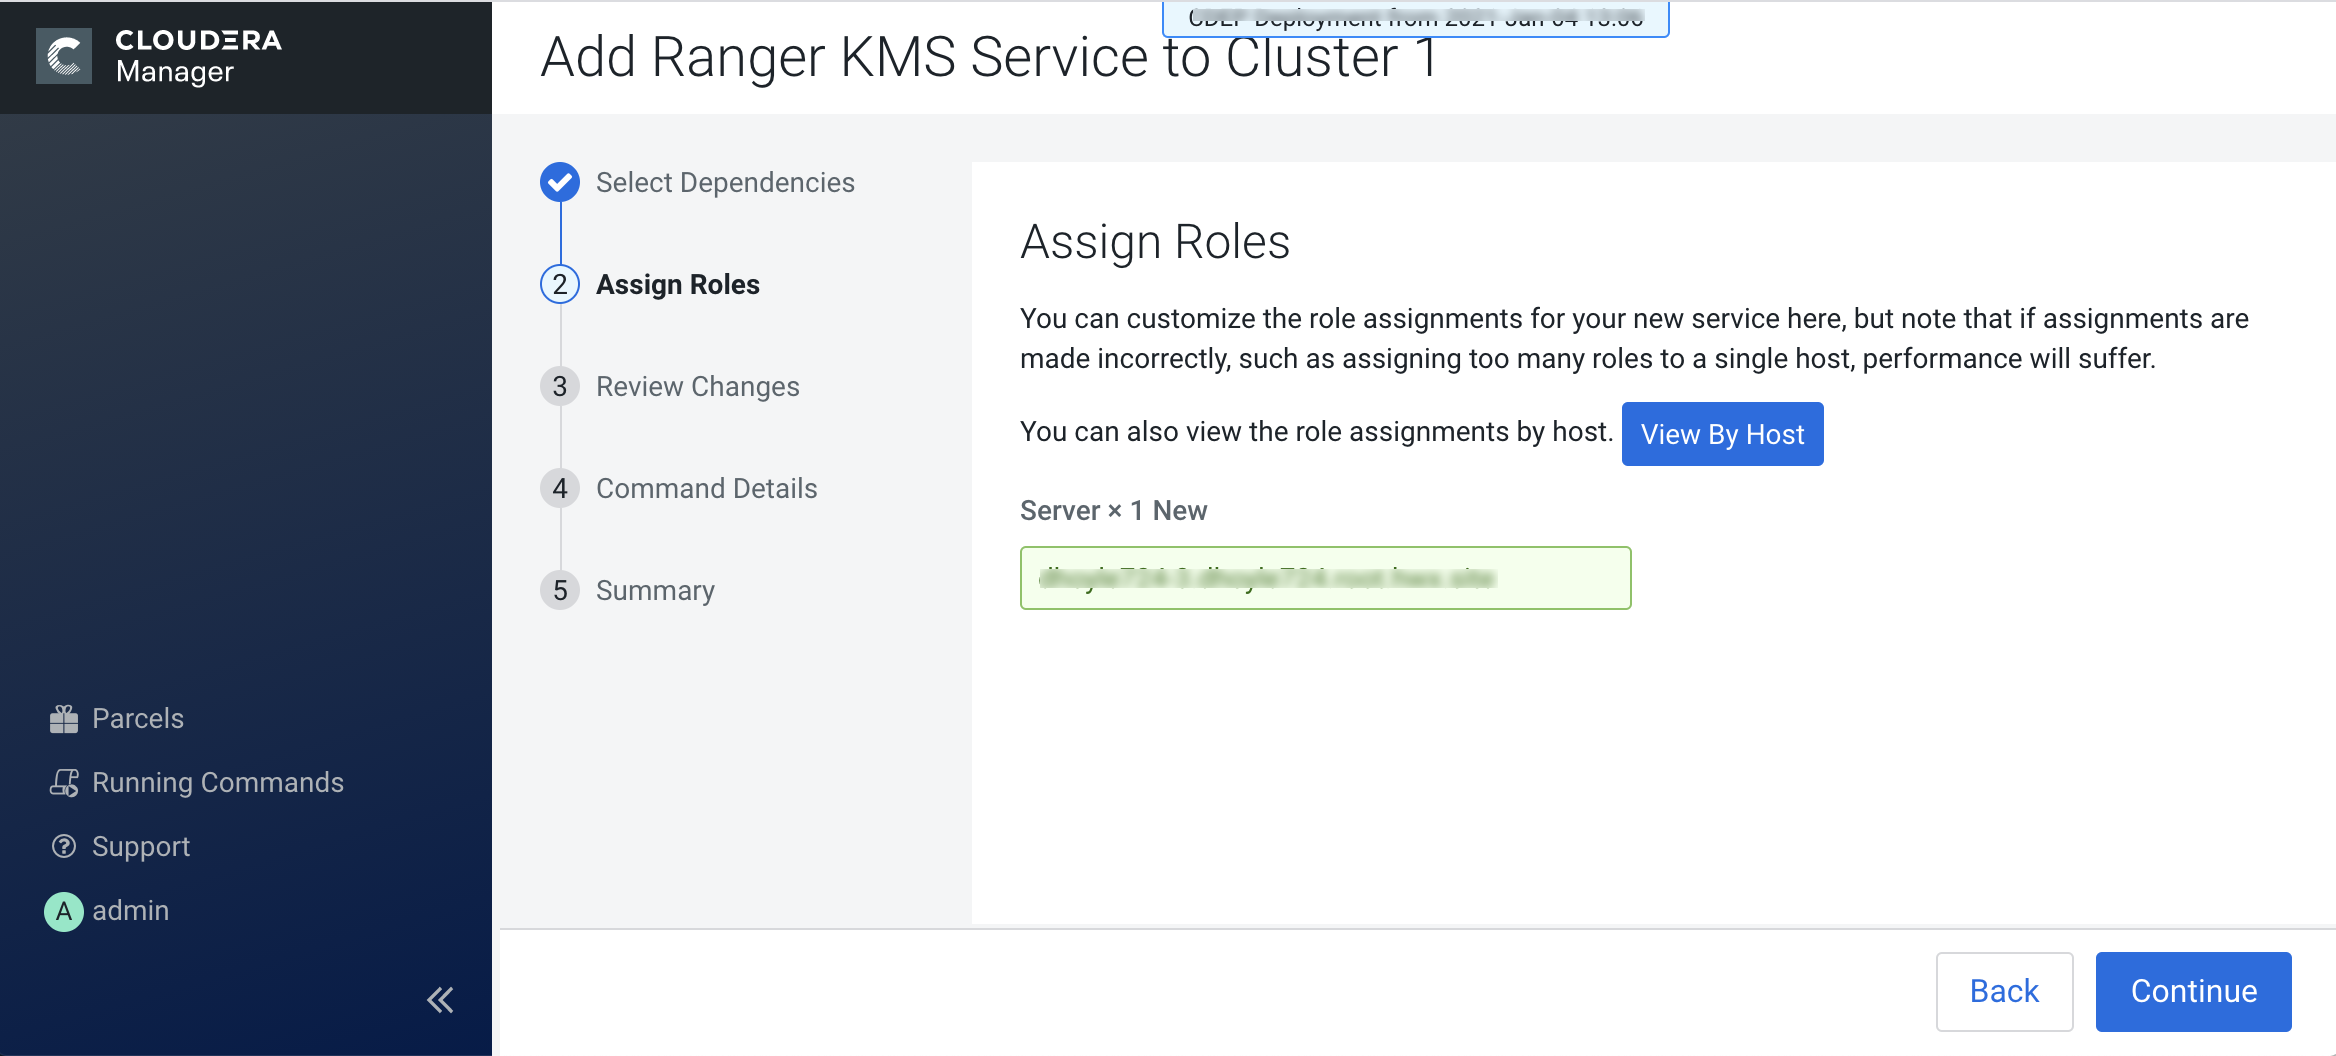
On the Assign Roles page, click Continue.
-
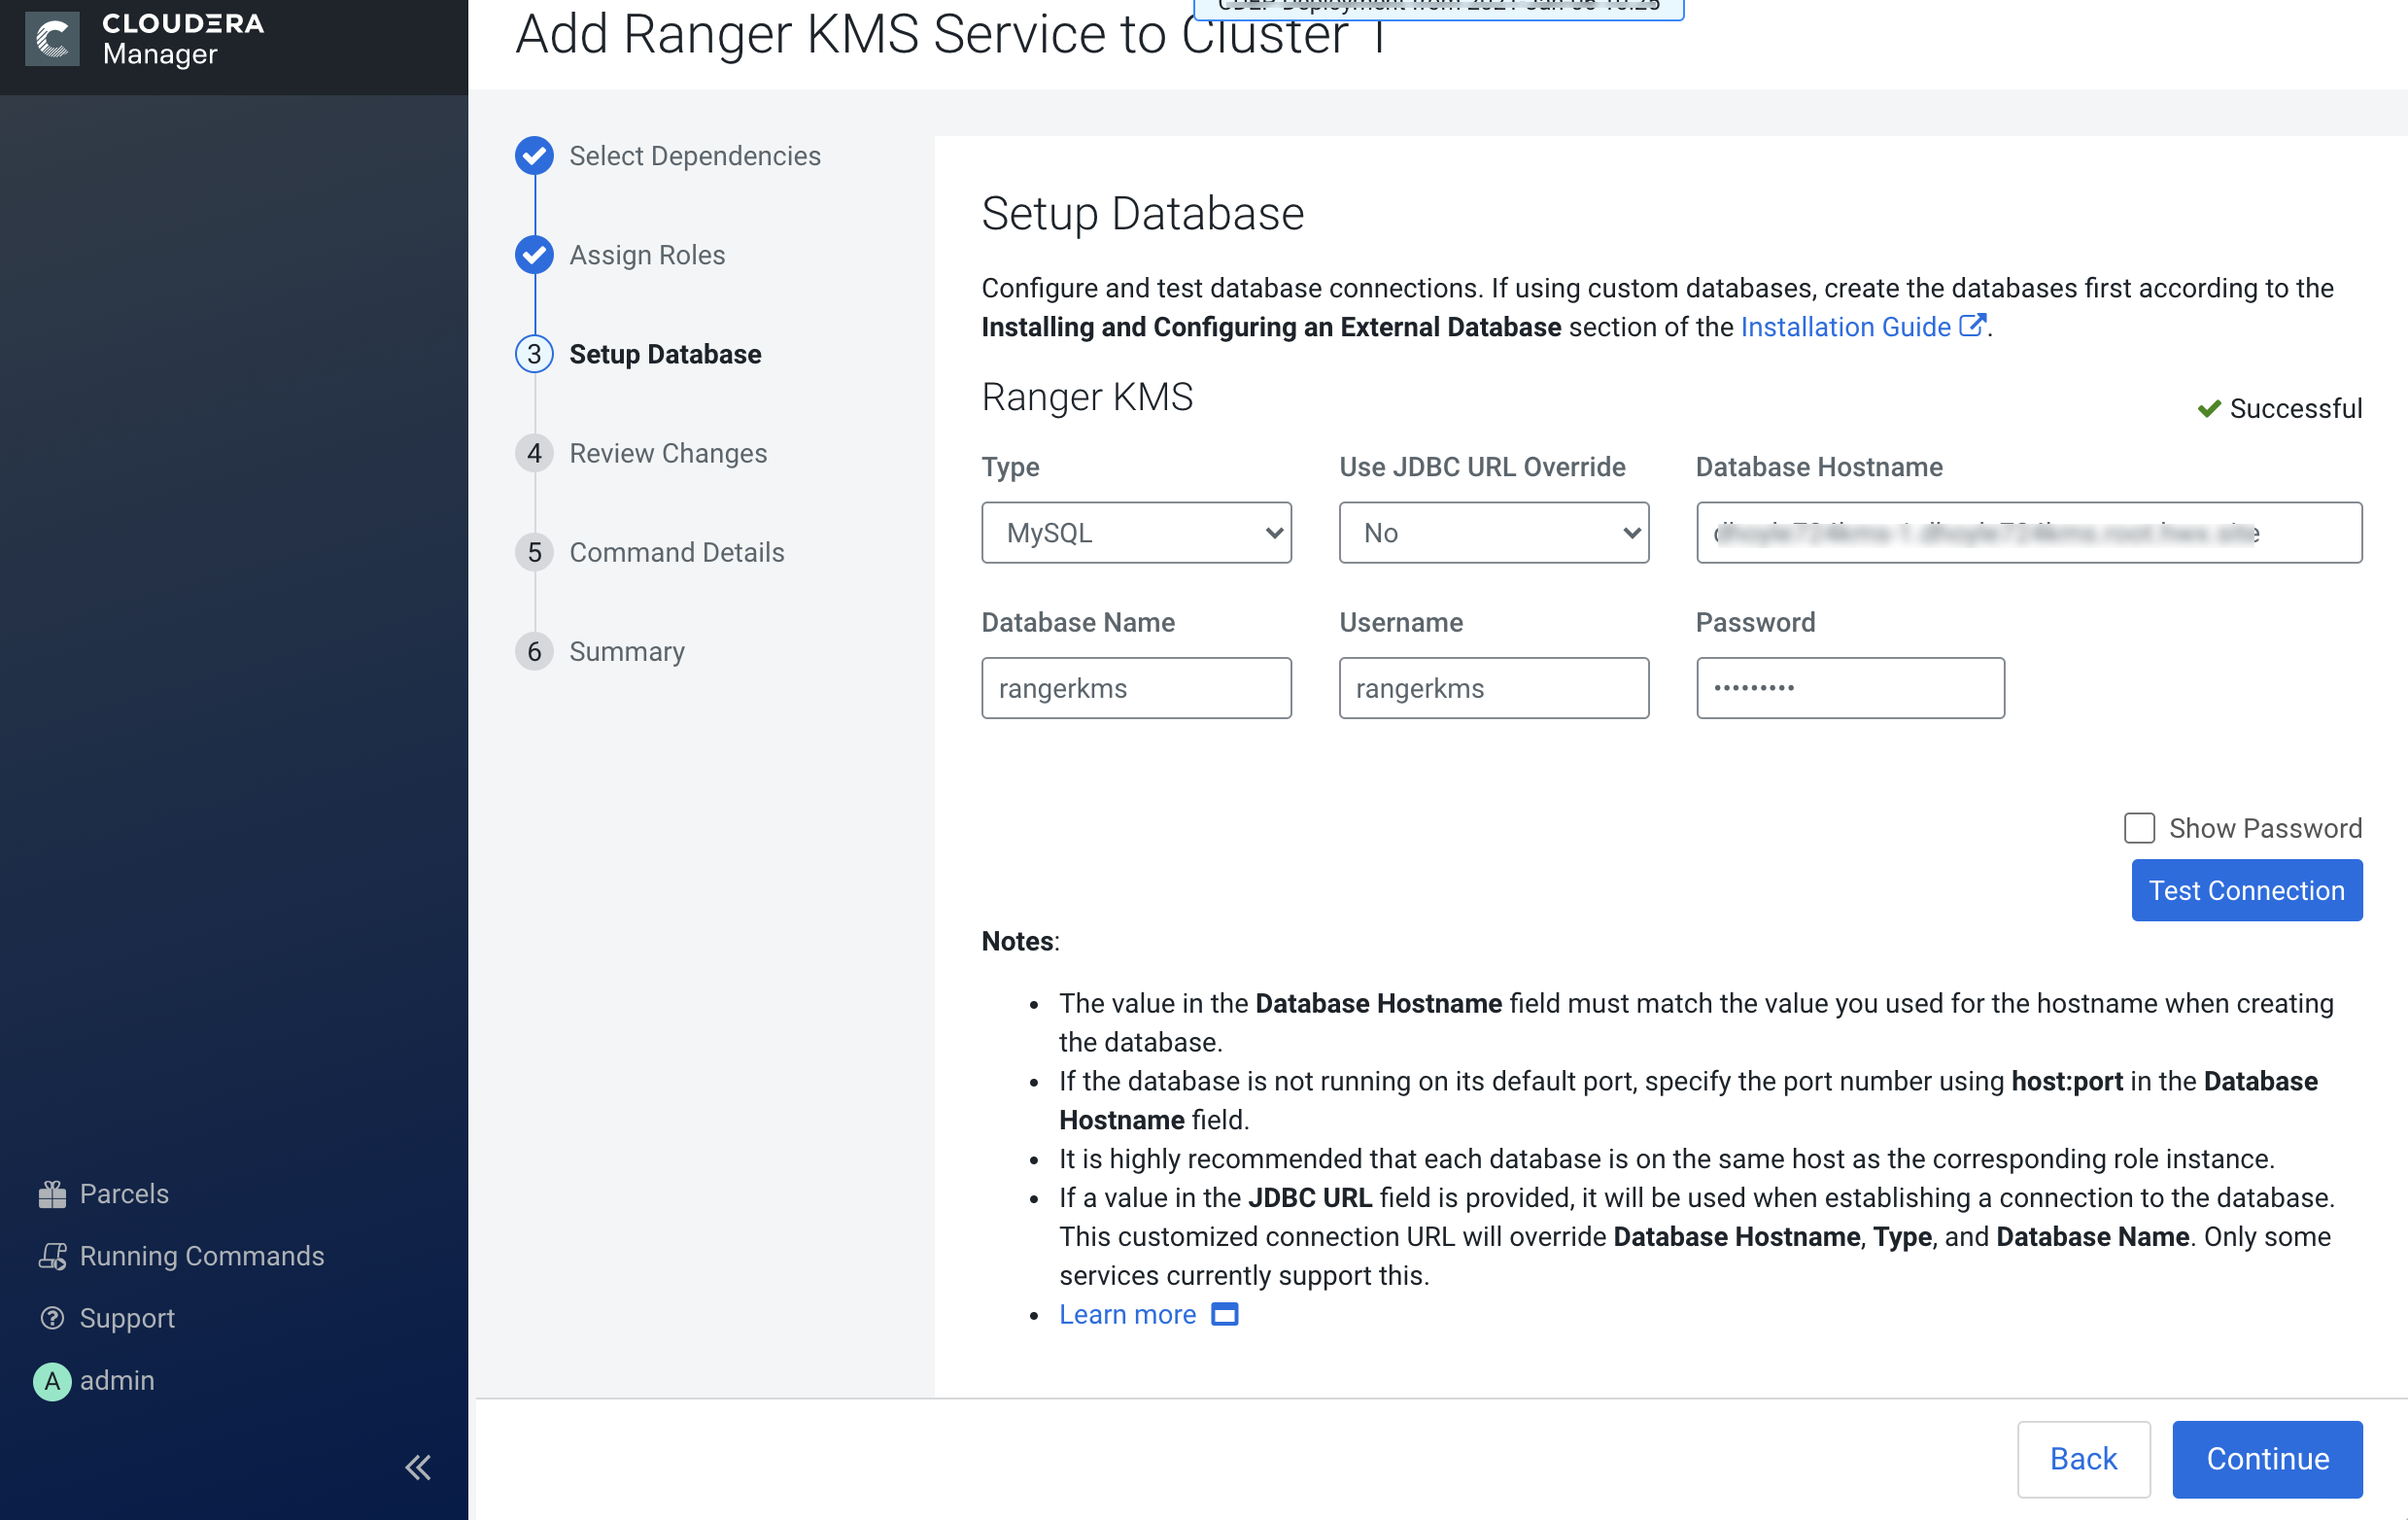
On the Setup Database page, enter the Ranger KMS Database host name, database name,
user name, and password, then click Test Connection. After the database connection
is successful, click Continue.
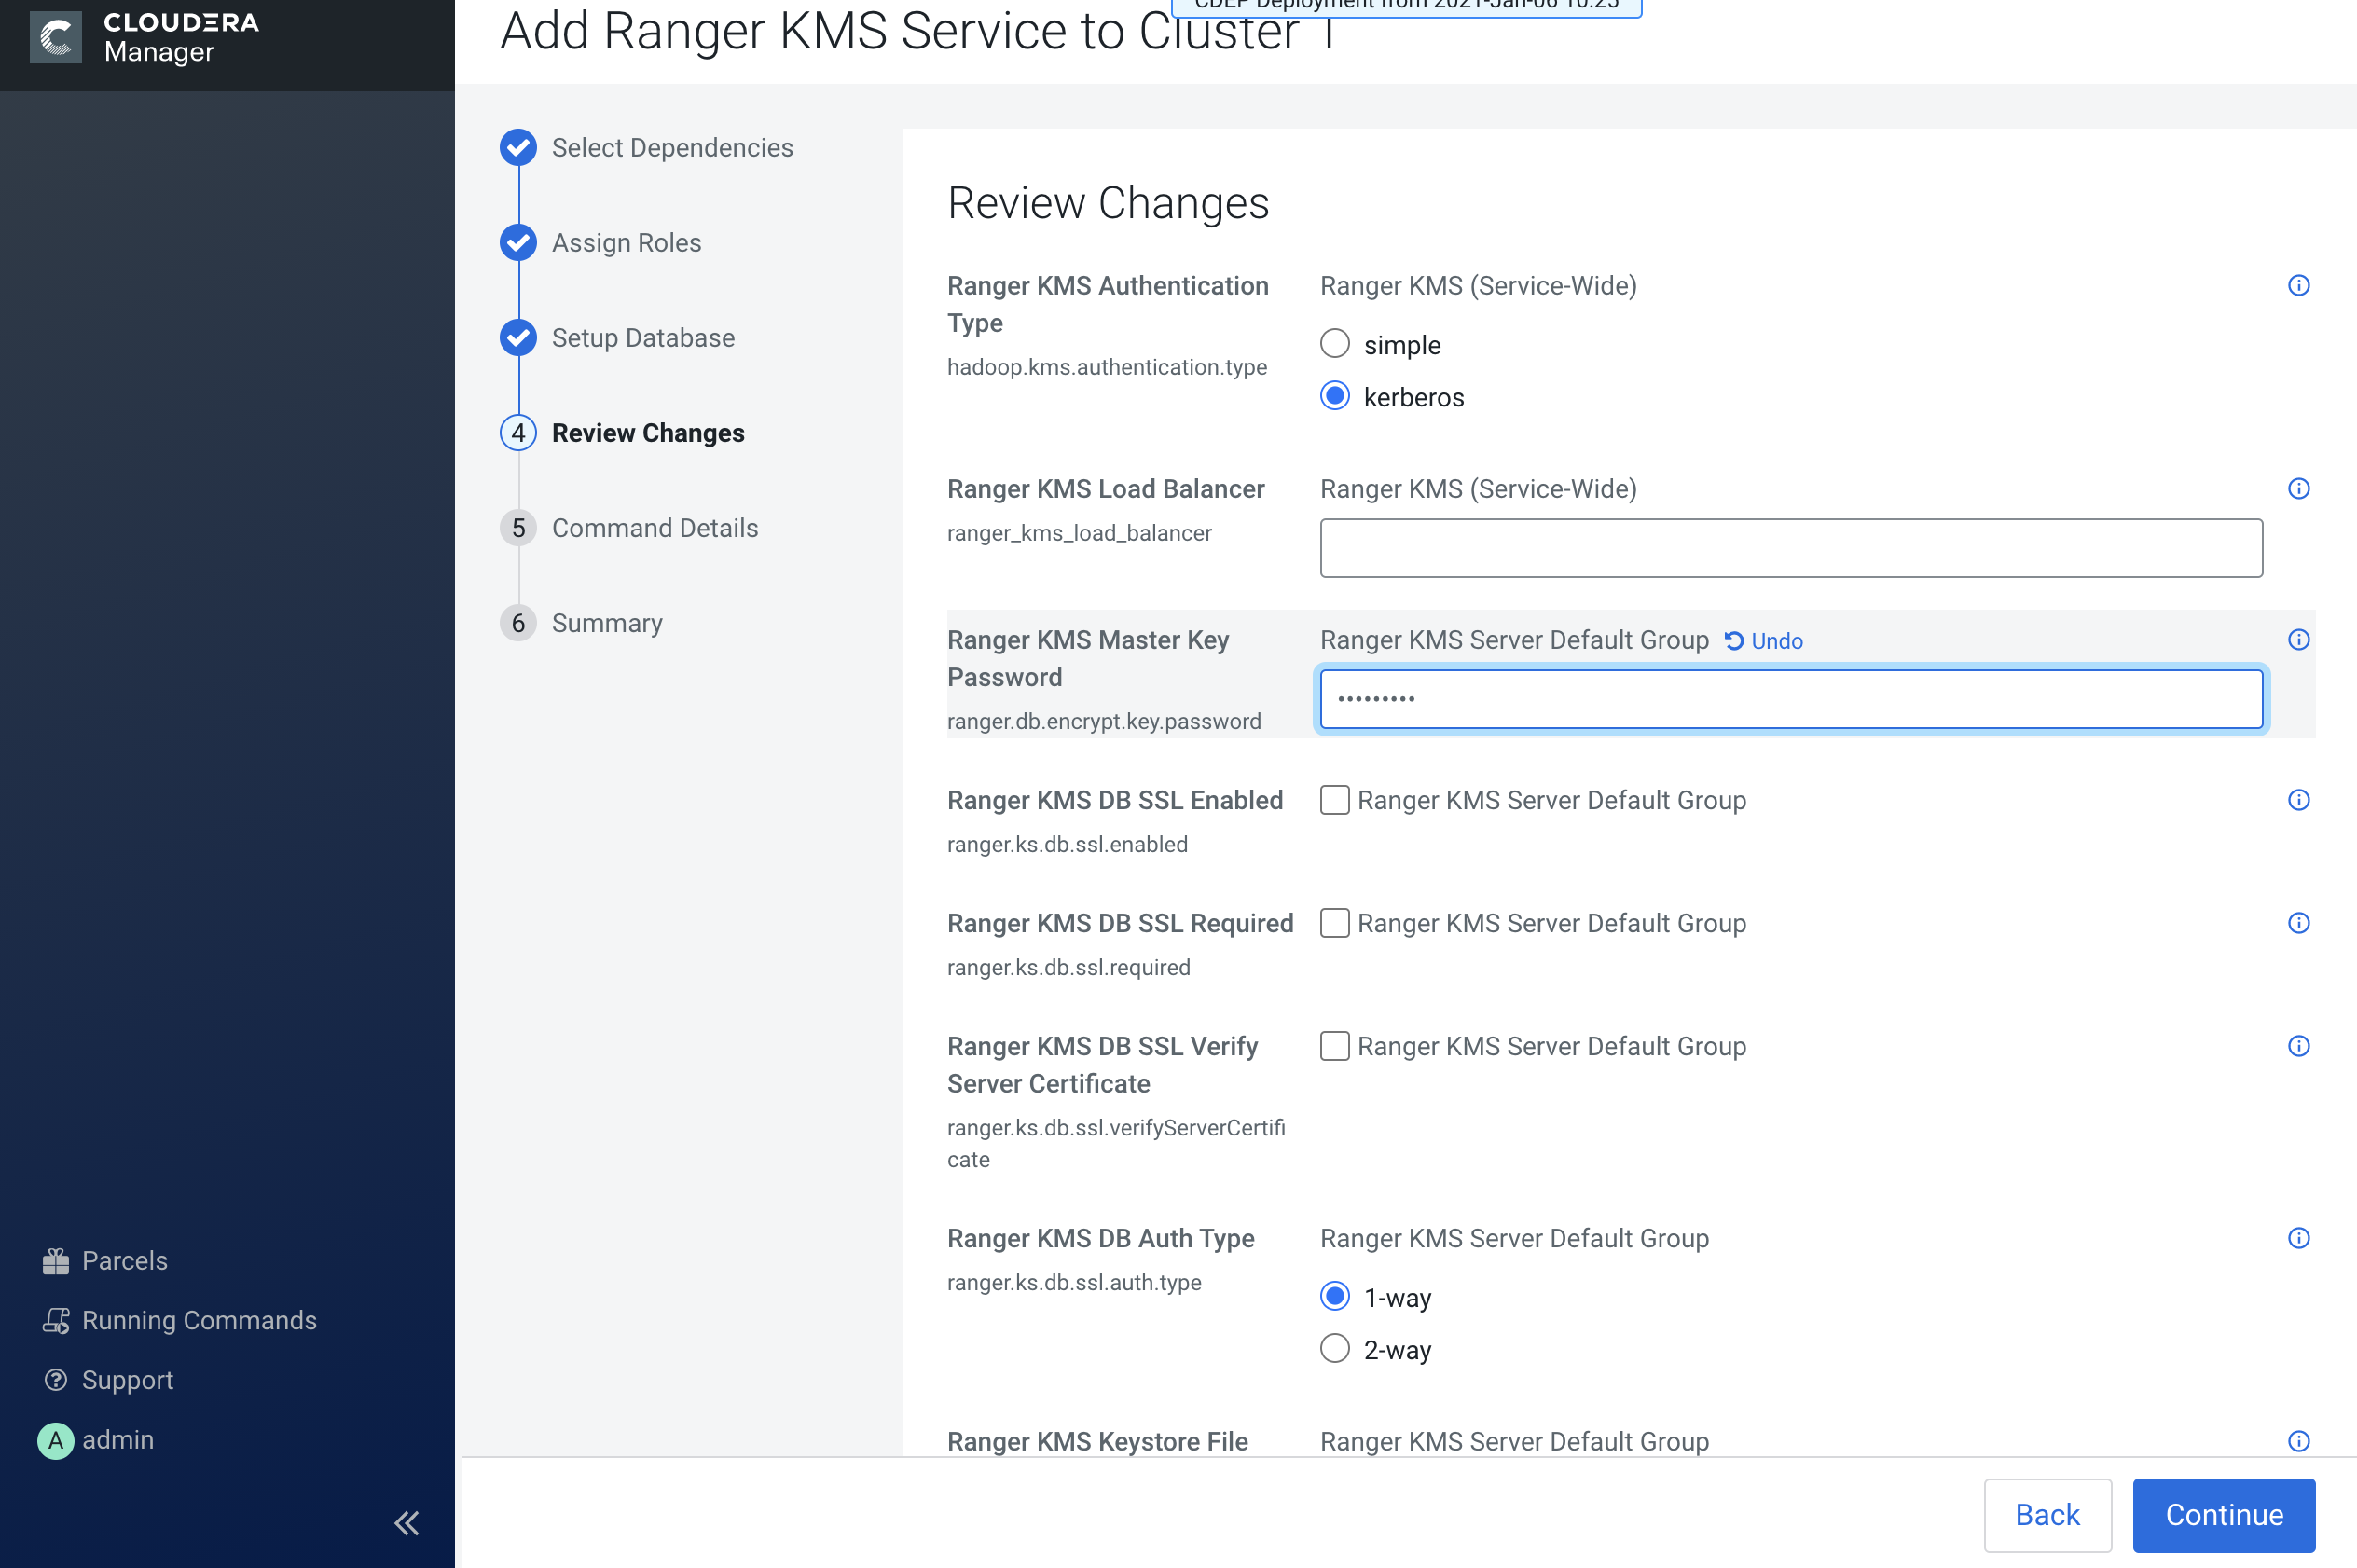
-
On the Review Changes page, enter a master key password for Ranger KMS, then click
Continue.
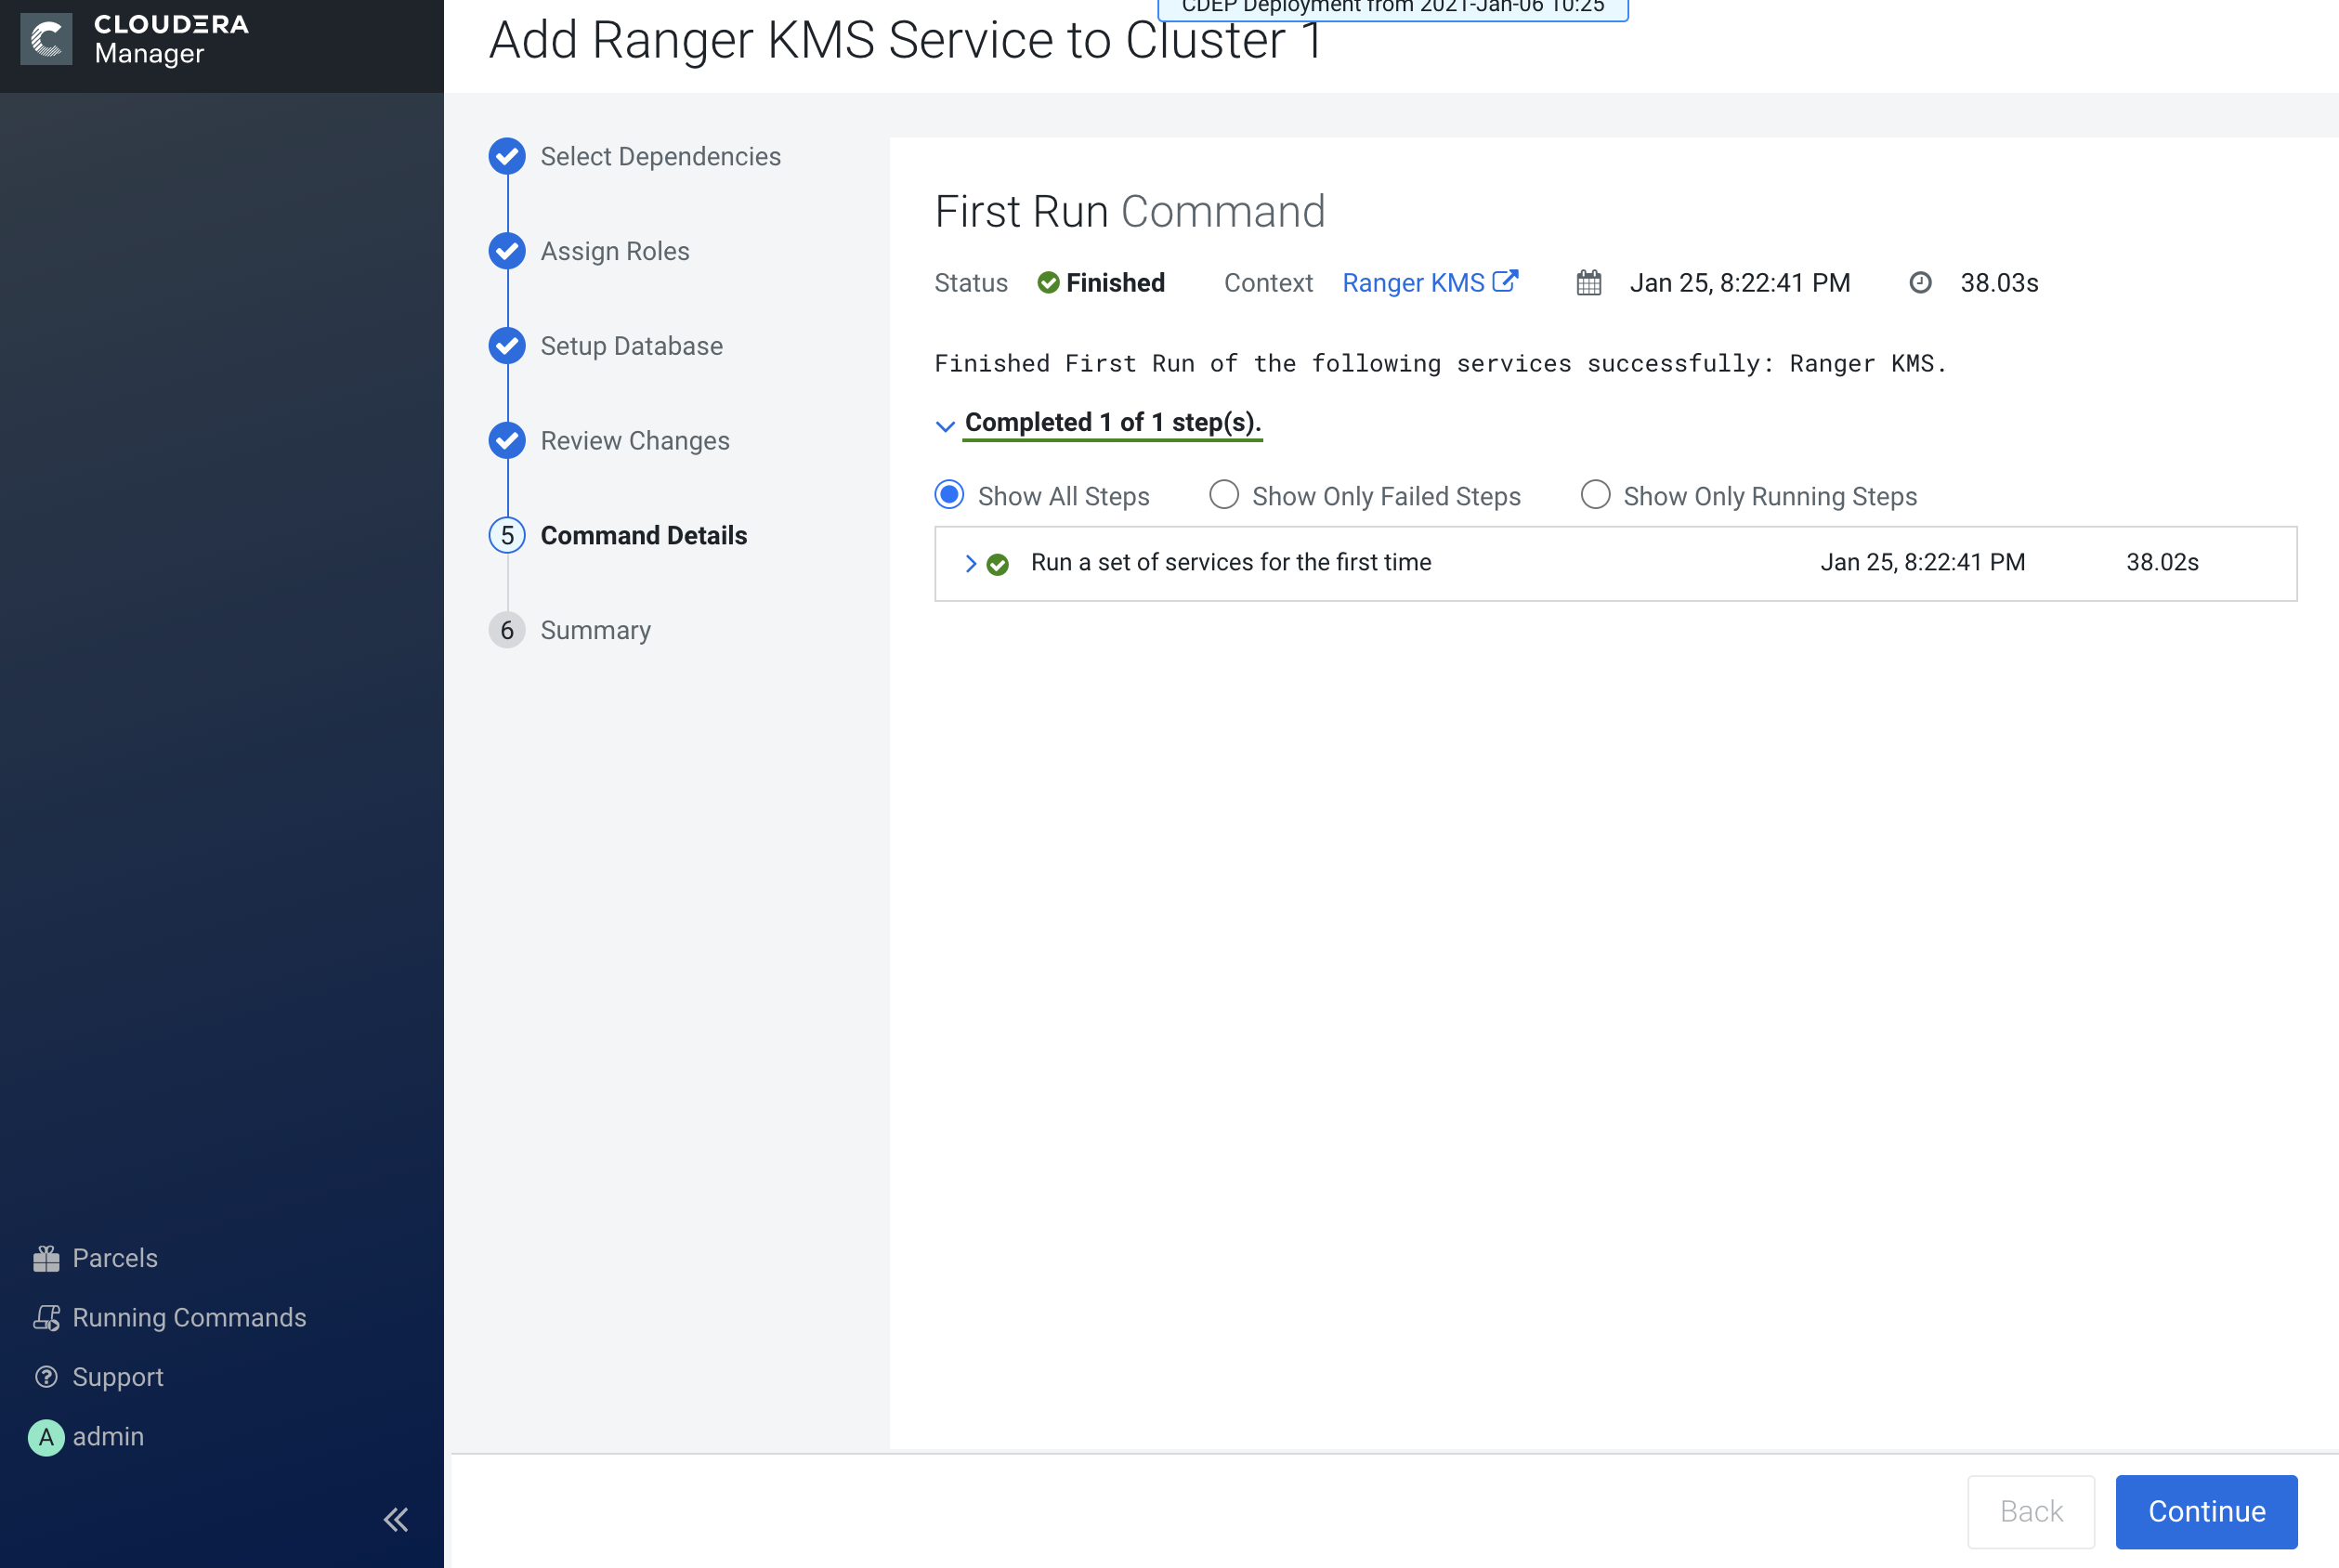
-
On the Command Details page, select run options, then click Continue.
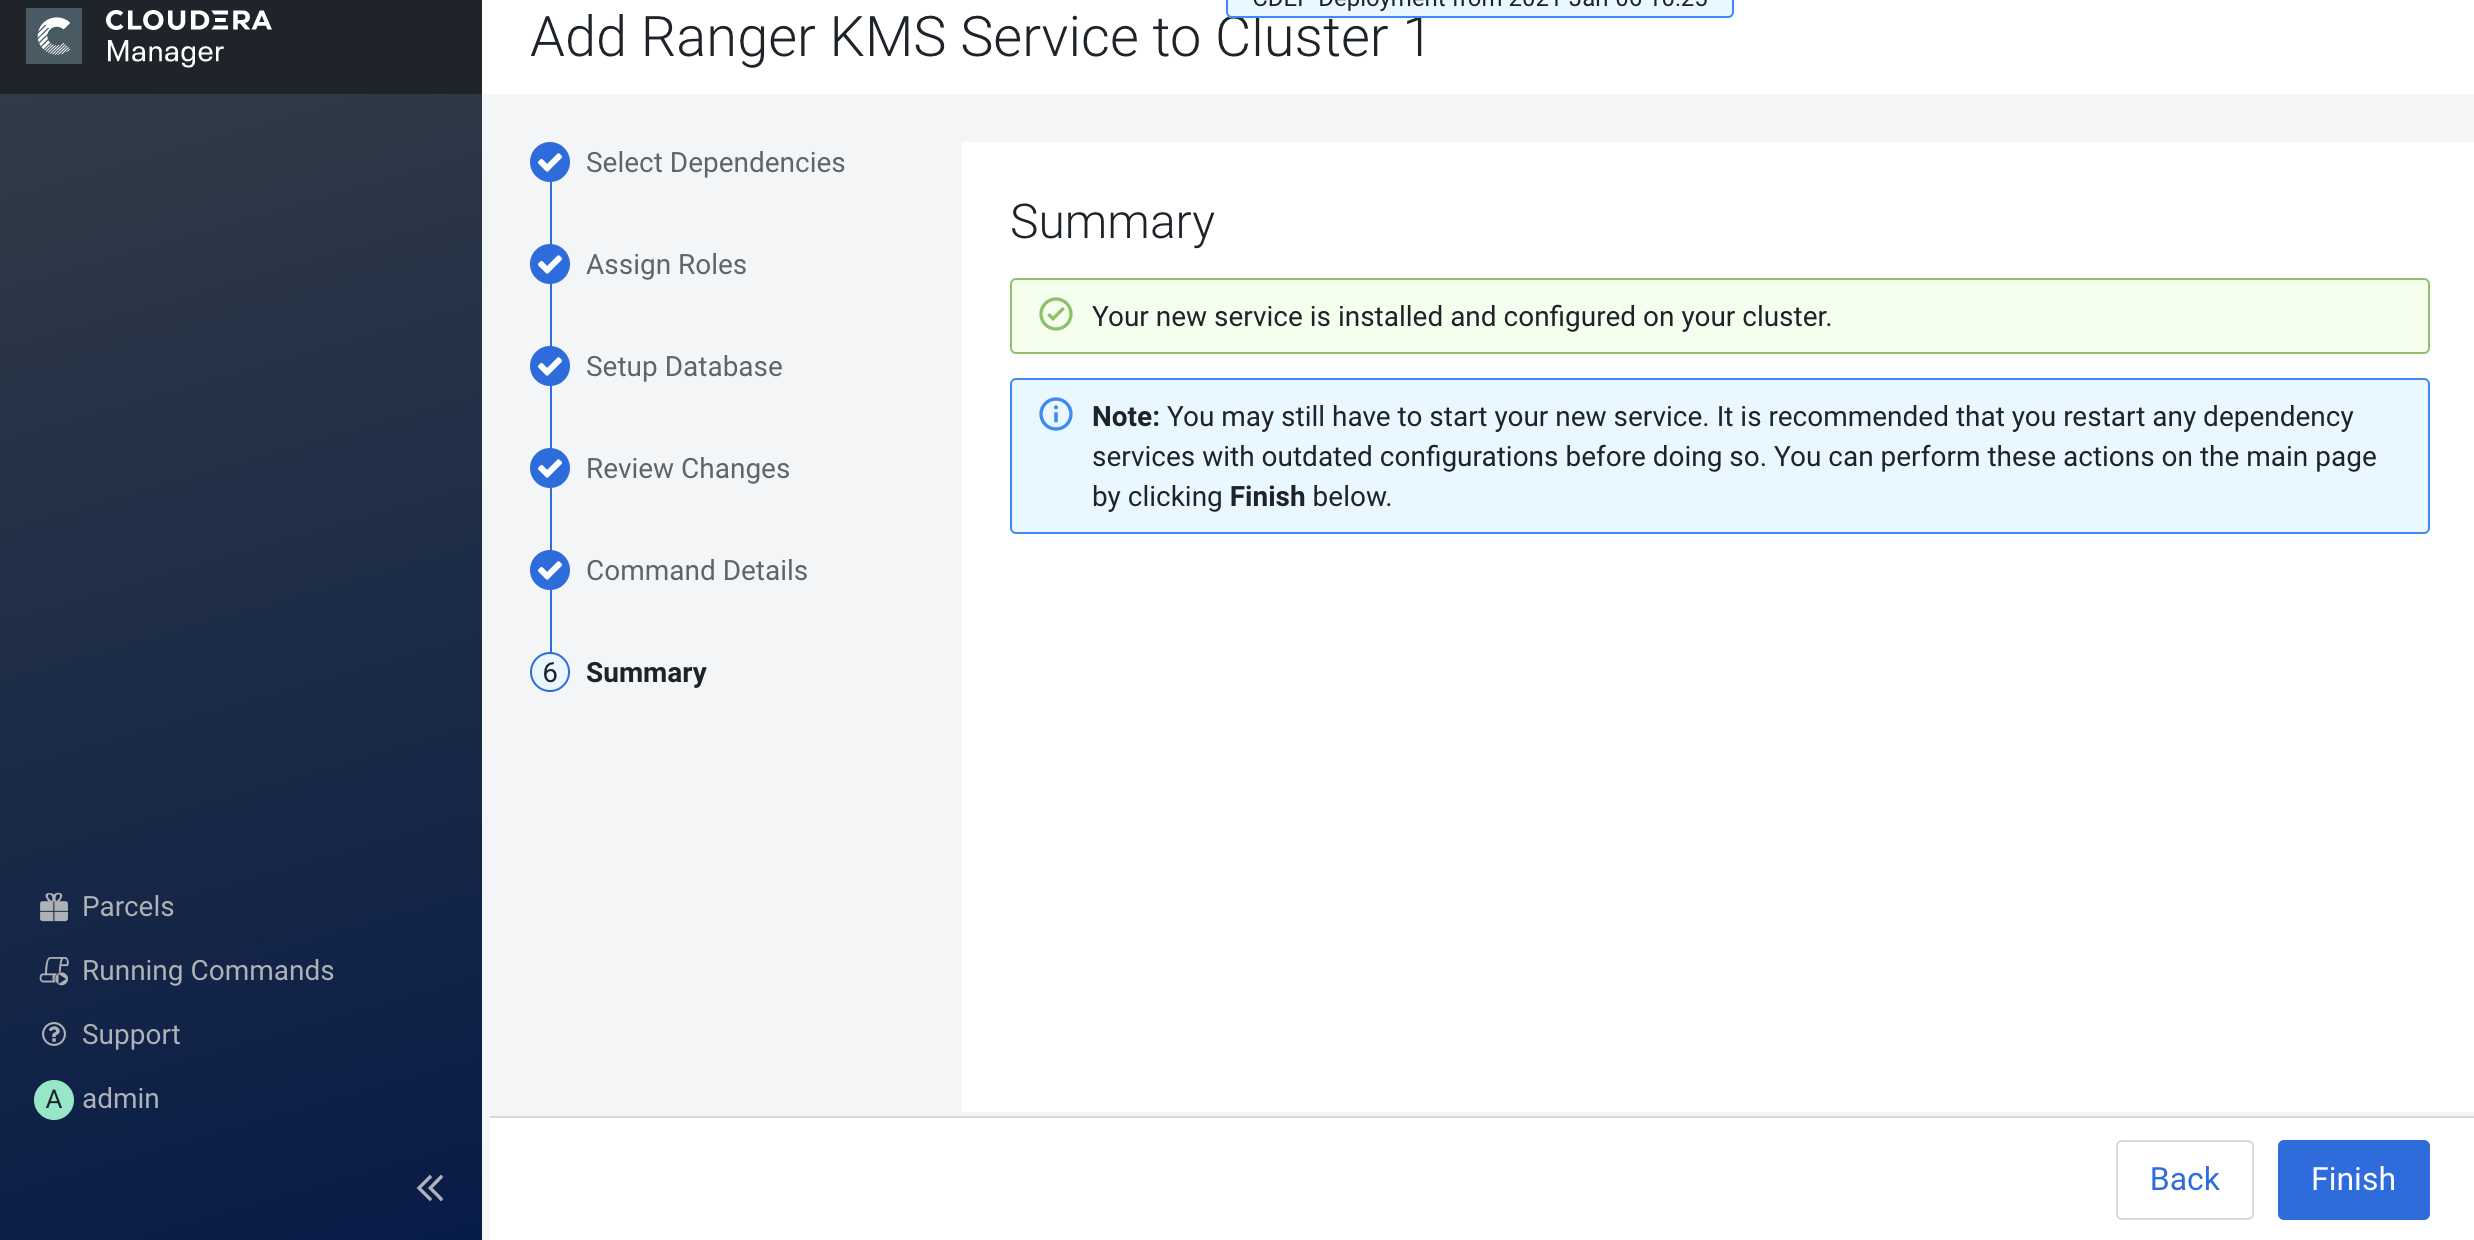
-
Click Finish on the Summary page.
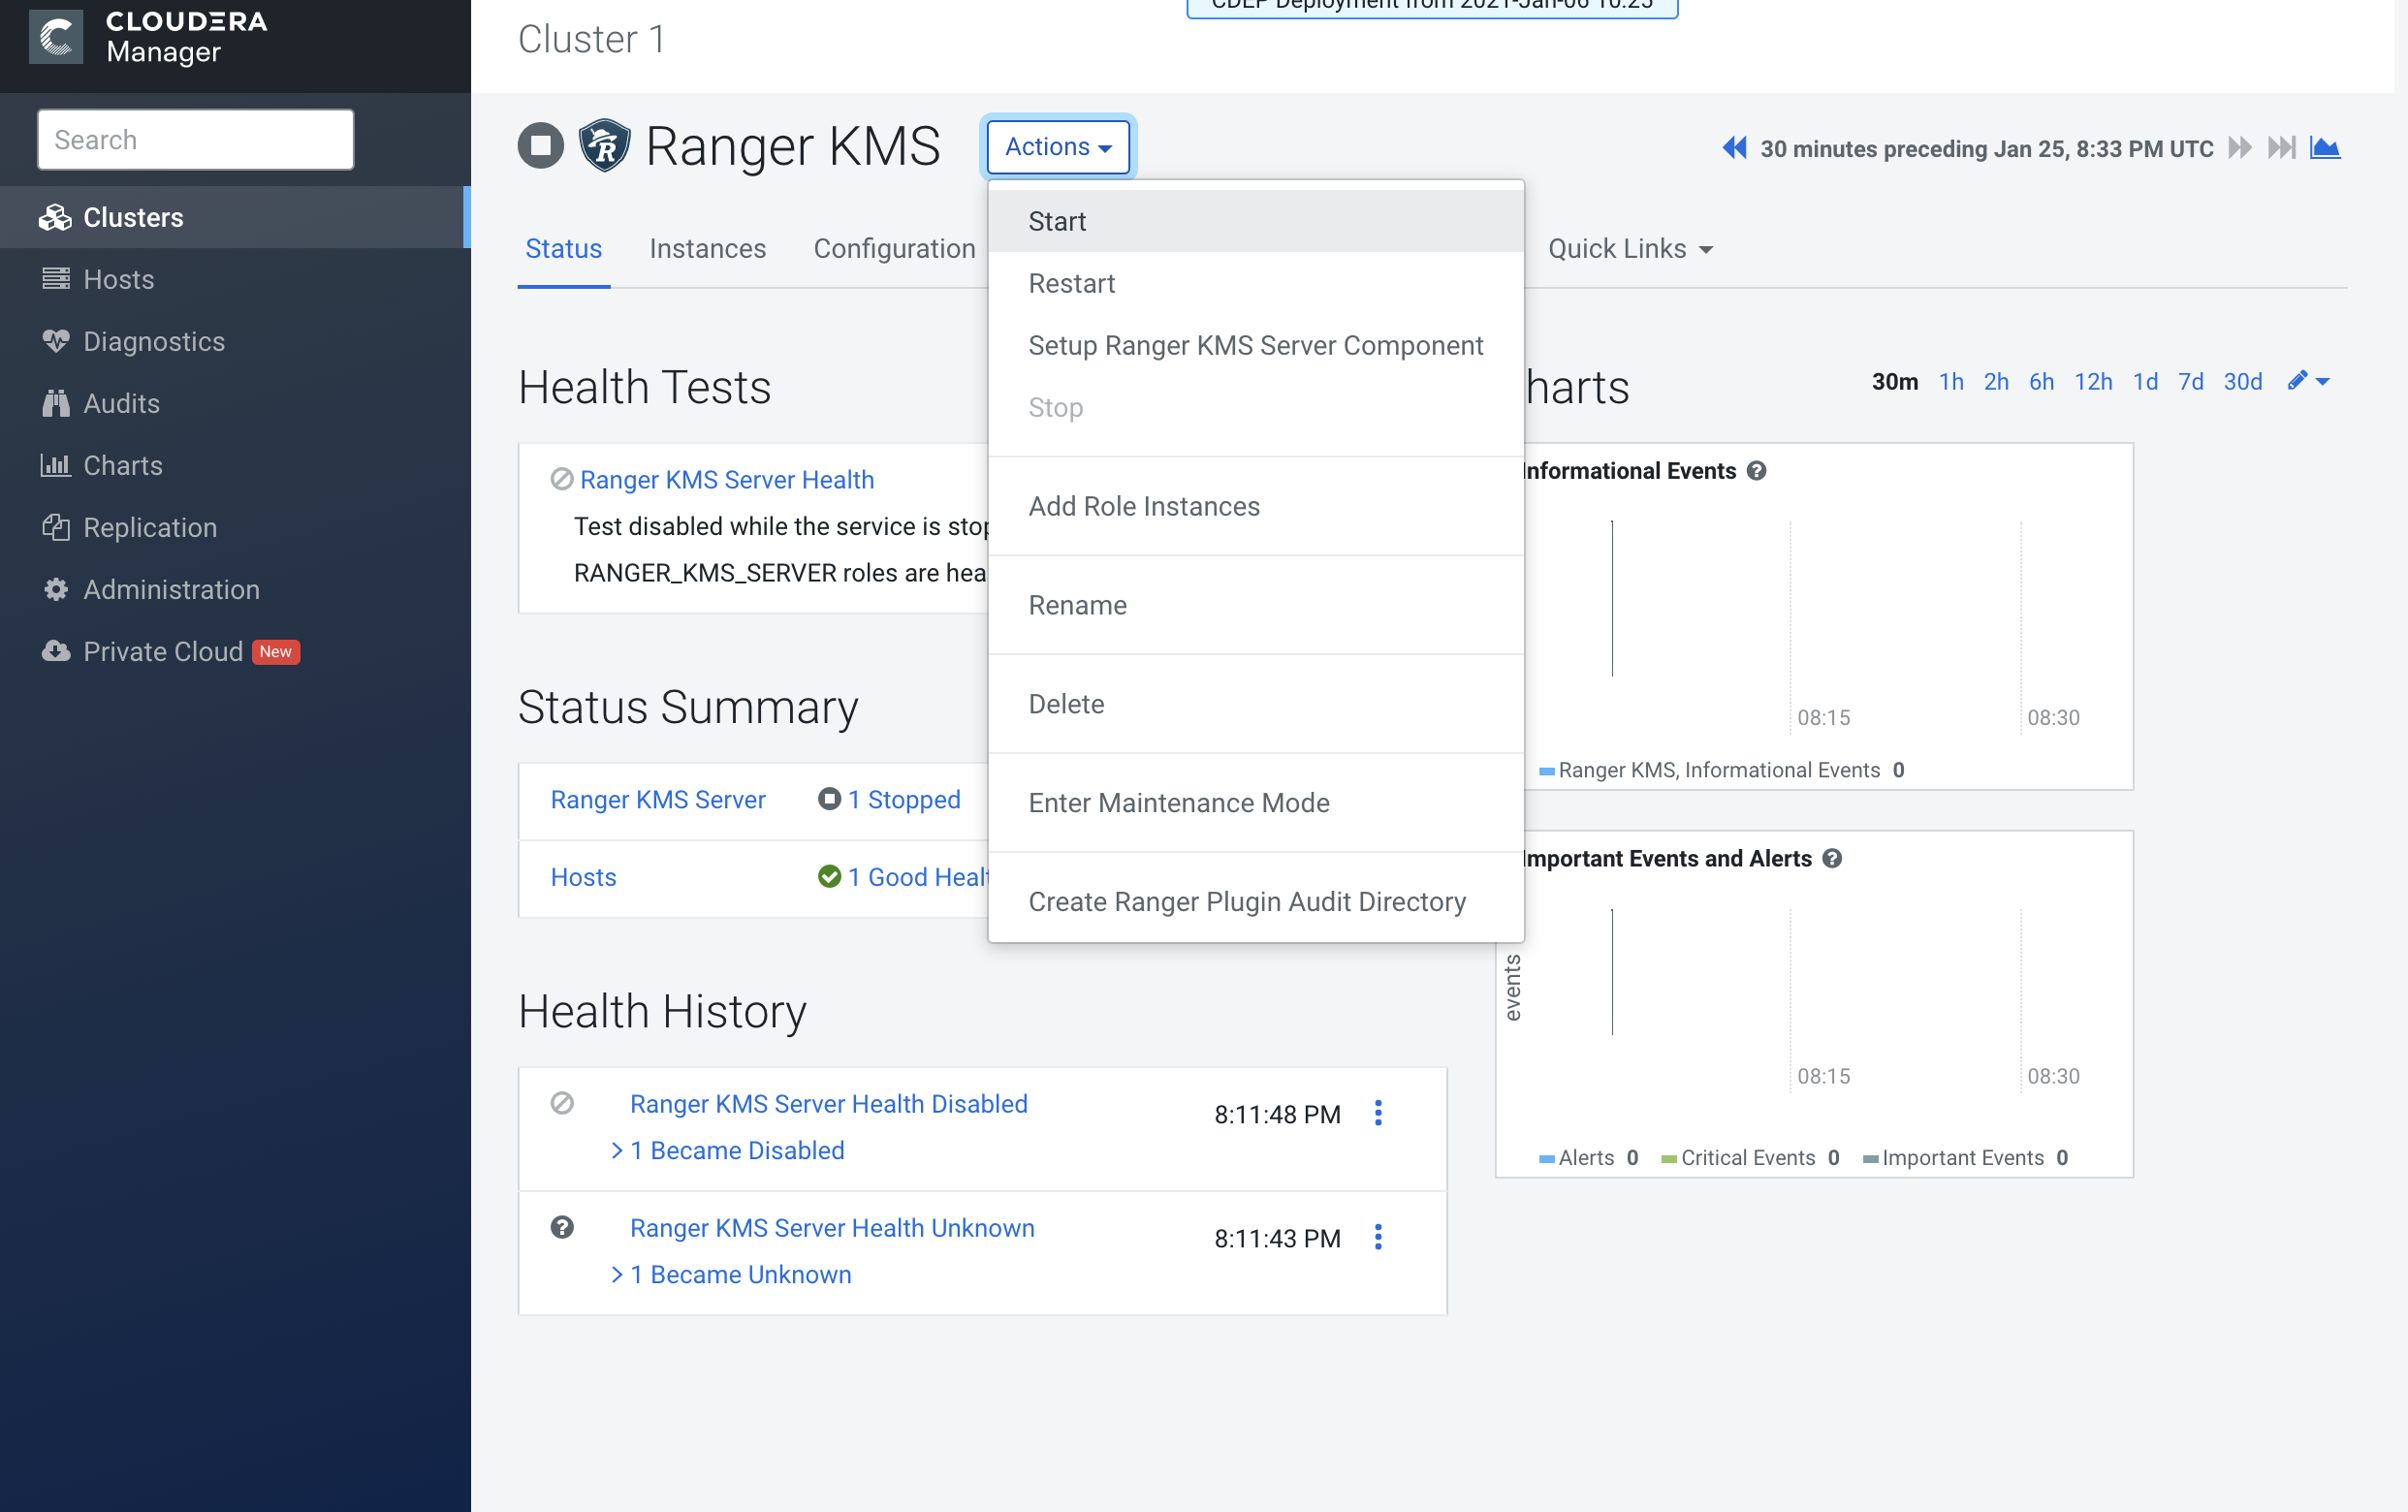
-
The Ranger KMS service appears in the Cloudera Manager cluster components list. If
Ranger KMS was not started by the installation wizard, you can start the service by
clicking Actions > Start in the Ranger KMS service.
-
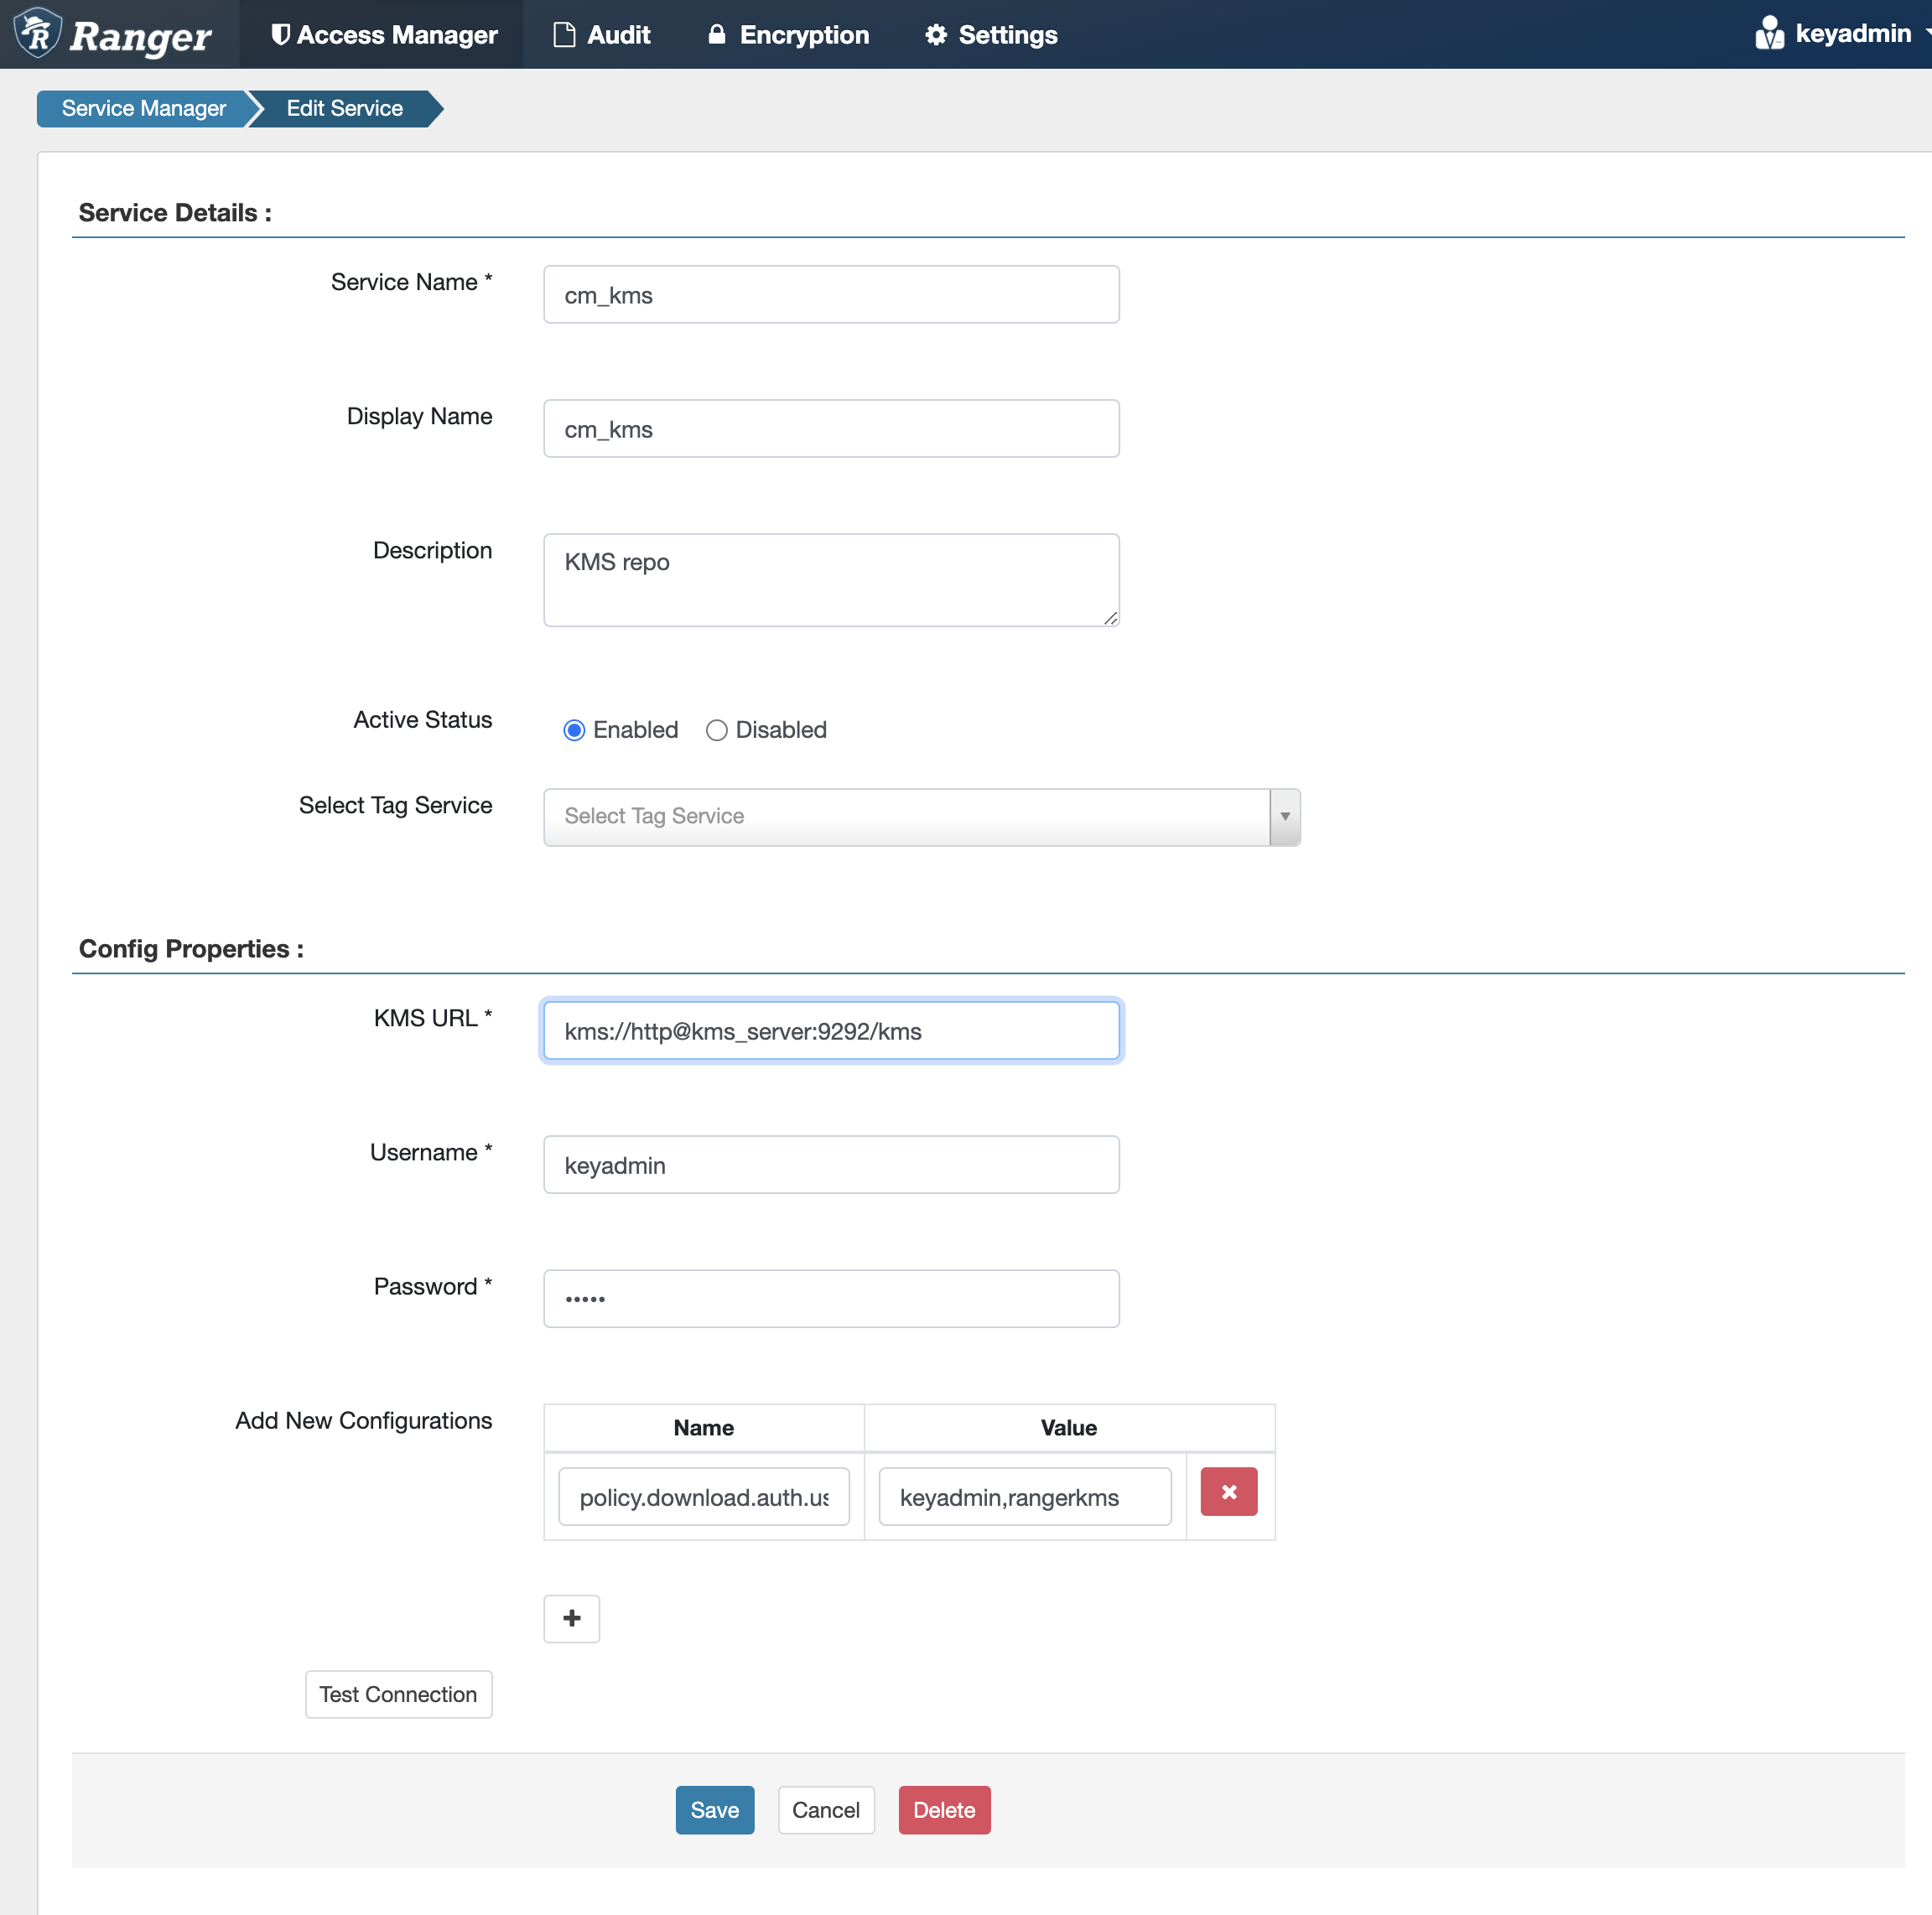
In Cloudera Manager, select the Ranger service, click Ranger Admin Web UI, then
log in as the Ranger KMS user (the default credentials are keyadmin/admin123). Click the
Edit icon for the cm_kms service, then update the KMS URL property.
- Use the following format:
kms://http@<kms_host>:<kms_port>/kms - Change the host name from localhost to the KMS host name. The default port is
9292. For example:
kms://http@kms_host:9292/kms - If SSL is enabled, use
httpsand port 9494. For example:kms://https@kms_host:9494/kms
Click Save to save your changes.
- Use the following format:
-
In Cloudera Manager click the Ranger KMS service, then select Actions > Create
Ranger Plugin Audit Directory. The Ranger KMS service is now ready to use and you
should be able to validate Ranger KMS policy enforcement.
