Creating a Connector
This section describes how to create a connector.
Perform the following steps to create a connector:
-
Click the New Connector option in the upper right corner
of the
Connect Clusterpage.The
Select A Connectorscreen appears.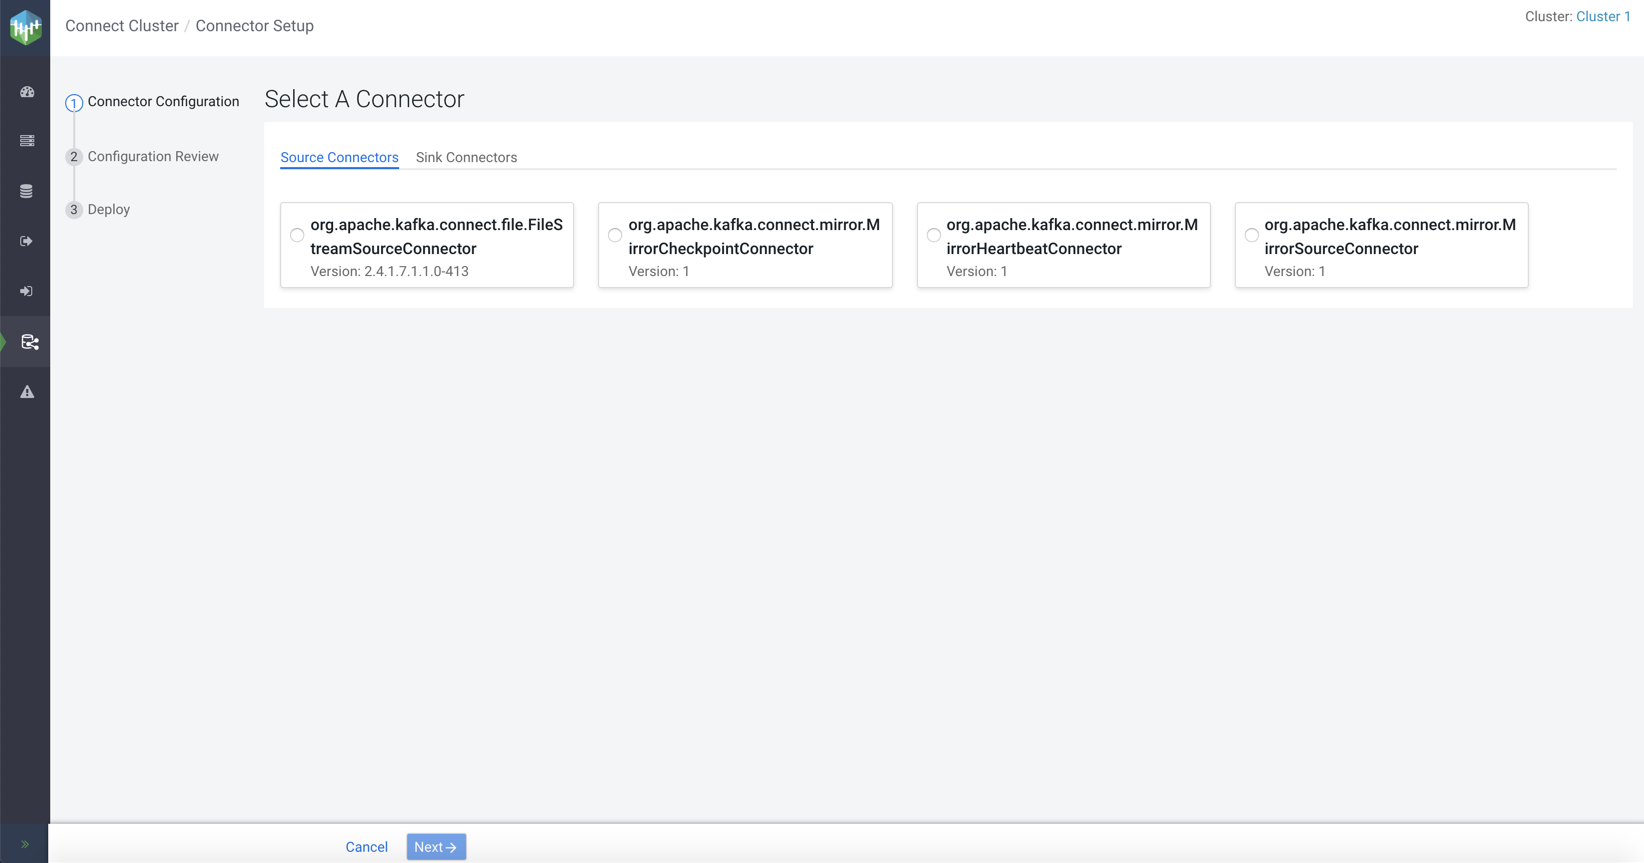
-
Select a connector.
The configuration options appear.
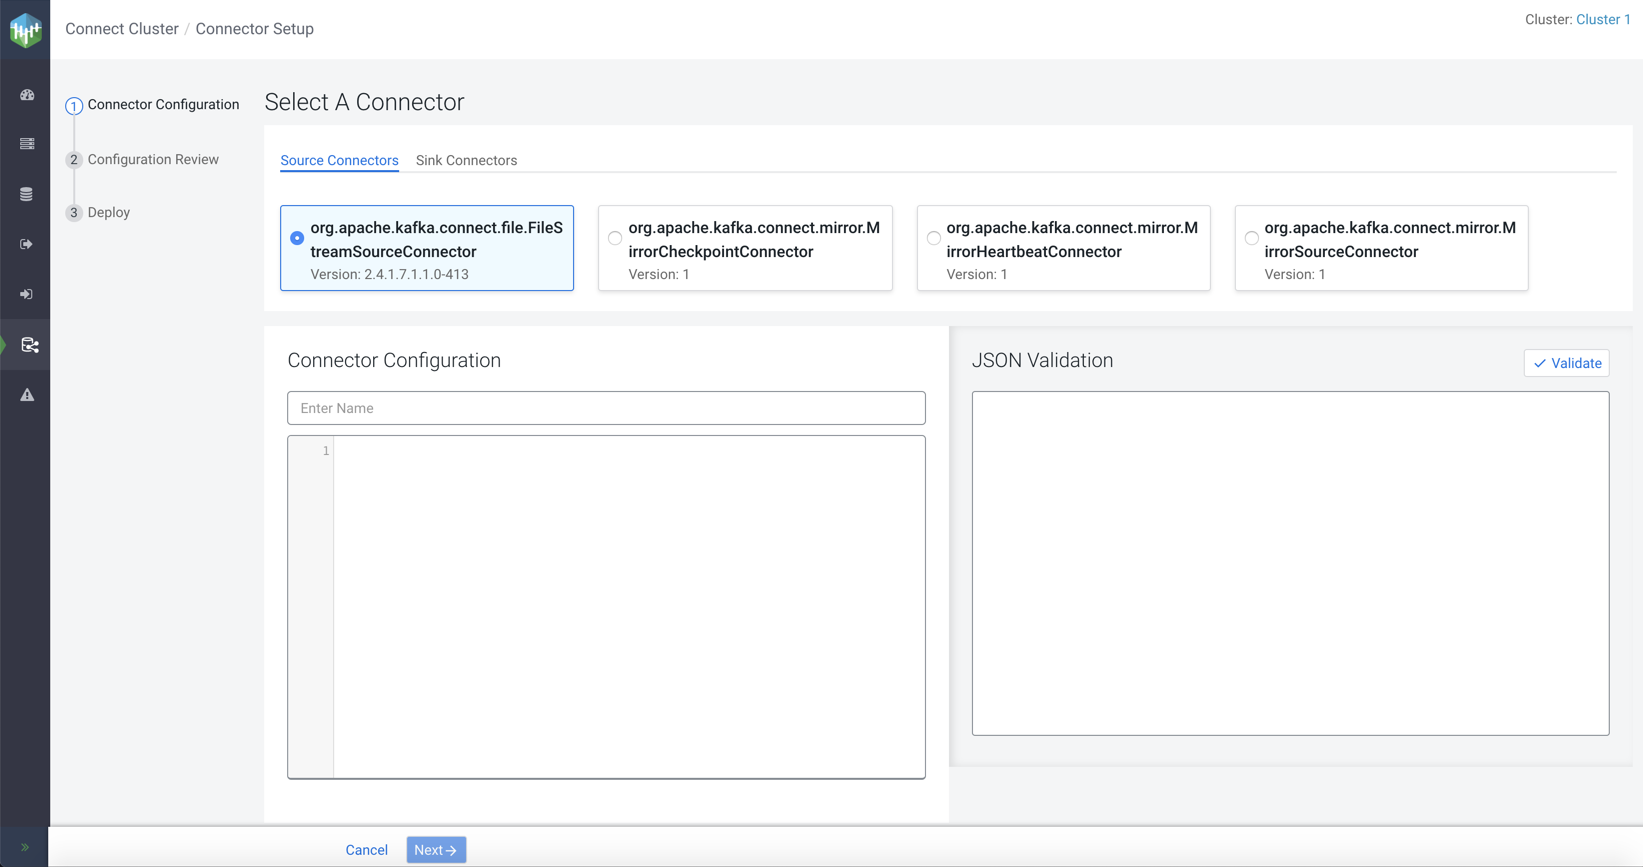
-
Enter a name for the connector in the Connector
Configuration section.
A sample configuration appears for some connectors.
The following image shows the sample configuration for HDFS sink connector:
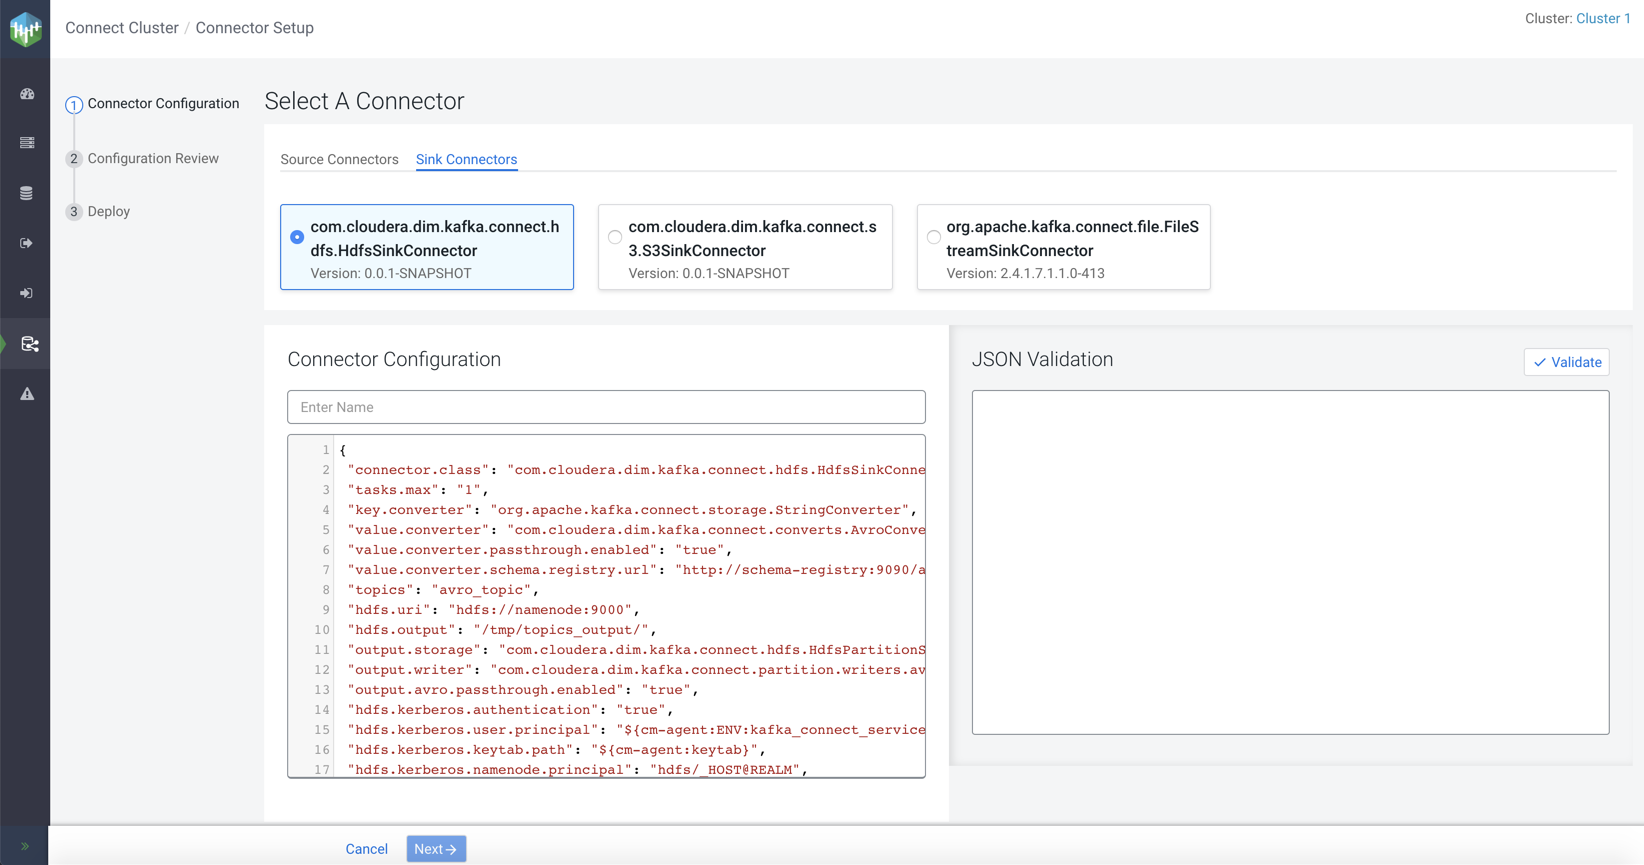
-
Click Next.
The
Configuration Reviewpage appears.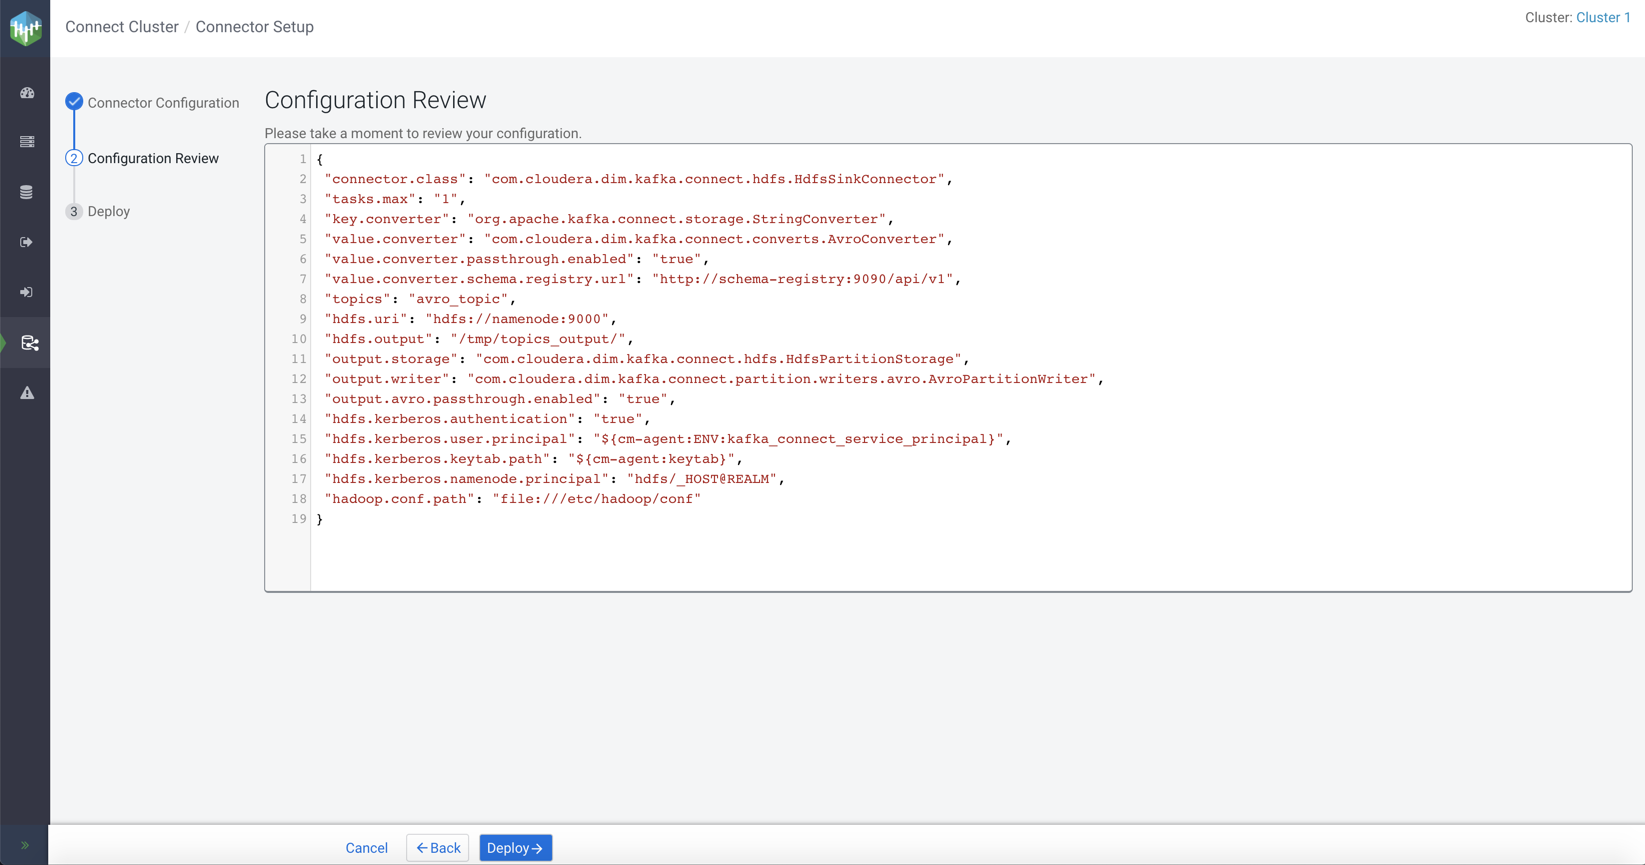
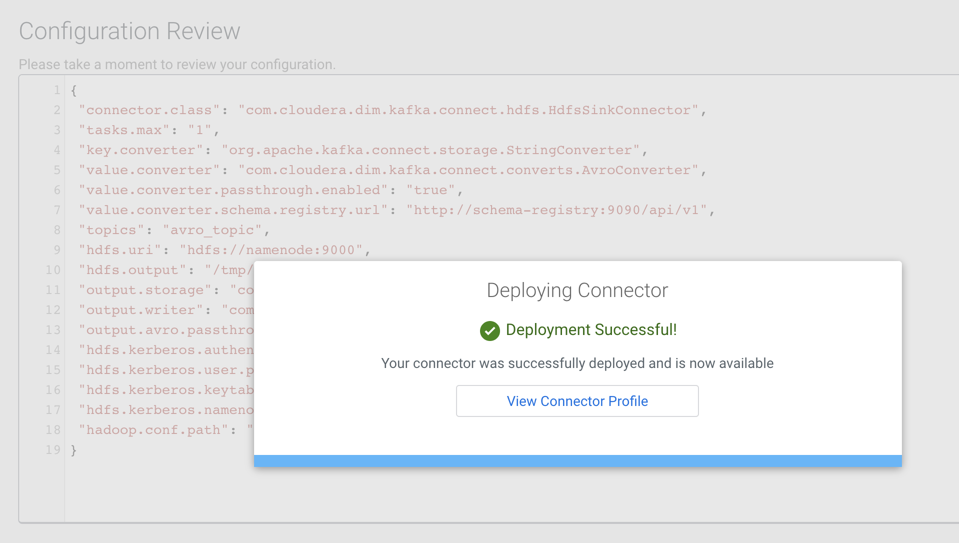
-
Review your connector configuration and click
Deploy.
The
Deploying Connectordialog appears.