Install Cloudera Runtime
After you have installed Cloudera Manager, log in to Cloudera Manager to access the Add Cluster - Installation wizard. Here you will add hosts to form a cluster and install Cloudera Runtime and Cloudera Manager Agent software.
- You have installed Cloudera Manager.
-
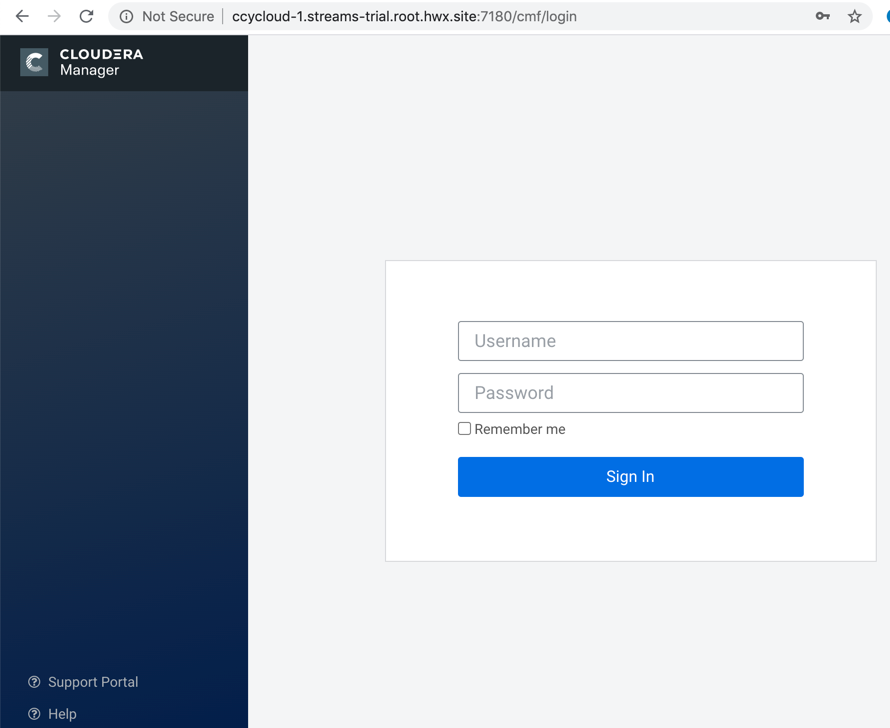
In a web browser, enter the URL that the Cloudera Manager Installer displayed
in the previous task:
http://<server_host>:7180, where <server_host> is the FQDN or IP address of the host where the Cloudera Manager Server is running.For example: http://ccycloud-1.streams-trial.root.hwx.site:7180The Cloudera Manager Sign In page appears.
-
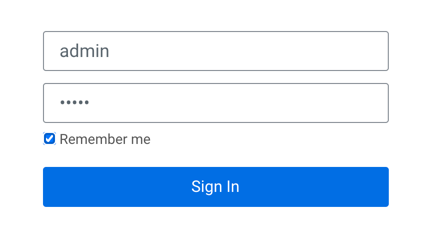
Sign in with the default credentials:
- Username:
admin - Password:
admin
Click Sign In.
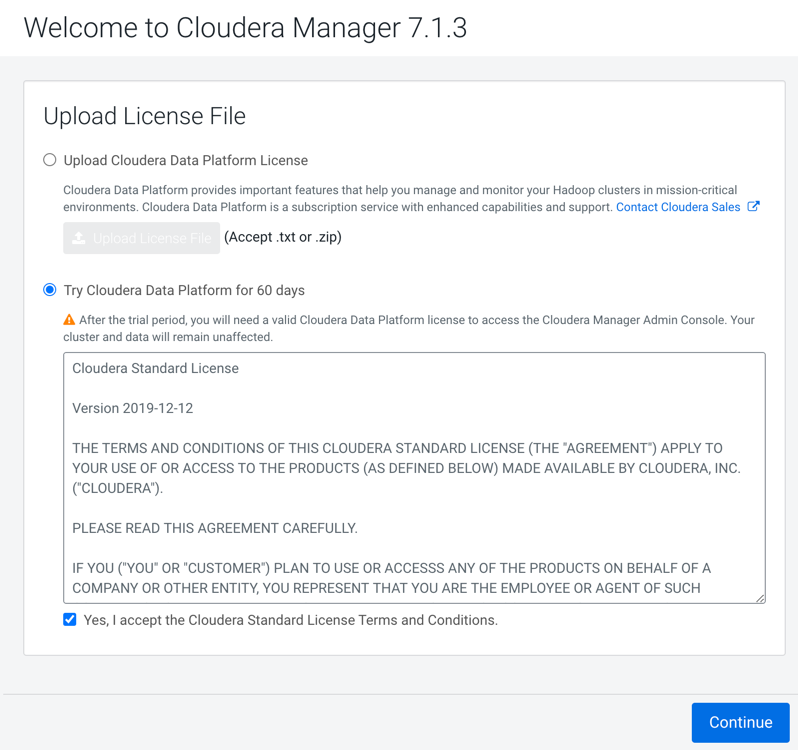
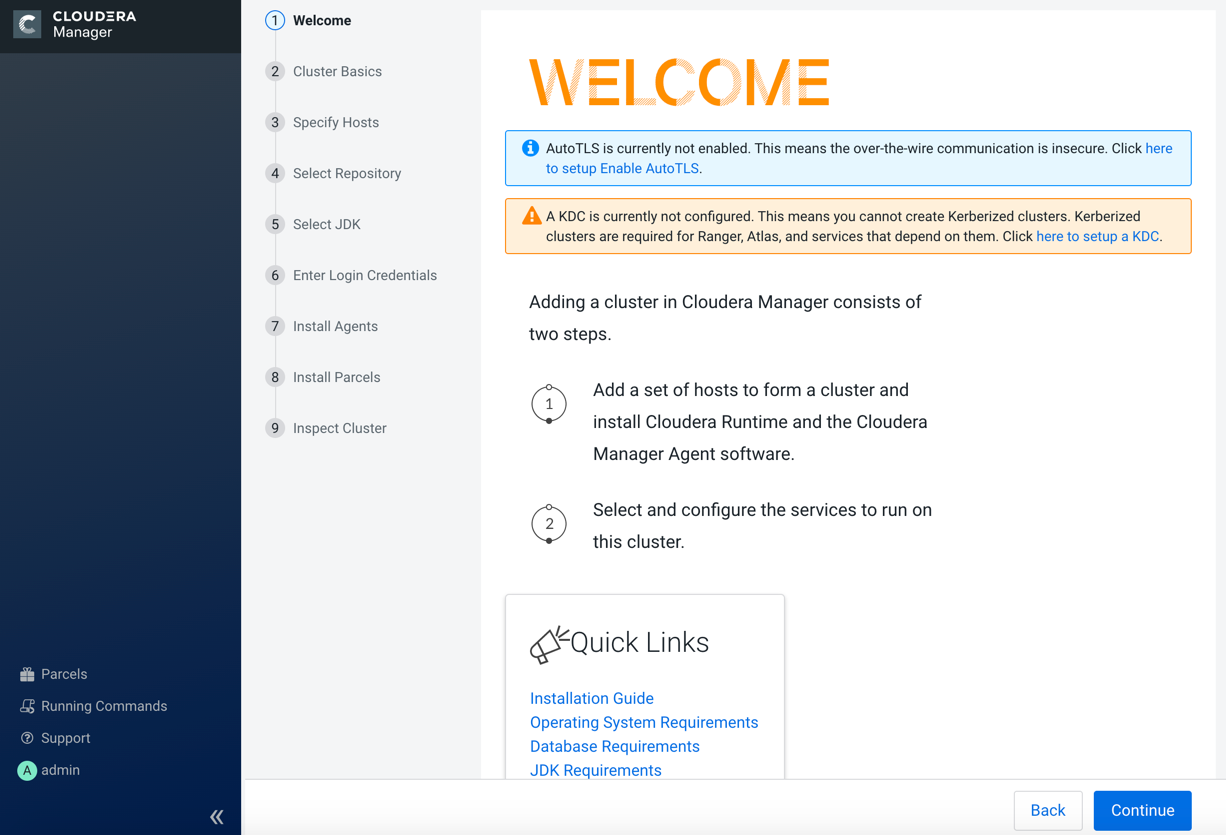
 The Welcome to Cloudera Manager page appears.
 - Username:
-
Select:
- Try Cloudera Data Platform for 60 days
- Yes, I accept the Cloudera Standard License Terms and Conditions
-
Click Continue.
The Add Cluster - Installation page, Welcome section appears. The steps on the left let you know where you are in the workflow.
-
Enter a name for the cluster and click Continue.
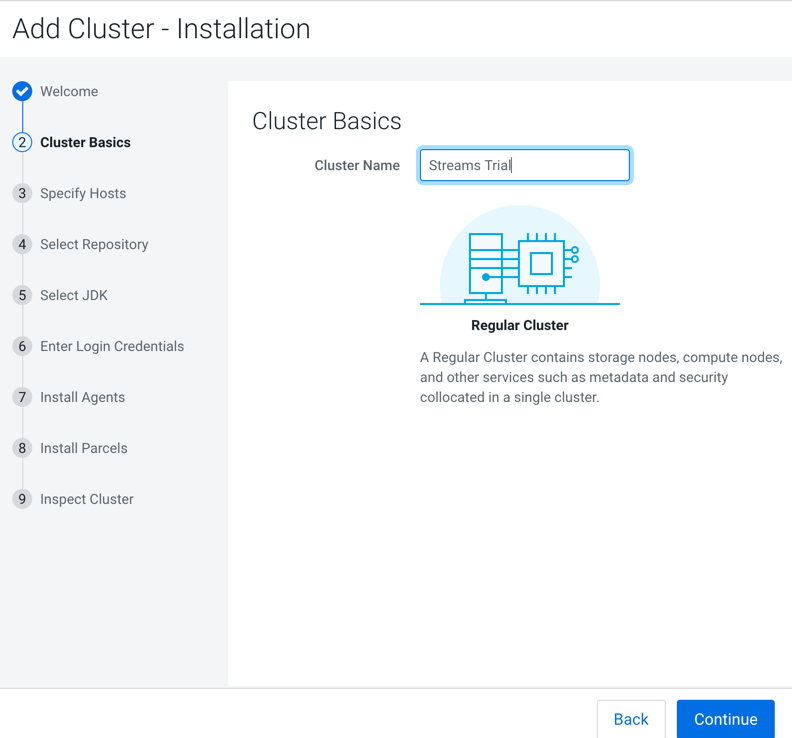 The Specify Hosts section appears.
 -
Enter the cluster host names or IP addresses in the
Hostnames field.
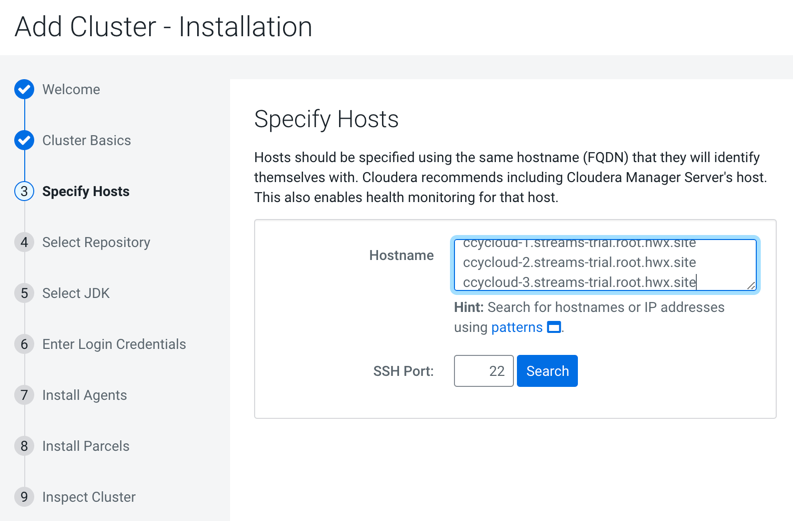 You can specify host name and IP address ranges as follows:
Expansion Range Matching Hosts 10.1.1.[1-4] 10.1.1.1, 10.1.1.2, 10.1.1.3, 10.1.1.4 host[1-3].example.com host1.example.com, host2.example.com, host3.example.com host[07-10].example.com host07.example.com, host08.example.com, host09.example.com, host10.example.com -
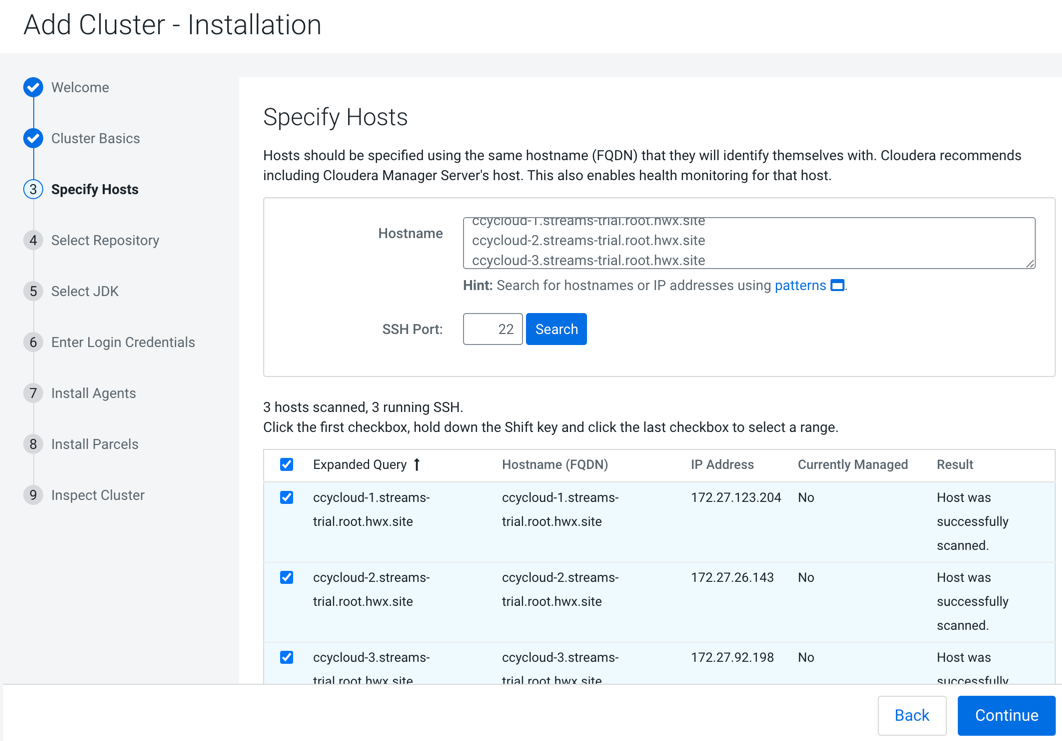
Click Search.
Cloudera Manager discovers the hosts.
-
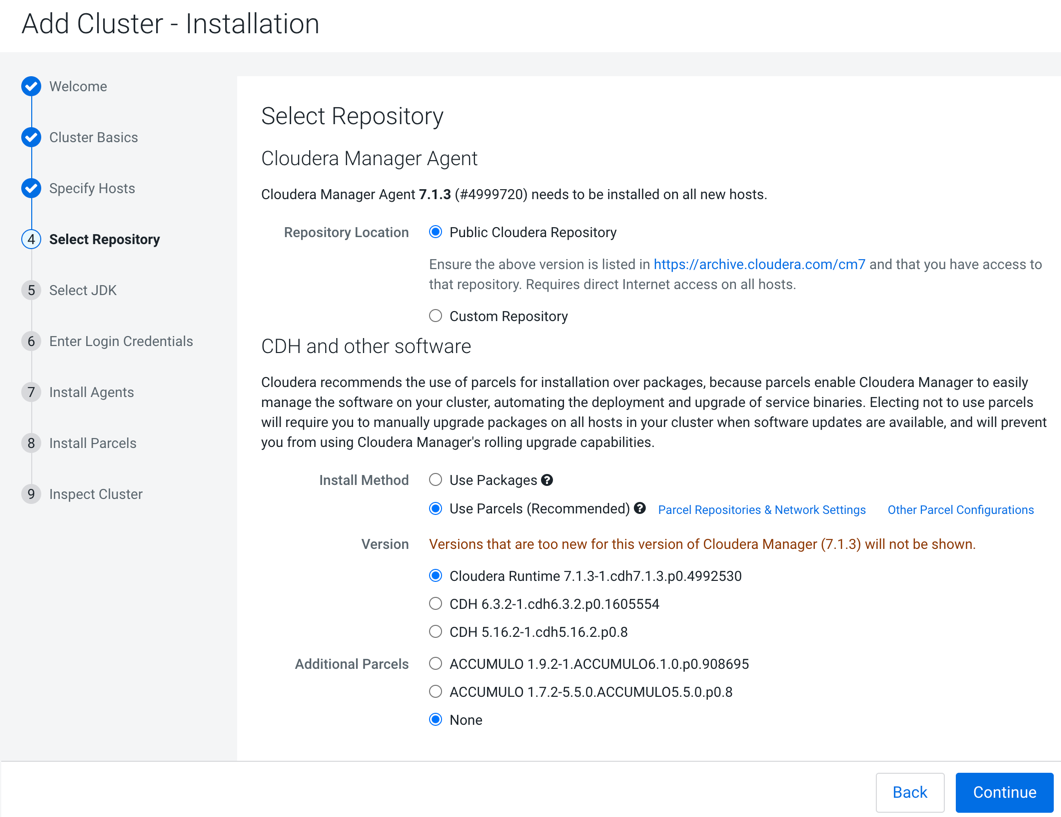
Select the following options:
- Public Cloudera Repository
- Use Parcels
- The version of Cloudera Runtime that you want to install.
- In the Additional Parcels section, None.
-
Select Install a Cloudera-provided version of
OpenJDK.

-
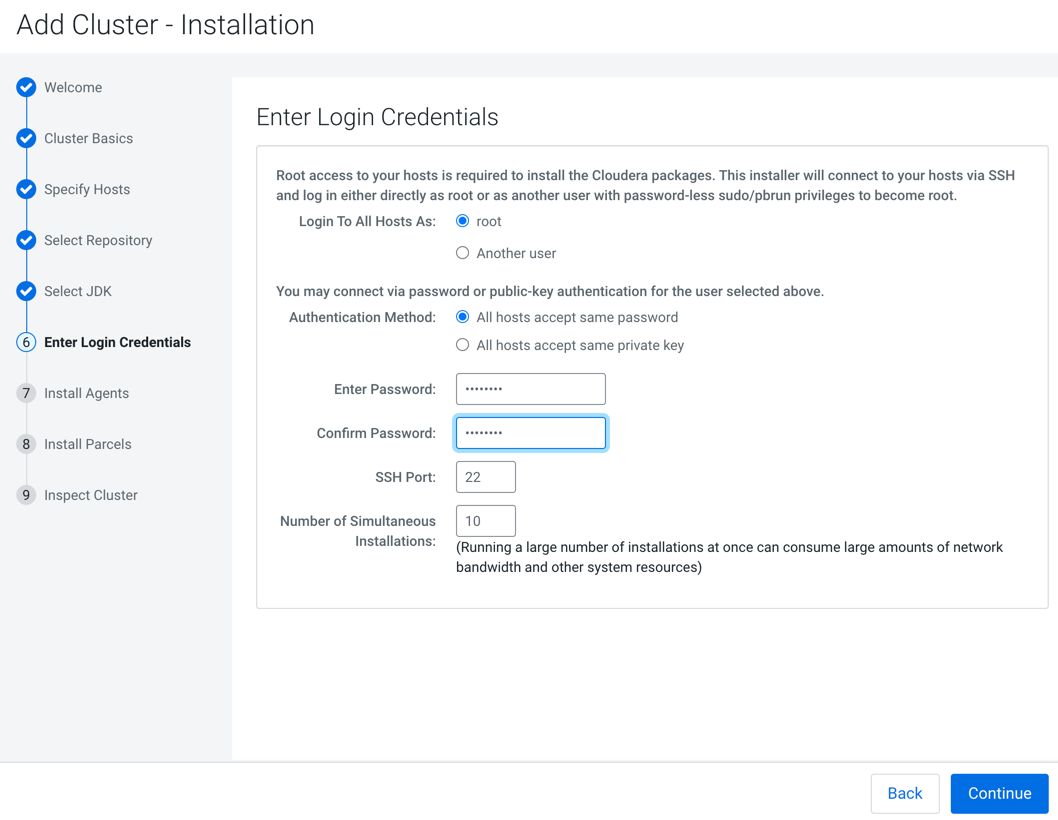
Do the following:
- Select root.
- Select All hosts accept same password.
- Enter the password for the account that allows root access to your hosts.
- Click Continue.
 The Install Agents section appears showing the progress of the installation.
 After the agents are installed, the Install Parcels section appears showing the progress of the parcel installation.
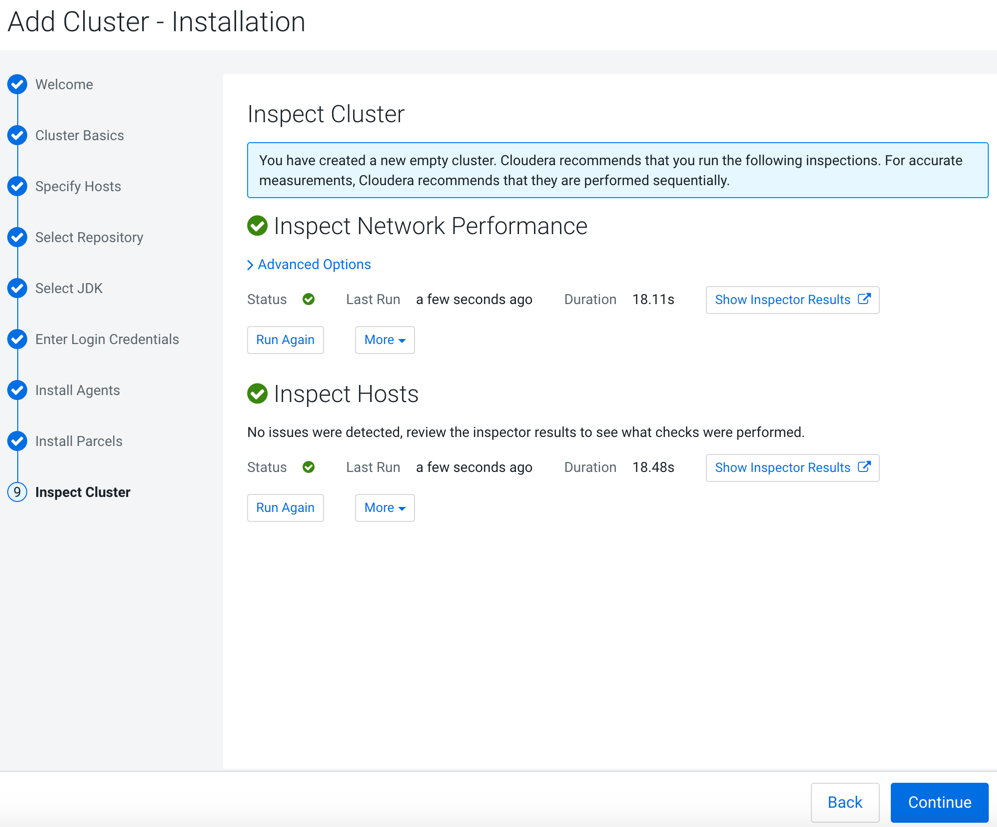
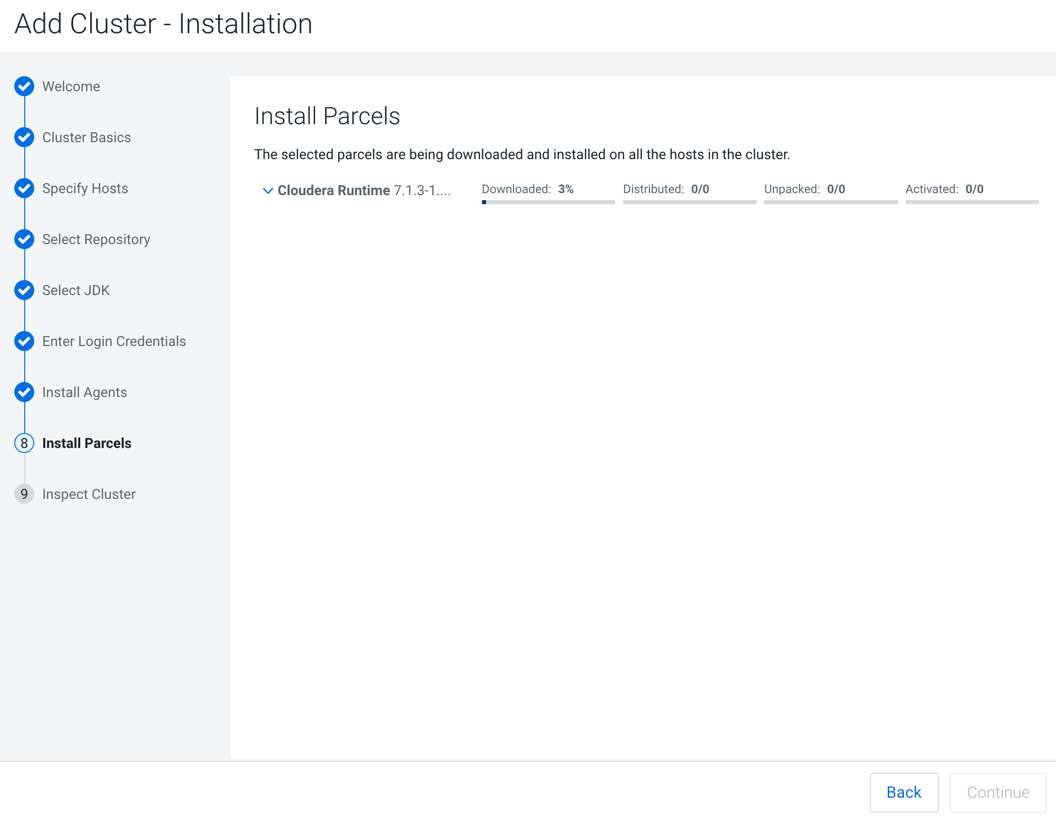 After the parcels are installed the Inspect Cluster section appears.
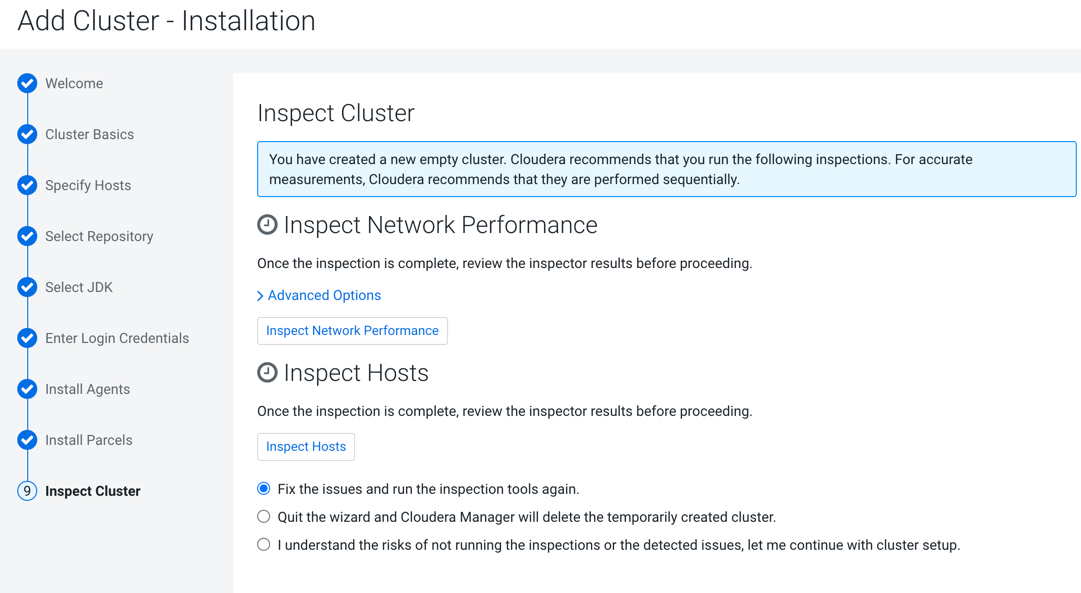
-
Do the following:
-
Click Continue.
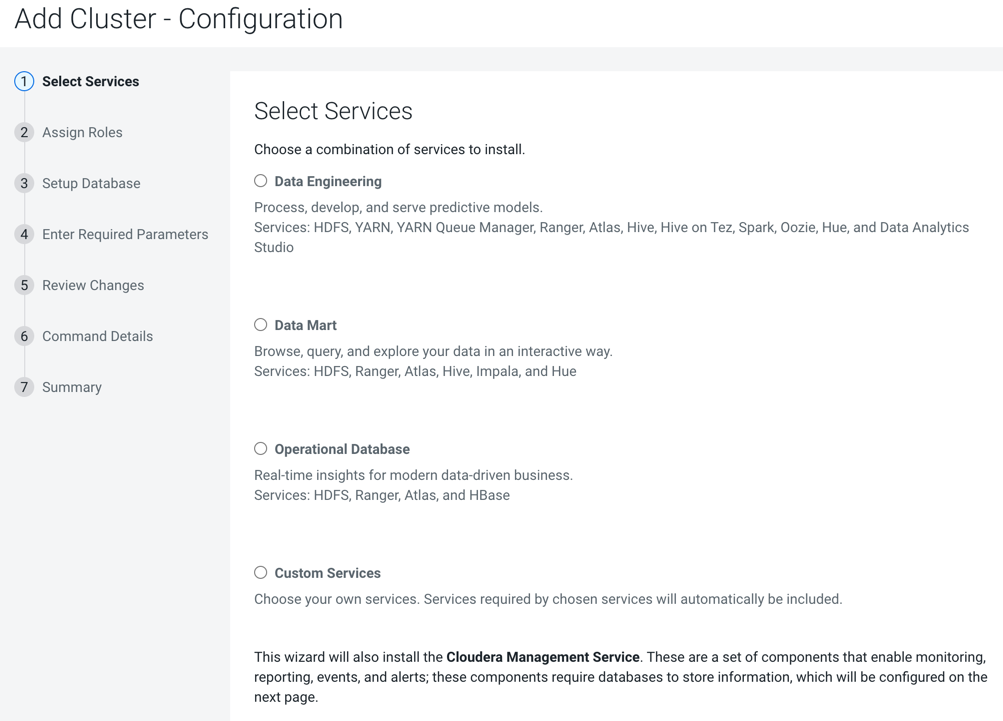
The Add Cluster - Configuration page appears.