Configuring Replication of HDFS Data
You must set up your clusters before you plan HDFS data replication.
- Verify that your cluster conforms to one of the supported replication scenarios.
-
If you are using different Kerberos principals for the source and destination clusters,
add the destination principal as a proxy user on the source cluster. For
example, if you are using the
hdfssrcprincipal on the source cluster and thehdfsdestprincipal on the destination cluster, add the following properties to the HDFS service Cluster-wide Advanced Configuration Snippet (Safety Valve) for core-site.xml property on the source cluster:<property> <name>hadoop.proxyuser.hdfsdest.groups</name> <value>*</value> </property> <property> <name>hadoop.proxyuser.hdfsdest.hosts</name> <value>*</value> </property>Deploy the client configuration and restart all services on the source cluster, if the source cluster is managed by a different Cloudera Manager server than the destination cluster.
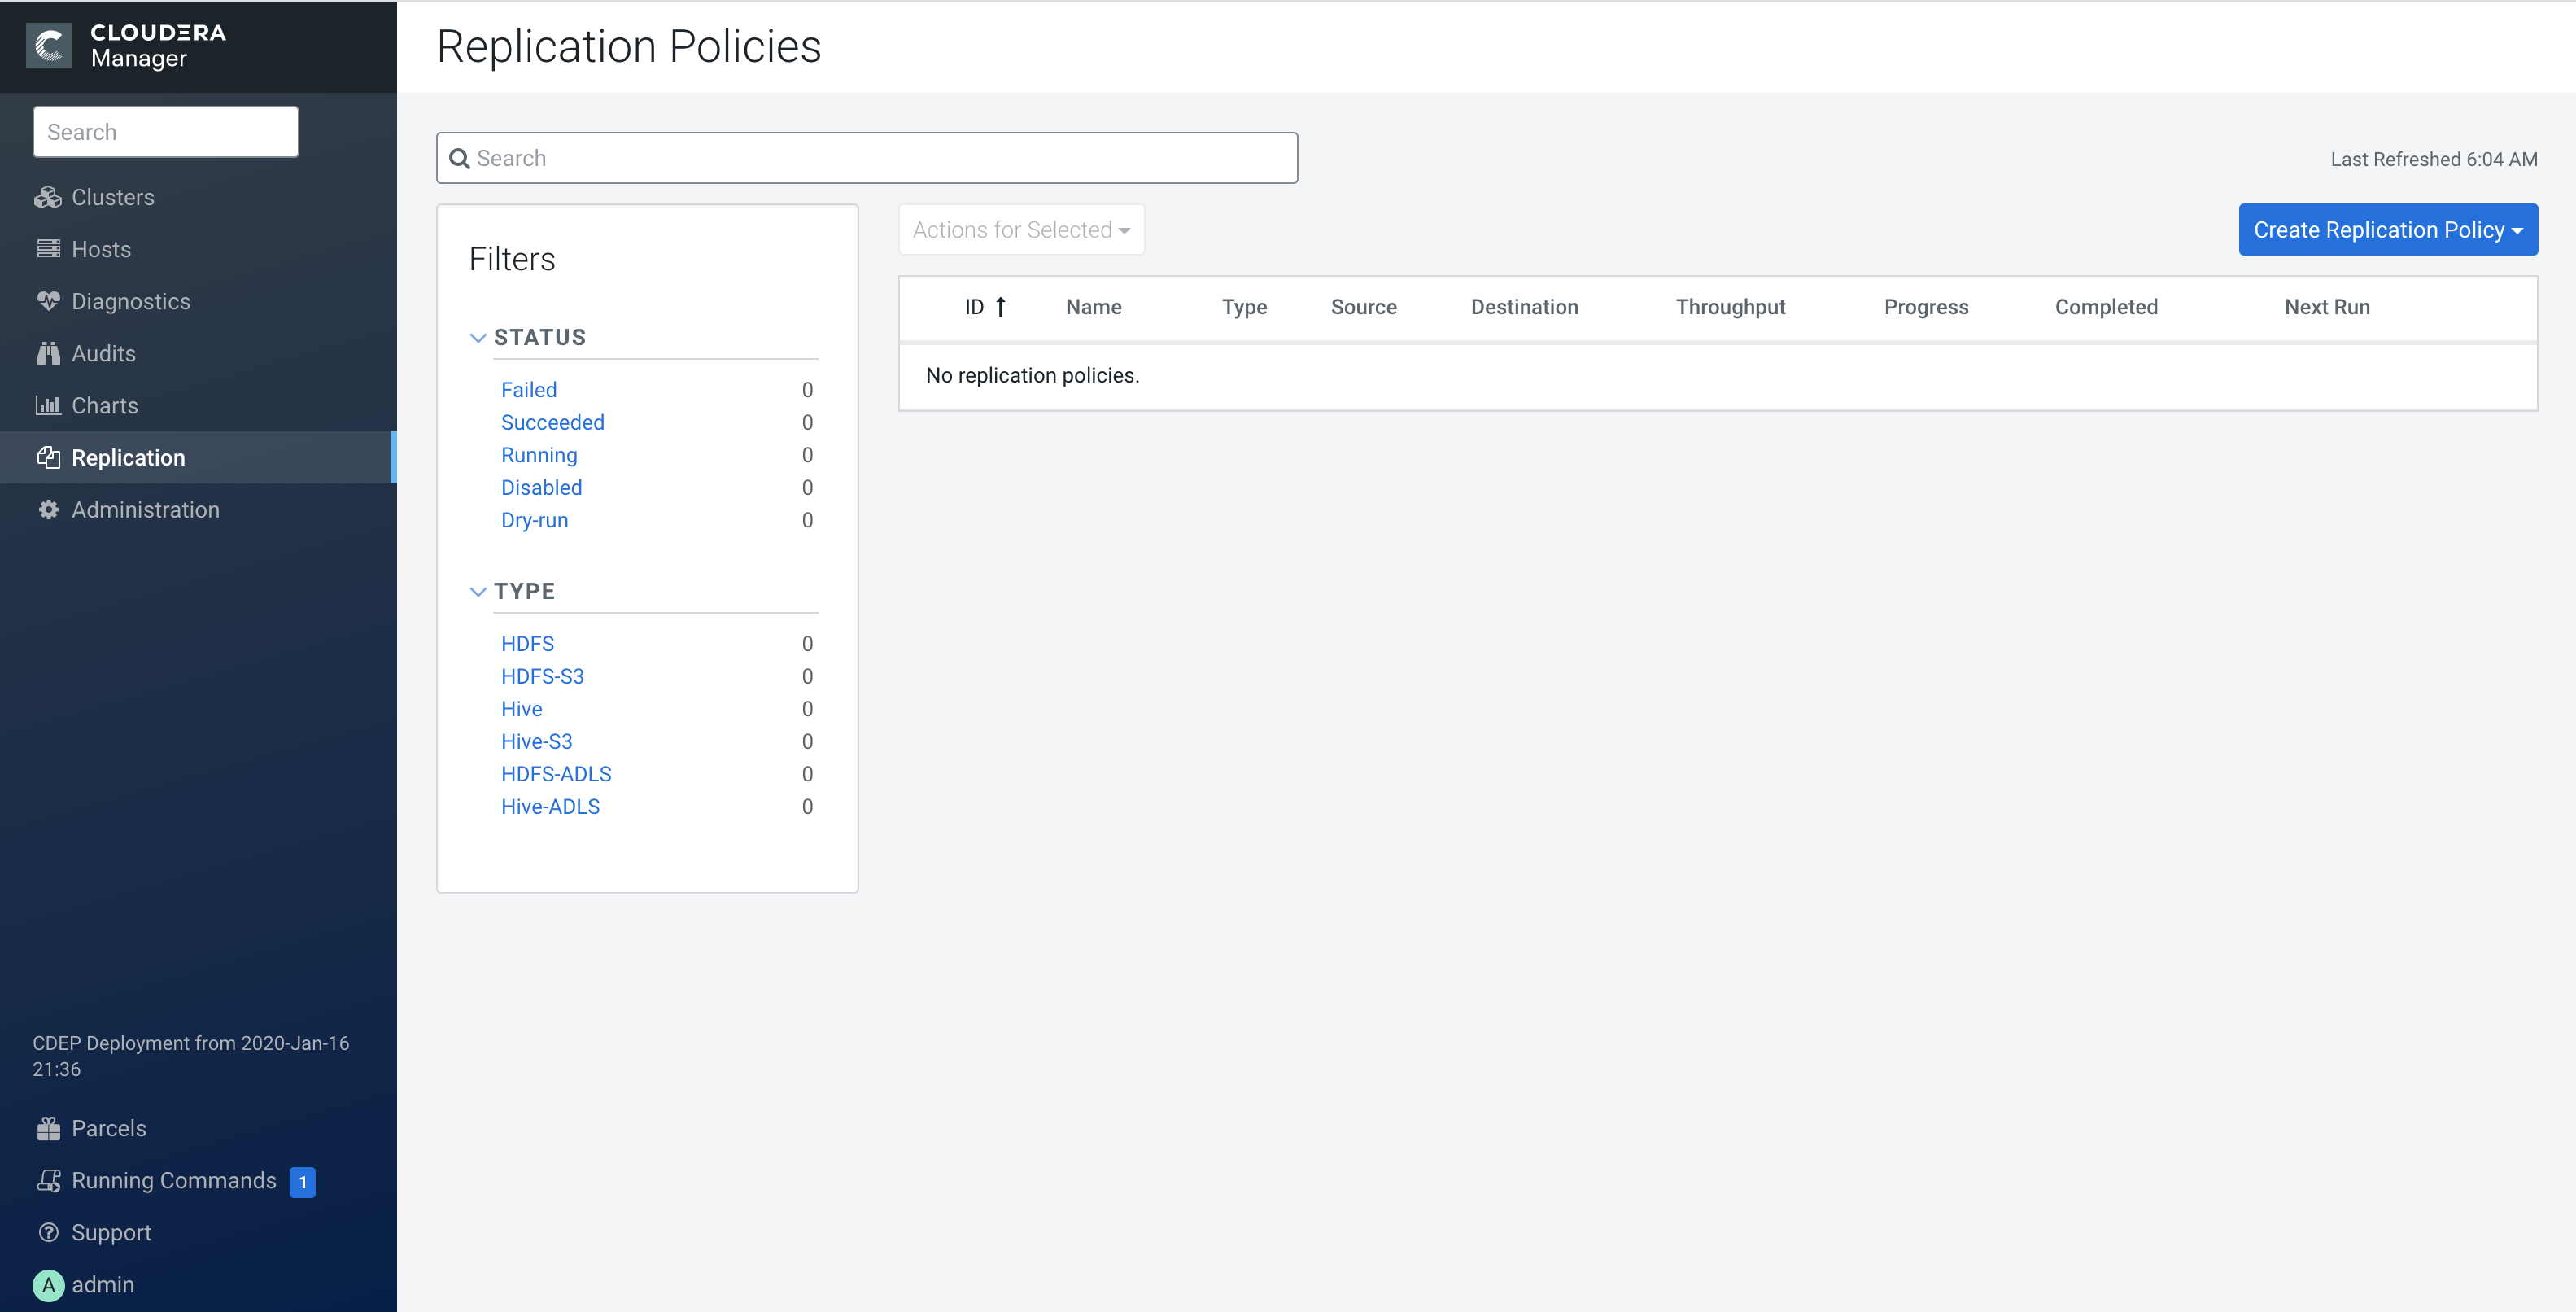
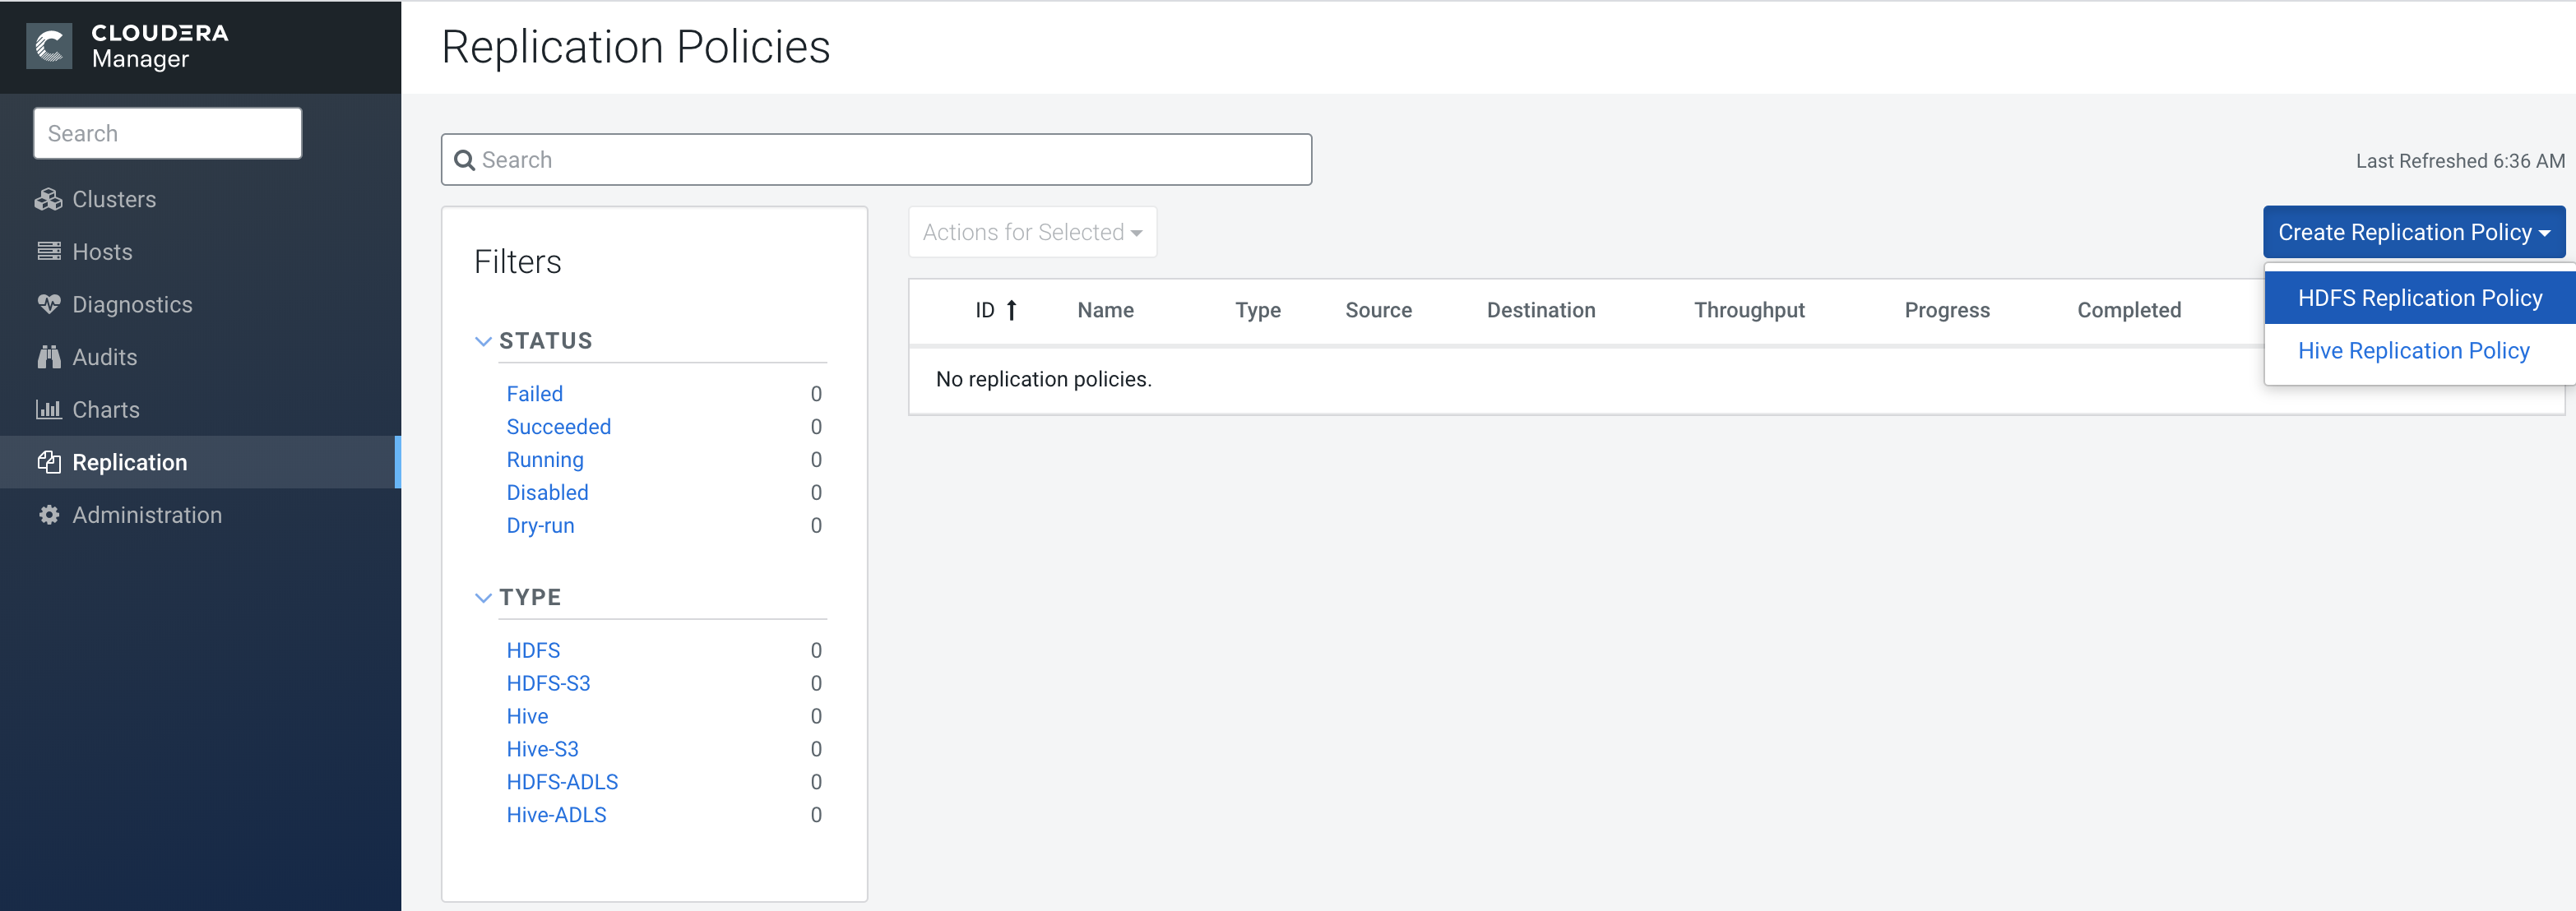
- From Cloudera Manager, select Replication > Replication Policies.
- Select HDFS Replication Policy.
-
In the General tab, you can configure the following options:
- Click the Name field and add a unique name for the replication policy.
- Click the Source field and select the source HDFS service. You can select HDFS services managed by a peer Cloudera Manager Server, local HDFS services (managed by the Cloudera Manager Server for the Admin Console you are logged into).
- Enter the Source Path to the directory (or file) you want to replicate.
- Click the Destination field and select the destination HDFS service from the HDFS services managed by the Cloudera Manager Server for the Admin Console you are logged into.
- Enter the Destination Path where the source files should be saved.
- Select a Schedule:
- Immediate - Run the schedule Immediately.
- Once - Run the schedule one time in the future. Set the date and time.
- Recurring - Run the schedule periodically in the future. Set the date, time, and interval between runs.
- Enter the user to run the replication job in the Run As Username field. By
default this is
hdfs. If you want to run the job as a different user, enter the user name here. If you are using Kerberos, you must provide a user name here, and it must be one with an ID greater than 1000. (You can also configure the minimum user ID number with the min.user.id property in the YARN or MapReduce service.) Verify that the user running the job has a home directory, /user/username, owned by username:supergroup in HDFS. This user must have permissions to read from the source directory and write to the destination directory. Note the following:- The User must not be present in the list of banned users specified with the Banned System Users property in the YARN configuration (Go to the YARN service, select Configuration tab and search for the property). For security purposes, the hdfs user is banned by default from running YARN containers.
- The requirement for a user ID that is greater than 1000 can be overridden by adding the user to the "white list" of users that is specified with the Allowed System Users property. (Go to the YARN service, select the Configuration tab and search for the property.)
-
Select the Resources tab to configure the following:
- Scheduler Pool – (Optional) Enter the name of a resource pool in the field.
The value you enter is used by the MapReduce Service you specified when
Cloudera Manager executes the MapReduce job for the replication. The job specifies the
value using one of these properties:
-
- MapReduce – Fair scheduler: mapred.fairscheduler.pool
- MapReduce – Capacity scheduler: queue.name
- YARN – mapreduce.job.queuename
- Maximum Map Slots - Limits for the number of map slots per mapper. The default value is 20.
- Maximum Bandwidth - Limits for the bandwidth per mapper. The default is 100 MB.
- Replication Strategy - Whether file replication tasks should be distributed among the mappers statically or dynamically. (The default is Dynamic.) Static replication distributes file replication tasks among the mappers up front to achieve a uniform distribution based on the file sizes. Dynamic replication distributes file replication tasks in small sets to the mappers, and as each mapper completes its tasks, it dynamically acquires and processes the next unallocated set of tasks.
-
- Scheduler Pool – (Optional) Enter the name of a resource pool in the field.
The value you enter is used by the MapReduce Service you specified when
Cloudera Manager executes the MapReduce job for the replication. The job specifies the
value using one of these properties:
-
Select the Advanced Options tab, to configure the following:
- Add Exclusion - Click the link to exclude one or more paths from the
replication. The Regular Expression-Based Path Exclusion field
displays, where you can enter a regular expression-based path. When you add an
exclusion, include the snapshotted relative path for the regex. For example, to exclude
the
/user/bdrdirectory, use the following regular expression, which includes the snapshots for thebdrdirectory:.*/user/\.snapshot/.+/bdr.*To exclude top-level directories from replication in a globbed source path, you can specify the relative path for the regex without including .snapshot in the path. For example, to exclude the
bdrdirectory from replication, use the following regular expression:.*/user+/bdr.*You can add more than one regular expression to exclude.
- MapReduce Service - The MapReduce or YARN service to use.
- Log path - An alternate path for the logs.
- Description - A description of the replication policy.
- Error Handling - You can select the following:
- Skip Checksum Checks - Whether to skip checksum checks on the copied files.
If checked, checksums are not validated. Checksums are checked by default.
- Skip Listing Checksum Checks - Whether to skip checksum check when comparing two files to determine whether they are same or not. If skipped, the file size and last modified time are used to determine if files are the same or not. Skipping the check improves performance during the mapper phase. Note that if you select the Skip Checksum Checks option, this check is also skipped.
- Abort on Error - Whether to abort the job on an error. If selected, files copied up to that point remain on the destination, but no additional files are copied. Abort on Error is off by default.
- Abort on Snapshot Diff Failures - If a snapshot diff fails during replication, Replication Manager uses a complete copy to replicate data. If you select this option, the Replication Manager aborts the replication when it encounters an error instead.
- Skip Checksum Checks - Whether to skip checksum checks on the copied files.
If checked, checksums are not validated. Checksums are checked by default.
- Preserve - Whether to preserve the block size, replication count, permissions (including ACLs), and extended attributes (XAttrs) as they exist on the source file system, or to use the settings as configured on the destination file system. By default source system settings are preserved. When Permission is checked, and both the source and destination clusters support ACLs, replication preserves ACLs. Otherwise, ACLs are not replicated. When Extended attributes is checked, and both the source and destination clusters support extended attributes, replication preserves them. (This option only displays when both source and destination clusters support extended attributes.)
- Delete Policy - Whether files that were deleted on the
source should also be deleted from the destination directory. This policy also
determines the handling of files in the destination location that are unrelated to the
source. Options include:
- Keep Deleted Files - Retains the destination files even when they no longer exist at the source. (This is the default.).
- Delete to Trash - If the HDFS trash is enabled, files are moved to the trash folder.
- Delete Permanently - Uses the least amount of space; use with caution. This option does not delete the files and directories in the top level directory. This is in line with rsync/Hadoop DistCp behaviour.
-
Alerts - Whether to generate alerts for various state changes in the replication workflow. You can alert on failure, on start, on success, or when the replication workflow is aborted.
- Add Exclusion - Click the link to exclude one or more paths from the
replication. The Regular Expression-Based Path Exclusion field
displays, where you can enter a regular expression-based path. When you add an
exclusion, include the snapshotted relative path for the regex. For example, to exclude
the
-
Click Save Policy.
The replication task now appears as a row in the Replication Policies table. (It can take up to 15 seconds for the task to appear.)
If you selected Immediate in the Schedule field, the replication job begins running when you click Save Policy.
To specify additional replication tasks, select Create > HDFS Replication.