Use case 2: Enabling Auto-TLS with an intermediate CA signed by an existing Root CA
You can make the Cloudera Manager CA an intermediate CA to an existing Root CA.
This is a three-step process. First, make
Cloudera Manager generate a Certificate Signing Request (CSR). Second, have the CSR signed by
the company’s Certificate Authority (CA). Third, provide the signed certificate chain to
continue the Auto-TLS setup. The following example demonstrates these three steps.
- Initialize the certmanager with –stop-at-csr option before starting the Cloudera
Manager:
JAVA_HOME=/usr/lib/jvm/java-1.8.0-openjdk;
            /opt/cloudera/cm-agent/bin/certmanager --location
            /var/lib/cloudera-scm-server/certmanager setup --configure-services
            --stop-at-csr
. - This generates a Certificate Signing Request (CSR) file at /var/lib/cloudera-scm-server/certmanager/CMCA/private/ca_csr.pem. If you examine the CSR closely, you notice the CSR request the necessary extension X509v3 Key Usage: critical Certificate Sign to sign certificates on its own.
- Sign the ca_csr.pem file with your root CA certificate.
- After you have the signed certificate, make sure that the certificate has the required extensions – X509v3 Basic Constraints: CA: TRUE and X509v3 Key Usage: Key Cert Sign.
- Proceed with the installation with the following command:
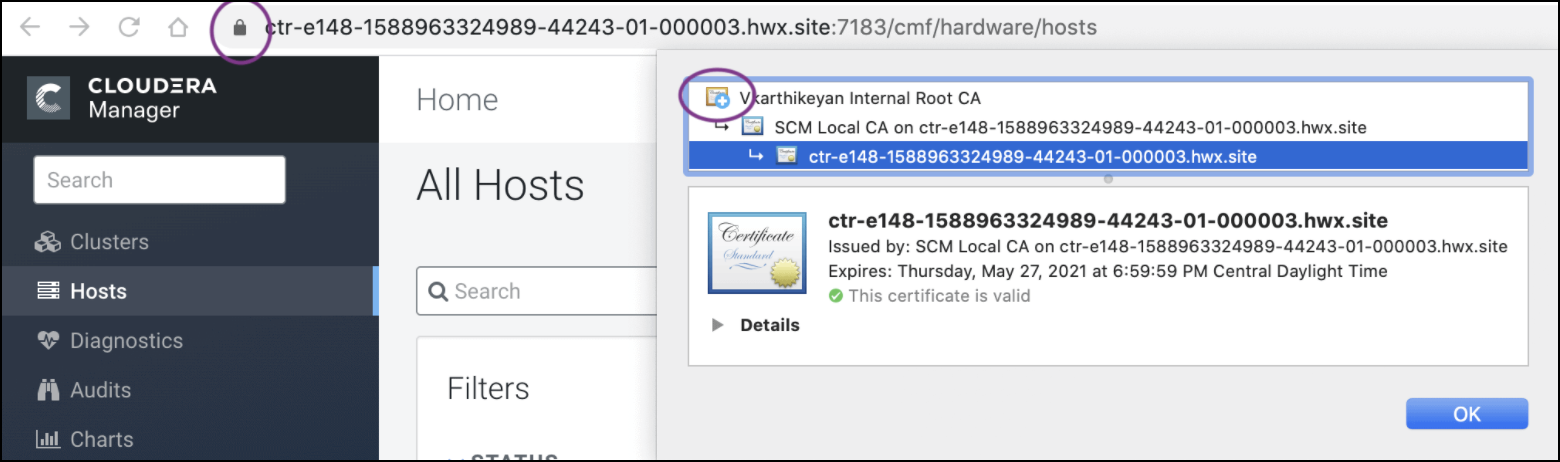
.JAVA_HOME=/usr/lib/jvm/java-1.8.0-openjdk; /opt/cloudera/cm-agent/bin/certmanager --location /var/lib/cloudera-scm-server/certmanager setup --configure-services --signed-ca-cert=cm_cert_chain.pem. X509v3 Basic Constraints: critical CA:TRUE, pathlen:0 X509v3 Key Usage: critical Digital Signature, Certificate Sign, CRL Sign - Start Cloudera Manager on TLS port 7183. If the signed intermediate certificate is
already imported into the client browser’s truststore, then you should not see any
warnings. In the screenshot below, “Vkarthikeyan Internal Root CA” is the root
certificate. This certificate is already trusted by the system and has signed the Cloudera
intermediate CA.