Add the user or group to a pre-defined access policy
When an authenticated user attempts to view, create, edit, or delete a Schema Registry entity, the system checks whether the user has privileges to perform that action. These privileges are determined by the Ranger access policies that a user is associated with.
For Ranger policies to work, you must have a user group named
schemaregistry. If you use UNIX PAM, the
schemaregistry user group must be on the node that hosts Schema
Registry.
Determine the permissions required by a user or user group and accordingly add the user or group to the appropriate pre-defined access policy.
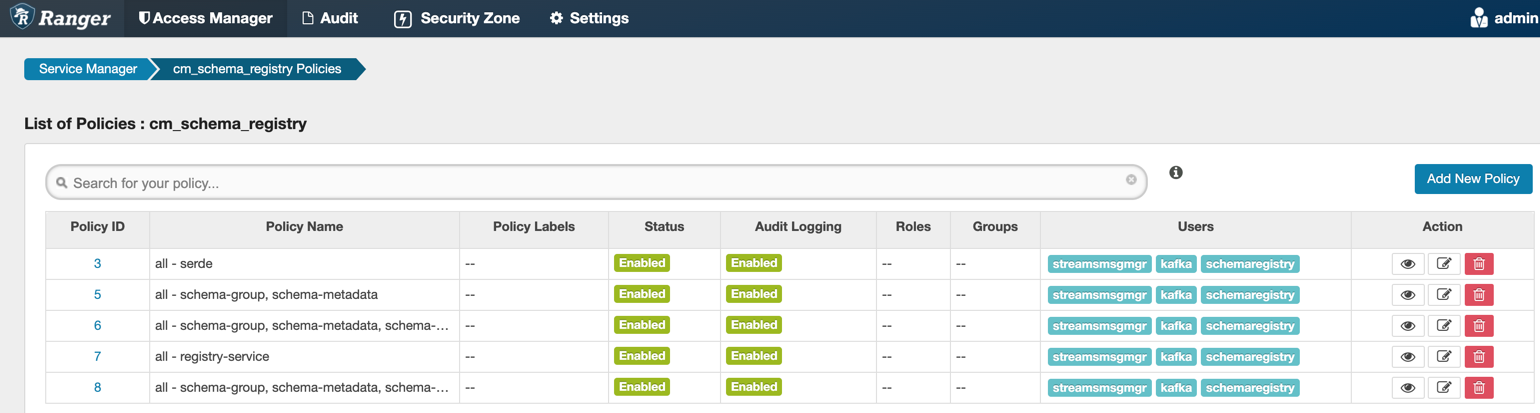
Each pre-defined access policy controls access to one or more Schema Registry entities.
-
Click the Ranger Admin Web UI link.

The Ranger Log In page appears. -
Select a cluster from the Schema Registry section.
The List of Policies page appears.
-
In the Allow Conditions section, add the user or group
to the respective Select User or Select
Group field.
