Creating a connector using Kafka Connect in SMM
Learn how to create a connector through Kafka Connect in your cluster.
Perform the following steps to create a connector:
-
Click the New Connector option in the upper right corner
of the
Connect Clusterpage.TheSelect A Connectorscreen appears.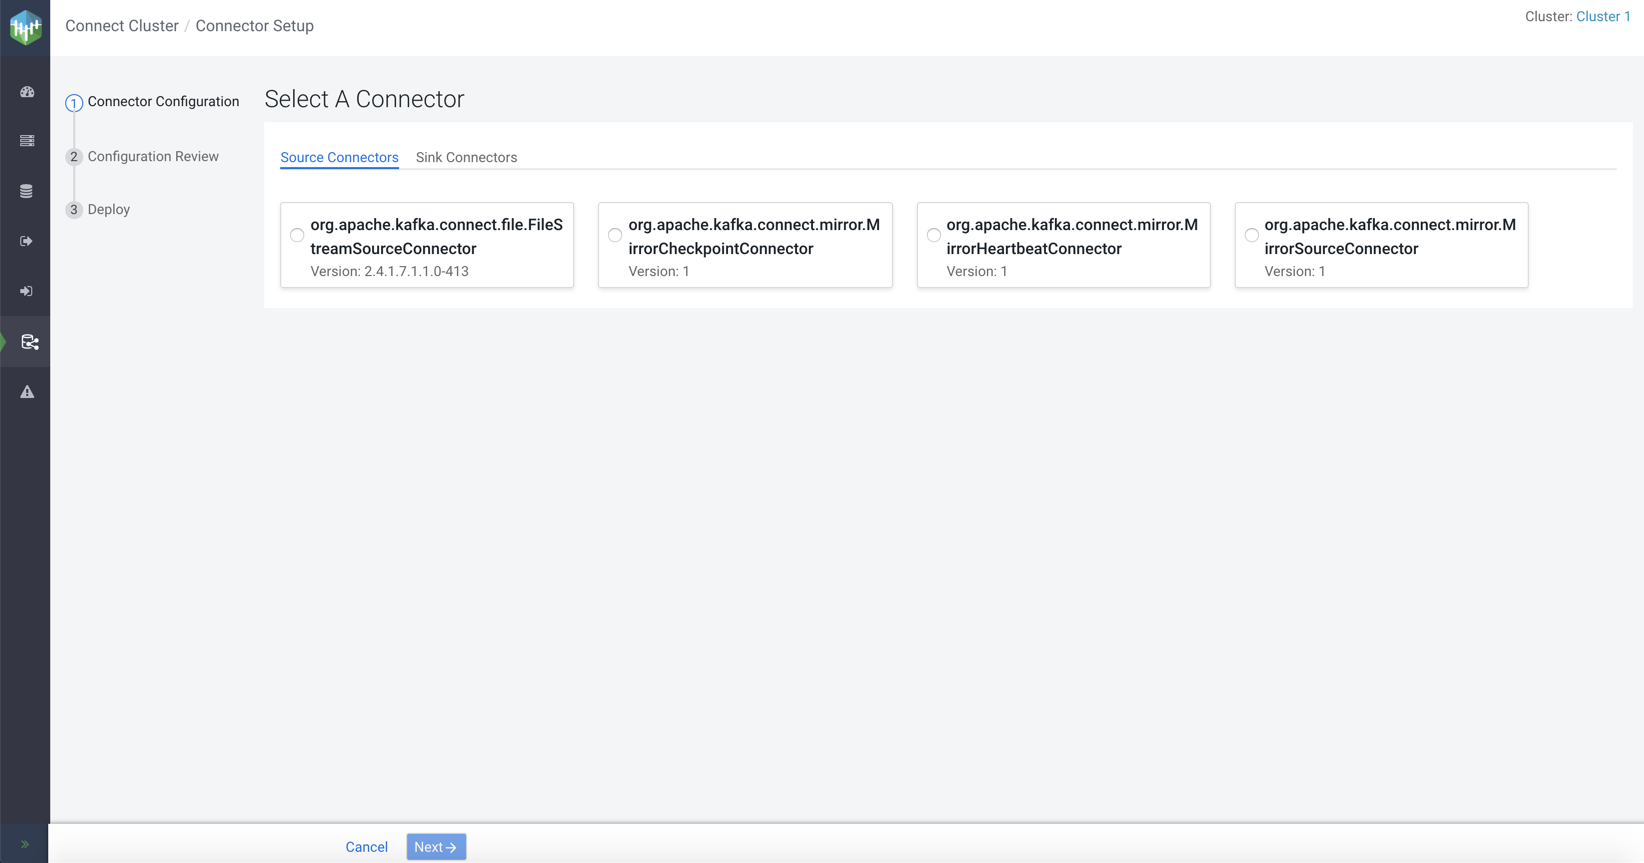
-
Go to Source Connectors or Sink
Connectors tab based on your requirement.
Both the tabs show the list of available connectors.
-
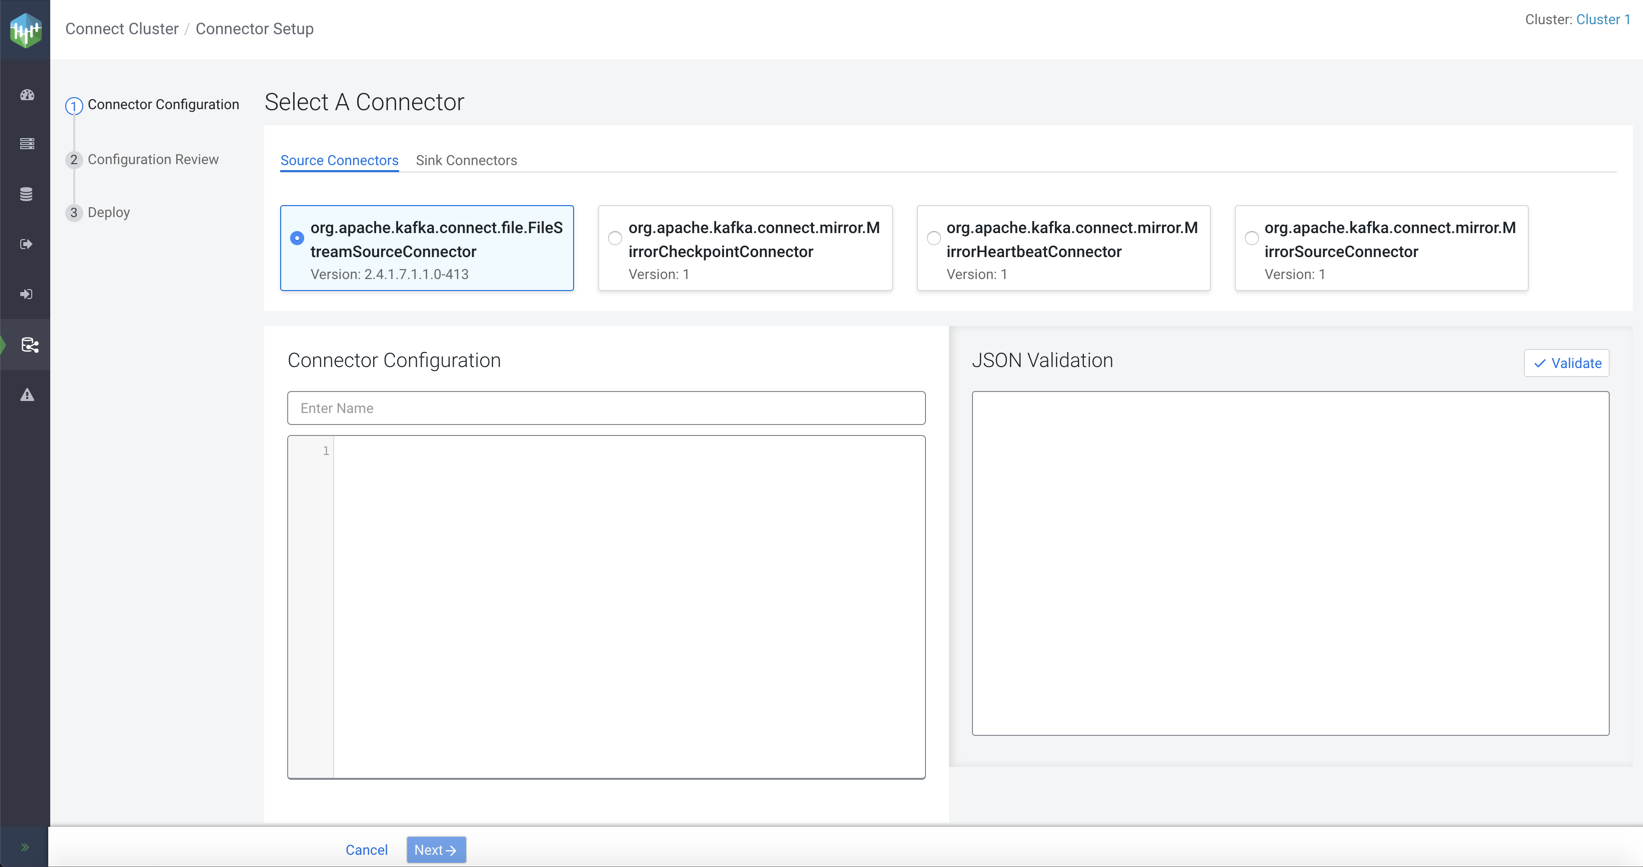
Select a connector.
The configuration options appear.
-
Enter a name for the connector in the Connector
Configuration section.
A sample configuration appears for some connectors.
The following image shows the sample configuration for HDFS sink connector: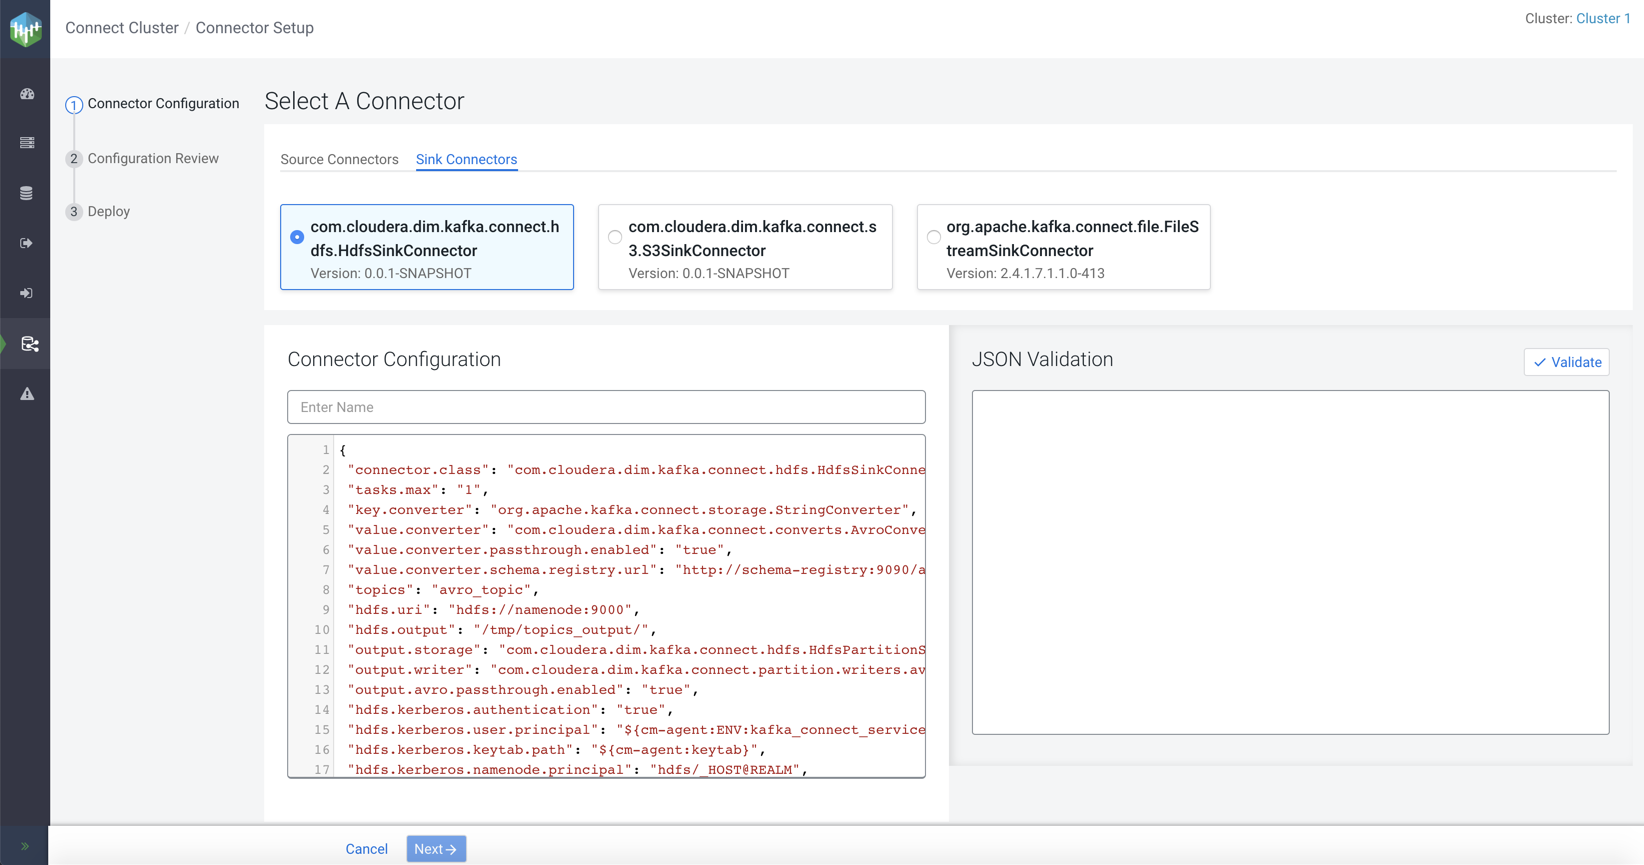
-
Optional. Modify the sample configuration as per your requirement.
You can refer to environment variables by using a syntax similar to
Also, as shown in the sample configuration, you can refer to the keytab path by specifying${cm-agent:ENV:ENVIRONMENT_VARIABLE_NAME}. You should replace theENVIRONMENT_VARIABLE_NAMEwith the exact environment variable name.${cm-agent:keytab}. - Click Validate.
-
Click Next.
The
Configuration Reviewpage appears.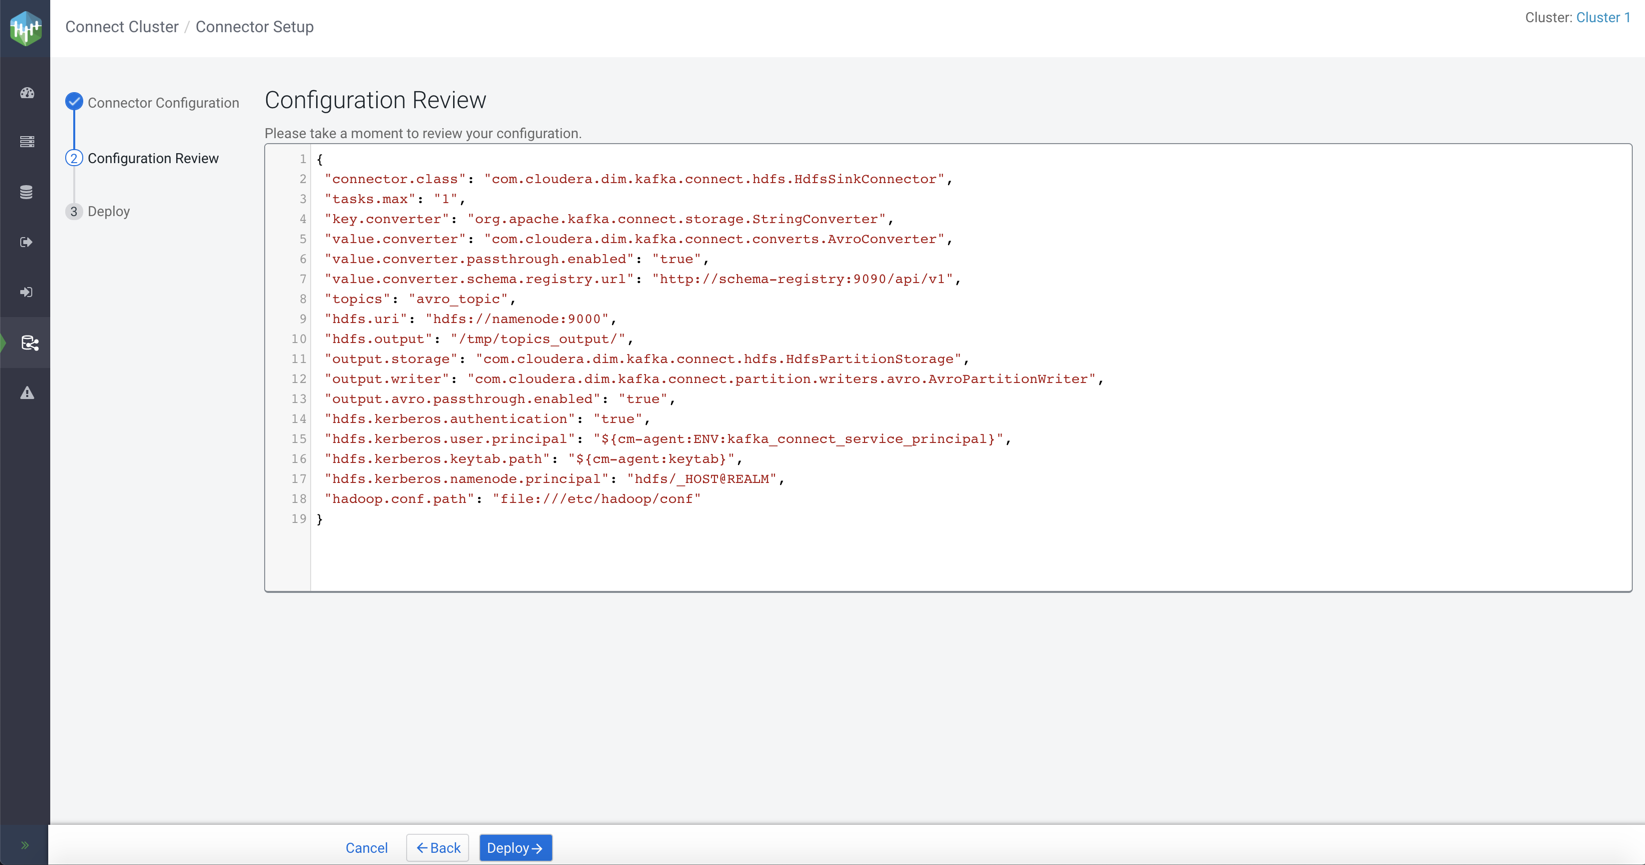
-
Review your connector configuration and click
Deploy.
The
Deploying Connectordialog appears.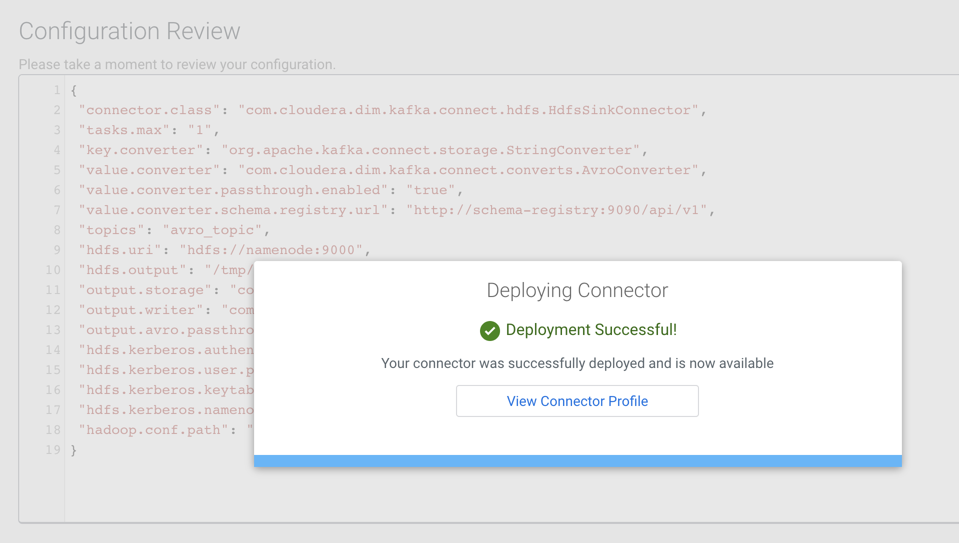
-
Click View Connector Profile.
The
Connector Profilepage appears where you can view your connector details.
