Configuring TLS Encryption for Cloudera Manager Using Auto-TLS
Use Auto-TLS to simplify the process of configuring TLS encryption for Cloudera Manager.
The Auto-TLS feature automates all the steps required to enable TLS encryption at a cluster level. Using Auto-TLS, you can let Cloudera manage the Certificate Authority (CA) for all the certificates in the cluster or use the company’s existing CA. In most cases, all the necessary steps can be enabled easily via the Cloudera Manager UI. This feature automates the following processes –
- Creates the root Certificate Authority or a Certificate Signing Request (CSR) for creating an intermediate Certificate Authority to be signed by company’s existing Certificate Authority (CA)
- Generates the CSRs for hosts and signs them automatically
- Creates a keystore and truststore for hosts.
- Deploys the certificates, keystore and truststore to all the hosts in the cluster.
- All the cluster services are then automatically TLS enabled by configuring the keystore and truststore information from a role instance specific directory.
- Enables TLS for Cloudera Manager server and agents.
- After this initial setup, any new service, hosts (or) additional compute clusters setup are automatically TLS enabled by default.
- Provides an automation framework for rotating certificates.
- Use case 1: Using Cloudera Manager to generate an internal CA and corresponding certificates
- Use case 2: Enabling Auto-TLS with an existing Root CA
- Use case 3: Enabling Auto-TLS with existing Certificates
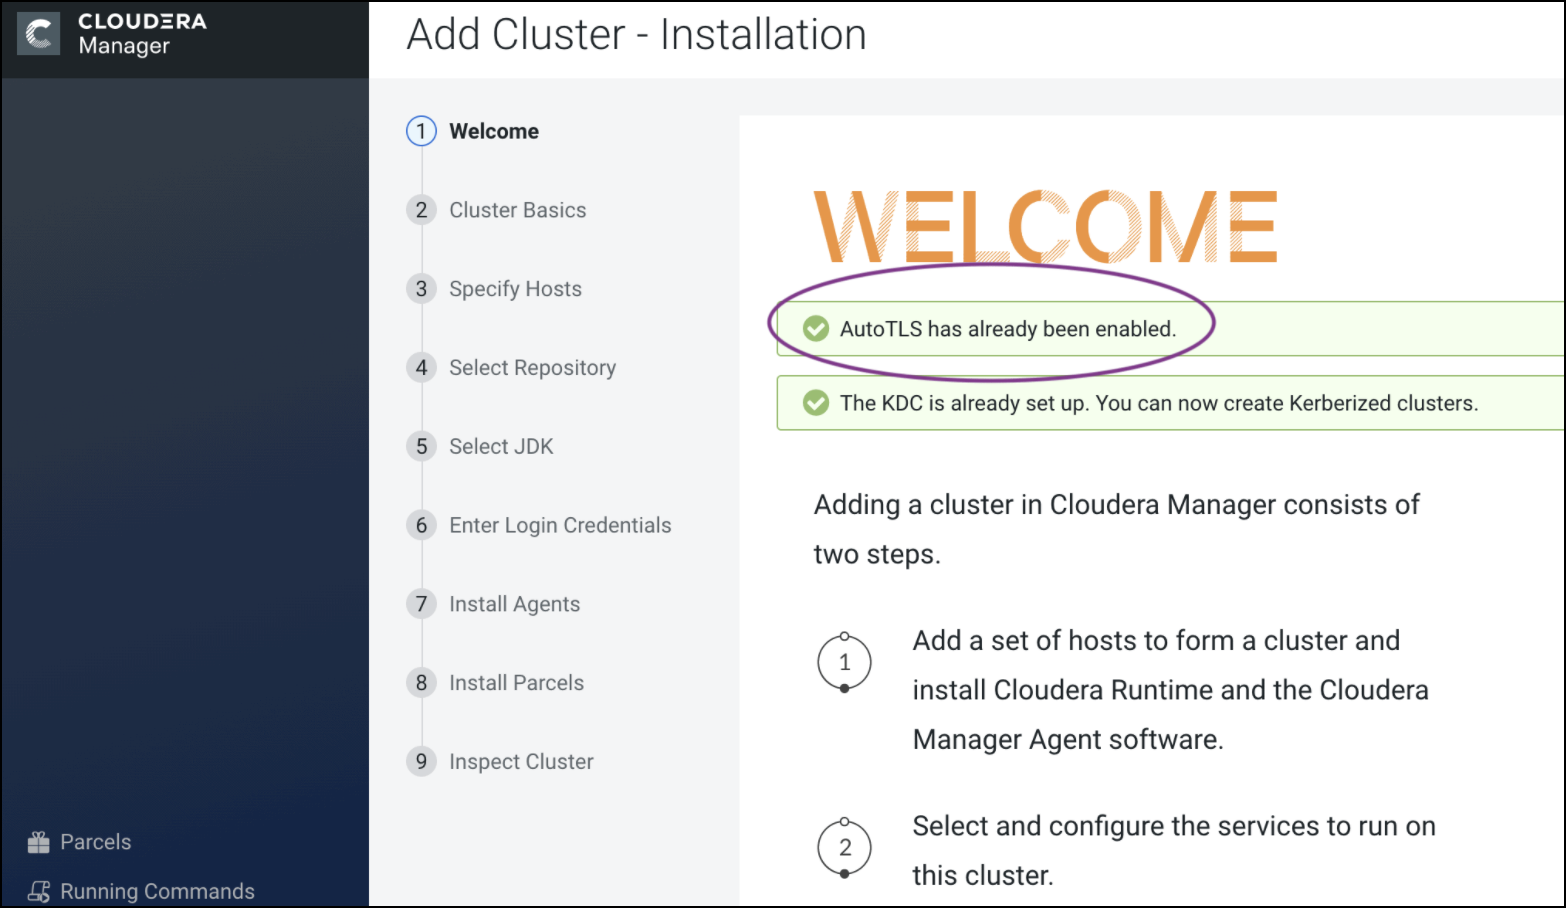
New Cluster deployment

Summary
The Auto-TLS functionality not only speeds up the initial setup of the wire encryption but also automates future TLS configuration steps for the cluster. The following table summarizes the differences between the available options.
| Steps | HDP/EDH (manual) | CDP Private Cloud use case 1 - Using Cloudera Manager to generate an internal CA and corresponding certificates | CDP Private Cloud use case 2 - Enabling Auto-TLS with an existing Root CA | CDP Private Cloud use case 3 - Enabling Auto-TLS with Existing Certificates |
|---|---|---|---|---|
| Generate CSR | Manual | Automated | Automated | Manual |
| CSR Signed by CA | Manual | Automated | One-time | Manual |
| Deploy certificate to all hosts | Manual | Automated | Automated | Automated |
| Configuration for each service | Manual | Automated | Automated | Automated |
| Cluster restarts | Multiple | Once | Once | Once |
| Configuration steps | Manual | Automated | Automated | Automated |
| New Service steps | Manual | Automated | Automated | Automated |
| New Host cert. generation | Manual | Automated | Automated | Manual |
Auto-TLS Requirements and Limitations
Reference information for Auto-TLS requirements, limitations, and component support.
For more info, see Auto-TLS Requirements and Limitations.
Rotating Auto-TLS Certificate Authority and Host Certificates
Your cluster security requirements may require that you rotate the auto-TLS CA and certificates.
Using an internal CA (Use case 1)
- Navigate to . Click Rotate Auto-TLS Certificates to launch the wizard.
- Complete the wizard.
Using a custom CA (Use case 3)
- Use the /cm/commands/addCustomCerts API command to replace the old
certificates with new certificates in CMCA directory for each host. You must run this
command for each host separately. An example of a curl command to upload the
certificates to Cloudera Manager :
In the example above, the "location" should be omitted if Auto-TLS was enabled or rotated after 7.1, and the file paths should point to files on the CM server host.curl -u admin:admin -X POST --header 'Content-Type: application/json' --header 'Accept: application/json' -d '{ "location": "/opt/cloudera/AutoTLS", "interpretAsFilenames": true, "hostCerts": [ { "hostname": "ccycloud-10.vcdp71.root.hwx.site", "certificate": "/tmp/auto-tls/certs/ccycloud-10.vcdp71.root.hwx.site.pem", "key": "/tmp/auto-tls/certs/ccycloud-10.vcdp71.root.hwx.site.pem" } ] }' 'https://ccycloud-7.vcdp71.root.hwx.site:7183/api/v41/cm/commands/addCustomCerts' -
Use CM API /hosts/{hostId}/commands/generateHostCerts to deploy the new certificates to each host. You must run this command for each host separately. An example curl command :
where '250e1bb7-8987-419c-a53f-c852c275d299' in the command above is the hostID.curl -u admin:admin -X POST --header 'Content-Type: application/json' --header 'Accept: application/json' -d '{ "sshPort" : 22, "userName" : "root", "password" : "cloudera" }' 'https://ccycloud-7.vcdp71.root.hwx.site:7183/api/v41/hosts/250e1bb7-8987-419c-a53f-c852c275d299/commands/generateHostCerts'
Auto-TLS Agent File Locations
The certificates, keystores, and password files generated by auto-TLS are stored in
/var/lib/cloudera-scm-agent/agent-cert on each Cloudera Manager Agent.
The filenames are as follows:
| Filename | Description |
|---|---|
| cm-auto-global_cacerts.pem | CA certificate and other trusted certificates in PEM format |
| cm-auto-global_truststore.jks | CA certificate and other trusted certificates in JKS format |
| cm-auto-in_cluster_ca_cert.pem | CA certificate in PEM format |
| cm-auto-in_cluster_truststore.jks | CA certificate in JKS format |
| cm-auto-host_key_cert_chain.pem | Agent host certificate and private key in PEM format |
| cm-auto-host_cert_chain.pem | Agent host certificate in PEM format |
| cm-auto-host_key.pem | Agent host private key in PEM format |
| cm-auto-host_keystore.jks | Agent host private key in JKS format |
| cm-auto-host_key.pw | Agent host private key password file |
