Run the Cloudera Manager Server Installer
Run the Cloudera Manager installer to the cluster host to which you are installing
the Cloudera Manager Server. By default, the automated installer binary
(cloudera-manager-installer.bin) installs the highest version of
Cloudera
Manager.
- Download the trial software.
-
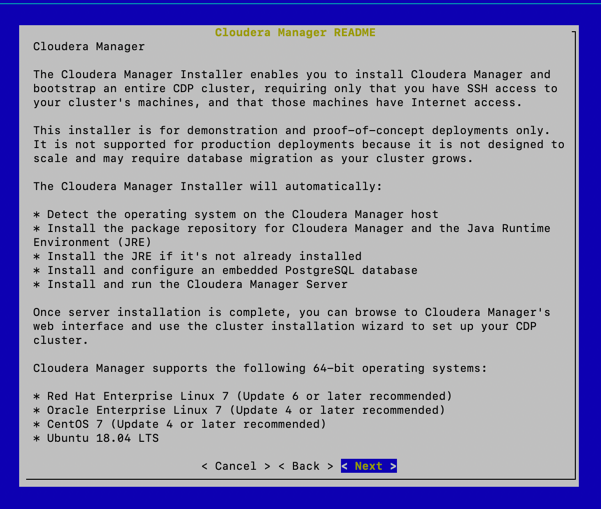
Run the Cloudera Manager installer:
The Cloudera Manager Read Me page appears.
-
Click Next.
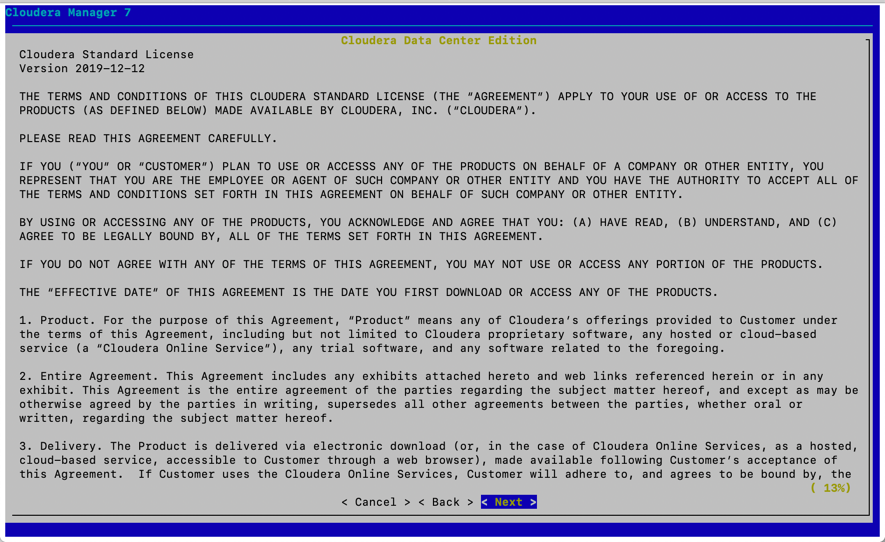
The Cloudera Standard License page appears.
-
Click Next to accept the license agreement.
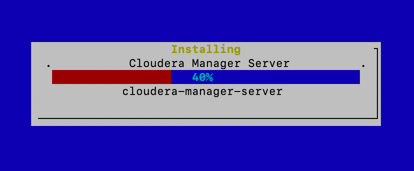
The the installer starts and does the following:
- Installs Oracle JDK.

- Installs the Cloudera Manager Server.
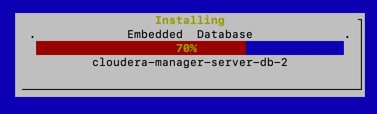
- Installs the embedded PostgreSQL packages and starts the database and
Cloudera Manager Server.
- Installs Oracle JDK.
-
Exit the installer:
-
When the installation completes, the complete URL for the Cloudera
Manager Admin Console displays, including the default port number:
7180.
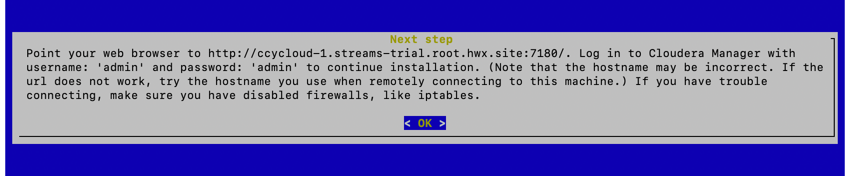
-
Click OK to exit the installer.
-
When the installation completes, the complete URL for the Cloudera
Manager Admin Console displays, including the default port number:
7180.