Creating a connector using Kafka Connect in SMM
Learn how to create a connector through Kafka Connect in your cluster.
Perform the following steps to create a connector:
-
Click the New Connector option in the upper right corner
of the
Connect Clusterpage.TheSelect A Templatepage appears. This page contains all connectors available for deployment in the form of selectable cards. Source and sink connectors are grouped in their respective tabs. By default, this page displays the connectors shipped in CDP. If you have previously installed additional connectors, they will also be visible on this page.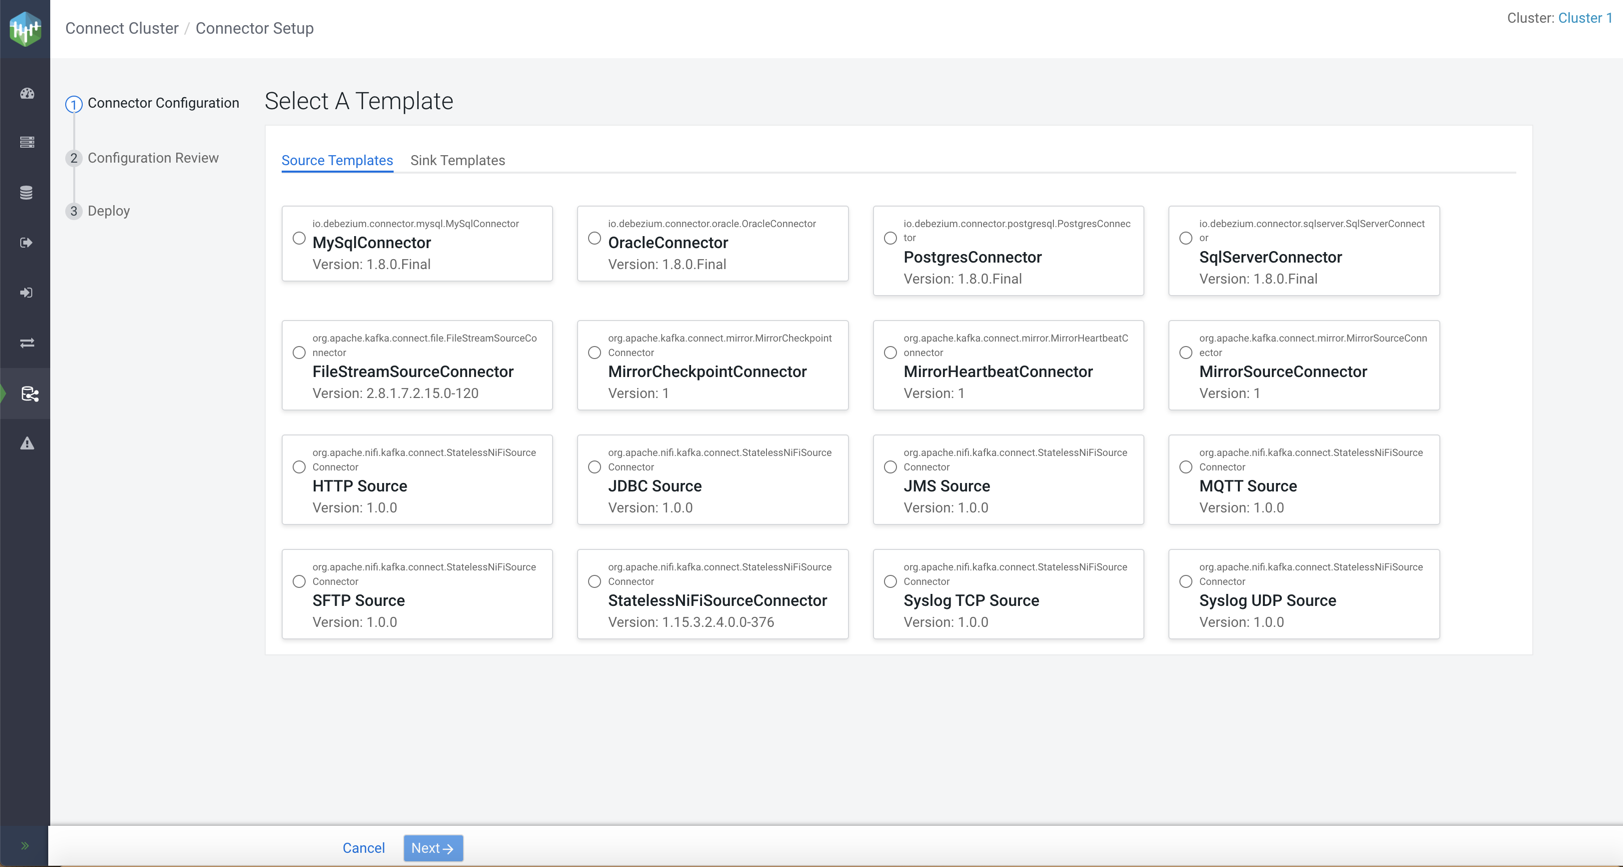
-
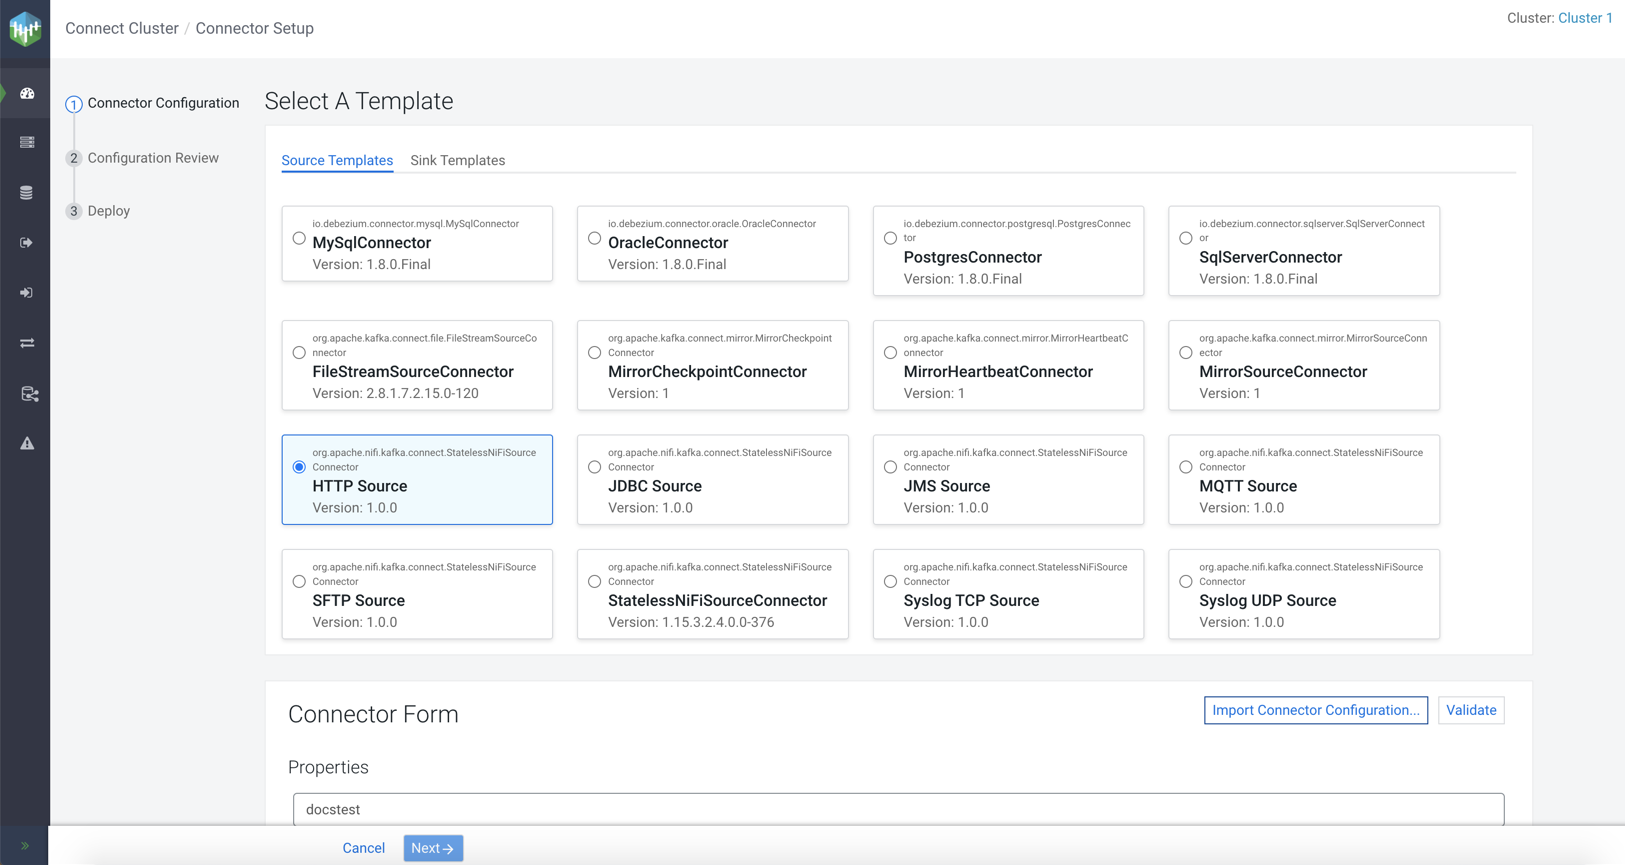
Select a connector from the Source Templates or
Sink Templates tab.
The Connector Form appears.
-
Configure the properties of the connector.
For more details about the options in the Connector Form section, see Configuring Connector Form.
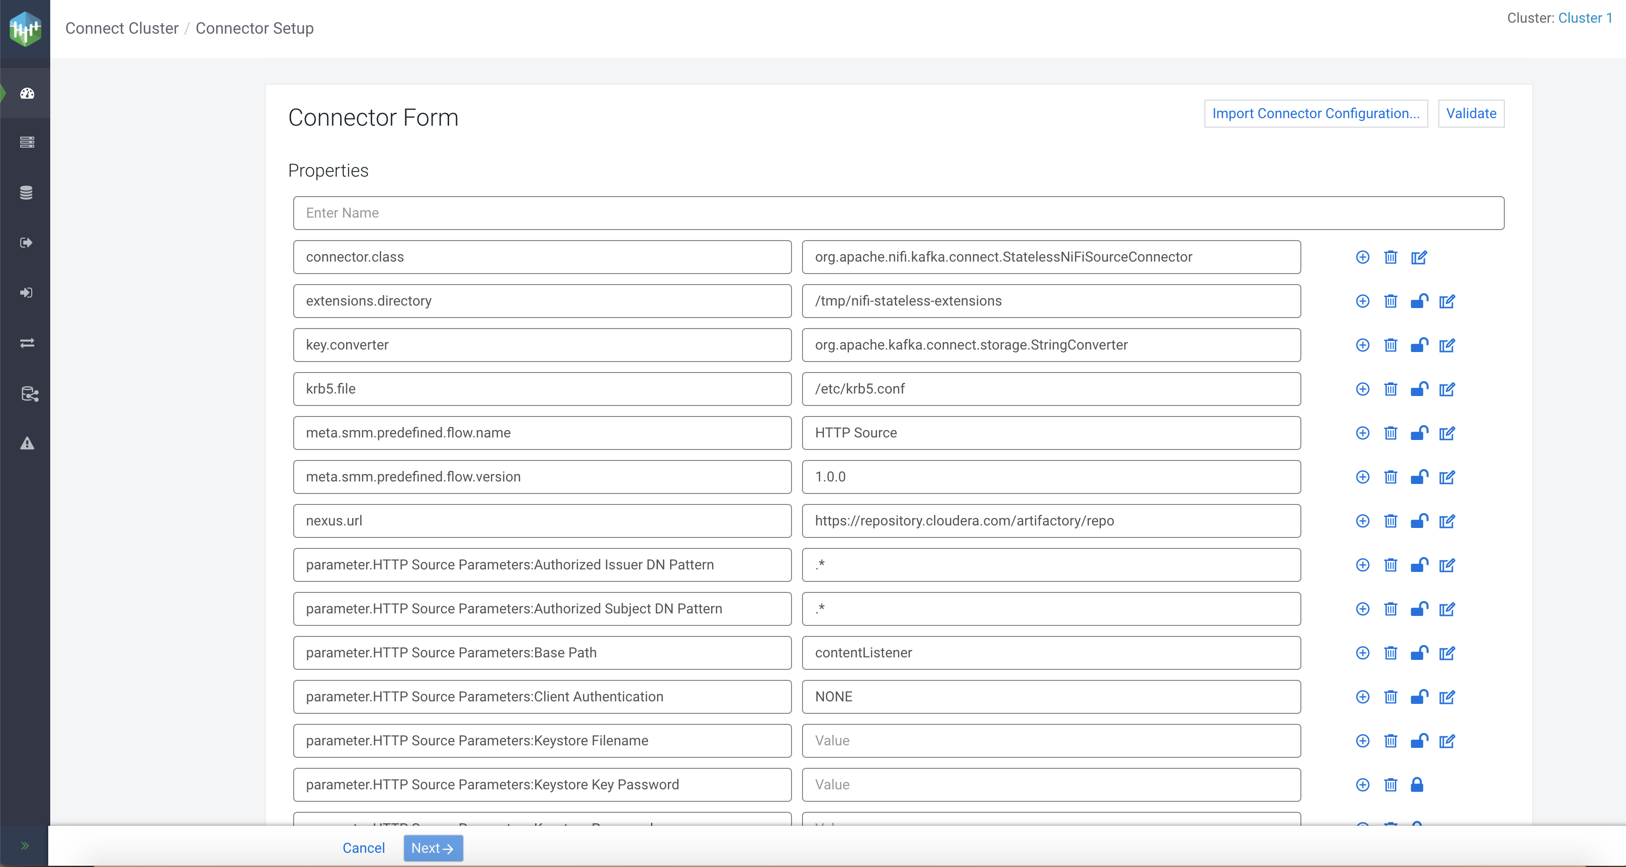
- Optional:
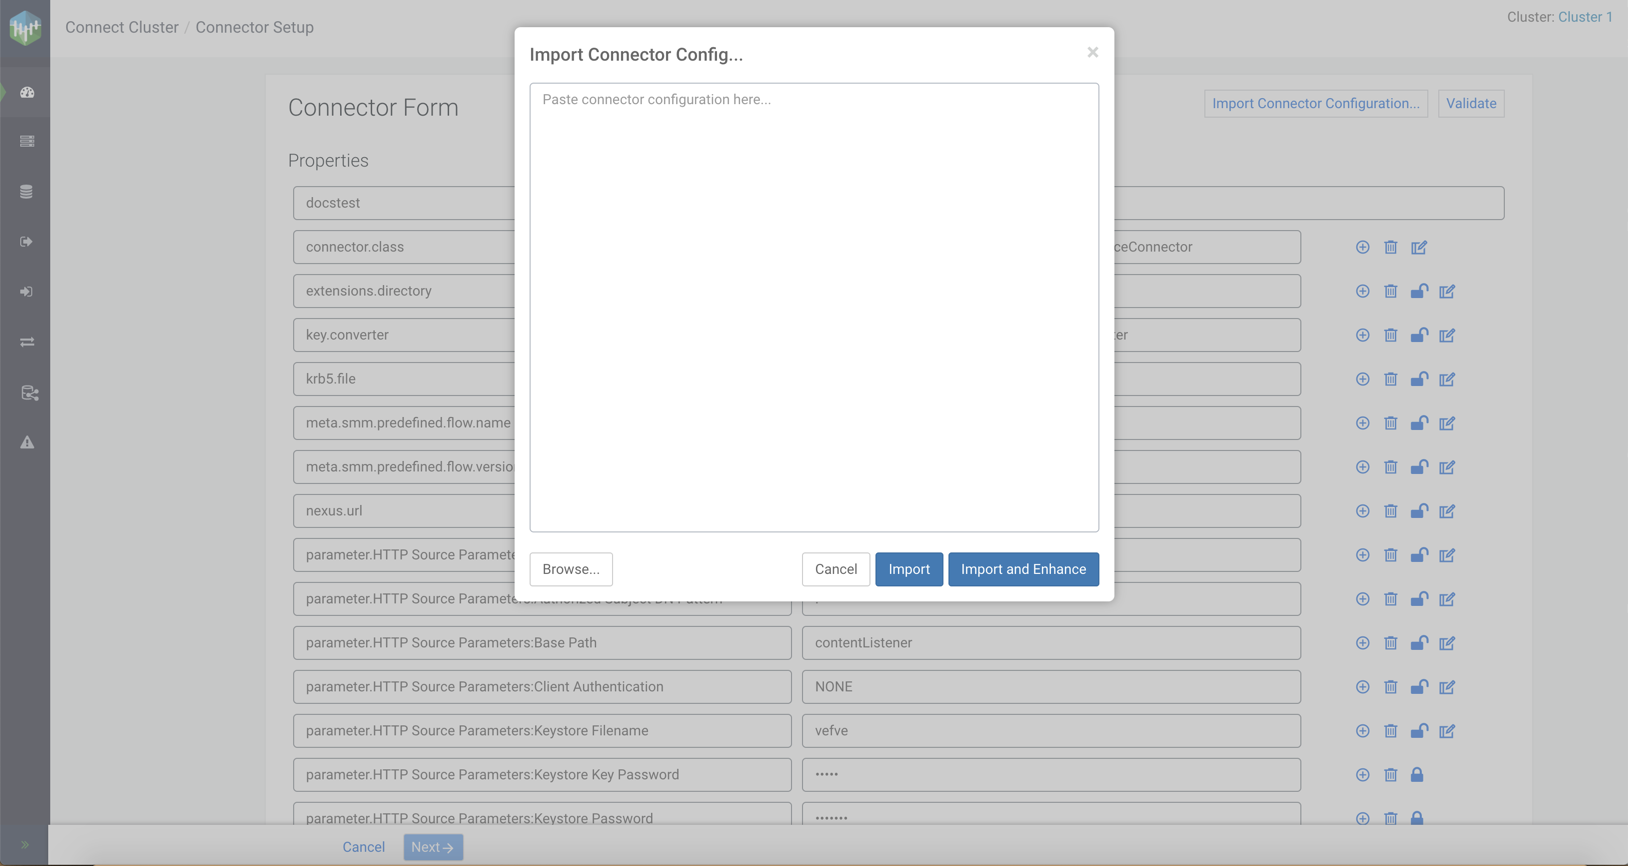
Click Import Connector Configuration to import
configurations for a connector.
For more information about how to import connector configuration, see Importing connector configuration.The Import Connector Config... dialog appears.
-
Resolve the errors until validation passes, and then click
Next.
The
Configuration Reviewpage appears.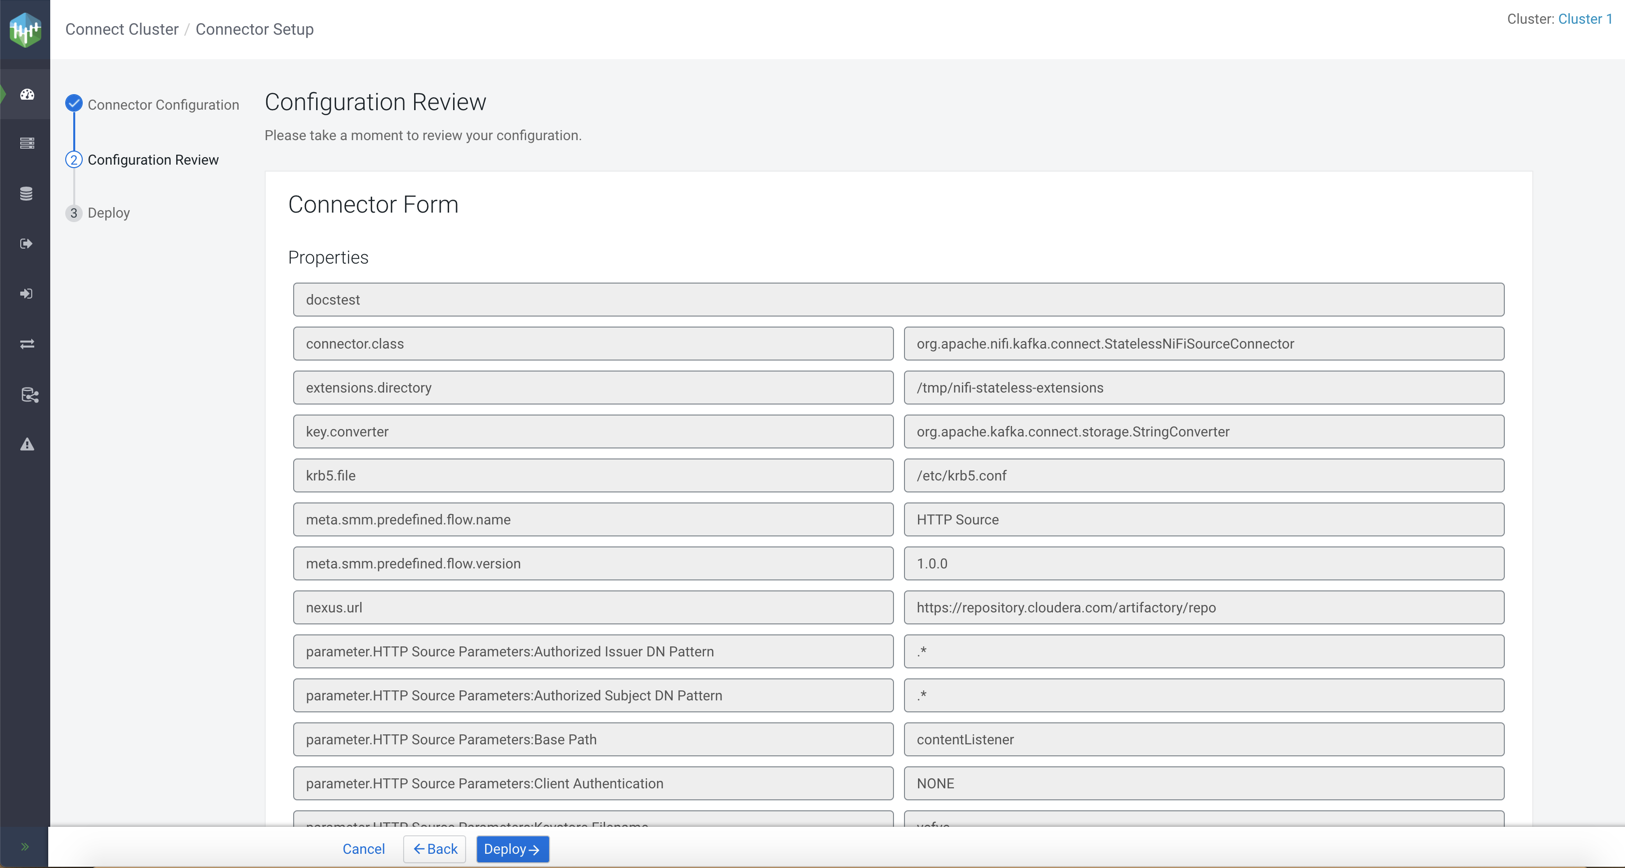
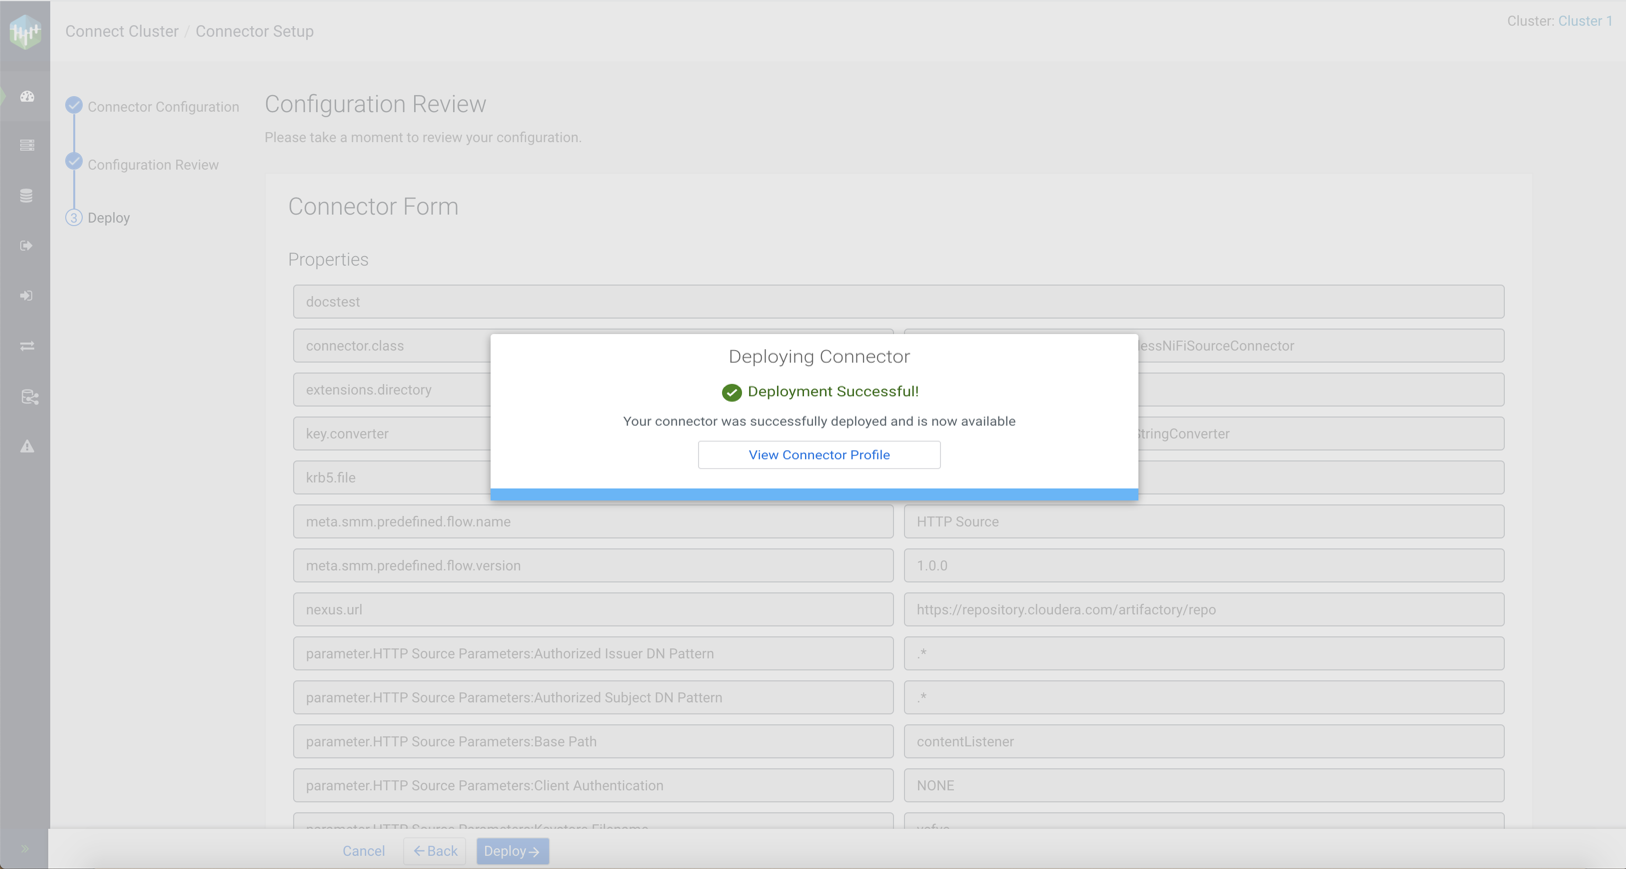
-
Review your connector configuration and click
Deploy.
The
Deploying Connectordialog appears.