Adding the user or group to a predefined access policy

When an authenticated user attempts to view, create, edit, or delete a Schema Registry entity, the system checks whether the user has privileges to perform that action. These privileges are determined by the Ranger access policies that a user is associated with.

For Ranger policies to work, you must have a user group named schemaregistry. If you use UNIX PAM, the schemaregistry user group must be on the node that hosts Schema Registry.

Determine the permissions required by a user or user group, and accordingly add the user or group to the appropriate predefined access policy.

Each predefined access policy controls access to one or more Schema Registry entities.
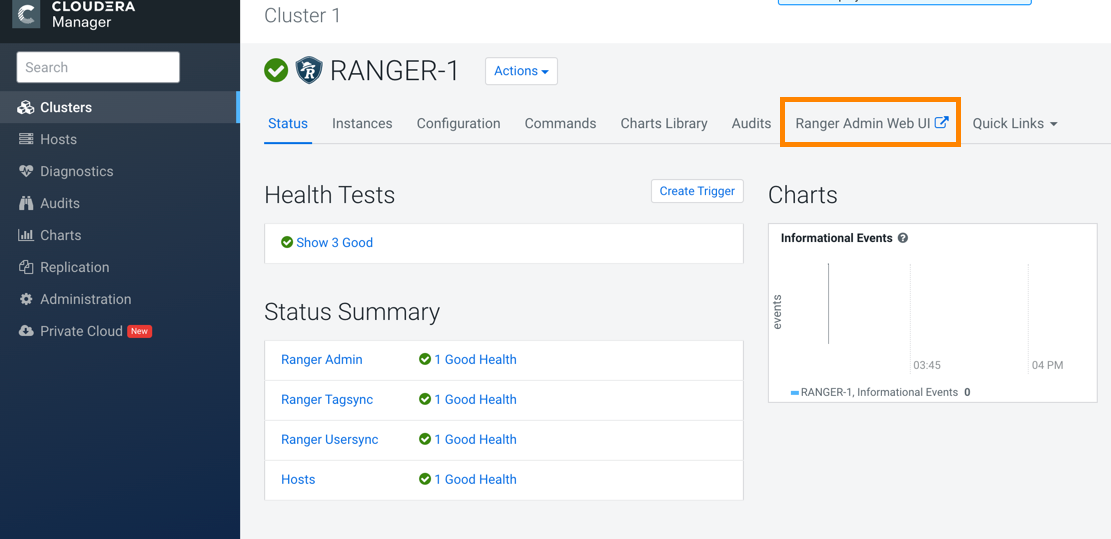
  1. From the Cloudera Manager home page, click the Ranger link.
    The Ranger management page appears.
  2. Click Ranger Admin Web UI.


    The Ranger Log In page appears.
  3. Enter your user name and password to log in.
    The Ranger Service Manager page appears.

    The page is organized by service. Each cluster is listed under its respective service. For example, the Schema Registry clusters in the environment are listed under Schema Registry.

  4. Select a cluster from the Schema Registry section.
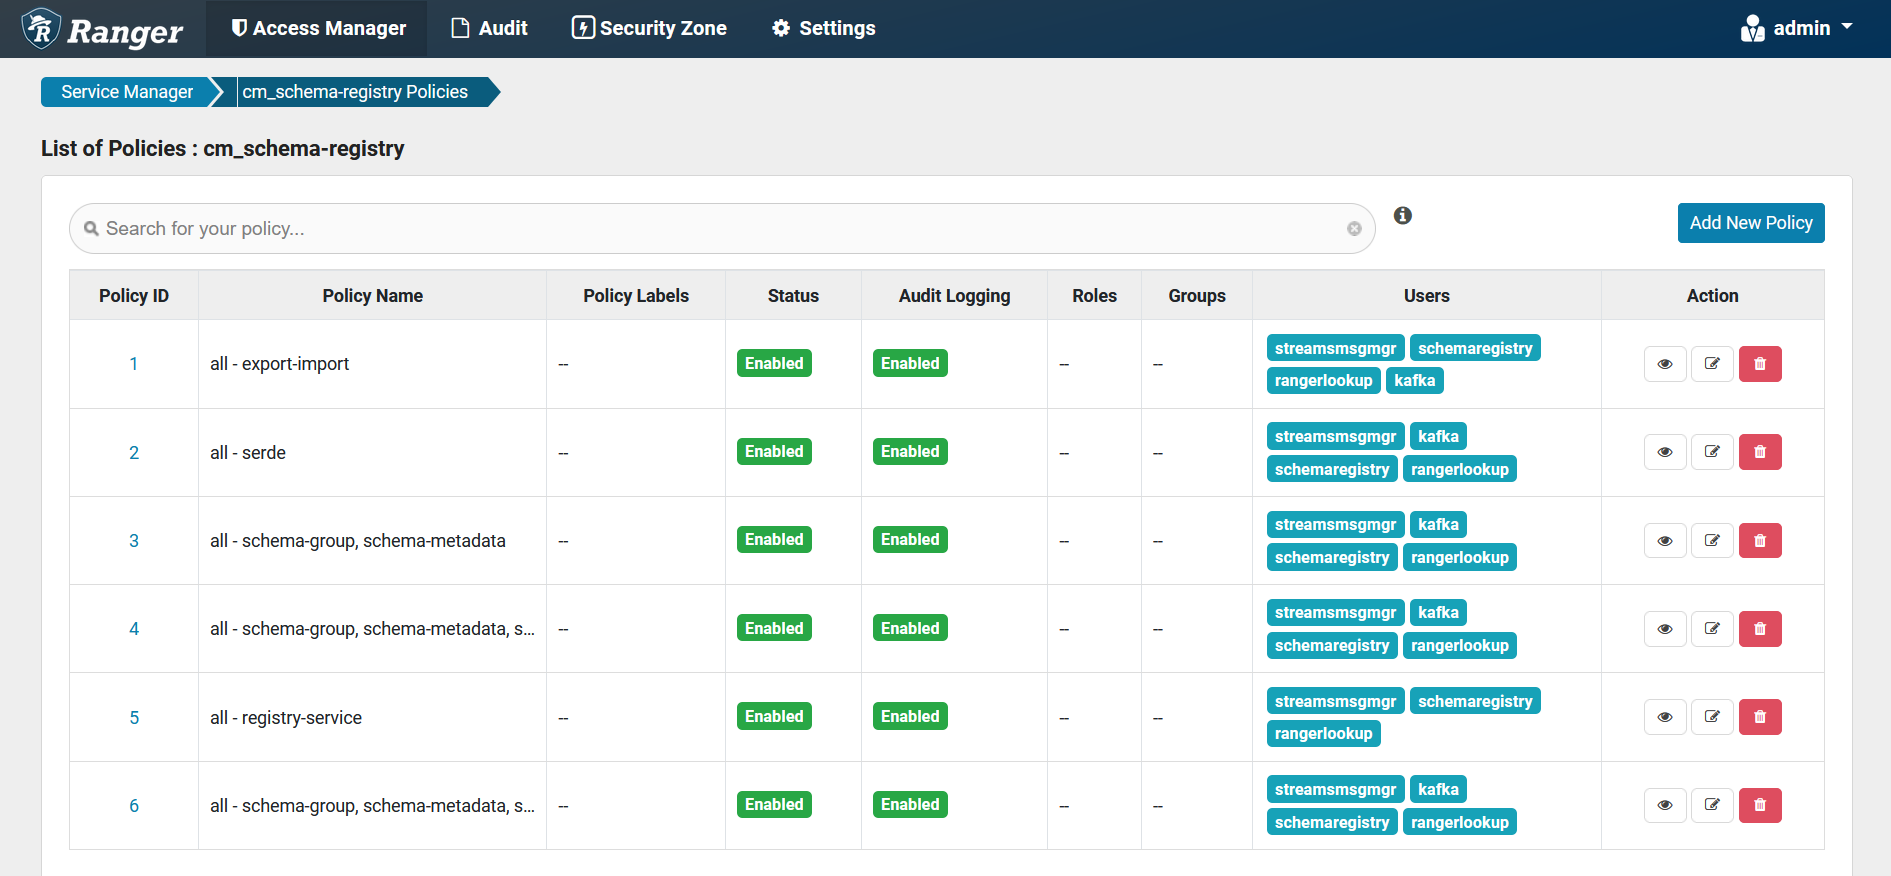
    The List of Policies page appears.


  5. Click the ID of a policy.
    The Edit Policy page appears.
  6. In the Allow Conditions section, add the user or group to the respective Select User or Select Group field.


  7. From the Policy Conditions field, enter the appropriate IP address.
  8. From the Permissions field, select the appropriate permission.
  9. Click Save.
The user now has the rights according to the policy and the permissions you assigned to the user. These rights apply to all objects in the entities unless you specified otherwise in the Policy Conditions field.