Installing Atlas using Add Service
You can install Atlas service in your Cloudera Manager instance by using the Add Service method.
-
On the Select Dependencies page, review the required
services.
Ensure that no additional dependencies are required on your Cloudera Manager cluster. The required dependencies vary based on the backend you selected.
- If you selected HBASE, the HBase service is
required.
Figure 1. HBase dependencies 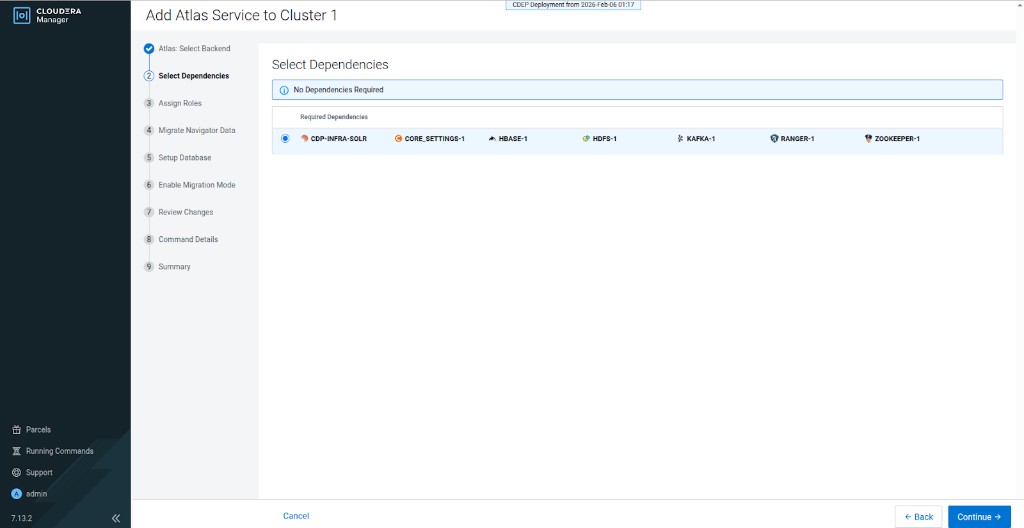
- If you selected POSTGRESQL (RDBMS), the HBase
service is not required.
Figure 2. No HBase dependencies 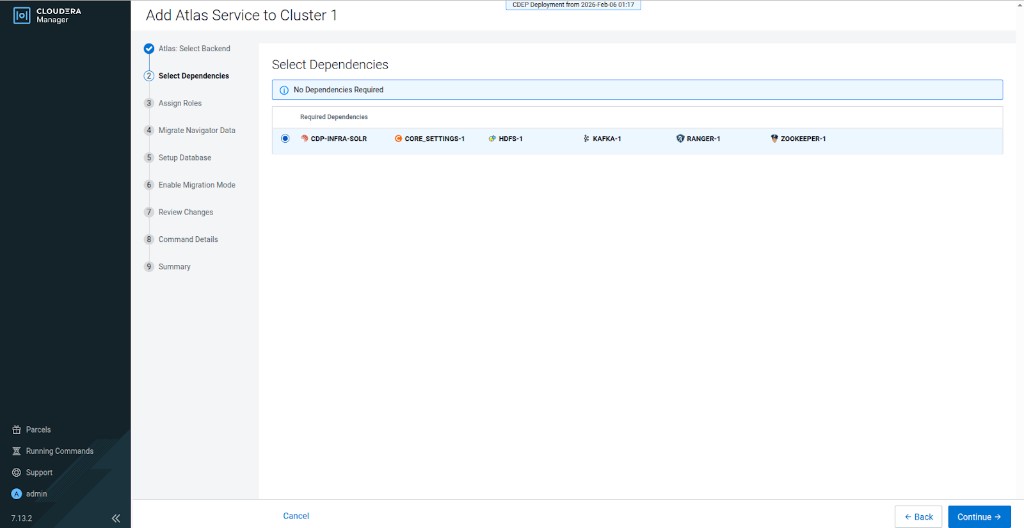
- If you selected HBASE, the HBase service is
required.
-
Select Continue.
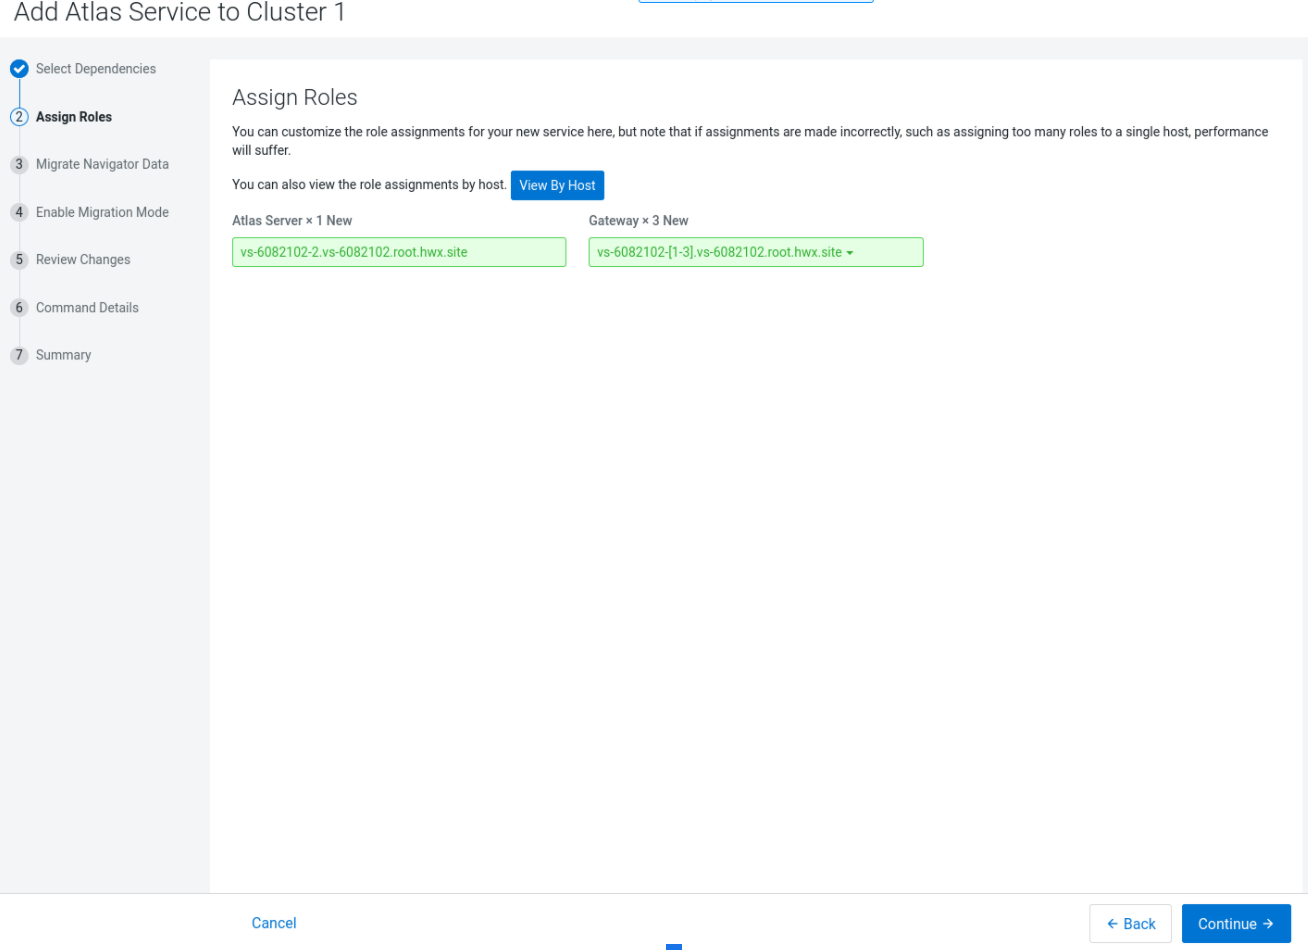
You must assign roles and also make sure you do not assign additional roles that can impact the overall performance.
-
If you selected the PostgreSQL backend, the Setup Database
page is displayed. Enter the PostgreSQL connection details.
You can also click Test Connection to validate the credentials and SSL/TLS connectivity before proceeding.
Table 1. PostgreSQL database setup fields Field name Description Database Hostname The host name of the PostgreSQL database server. If a non-default port is assigned, use the host:portnotation.Database Name The name of the Atlas database. The default value is atlas.Username The Atlas database user name. The default value is atlas.Password The Atlas database user password. Figure 3. Setup Database page 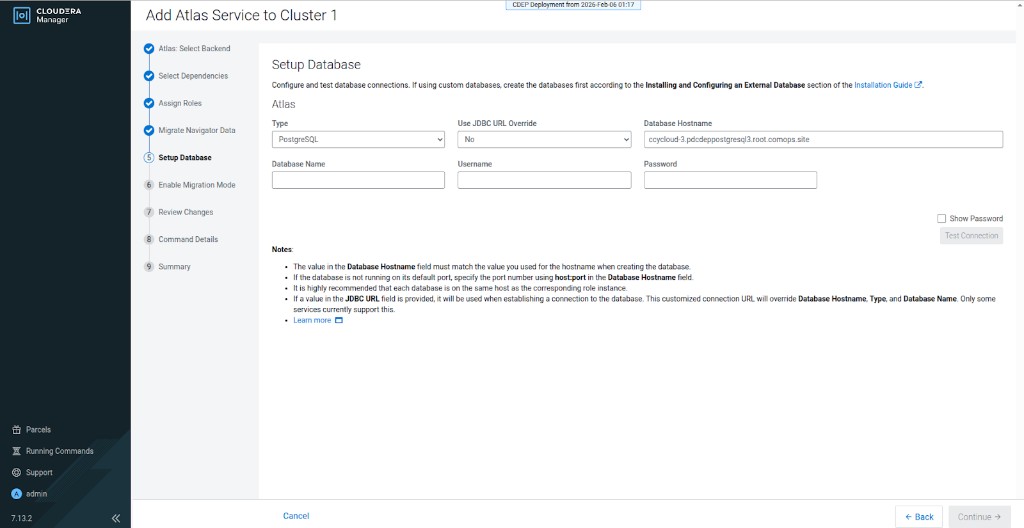
-
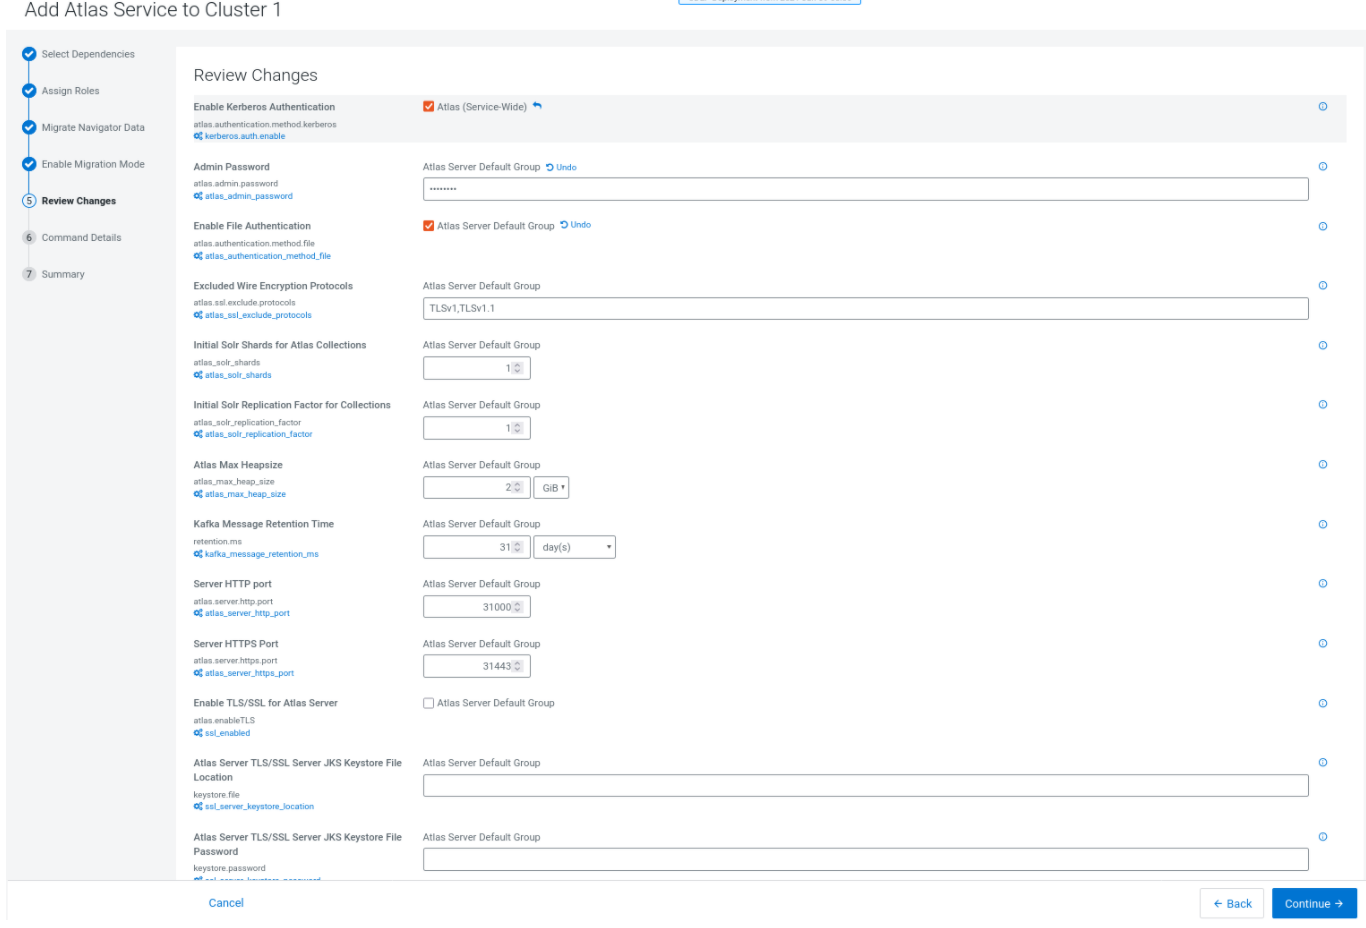
Review the changes and ensure that the following fields (depending on the
installation type that you have chosen) are marked as checked. For more
information, review the Atlas installation prerequisite section.
- (Optional) Enable Kerberos Authentication - Atlas (Service-Wide)
- (Optional) Enable File Authentication - Atlas Service Default Group
You must add the Admin Password as applicable.
-
Click Continue.
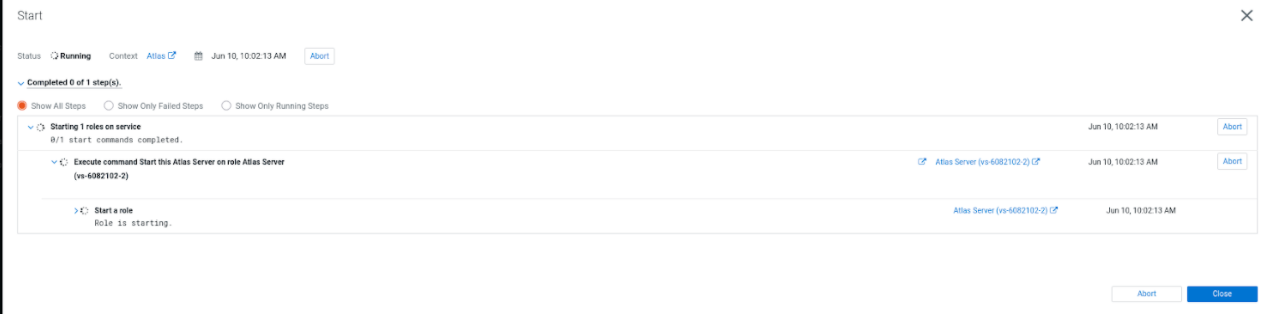 When using a fresh Cloudera Manager cluster, collections are created directly.
Summarise the installation process to confirm that Atlas service is installed and configured on your Cloudera Manager cluster.
