Learn how to configure Knox IDBroker with HashiCorp Vault to securely manage AWS
credentials.
Knox IDBroker can be configured with HashiCorp Vault to enhance AWS credentials
management. HashiCorp Vault enables IDBroker to authenticate with AWS using
short-lived credentials from Vault instead of storing long-lived credentials for
this purpose.
You must install and properly configure HashiCorp Vault.
An AWS account must be available with the required IAM roles.
You must establish network connectivity between Knox and the HashiCorp Vault
server.
In Cloudera Manager, select the Knox service.
Go to the Configuration tab.
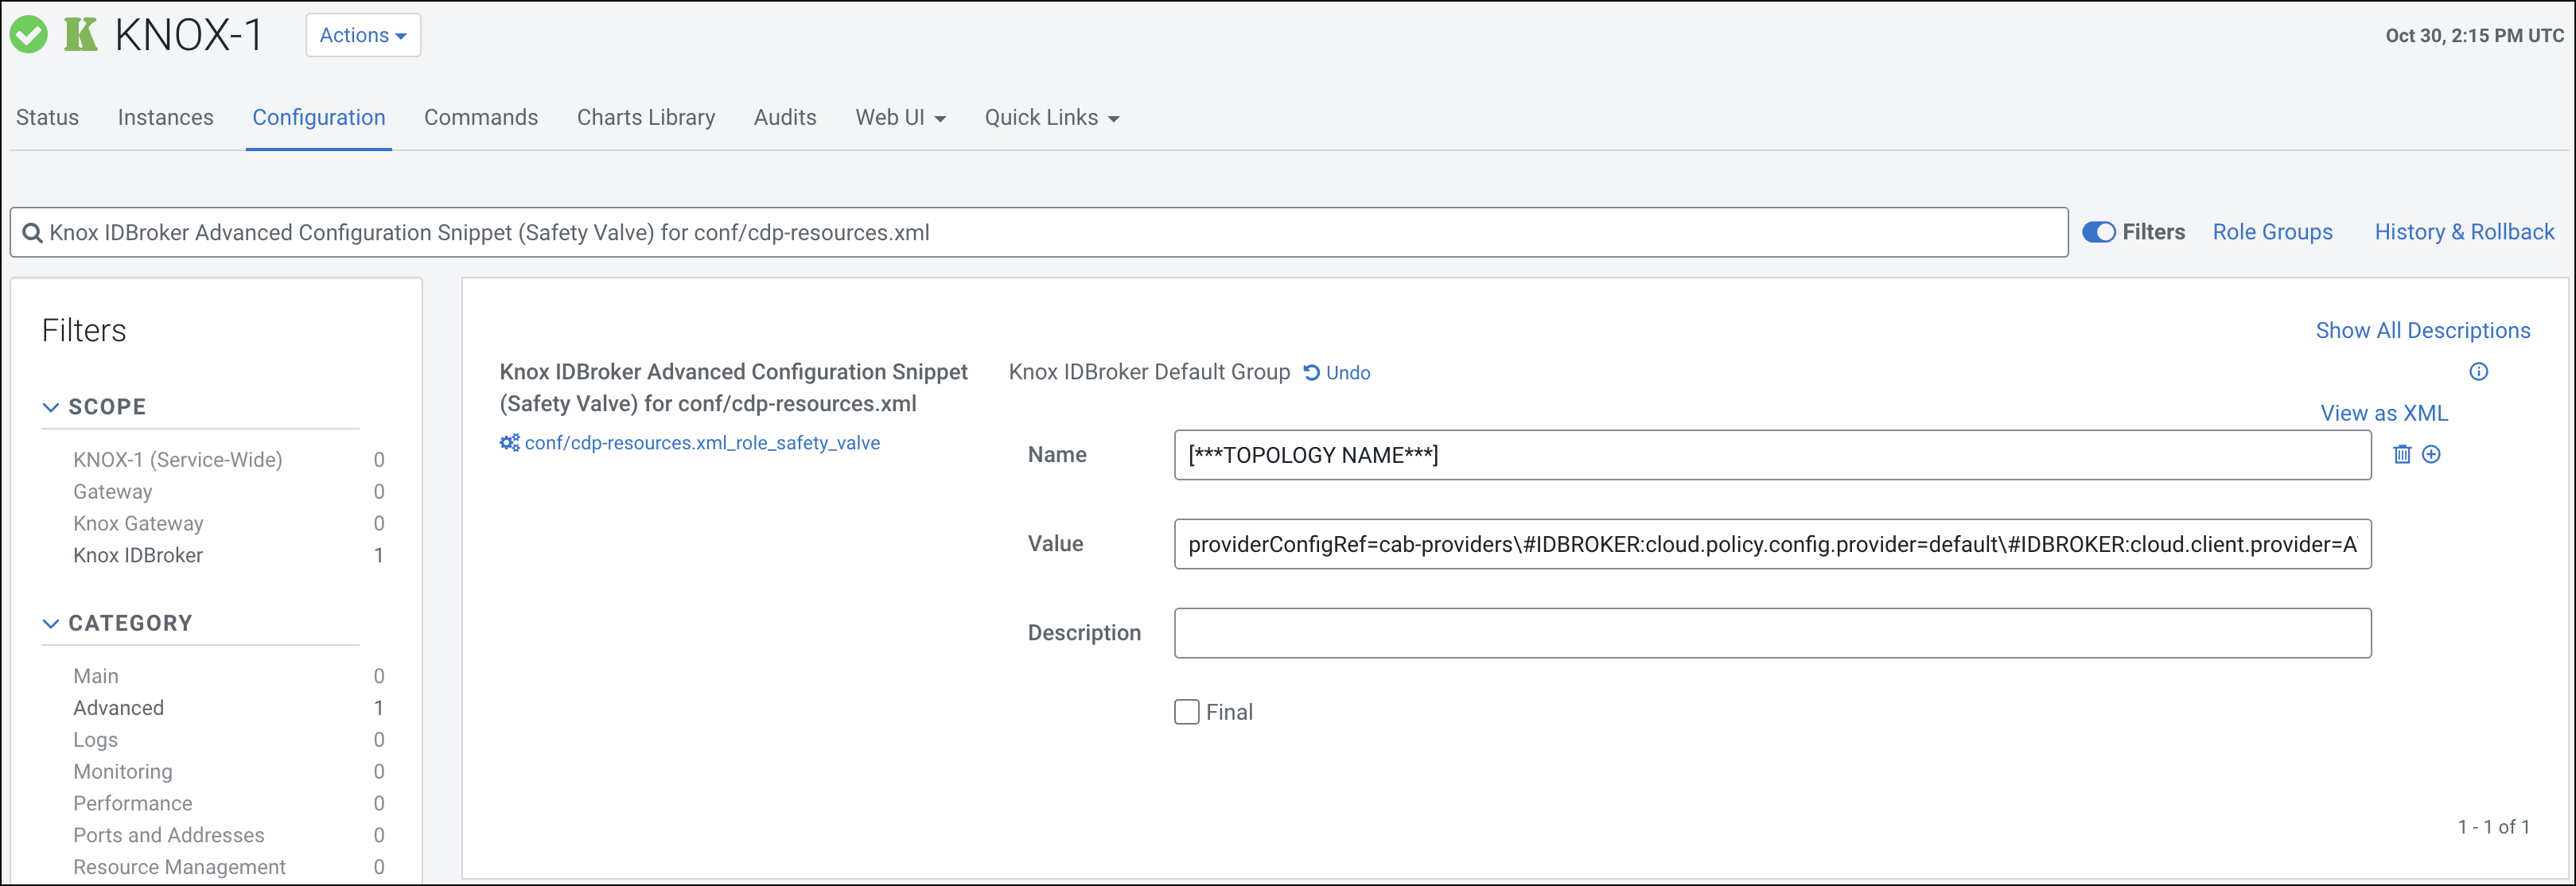
Search for the Save Alias Command Input - IDBroker
property.
Figure 2. Knox IDBroker Advanced Configuration Snippet (Safety Valve)
for conf/cdp-resources.xml The value consists of the following elements:
hashicorp.vault.enabled=true – Enables the
vault integration for that specific topology.
hashicorp.vault.address=[***VAULT
                                            ADDRESS***]
– Specifies the actual
address of the vault.
hashicorp.vault.path=aws/sts – Specifies the
path for the STS credentials.
(Optional)
hashicorp.vault.server.cert.path=[***VAULT
                                            CERTIFICATE PATH***]
– Adds the path
for the vault certificate. This value is only required in case
of self-signed certificates. Replace [***VAULT
CERTIFICATE PATH***] with the path to the
certificate.
Click the Save Changes(CTRL+S) button.
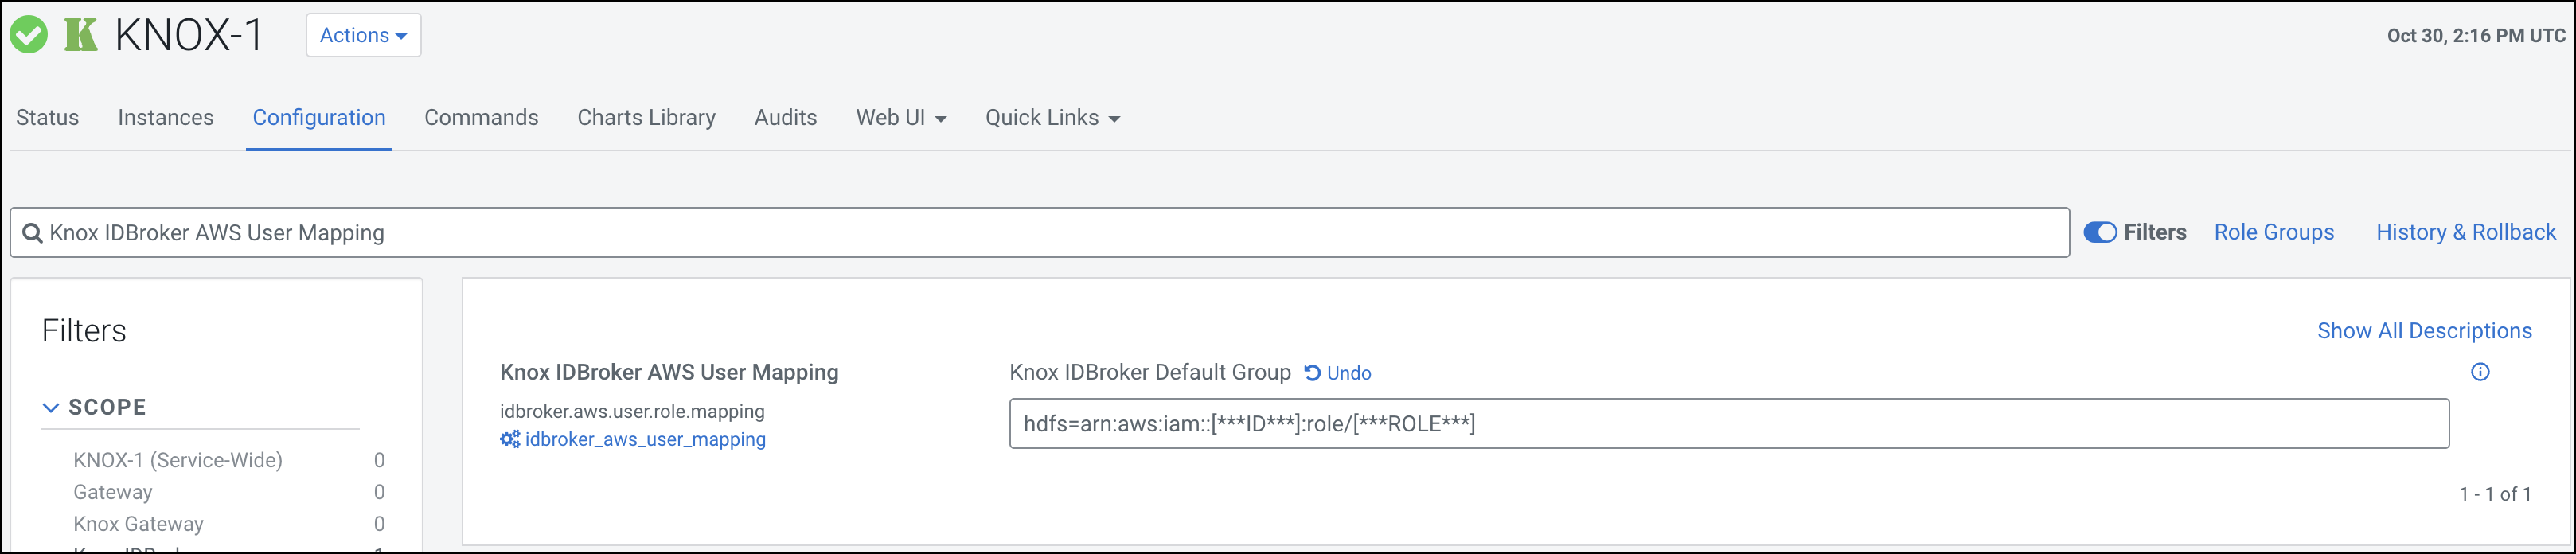
Search for the Knox IDBroker AWS User Mapping
property.
Enter the following parameter:
hdfs=arn:aws:iam::[***ID***]:role/[***ROLE***]
Replace [***ID***] with your AWS
account ID, and [***ROLE***] with the specific IAM
role.
Figure 3. Knox IDBroker AWS User Mapping
Refresh the Knox instances configuration by clicking the Stale
Configuration: Refresh needed indicator and wait until the
refresh process completes.
Verify that the vault integration was successful by running the following
command in the Command Line Interface (CLI):
kinit hdfs
hdfs dfs -ls s3a://[***RESOURCE***]
Replace [***RESOURCE***] with the
name of your S3 bucket.