Isolating workloads with Impala executor groups
Isolate heavy Impala workloads by dedicating hosts to an executor group, mapping the group to an admission control resource pool, and routing queries to that pool.
This example shows how to dedicate five Impala daemon hosts to extract, transform, and load (ETL) jobs to run them on separate hardware from other queries.
Impala assigns an executor group to a group set whose name is the part of the group name
before the hyphen. For example, the etl-g1 executor group belongs to the
etl group set. You map the group set to an admission control resource
pool named after the set: root.etl.
- You must have an Impala service managed by Cloudera Manager.
- You must have five Impala daemon instances to dedicate to the executor group.
-
Create an admission control resource pool that maps to the executor group set.
You do not create the executor group set itself. The set name is the part of the executor group name before the hyphen. Select the
etlset name and name the pool after it. In step b, you use the same name in theetl-g1executor group name. Queries routed to the set then use the admission limits of this pool.-
In the Pool Name field, enter etl,
which creates the
root.etlpool.The following screenshot shows the pool name in the Create Resource Pool modal:Figure 1. Create Resource Pool modal 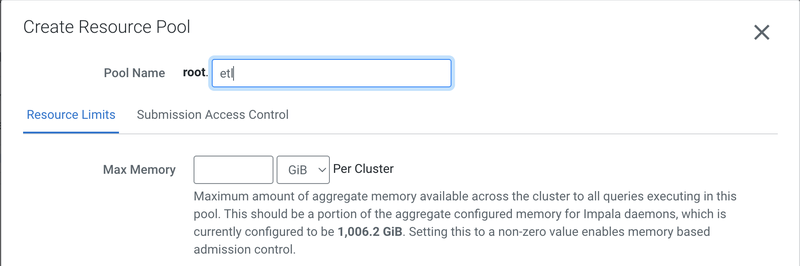
-
In the Pool Name field, enter etl,
which creates the
-
Dedicate hardware nodes to an executor group by using a role group.
Cloudera recommends using Cloudera Manager role groups to dedicate hardware. The role group applies the executor group name to every Impala daemon instance moved into the group.
-
From the Copy From drop-down list, select Impala
Daemon Default Group.
The following screenshot shows the completed Create Role Group modal:
Figure 2. Create Role Group dialog 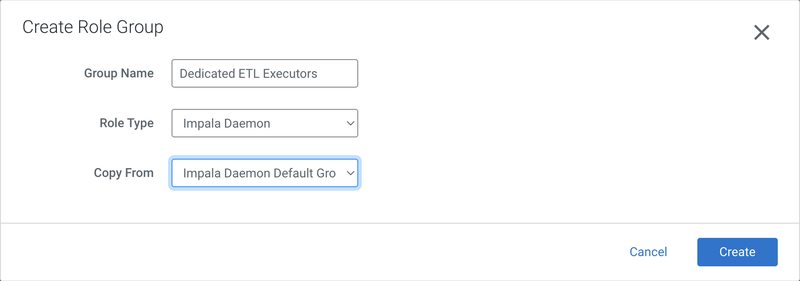
-
On the Dedicated ETL Executors role group page, click .
The following screenshot shows the Actions menu for the new role group:
Figure 3. Actions menu for the Dedicated ETL Executors role group 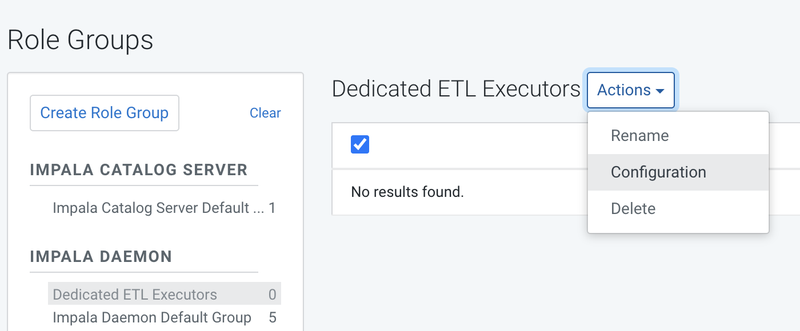
-
In the Impala Daemon Executor Group field, enter etl-g1.
The following screenshot shows the property value for the role group:
Figure 4. Impala Daemon Executor Group property 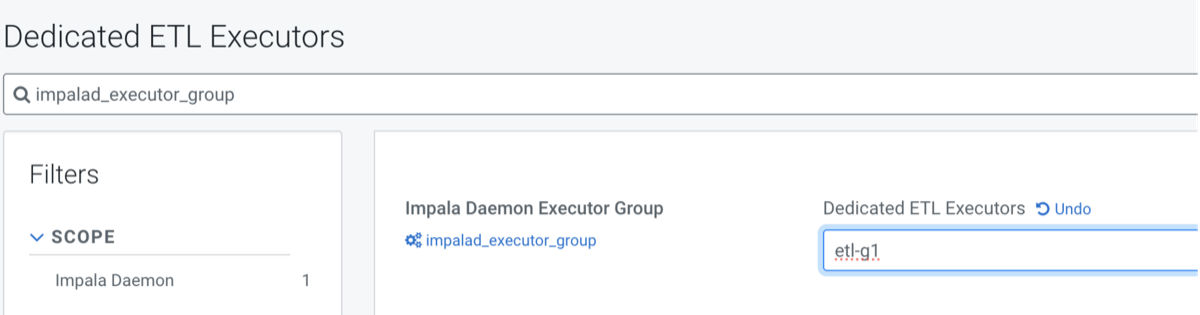
-
From the list of role groups, select Dedicated ETL Executors.
The following screenshot shows the selected instances and the destination role group:
Figure 5. Moving Impala daemon instances to the Dedicated ETL Executors role group 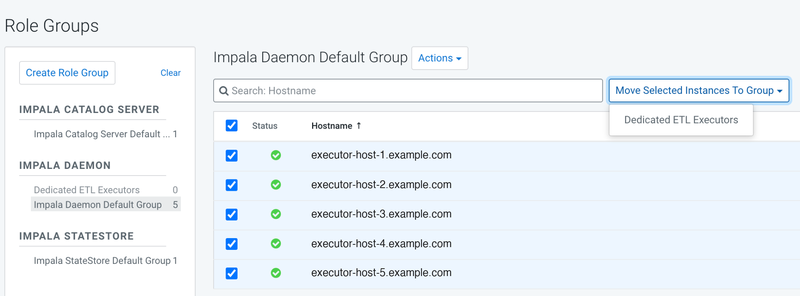
- After the restart, the five Impala daemon instances are listed in the
Dedicated ETL Executors role group and form the
etl-g1executor group. - Ensure that every executor in the cluster belongs to a custom executor group. If
other executors do not belong to an executor group, repeat Step 1 and Step 2 for those
executors. For example, assign the
root.generalresource pool to thegeneral-g1executor group. Otherwise, queries might run on executors in the default group instead ofetl-g1, even when you set the request pool toetl.
-
From the Copy From drop-down list, select Impala
Daemon Default Group.
Impala schedules queries submitted to the etl pool on the executors in the
etl-g1 executor group.
Verify that the query ran. In the Impala daemon web UI, open the query profile. The profile displays the following lines:
Request Pool: root.etl
Executor Group: etl-g1