Installing Ranger RMS
Ranger Resource Mapping Server (RMS) enables automatic translation of access policies from Hive to HDFS.
Legacy CDH users used Hive policies in Apache Sentry
that automatically linked Hive permissions with HDFS ACLs. This was especially convenient
for external table data used by Spark or Hive.
Previously, Ranger only supported managing Hive and HDFS policies separately. Ranger RMS
(Resource Mapping Server) allows you to authorize access to HDFS directories and files using
policies defined for Hive tables. RMS is the service that enables Hive-HDFS ACL Sync.
You must have installed:
- Cloudera Base on premises 7.1.4 or higher version cluster with Apache Ranger, Hive, and HDFS.
- Ranger RMS on the host where Hive_Gateway is available.
-
On the cluster home page, click
 , then click Add Service.
-
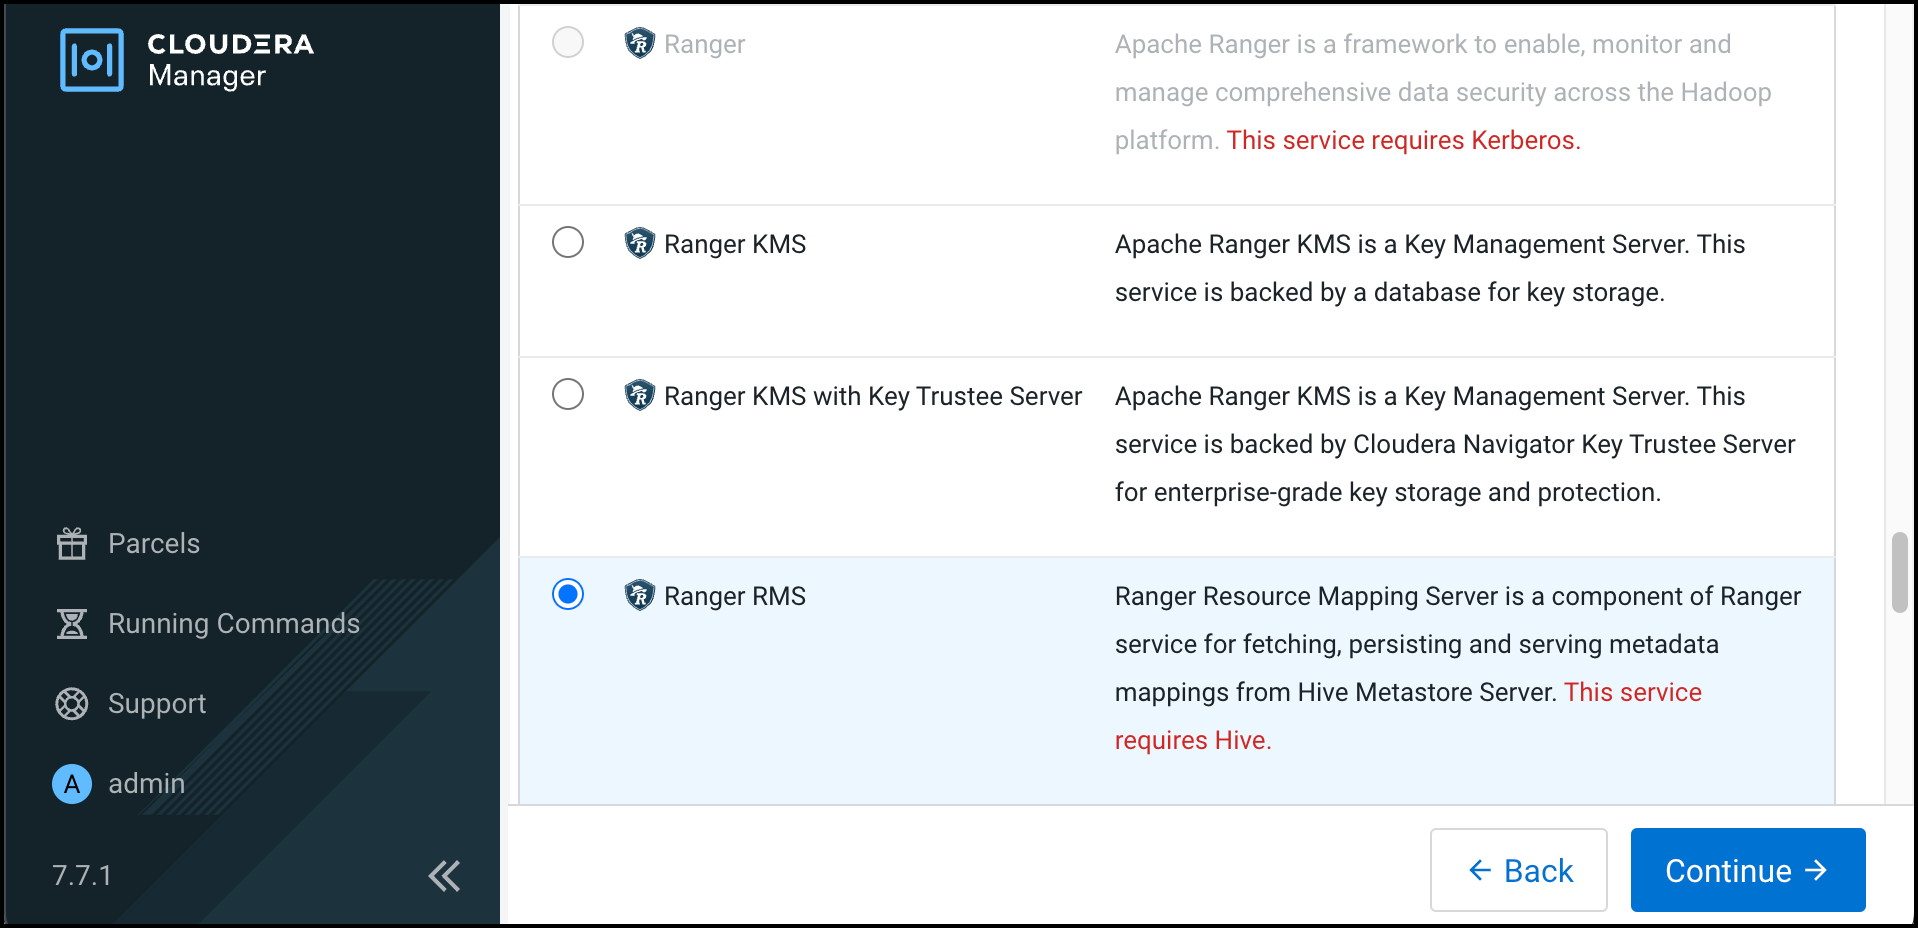
Select Ranger RMS, then click
Continue.
-
On View by Host, verfiy that the host on which you install
Ranger RMS has the required Hive Gateway role assigned, then click
Close.
Figure 1. Verifying Hive Gateway role on a host 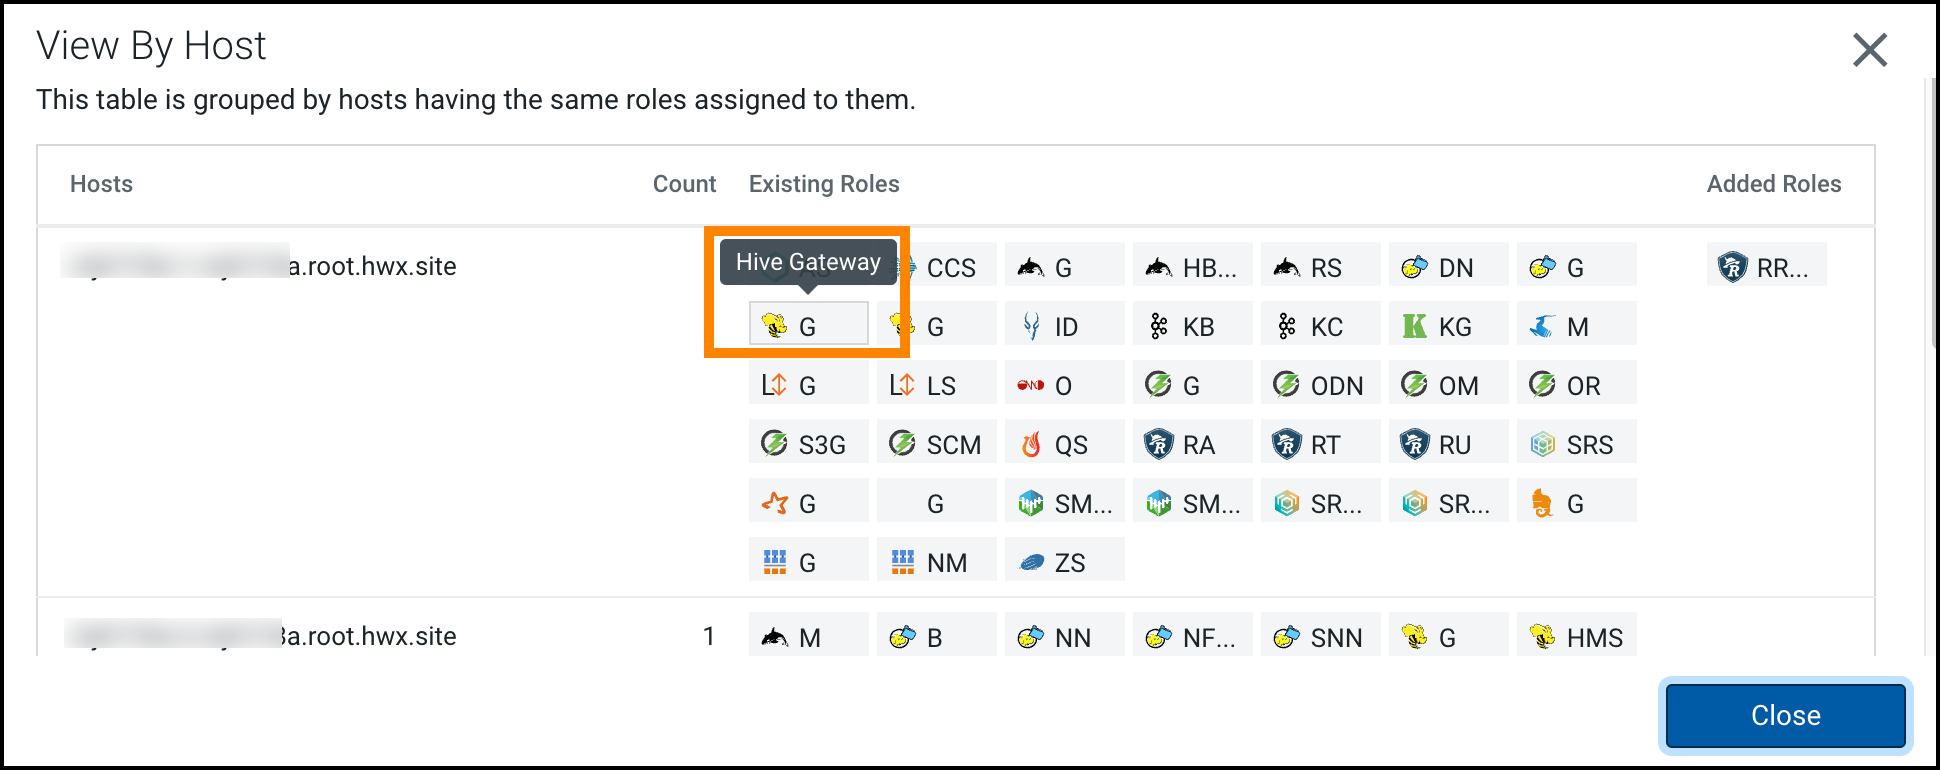
-
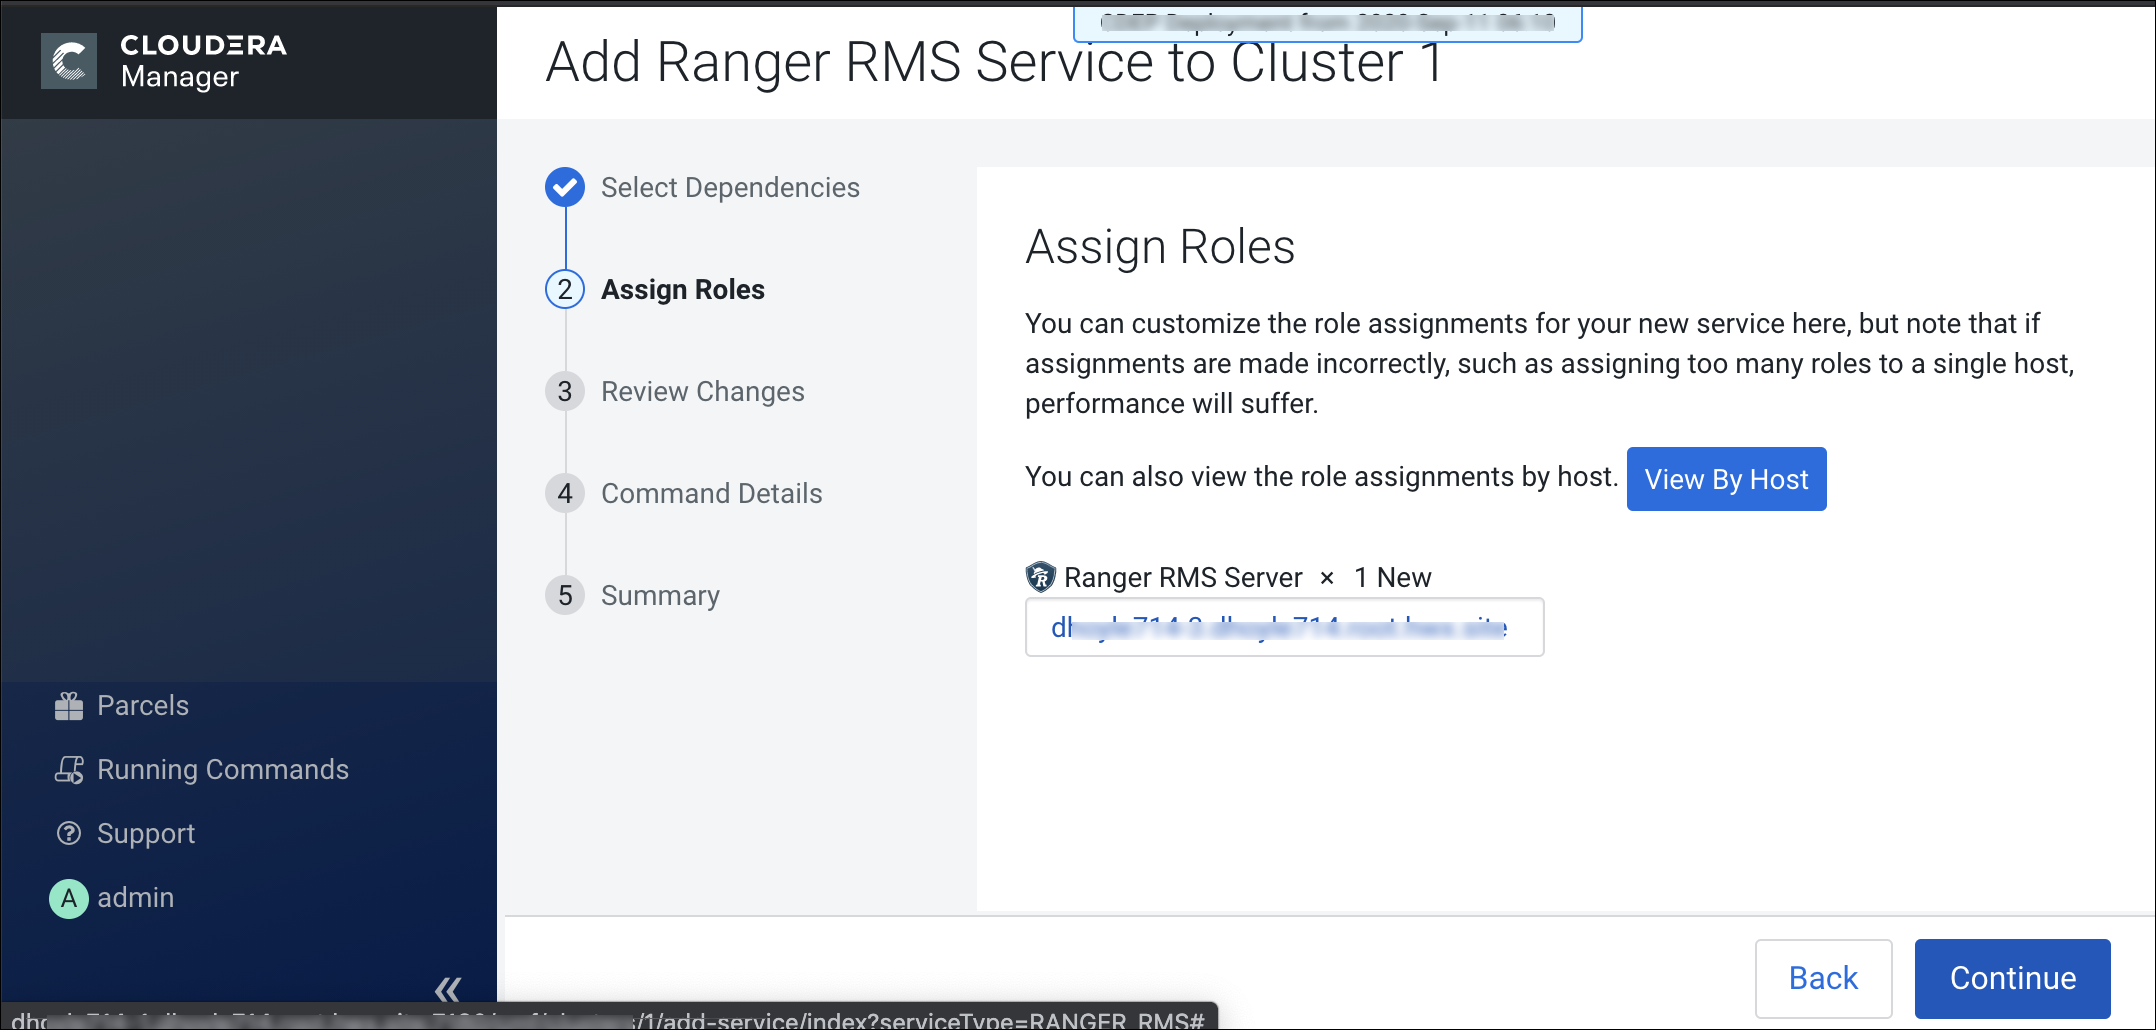
On Assign Roles, click Continue.
-
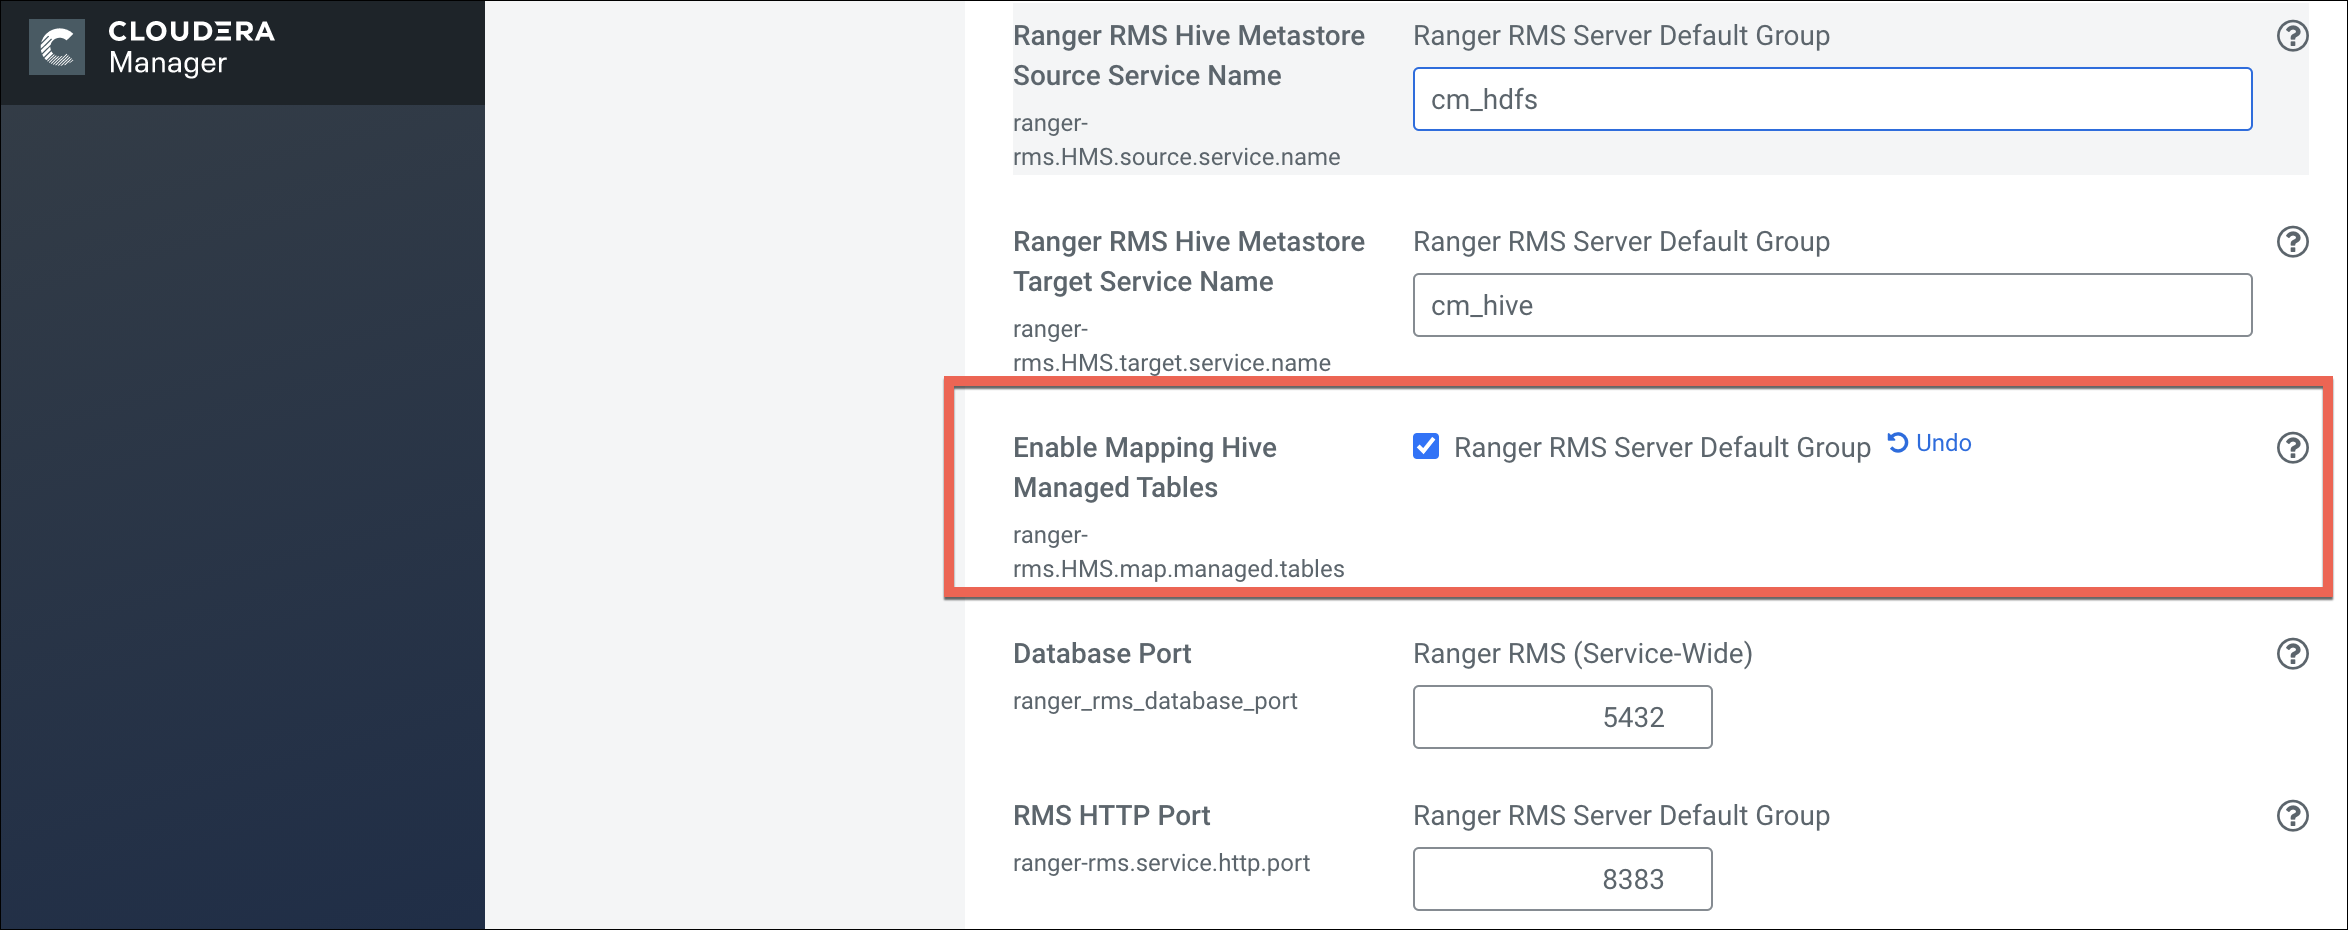
On Review Changes,
To track managed tables, select the Enable Mapping Hive Managed Tables option.
-
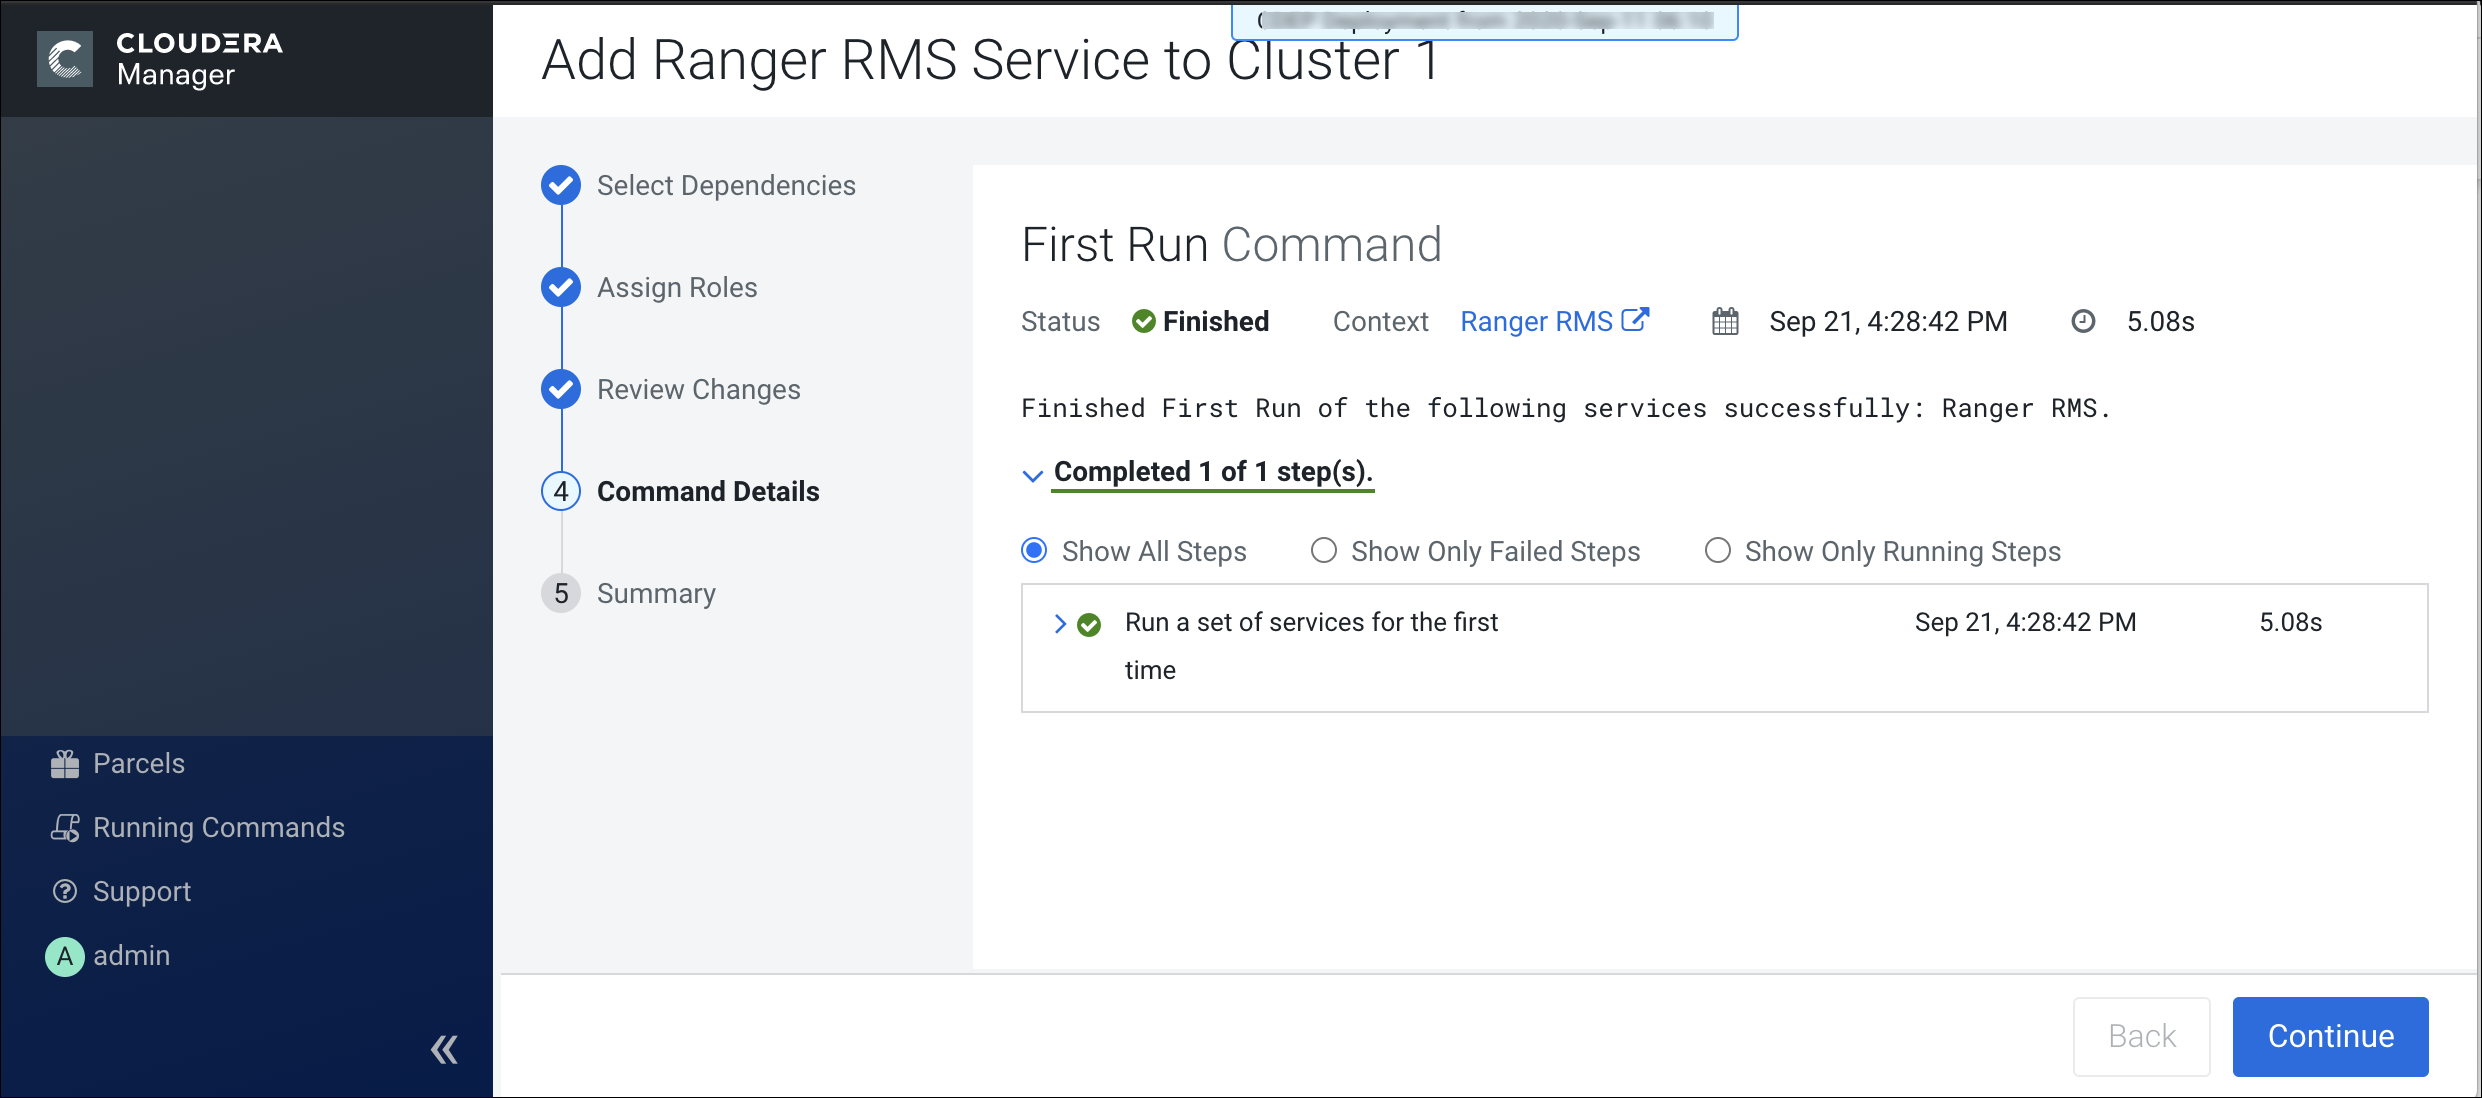
On the Command Details page, select run options, then click
Continue.
-
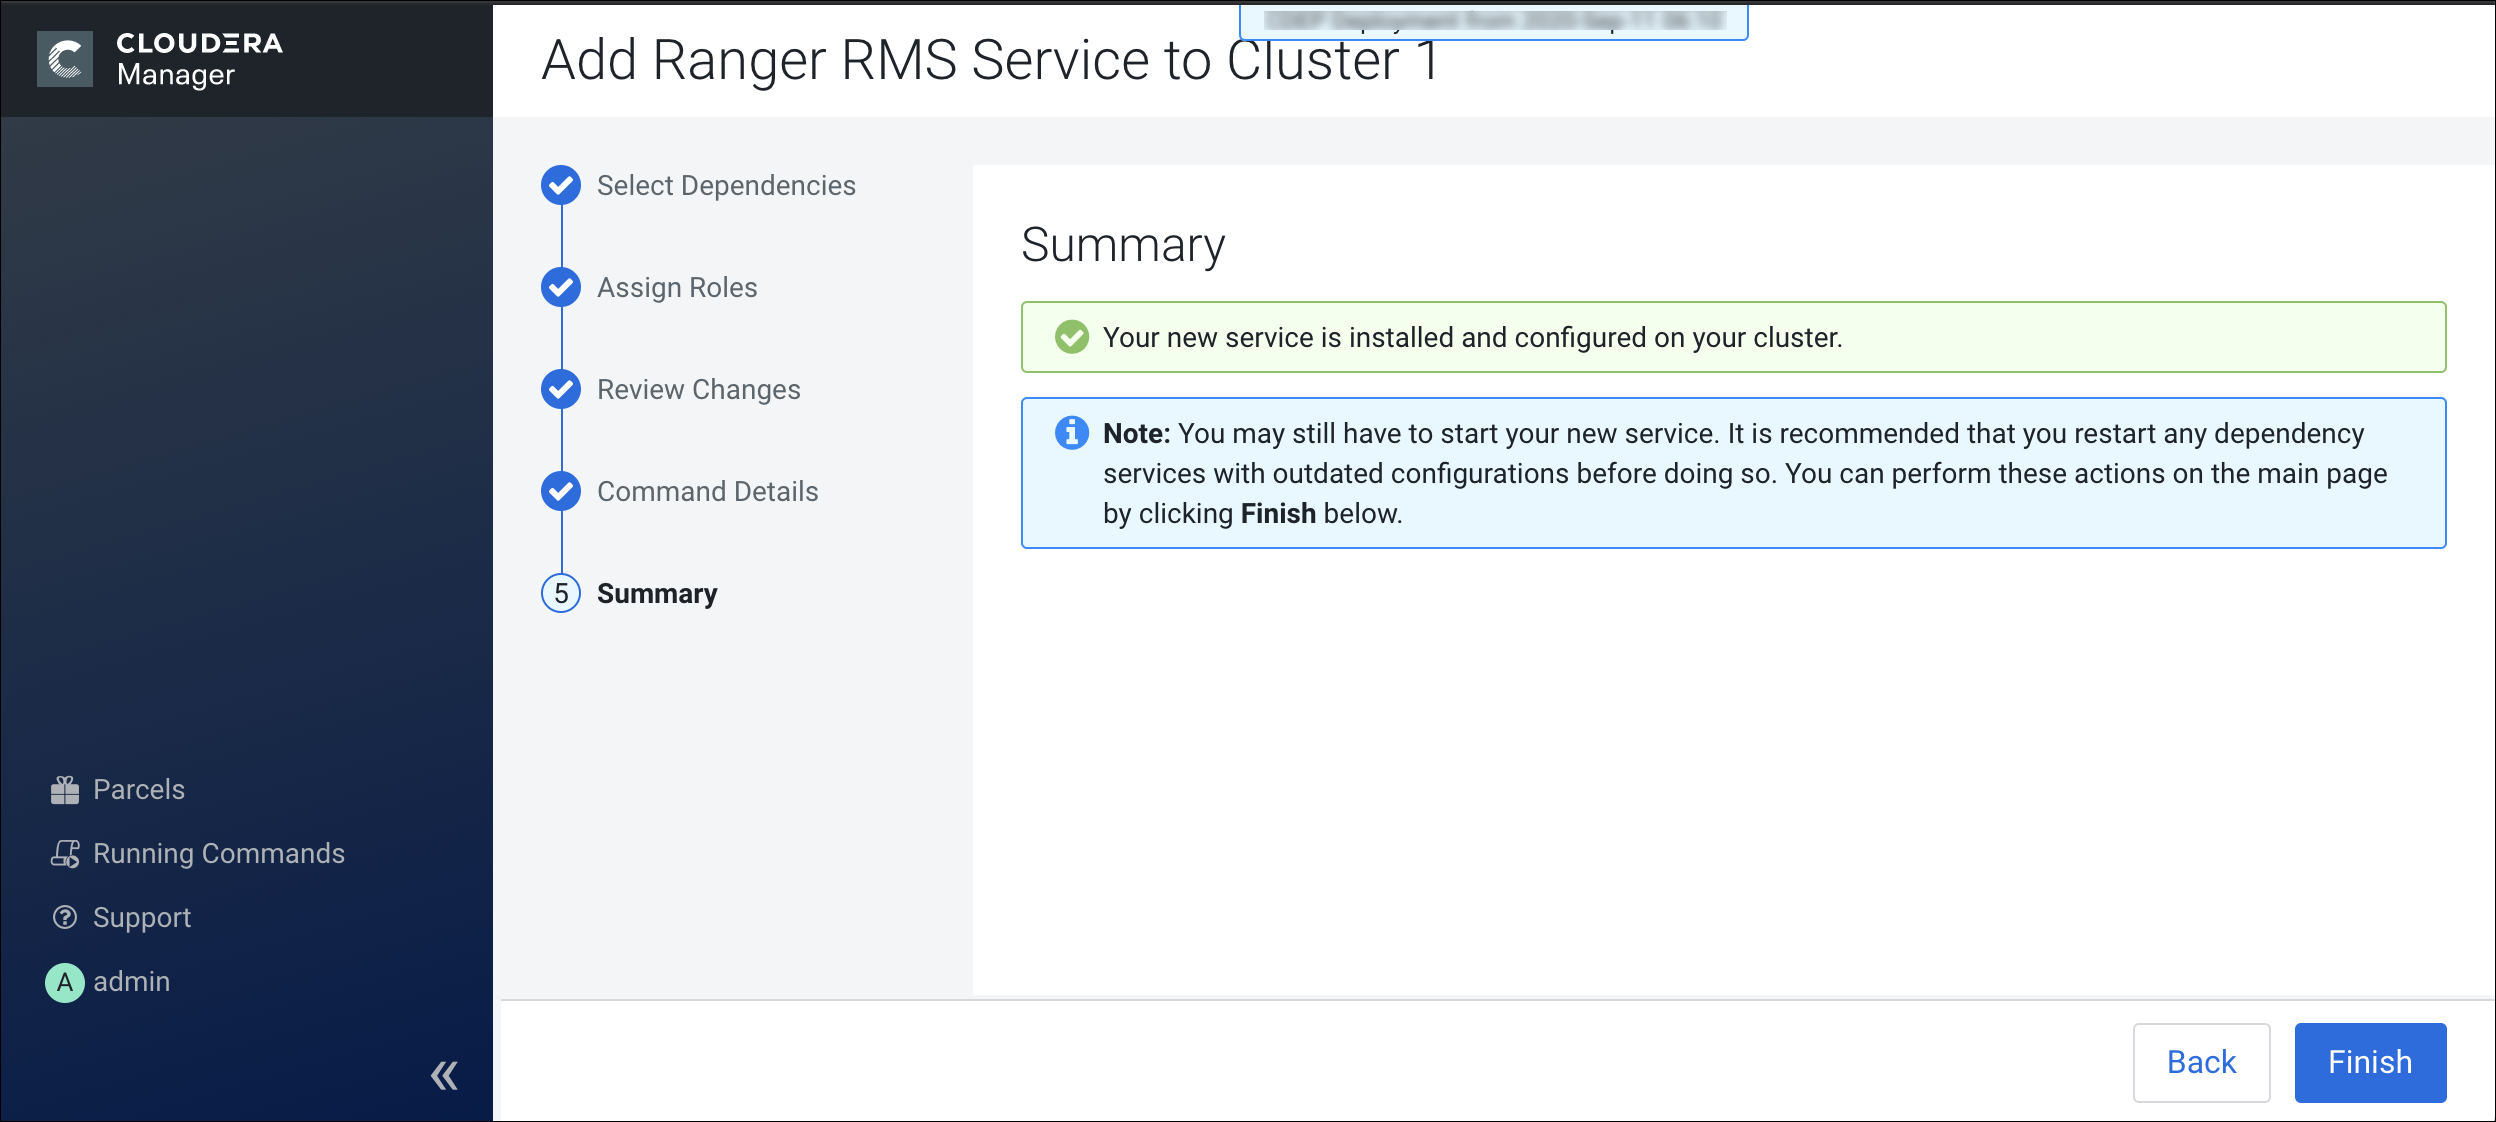
On the Summary page, click Finish.
-
Log in to the Ranger Admin web UI. On the Service
Manager page, click Edit for the Hadoop SQL service,
then verify that
hdfshas been added to the Policy Download Users and Tag Download Users configurations.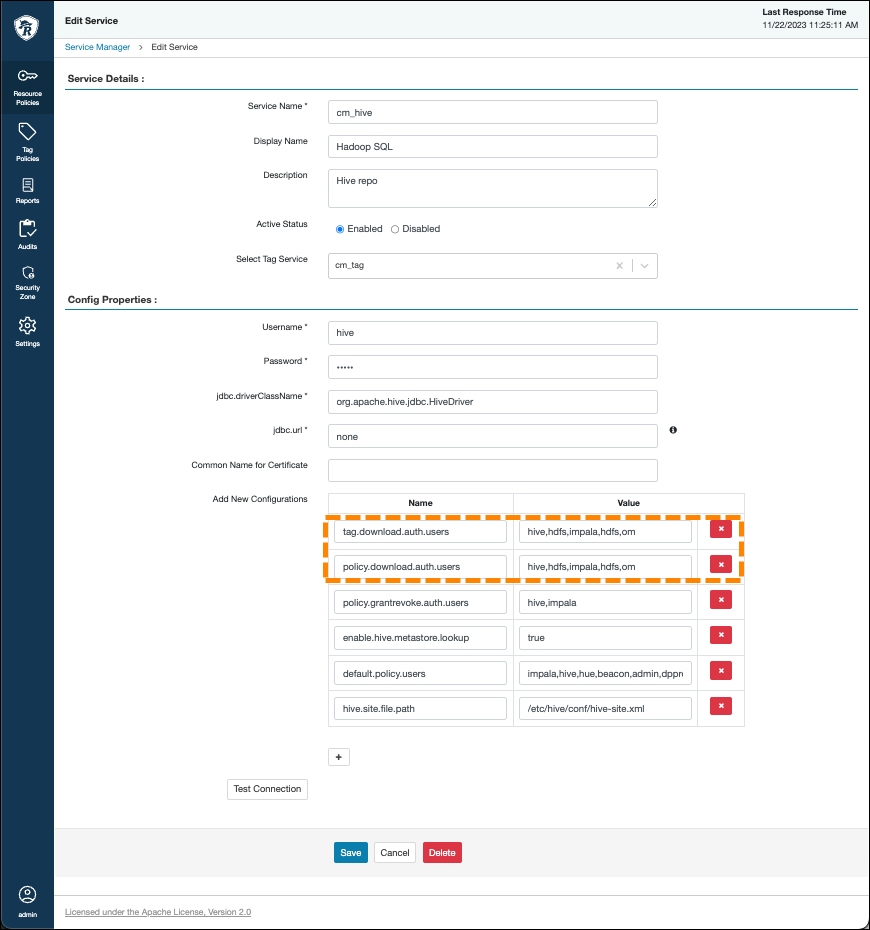
-
Configure Ranger policies with rangerrms user access before starting RMS and running the first sync from the Hive Metastore (HMS).
For example, you must give the rangerrms ID select access to Hive tables. This is configured under the policy "all - database, table".
Figure 2. Granting RMS user Select access to Hive tables 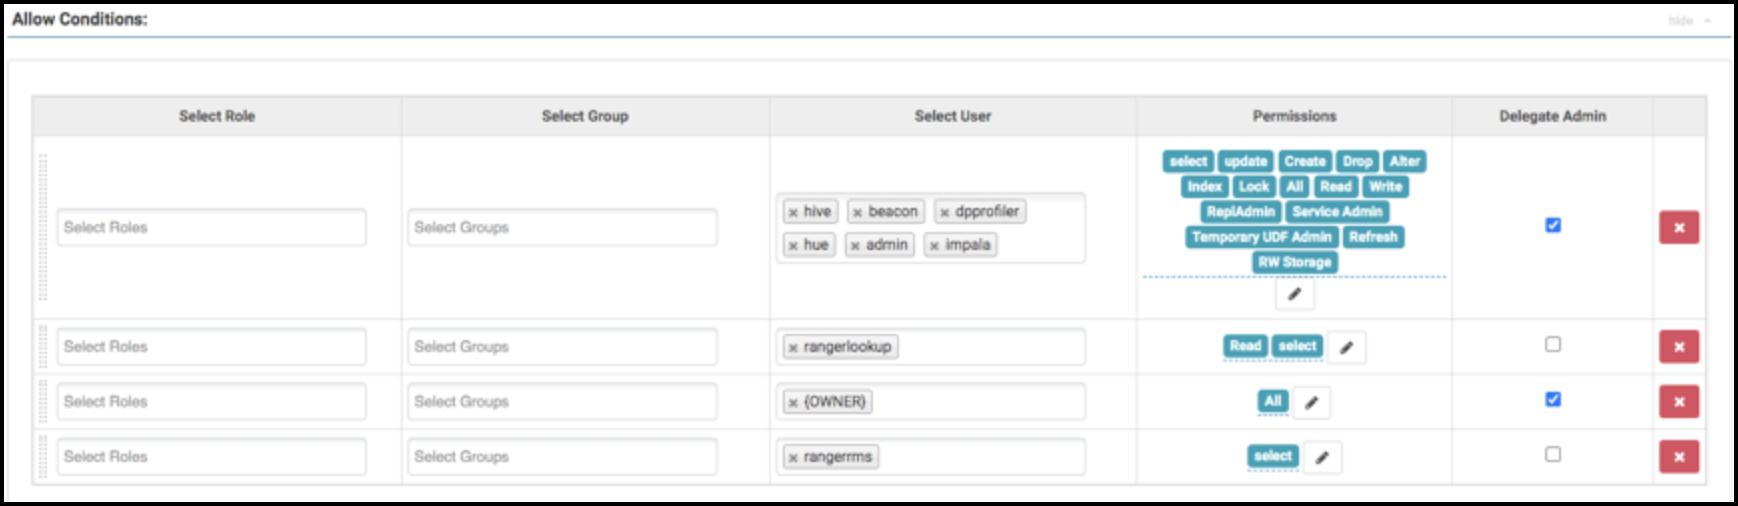
-
In Cloudera Manager, select , then search for Advanced Configuration Snippet (Safety Valve)
for ranger-hdfs-security.xml. Use the Add (+) icons to add the following
properties, then click Save Changes.
Name Value ranger.plugin.hdfs.chained.services cm_hive ranger.plugin.hdfs.chained.services.cm_hive.impl org.apache.ranger.chainedplugin.hdfs.hive.RangerHdfsHiveChainedPlugin ranger.plugin.hdfs.privileged.user.names admin,dpprofiler,hue,beacon,hive,impala ranger.plugin.hdfs.service.names hive,impala 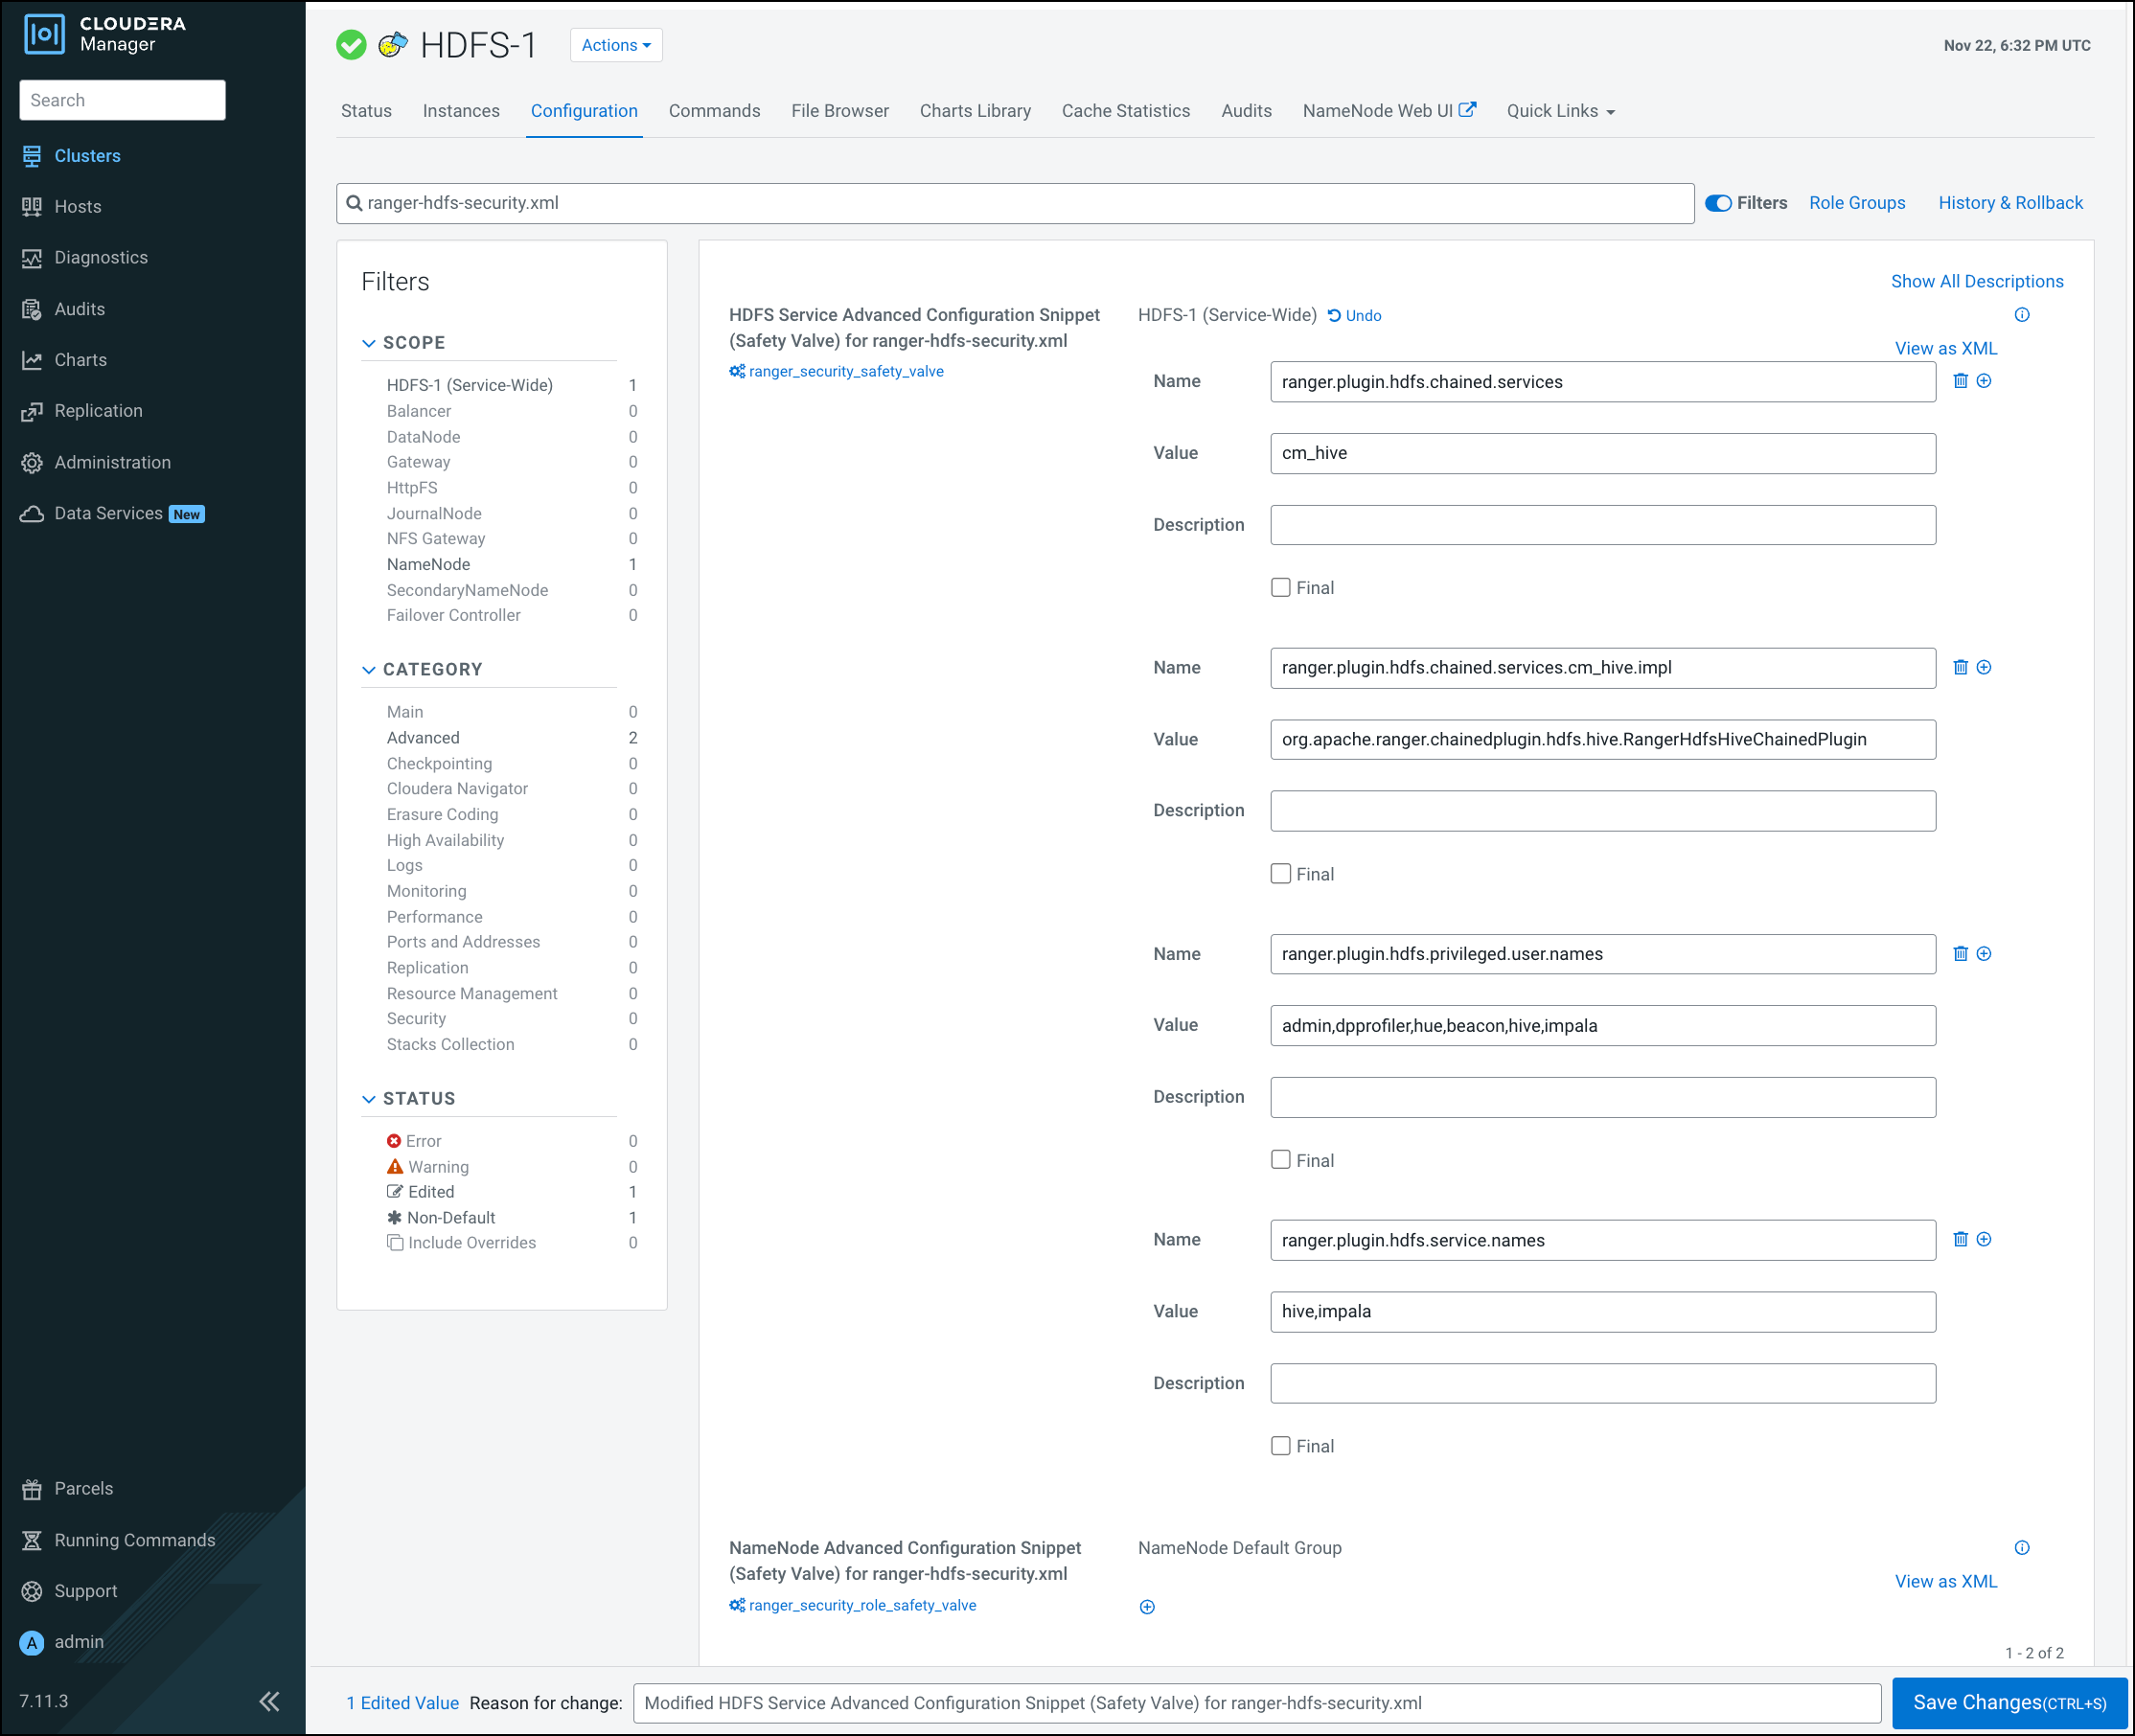
-
Click HDFS Restart.

-
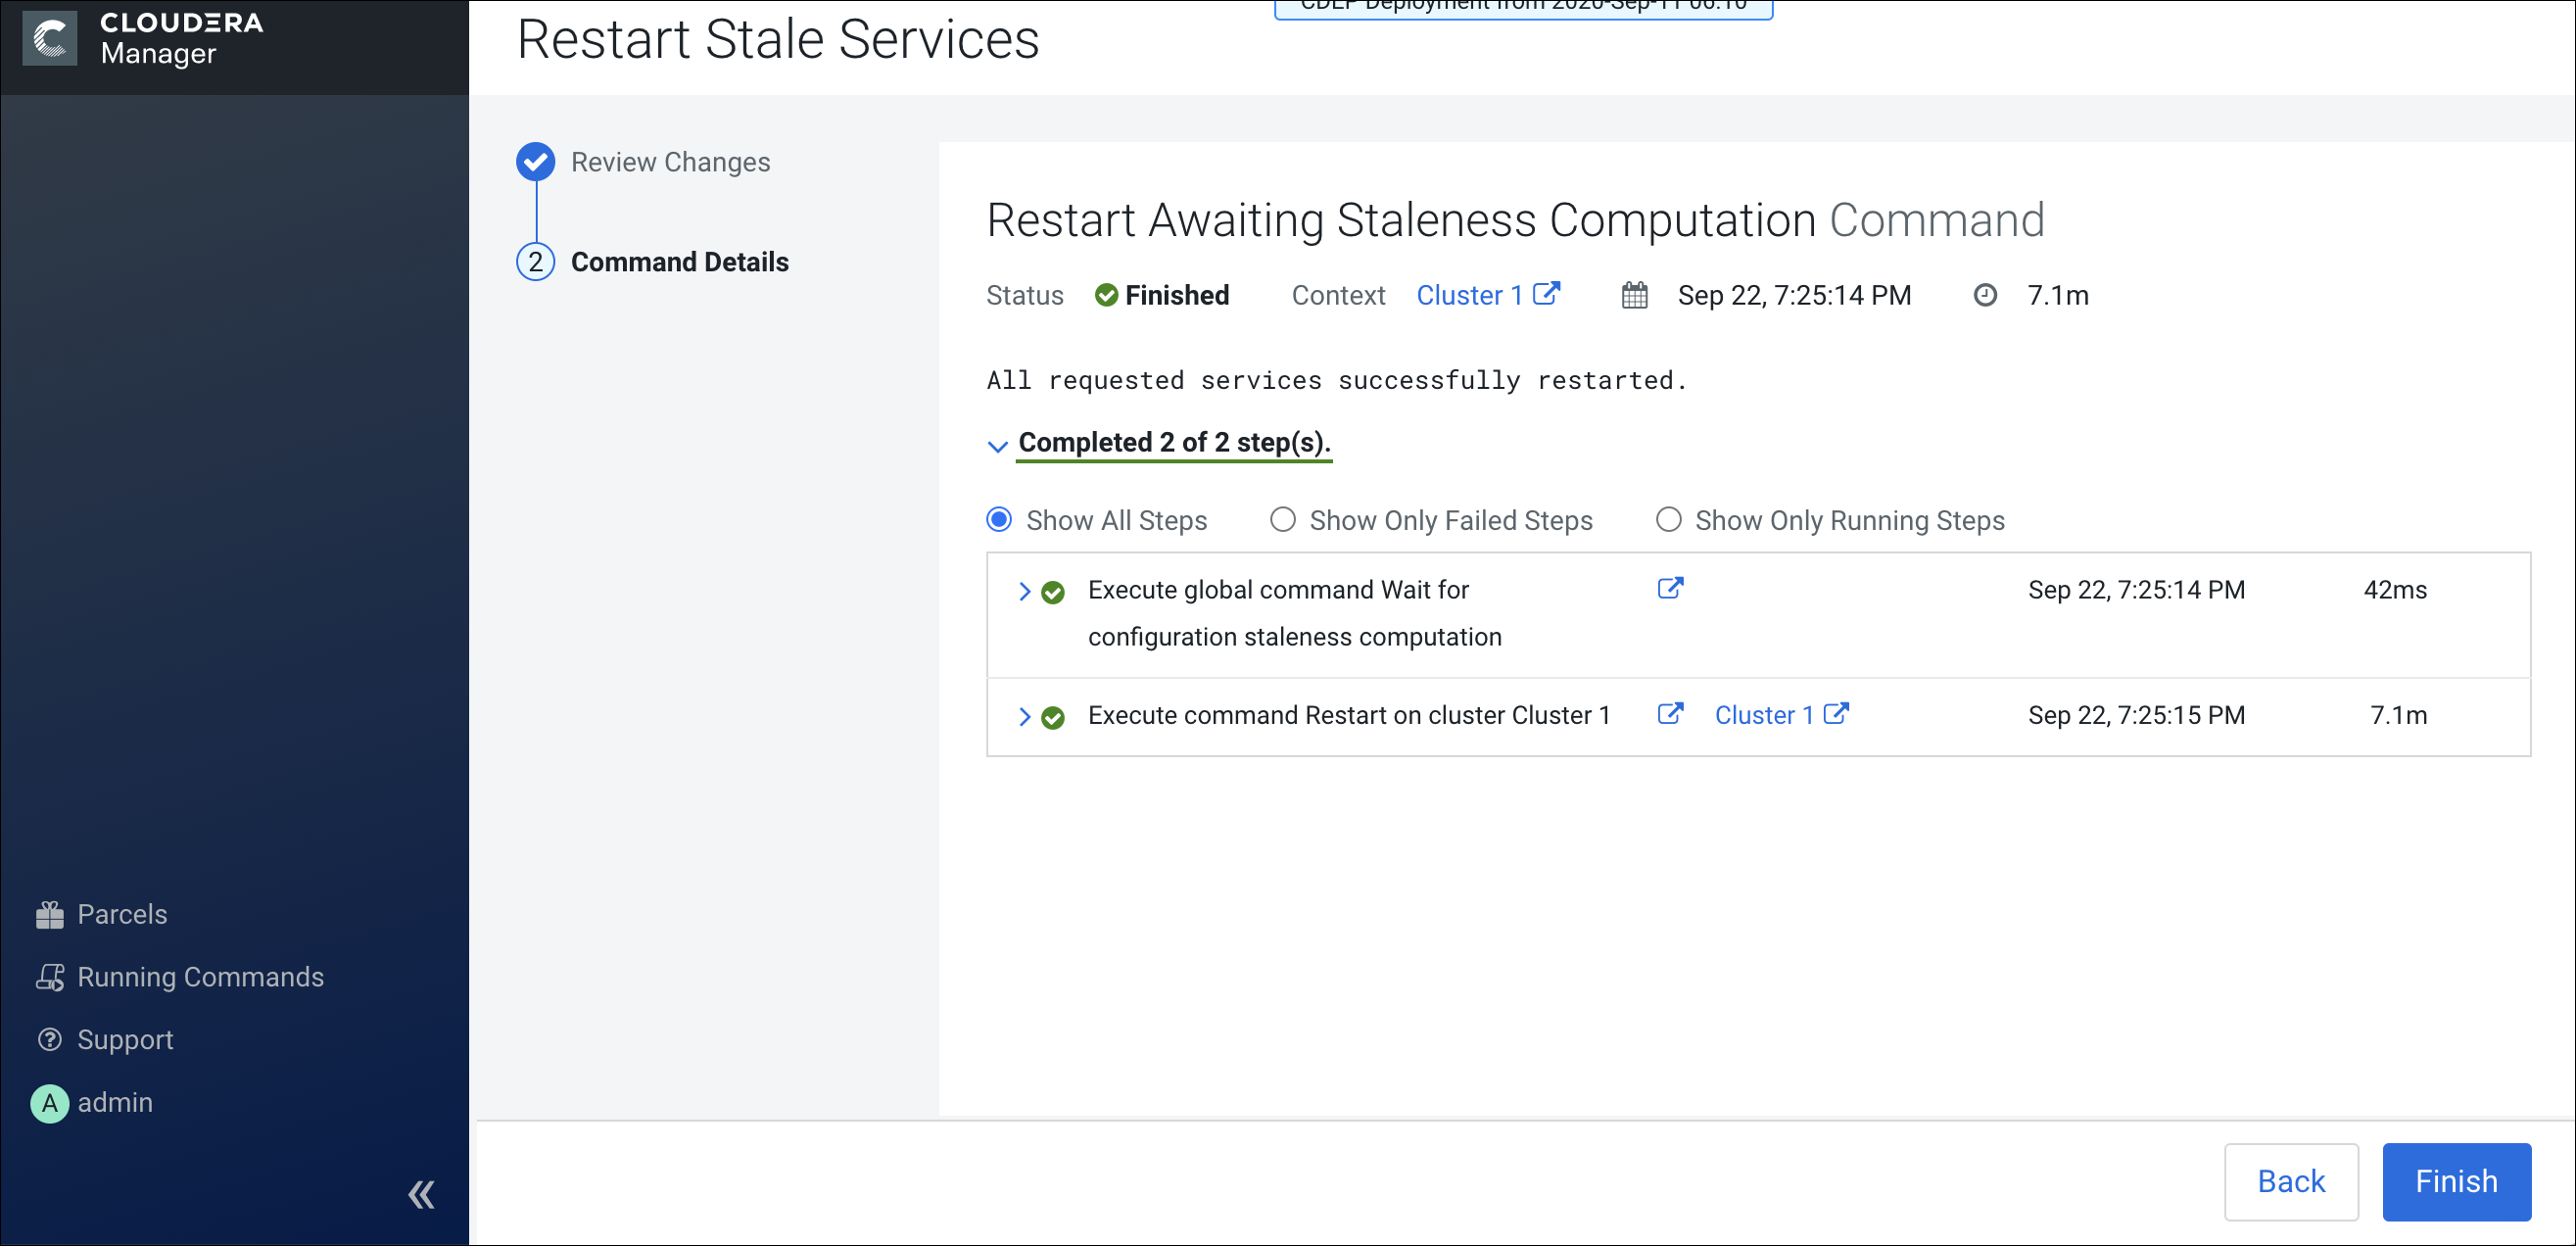
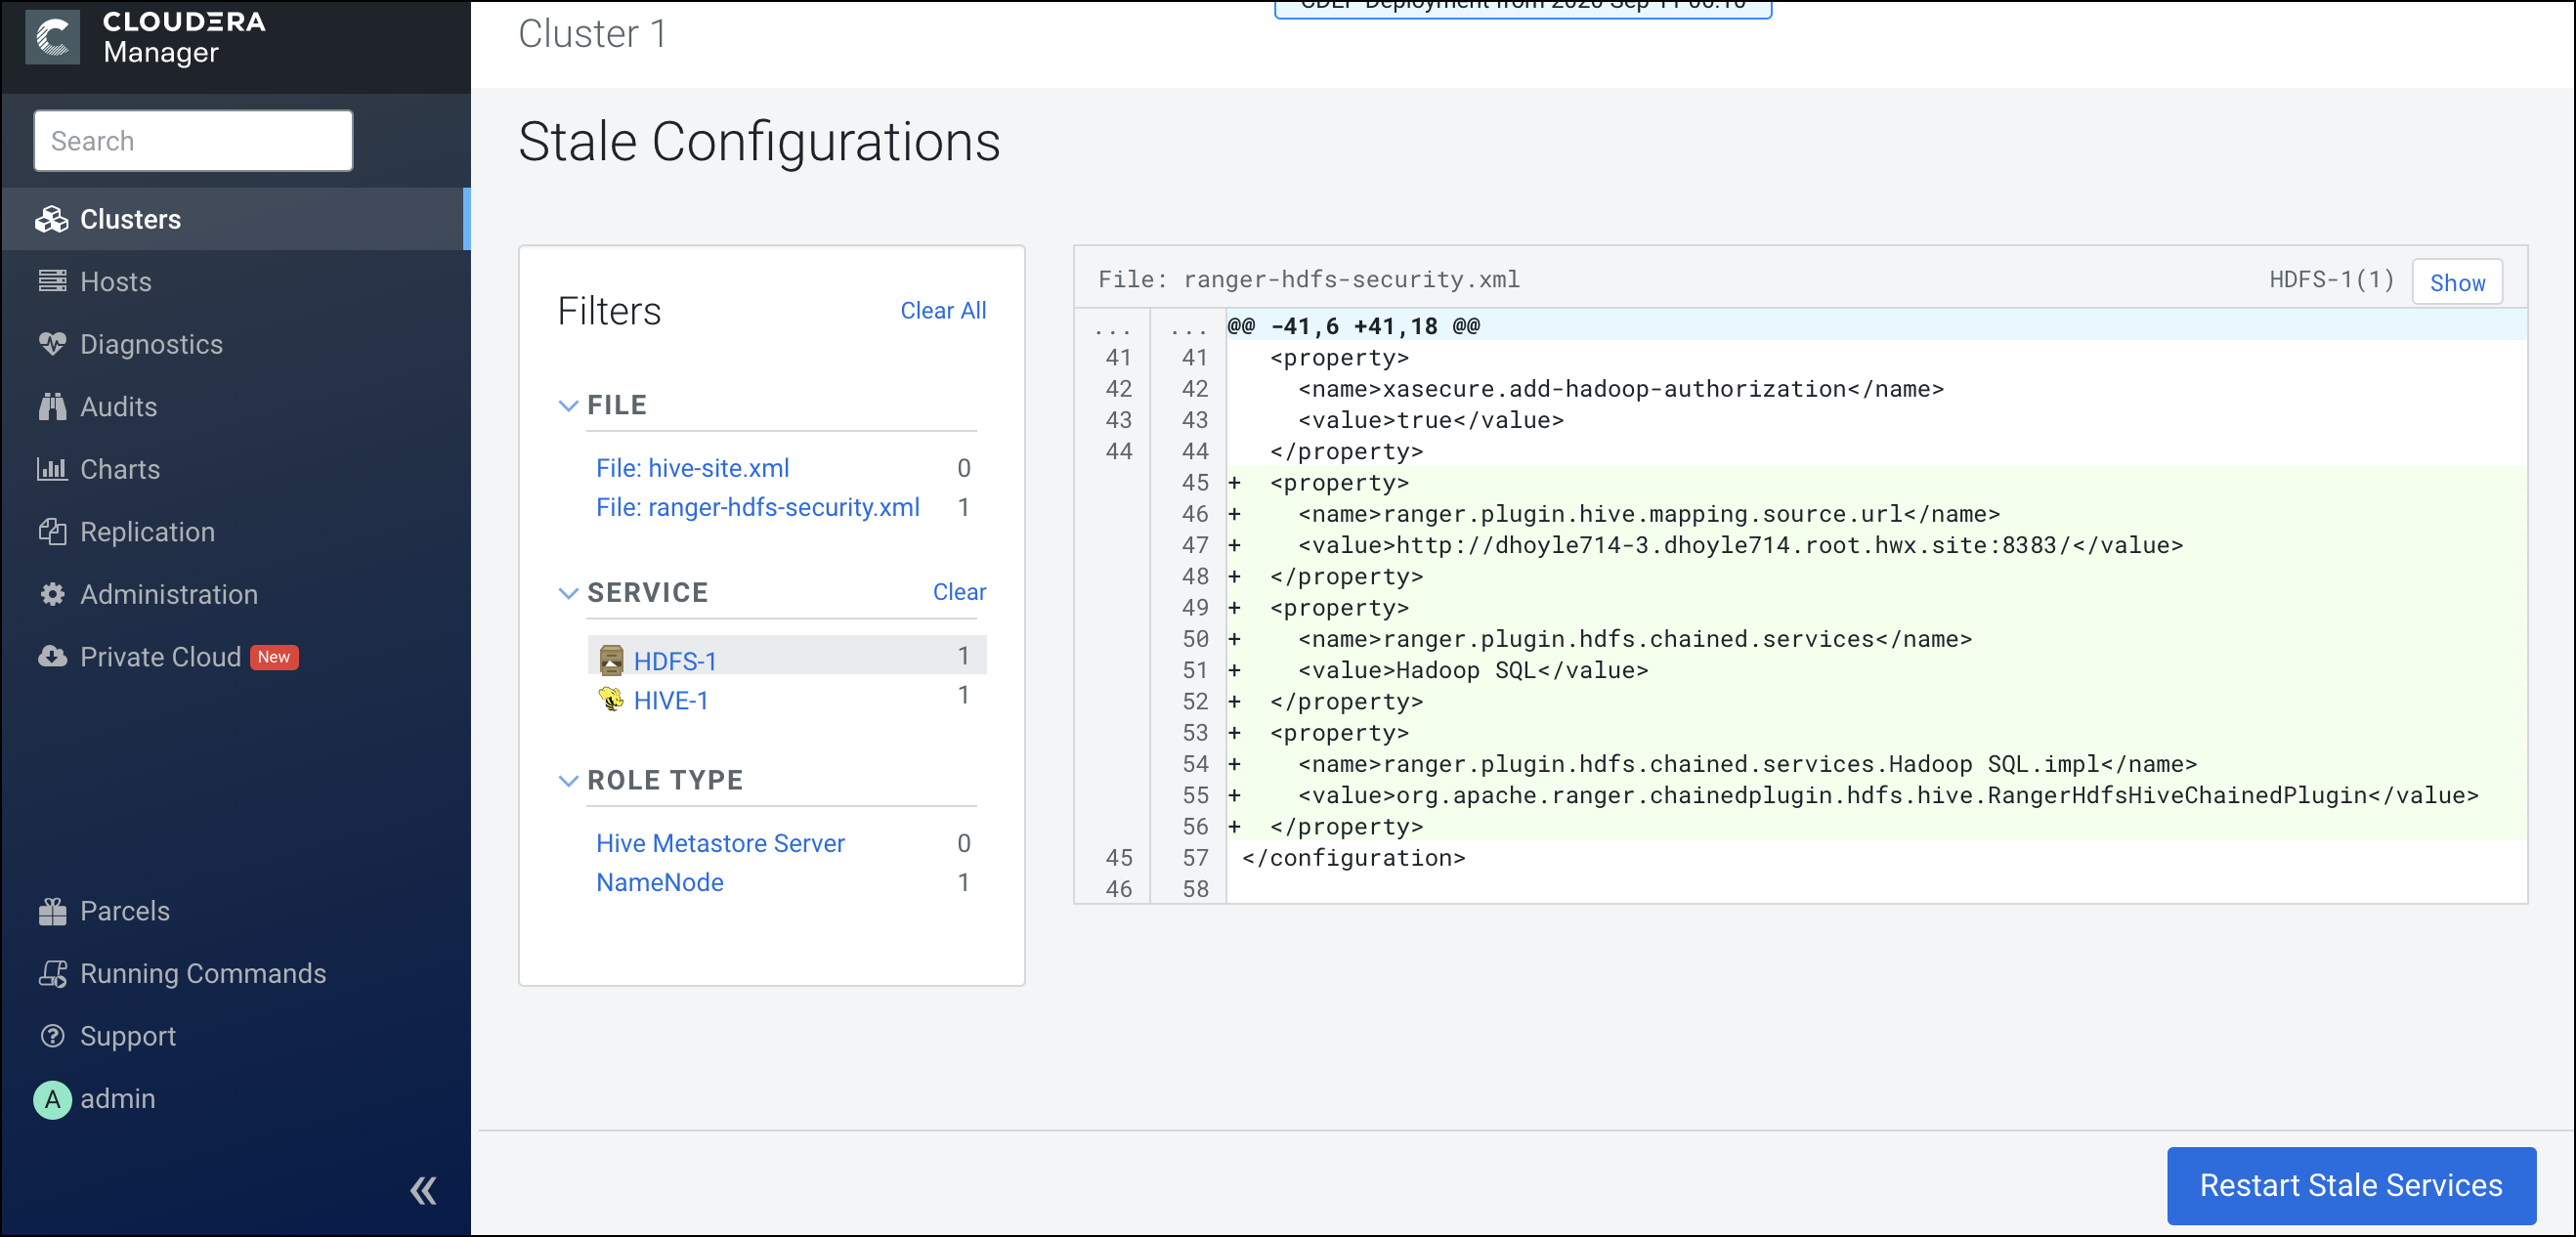
On the Stale Configurations page, click Restart Stale
Services.
-
On the Restart Stale Services page, select the
Re-deploy client configuration option, then click
Restart Now.

-
Click Finish after the services restart.