Creating backup of Control Plane and restoring it
The Backup and Restore Manager in the CDP Private Cloud Data Services Management Console helps you to backup and restore Kubernetes namespaces and resources on Embedded Container Service (ECS) and OpenShift Container Platform (OCP). You can also restore and delete the backups.
- You must have the PowerUser role.
- For OCP, ensure that a VolumeSnapshotClass is installed with a CSI driver that matches the CSI driver for the storage class used.
-
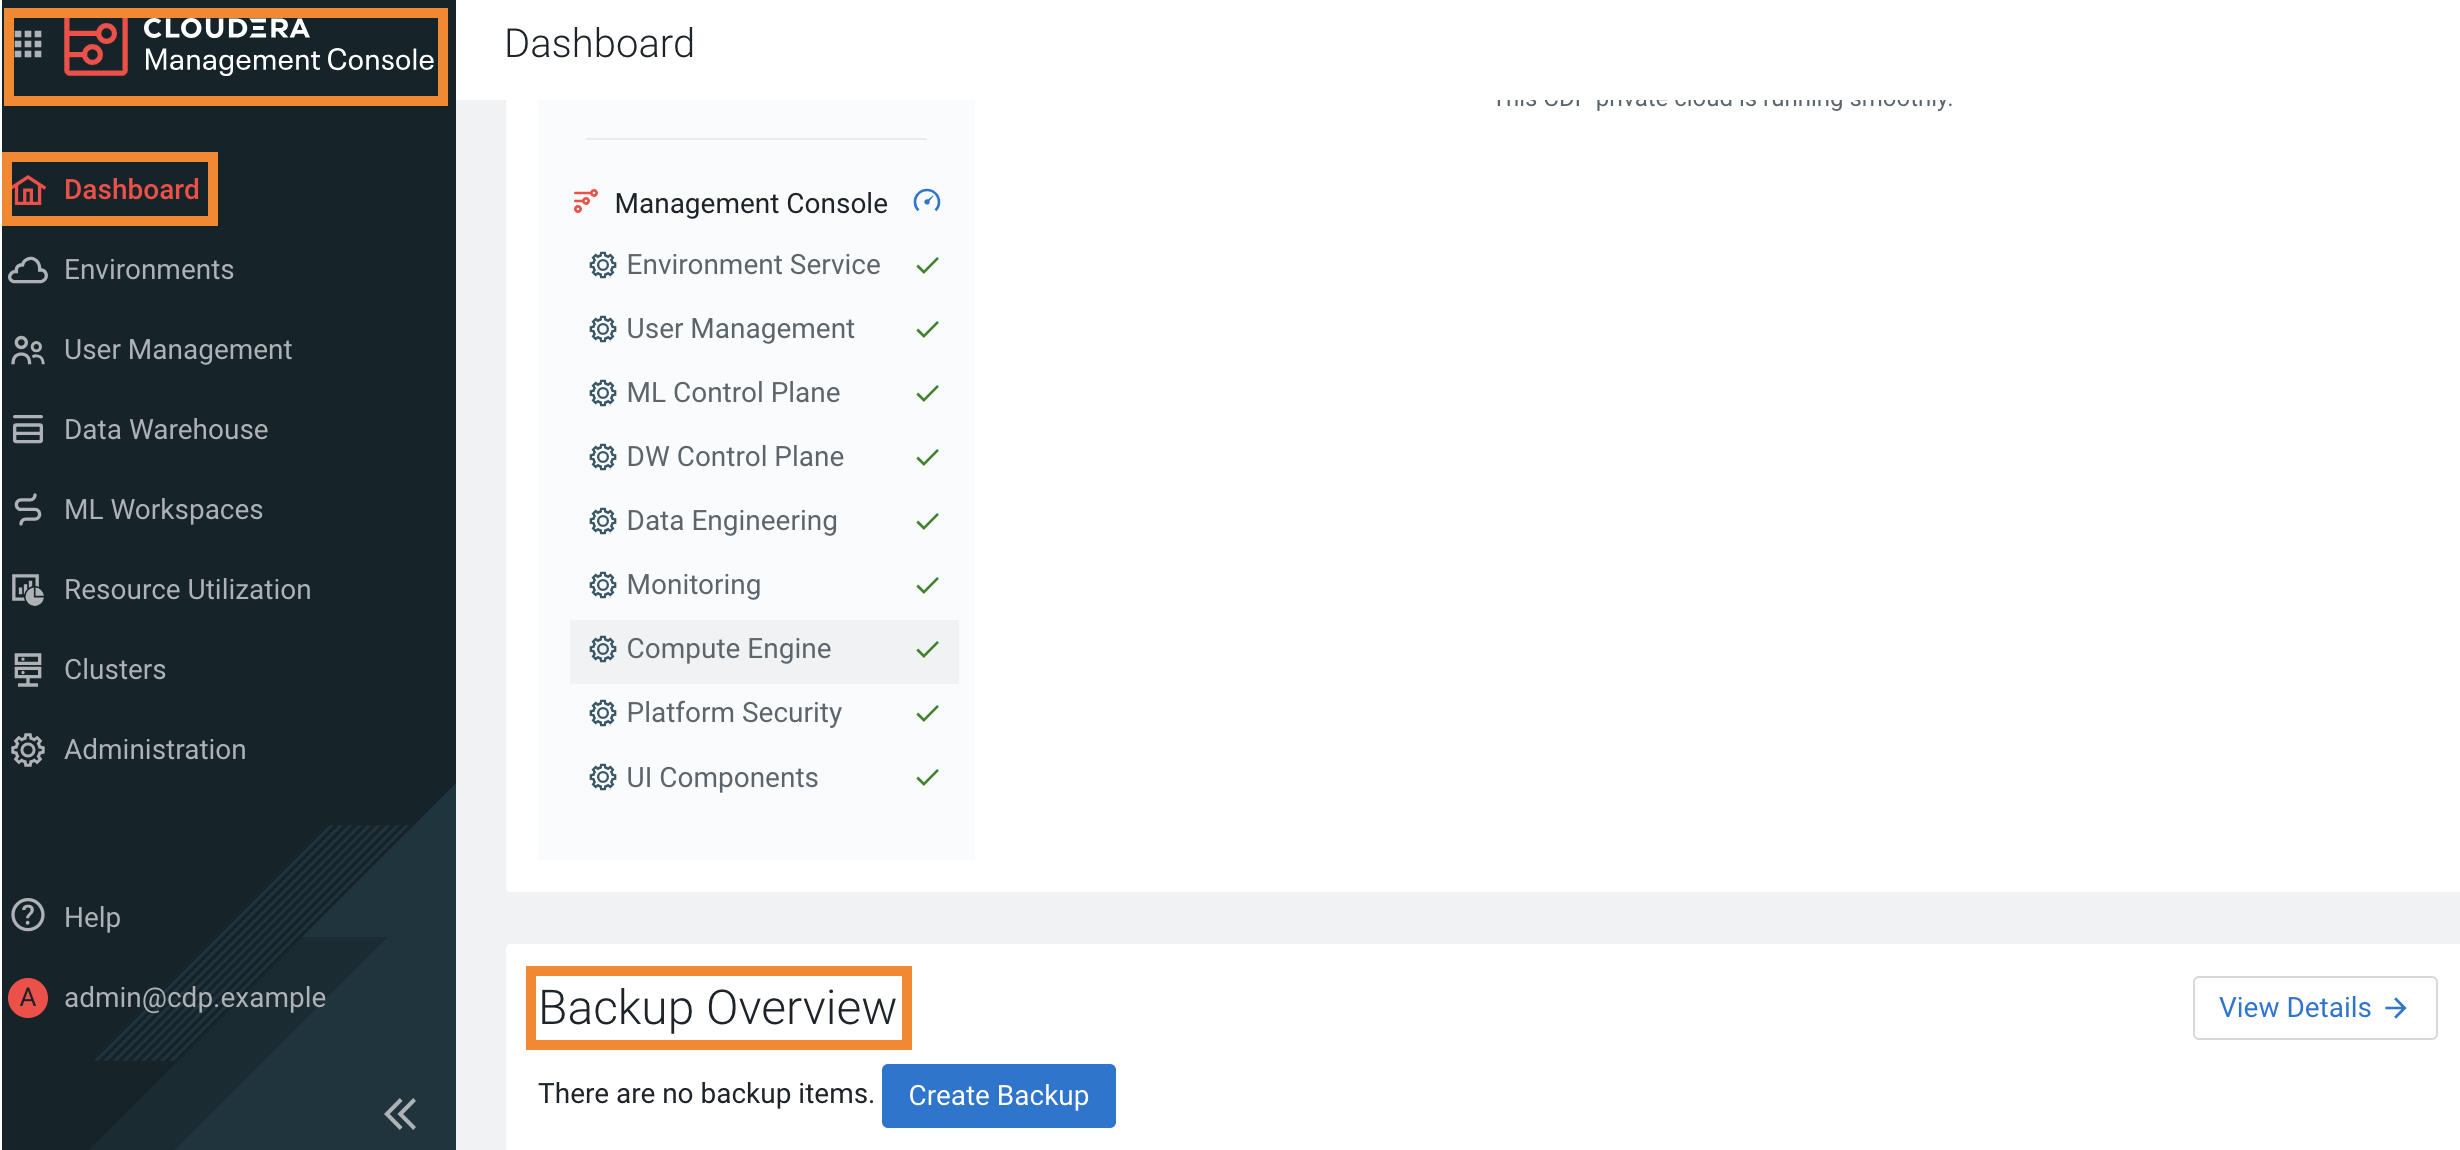
Go to the CDP Private Cloud Data Services Management Console > Dashboard > Backup Overview section.
-
To create a backup, perform the following steps:
When you create a backup of the Control Plane, the data recovery service initiates the backup event or job for the chosen backup entity, assigns an ID called backupCrn to the backup event, and creates a backup of the persistent volume claim (PVC) snapshots of the Control Plane namespaces and the backup event's PVC. CRN or Customer Resource Number is the Cloudera-specific identifier provided for an event or job.
-
Click Create Backup in the Backup
Overview section to create the first backup.

-
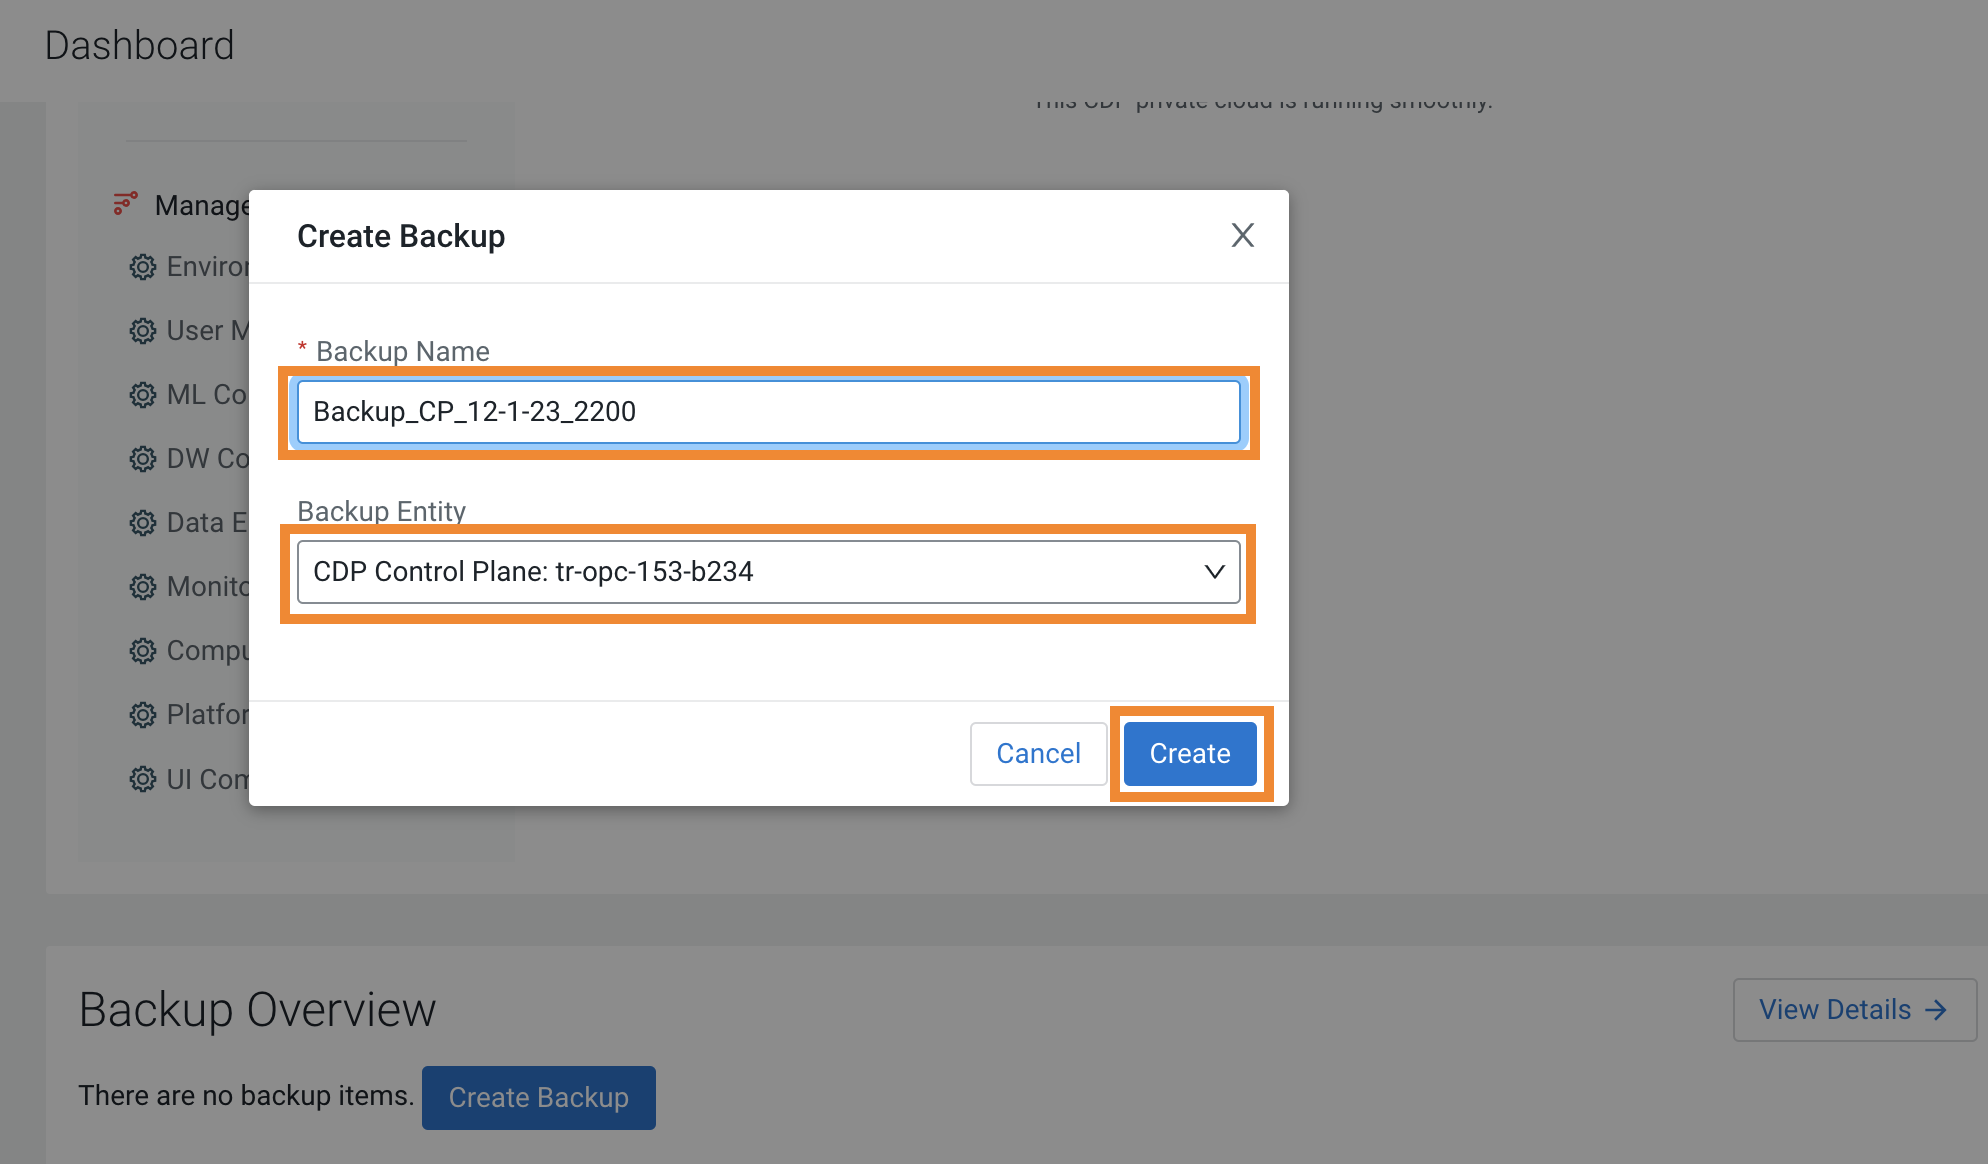
Enter a unique Backup Name and choose the
Backup Entity that you want to back up in the
Create Backup modal window, and then click
Create.
-
The data recovery service initiates the backup event and generates a
backupCRN which is an automatically assigned ID for the backup event.
The backup event appears in the Backup Overview section.

-
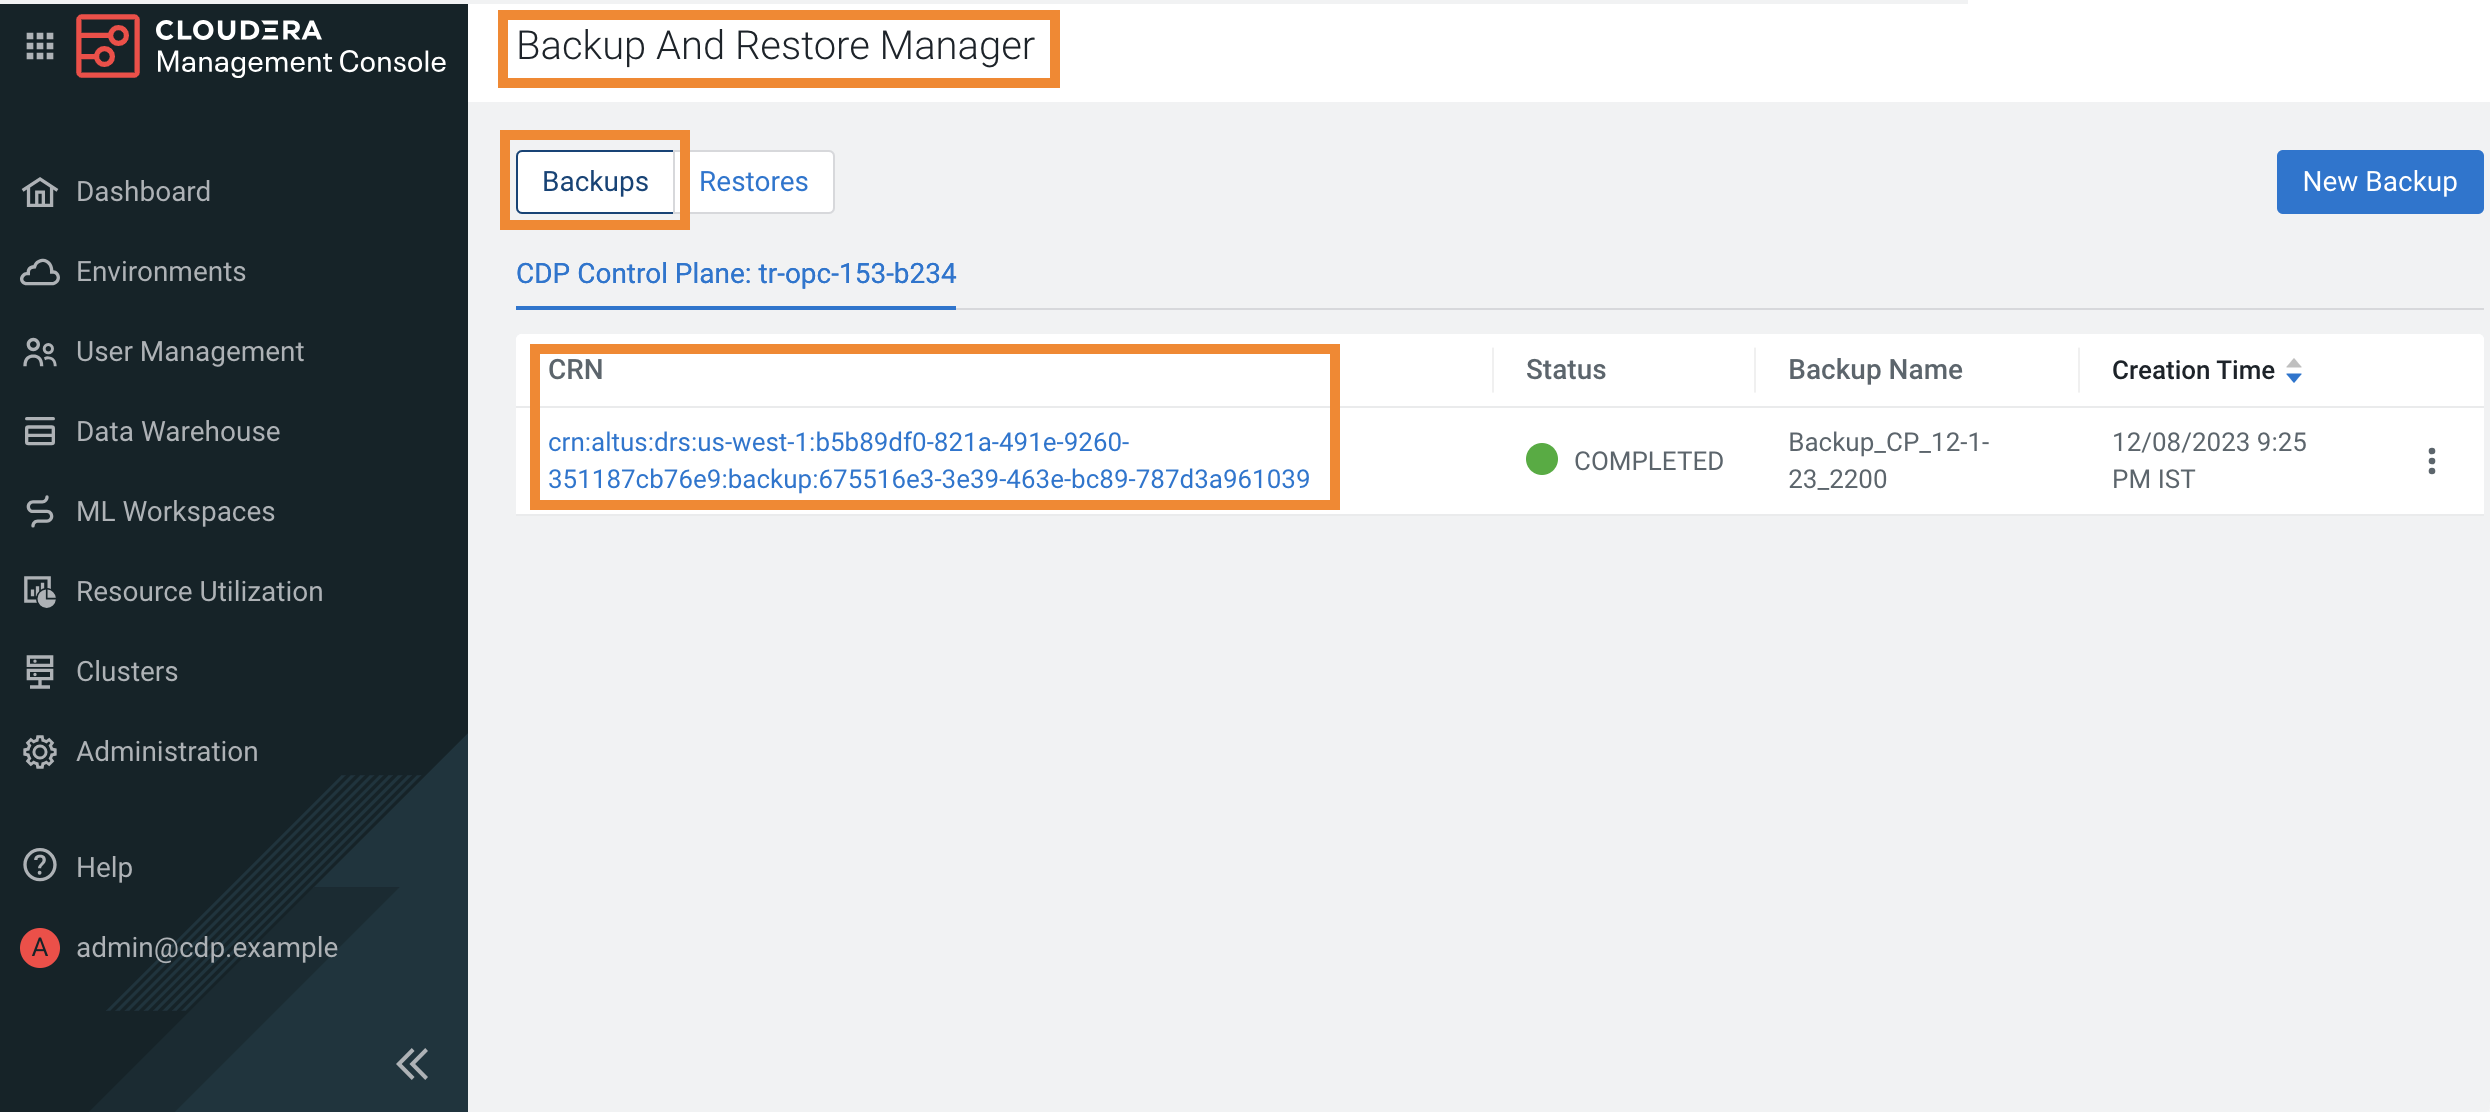
Click View Details. The Backup and
Restore Manager page appears.

-
The backupCRN appears as a CRN on the Backup and Restore
Manager page that you can click to view the backup event
details.
-
For subsequent backups, click New Backup on the
Backup and Restore Manager page.

-
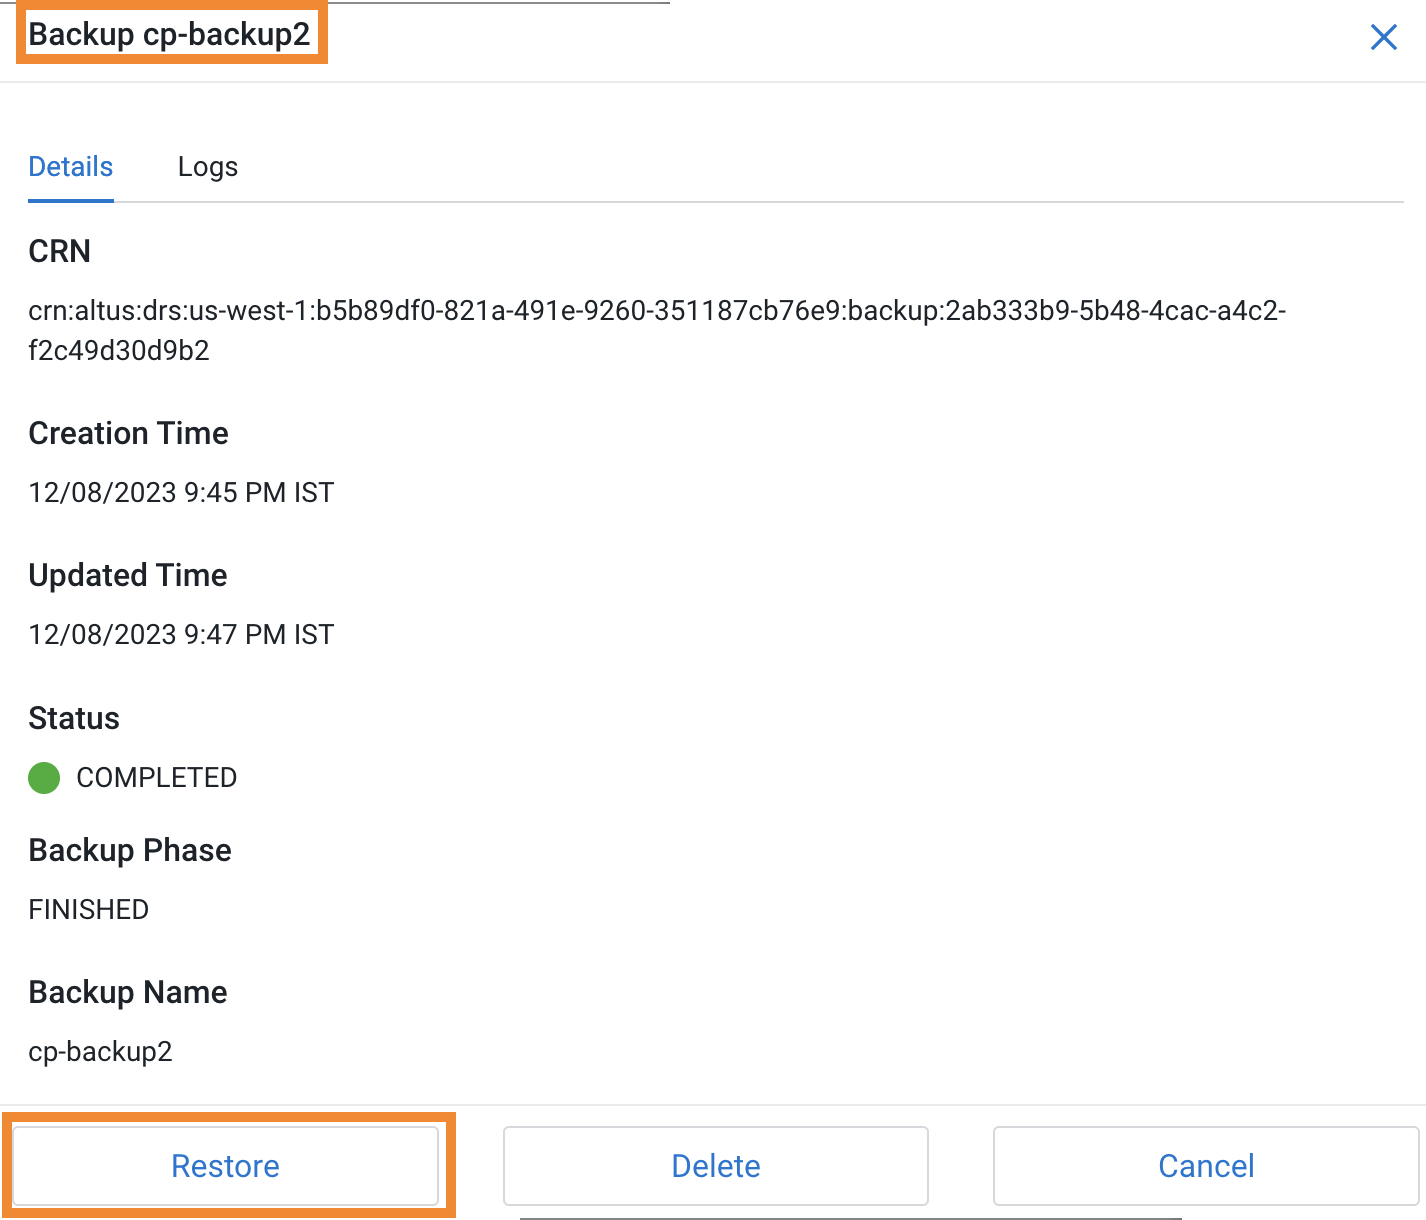
Click the CRN to view more details about it on the Backup
[***backup name***] modal window.
For example, the following image shows the Backup
cp-backup2 modal window.

-
Click Create Backup in the Backup
Overview section to create the first backup.
-
To restore a backup, perform the following steps:
When you start the restore a backup, the data recovery service initiates the restore event based on the chosen backup, assigns an ID called restoreCrn to the restore event, deletes the existing resources and data, and restores the resources and data from the backup.
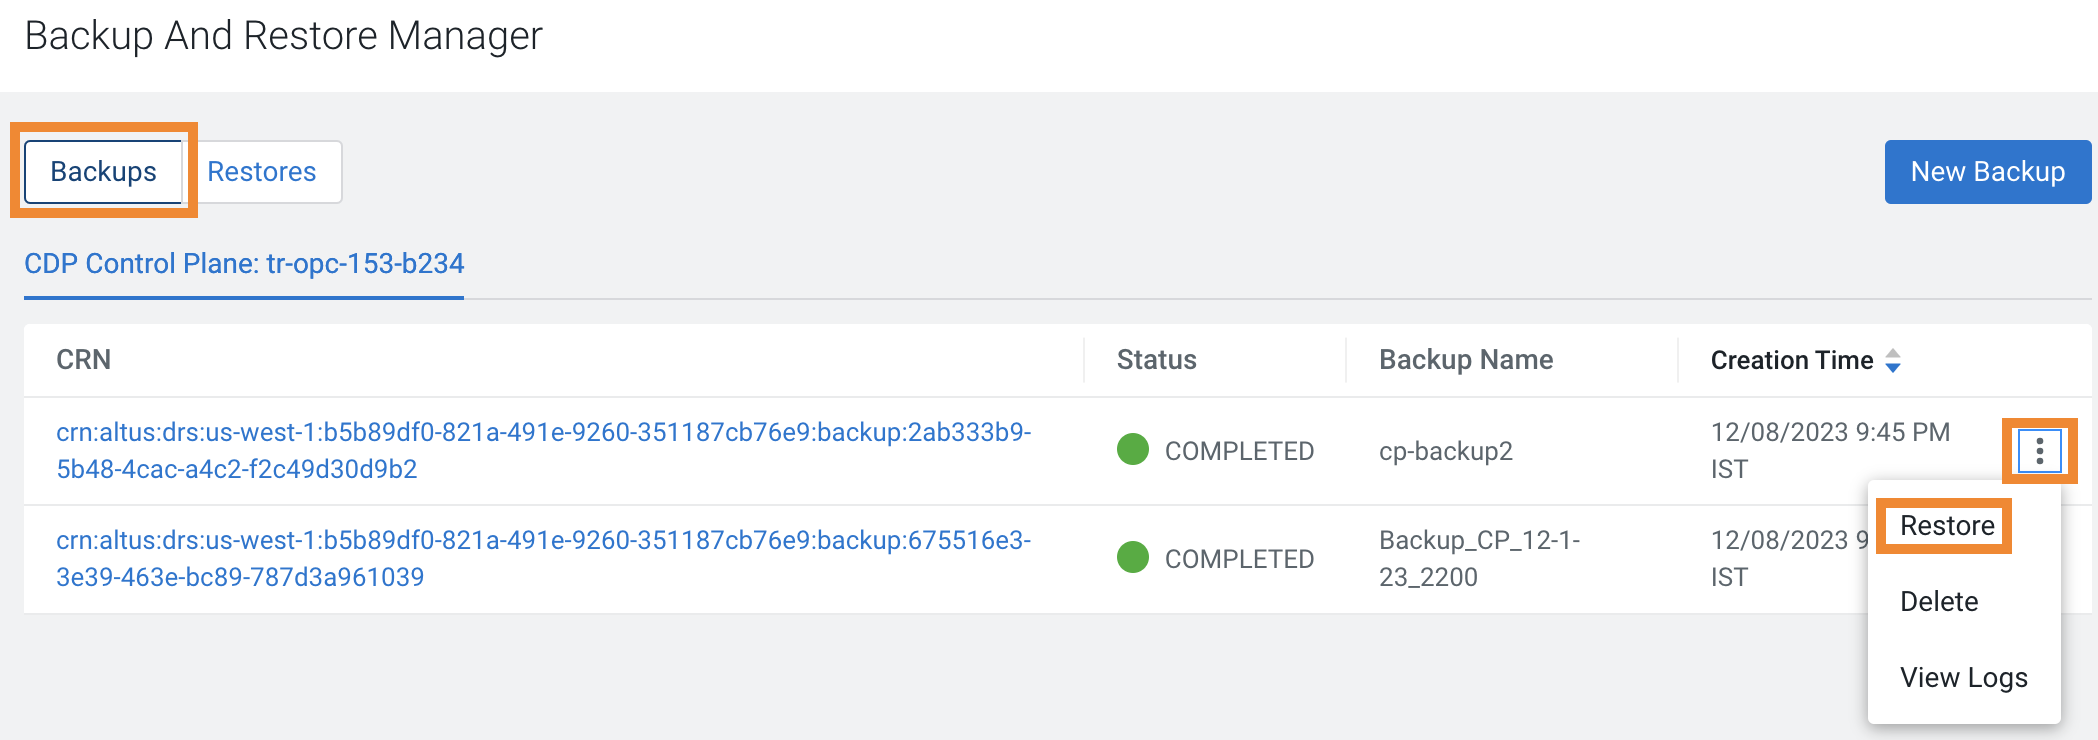
- Go to the Backup and Restore Manager > Backups tab.
-
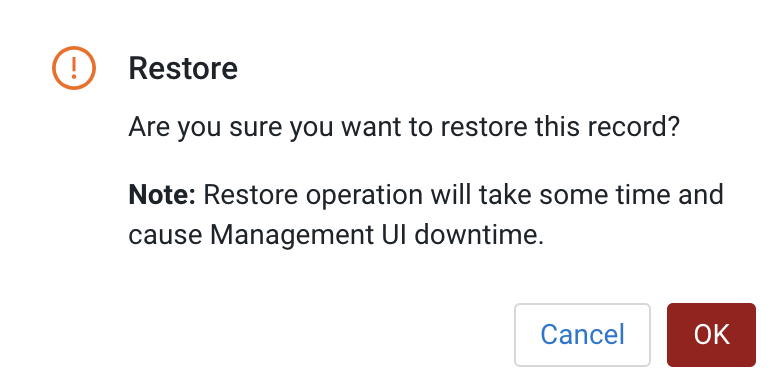
Click Actions > Restore, and then click OK in the
Restore modal window to acknowledge that you
want to restore the backup.
-
Alternatively, click the CRN of the required
backup, click Restore on the Backup
[***name of backup***] modal
window, and then click OK to acknowledge that you
want to restore the backup.
-
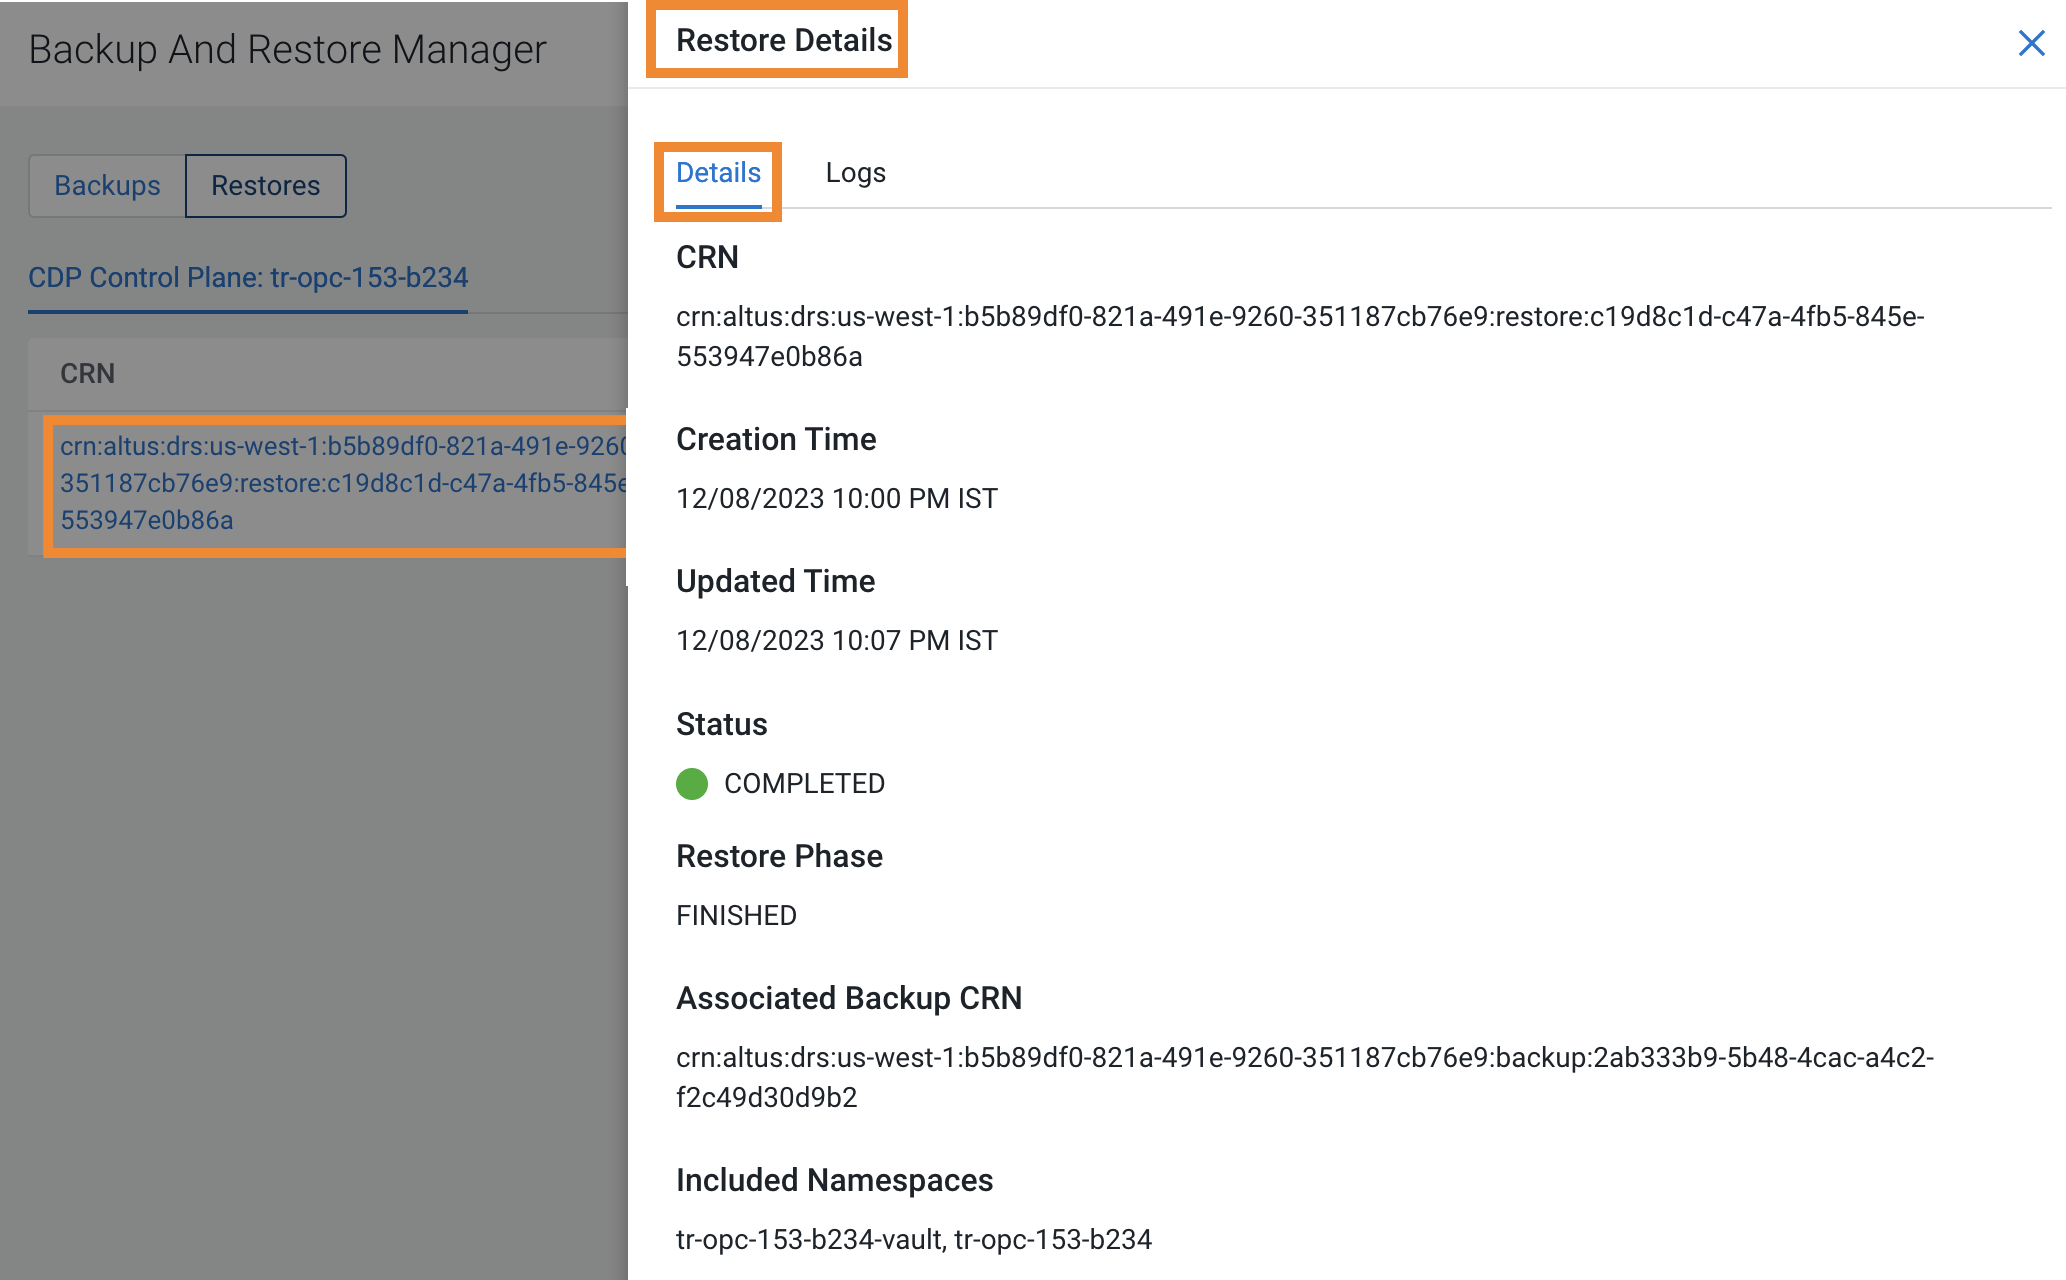
Go to the Restores tab to view the CRN for the
restore event and other details about the restore event.

-
Click the CRN for a restore event to see its details on the
Restore Details modal window.
-
To delete a backup, perform the following steps:
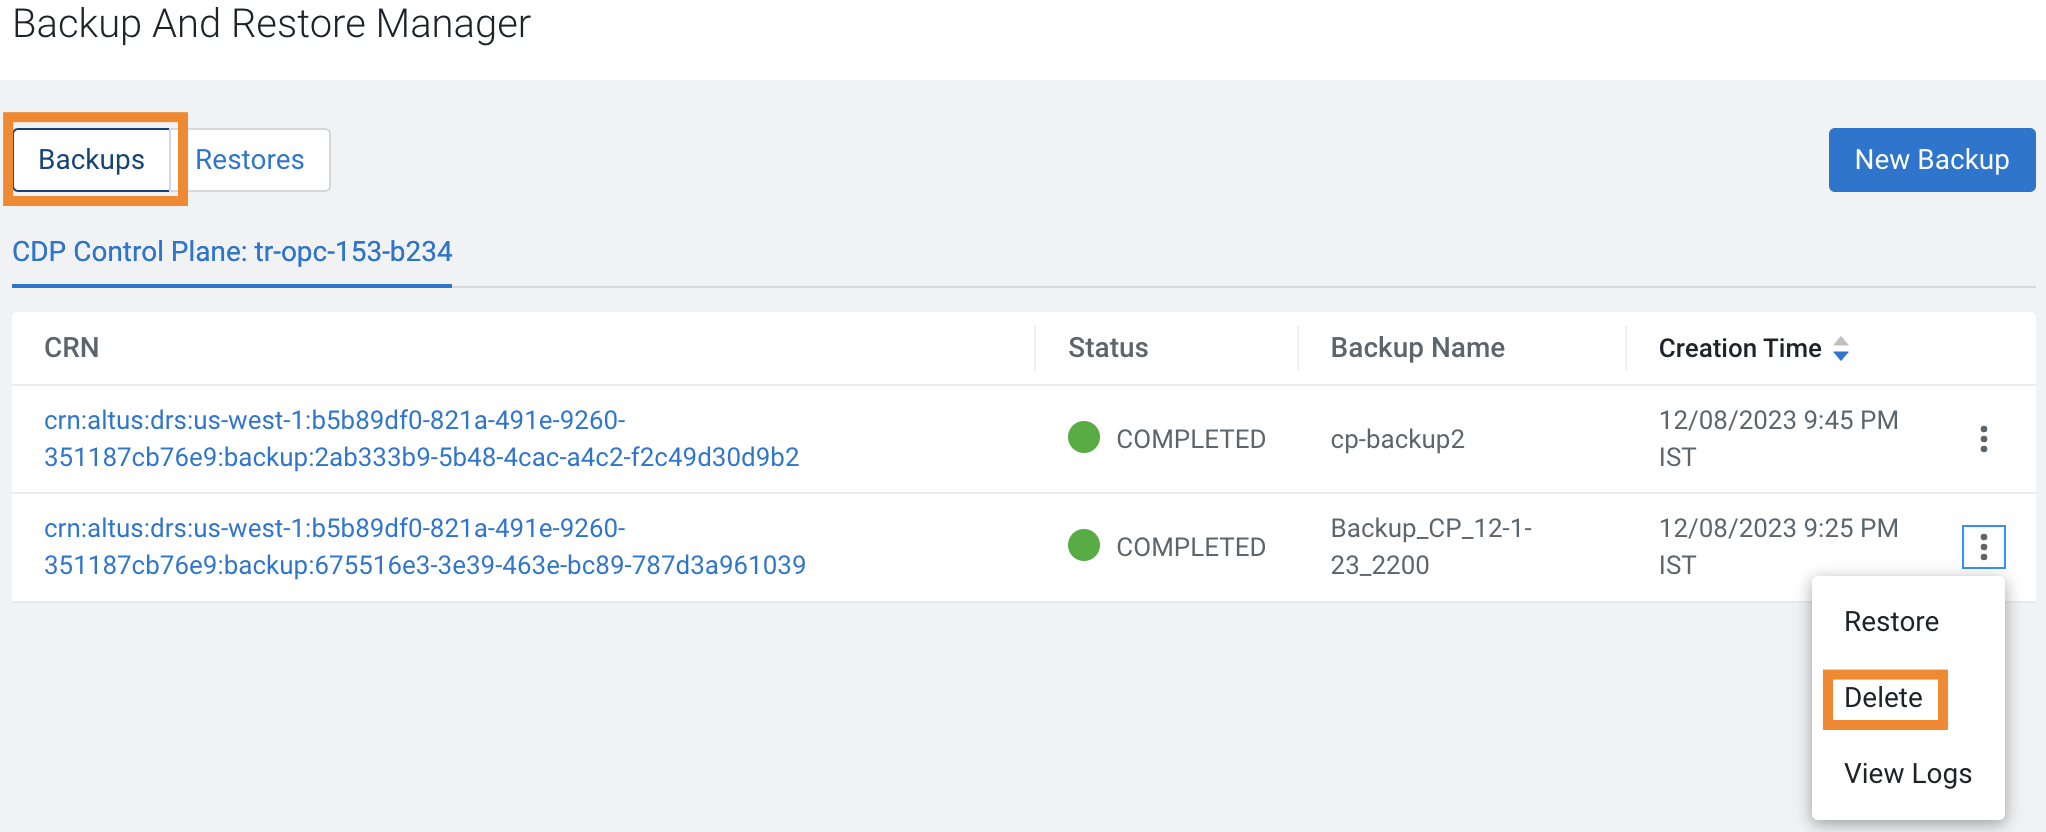
- Go to the Backup and Restore Manager > Backups tab.
-
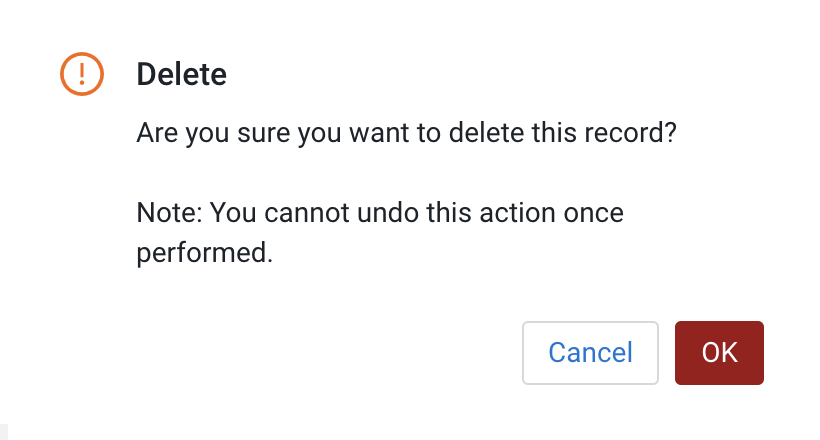
Click Actions > Delete, and then click OK in the
Delete modal window to acknowledge that you
want to delete the backup.
-
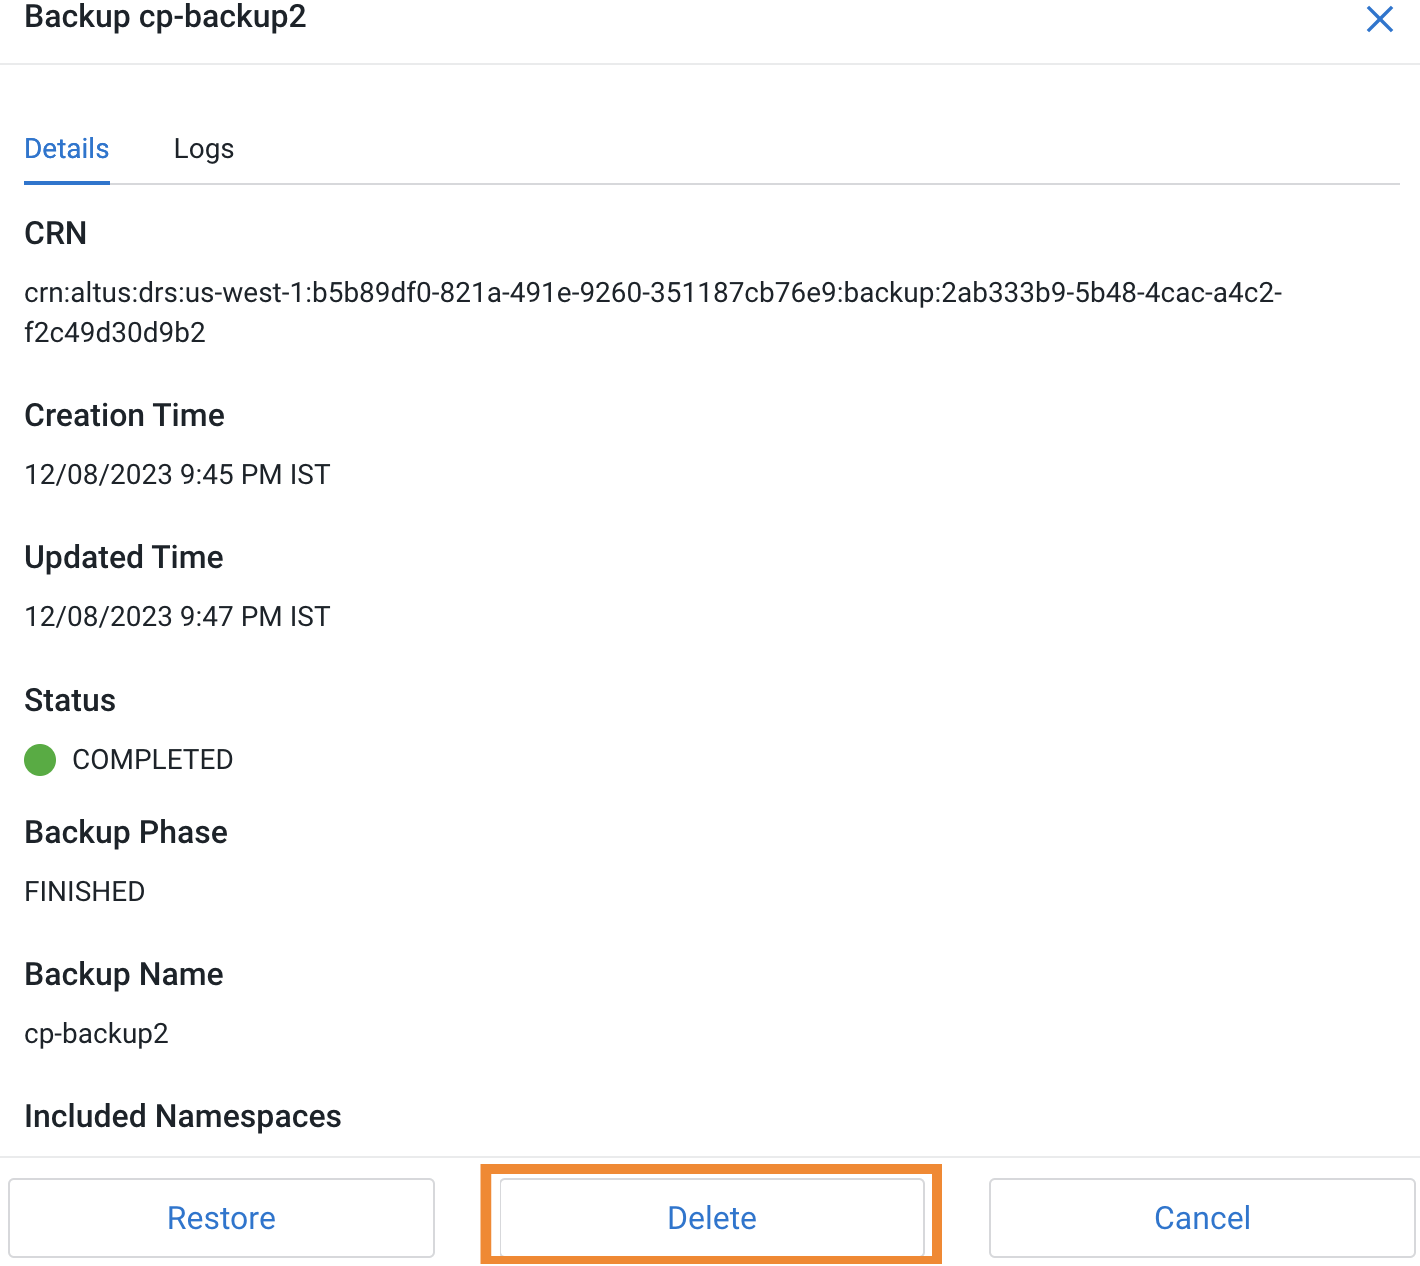
Alternatively, click the CRN of the required backup. Click
Delete on the Backup
[***name of backup***] modal
window, and then click OK to acknowledge that you
want to delete the backup.
-
To view the logs for a backup or restore event, perform the following
steps:
- Go to the Backup and Restore Manager > Backups tab.
-
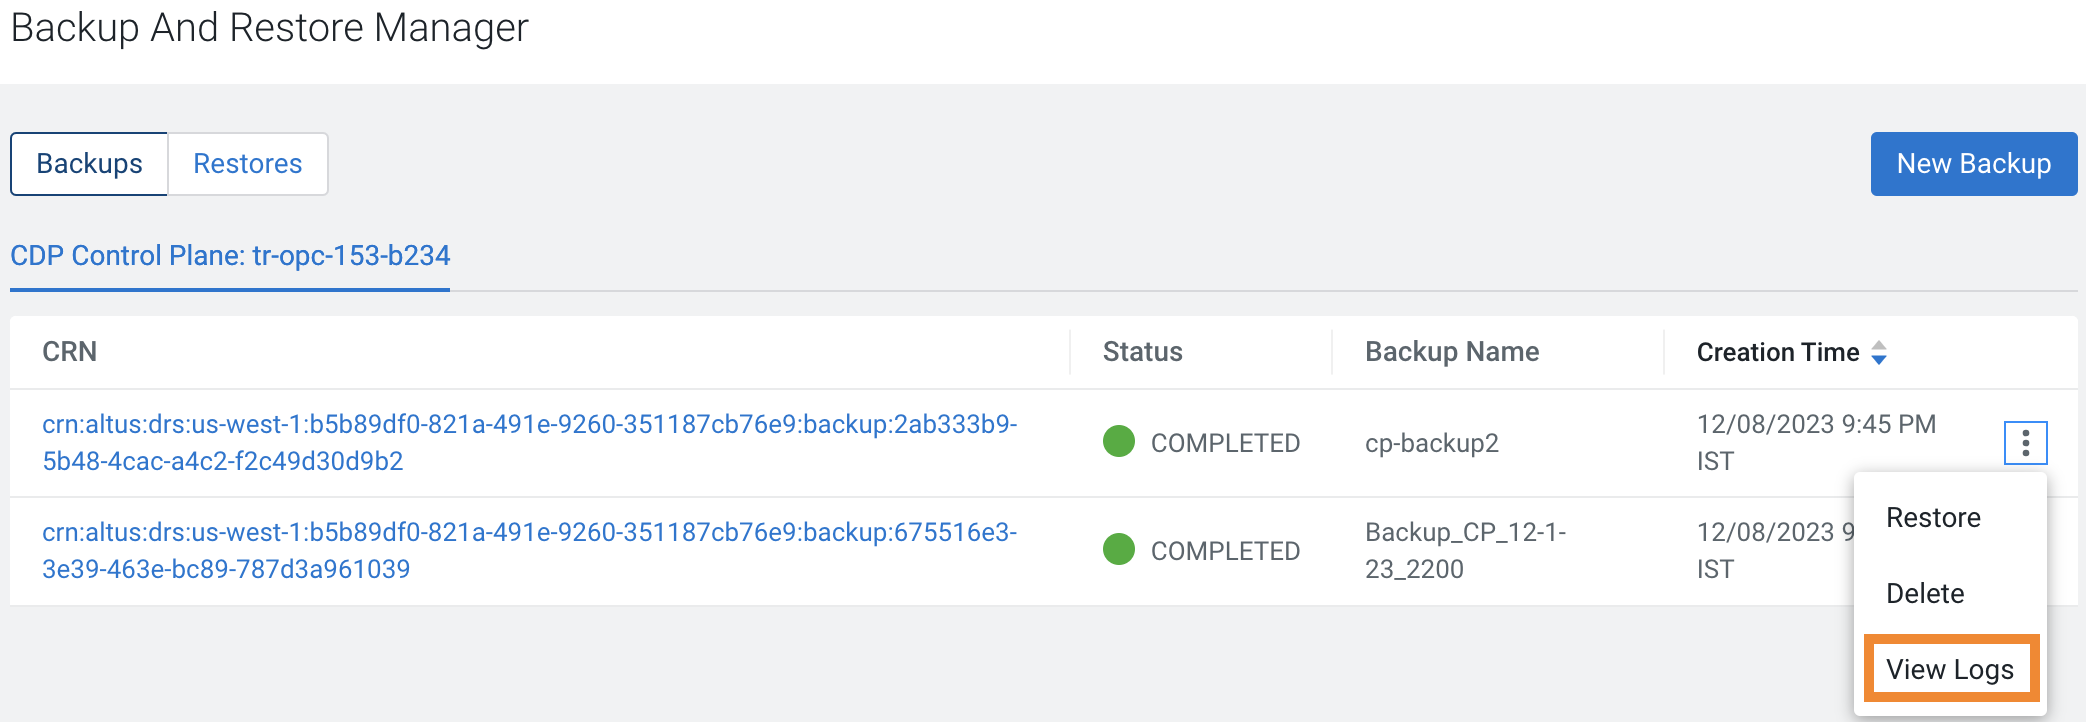
Click Actions > Logs for the required backup.
-
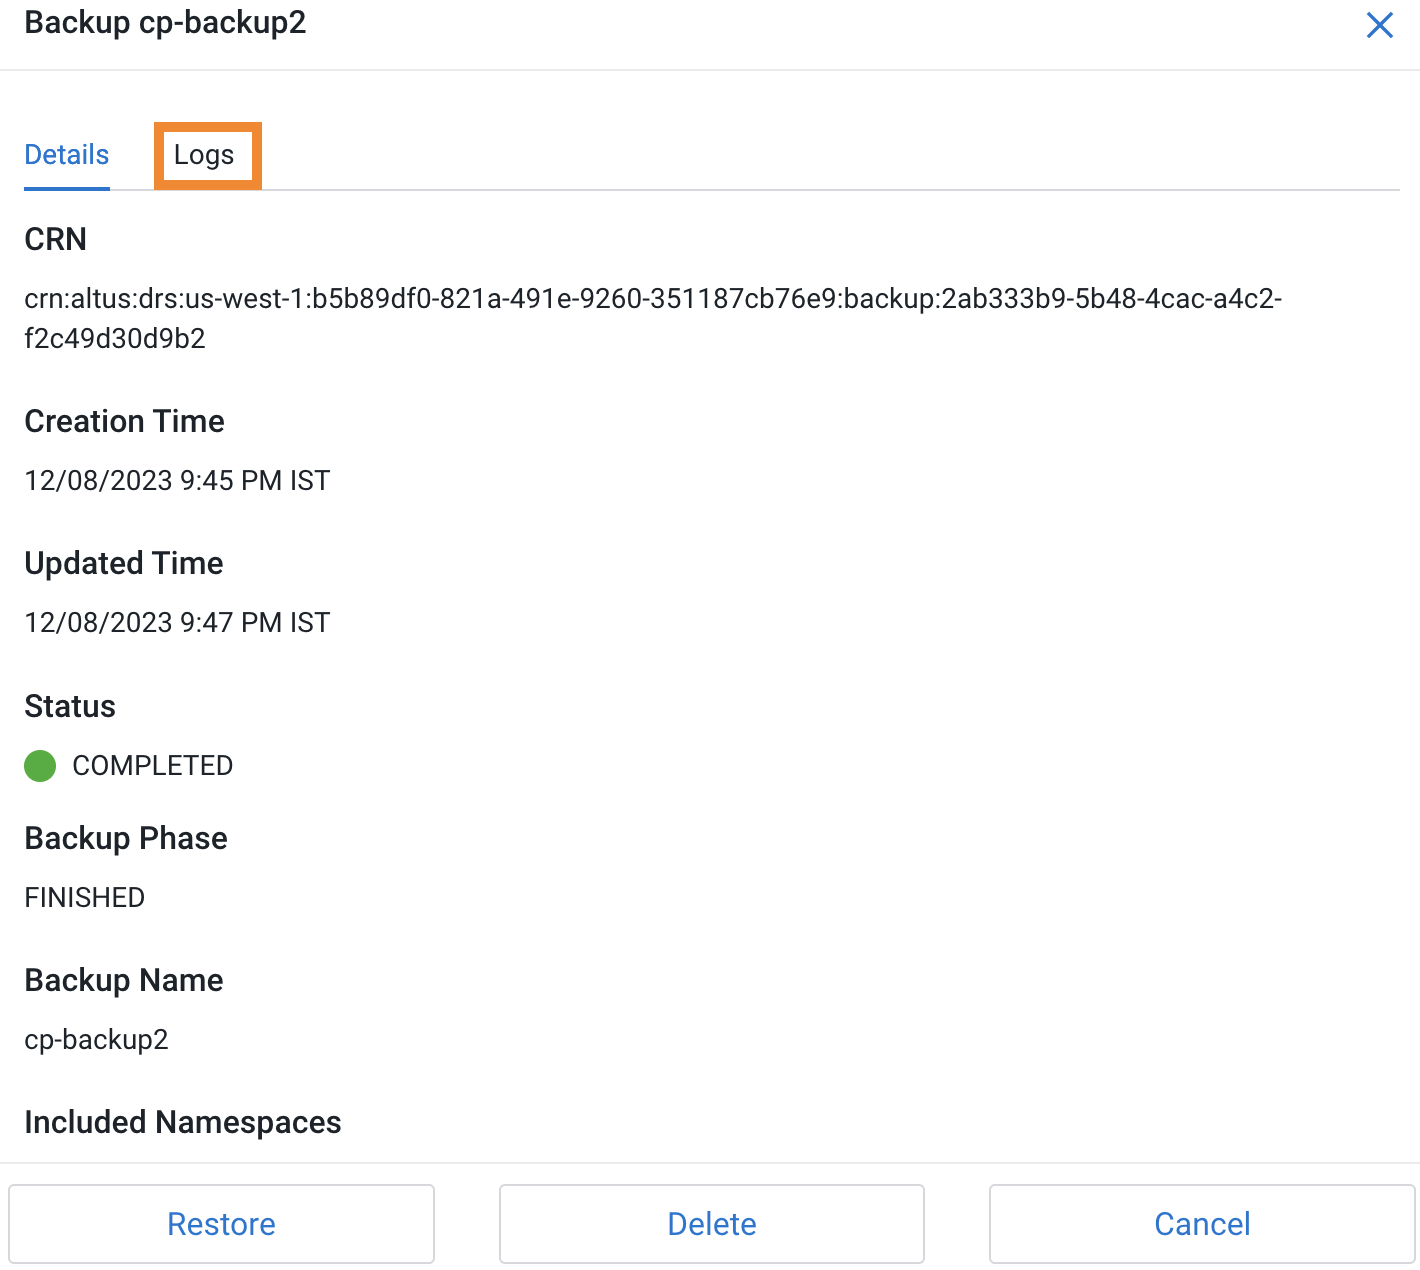
Click the Logs tab on the modal window.
- Alternatively, you can click the CRN for a backup event on the Backups tab, or click the CRN for a restore event on the Restores tab to open the modal window to view the logs for the event.
-
The following sample CDP CLI options show how to create a backup, restore or
delete it, and monitor the progress of the events:
-
Create a backup using the create-backup CDP CLI
option.
The following sample snippet creates a backup named Backup 2.
cdp.sh --form-factor private --endpoint-url https://console-cp1.apps.shared-os-01.kcloud.cloudera.com drscp create-backup --backup-name "Backup 2" -
Track the progress of the current status of the specified backupCrn
(backup event) using the describe-backup CDP CLI
option.
The following sample snippet output shows the current status of the crn:altus:drs:us-west-1:18be-4c75-8c7f-f32e697dba4a:backup:91193c4f-45f0-949c-13e232f14c9e backupCrn.
cdp.sh --no-verify-tls --endpoint-url https://console-cdp.apps.drs31-1.vpc.cloudera.com --no-verify-tls --form-factor private drscp describe-backup --backup-crn crn:altus:drs:us-west-1:18be-4c75-8c7f-f32e697dba4a:backup:91193c4f-45f0-949c-13e232f14c9e -
List all the backups using the list-backup CDP
CLI option.
The following sample snippet output lists all the available backups.
cdp.sh --no-verify-tls --endpoint-url https://console-cdp.apps.lh-lp1-1.vpc.cloudera.com --no-verify-tls --form-factor private drscp list-backup -
Restore a specific backup, using its CRN, with the
restore-backup CDP CLI option.
The following sample snippet restores the backup of crn:altus:drs:us-west-1:88d84e3c-4c3e-9903-6c388a689690:backup:aebe-96d7-b79d10b64183 CRN.
cdp.sh --form-factor private --no-verify-tls --endpoint-url https://console-ocp1.apps.shared-os-01.kcloud.cloudera.com drscp restore-backup --backup-crn crn:altus:drs:us-west-1:88d84e3c-4c3e-9903-6c388a689690:backup:aebe-96d7-b79d10b64183 -
Track the current status of the specified restoreCrn (restore event)
using the describe-restore CDP CLI option.
The following sample snippet output shows the current status of the crn:altus:drs:us-west-1:a70c917a-4be8-927c-d36f3f7db2de:restore:c3b34532-4391-b62d-3f471fae5a40 restoreCrn:
cdp.sh --form-factor private --no-verify-tls --endpoint-url https://console-cp1.apps.shared-os-01.kcloud.cloudera.com drscp describe-restore --restore-crn crn:altus:drs:us-west-1:a70c917a-4be8-927c-d36f3f7db2de:restore:c3b34532-4391-b62d-3f471fae5a40For information about all the available CDP CLI options to backup and restore Control Plane and CDW, see CDP CLI options for Control Plane namespaces and CDP CLI options for Cloudera Data Warehouse (CDW).To set up a CDP client to run the CDP CLI commands, see CDP Private Cloud CLI.
-
Create a backup using the create-backup CDP CLI
option.
