Upgrading Cloudera Data Services on premises using Cloudera Embedded Container Service
Learn about upgrading Cloudera Data Services on premises with the Cloudera Embedded Container Service. You can upgrade Cloudera Data Services on premises to current version without uninstalling your
existing installation.
The Docker registry that is configured with the cluster must remain the same during the
upgrade process. To use a different configuration for the Docker registry, you must
perform a new installation of Cloudera Data Services on premises.
If you have expanded the cdp-embedded-db volume from Longhorn UI after
the initial installation of your Data Services on premises cluster, then you must perform
the workaround steps before planning your upgrade to Cloudera Data Services on premises 1.5.5 SP2 or higher to avoid a potential
upgrade failure. For more information about the workaround details, see Overcoming a possible upgrade failure.
How to video
Watch this video to learn the essential steps to successfully upgrade your Cloudera Data Services on premises from version 1.5.5 to 1.5.5 SP1 using
Cloudera Embedded Container Service and with Internet as the method. This service pack
provides fixes, addresses CVEs, and is the first Cloudera Data Services on premises release to support the 7.3.1
base.
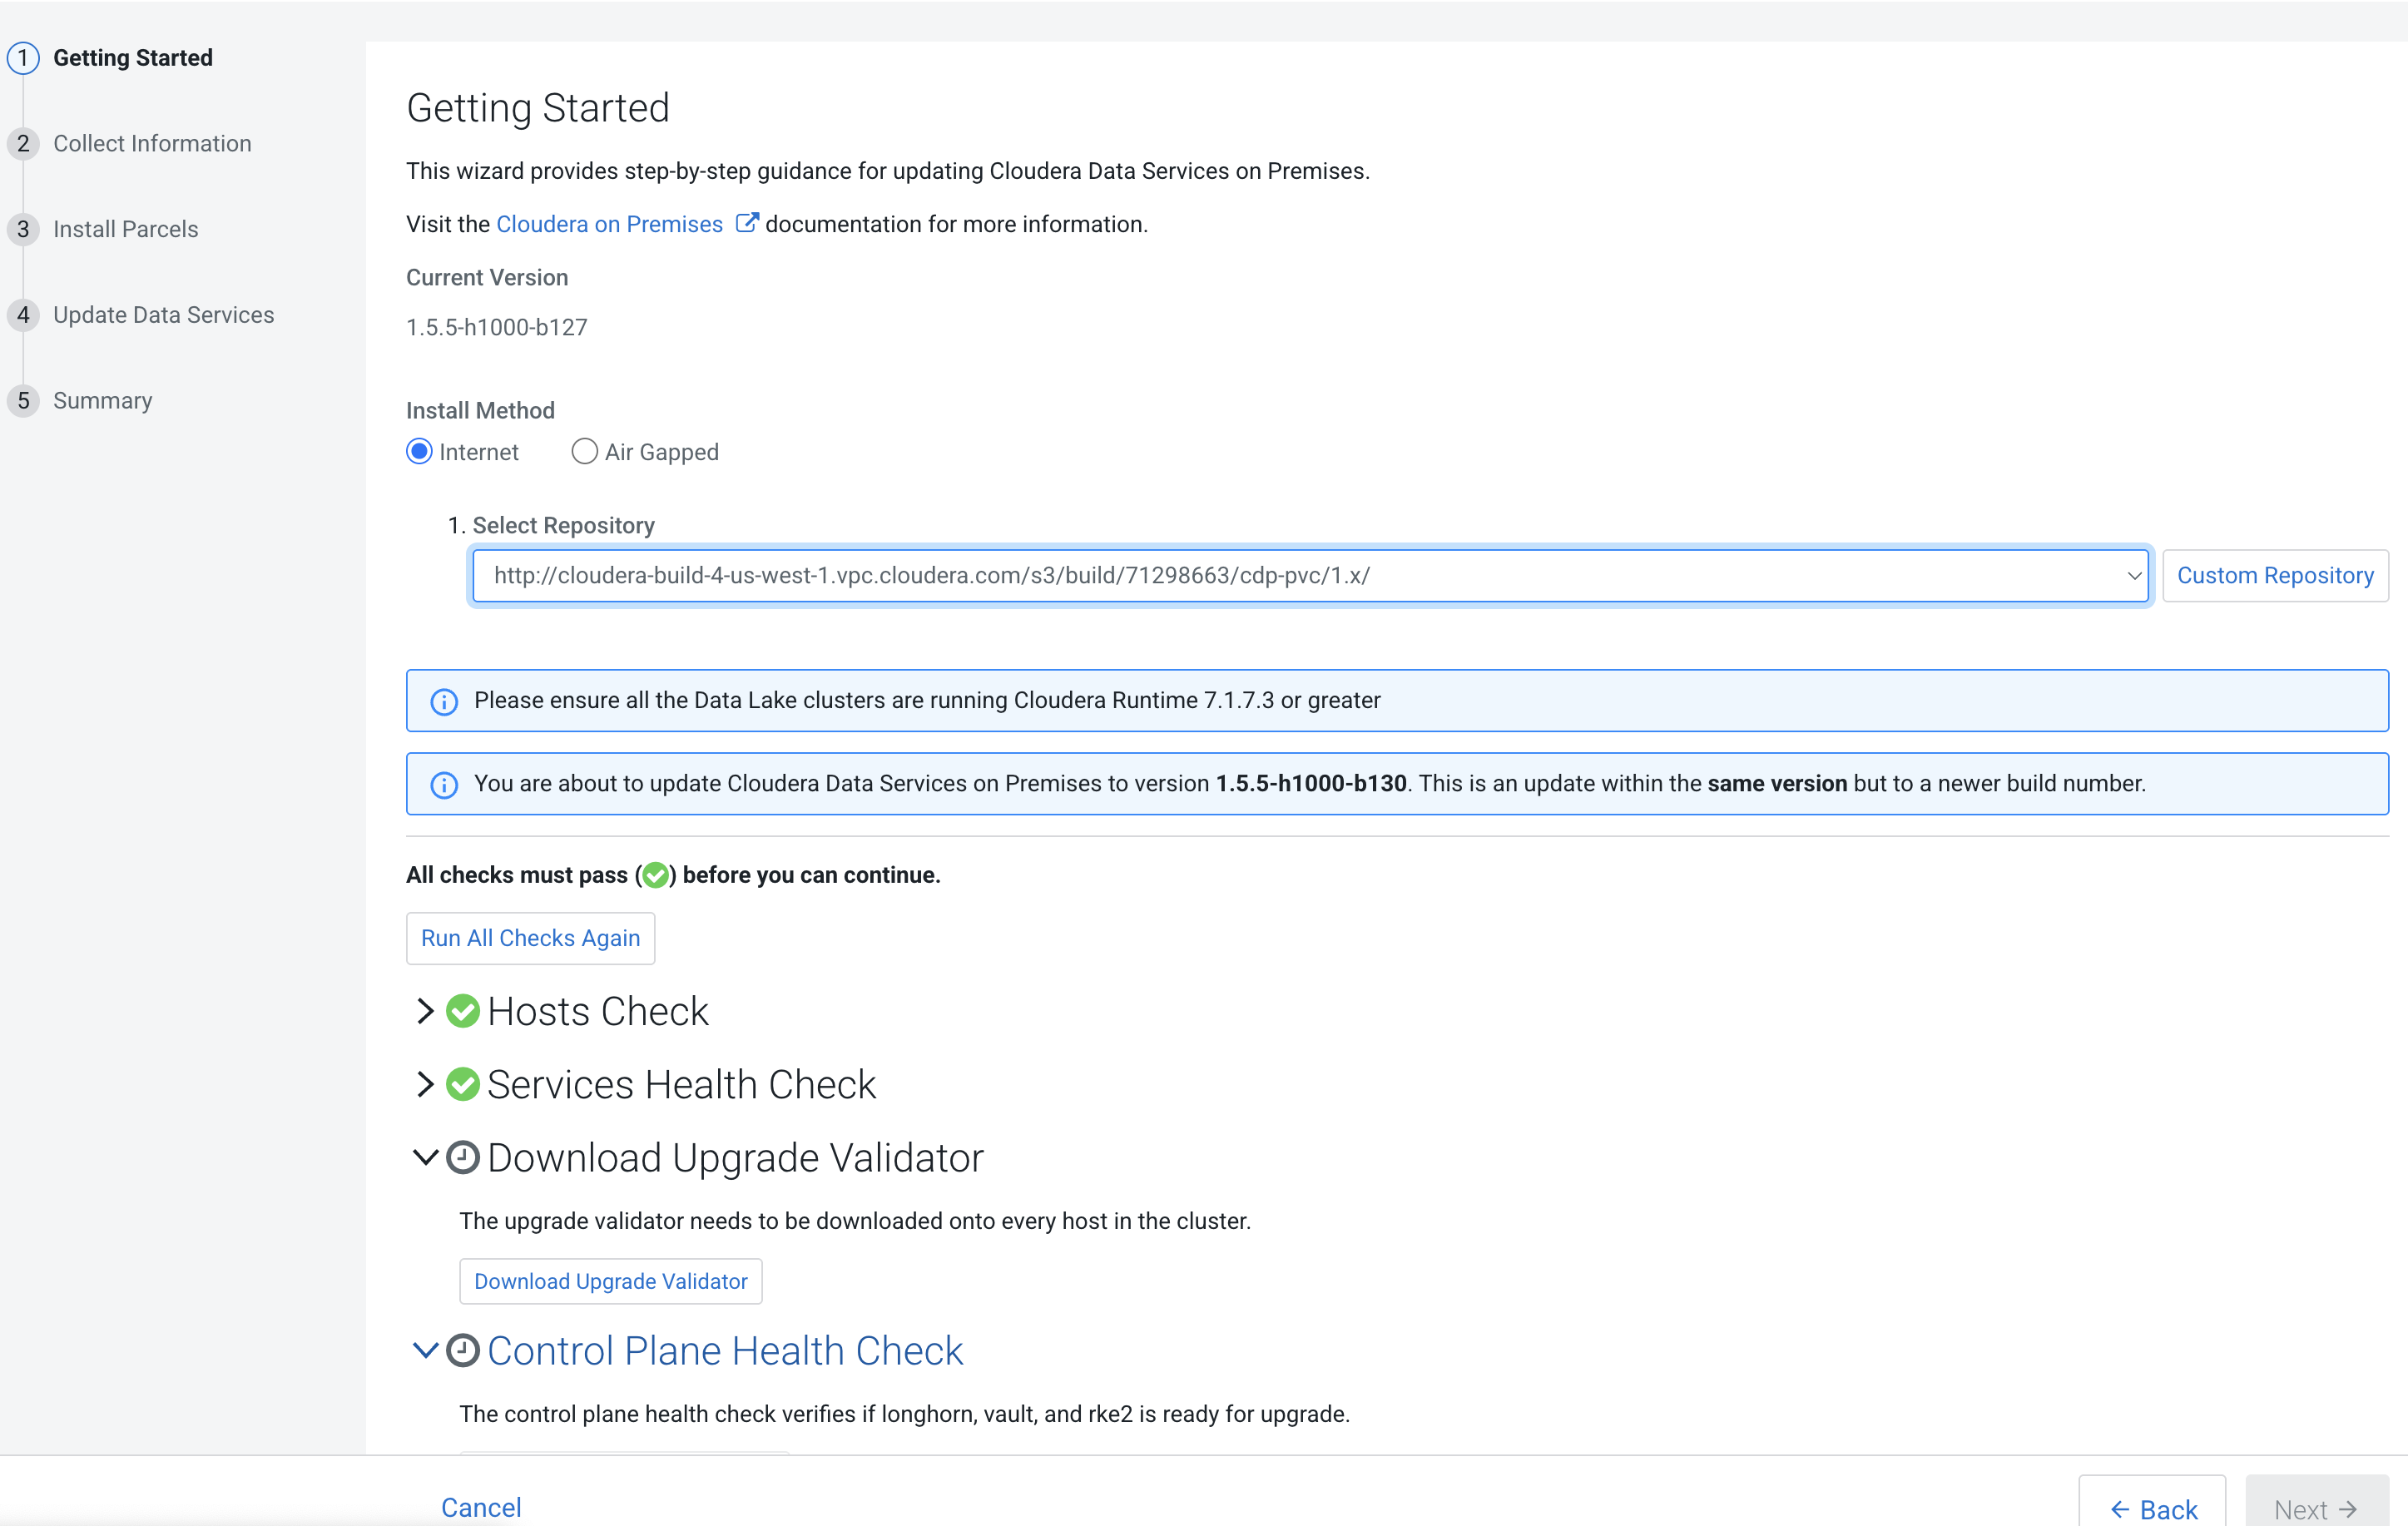
In Cloudera Manager, navigate to Cloudera on premises and click the icon, then click
Update.
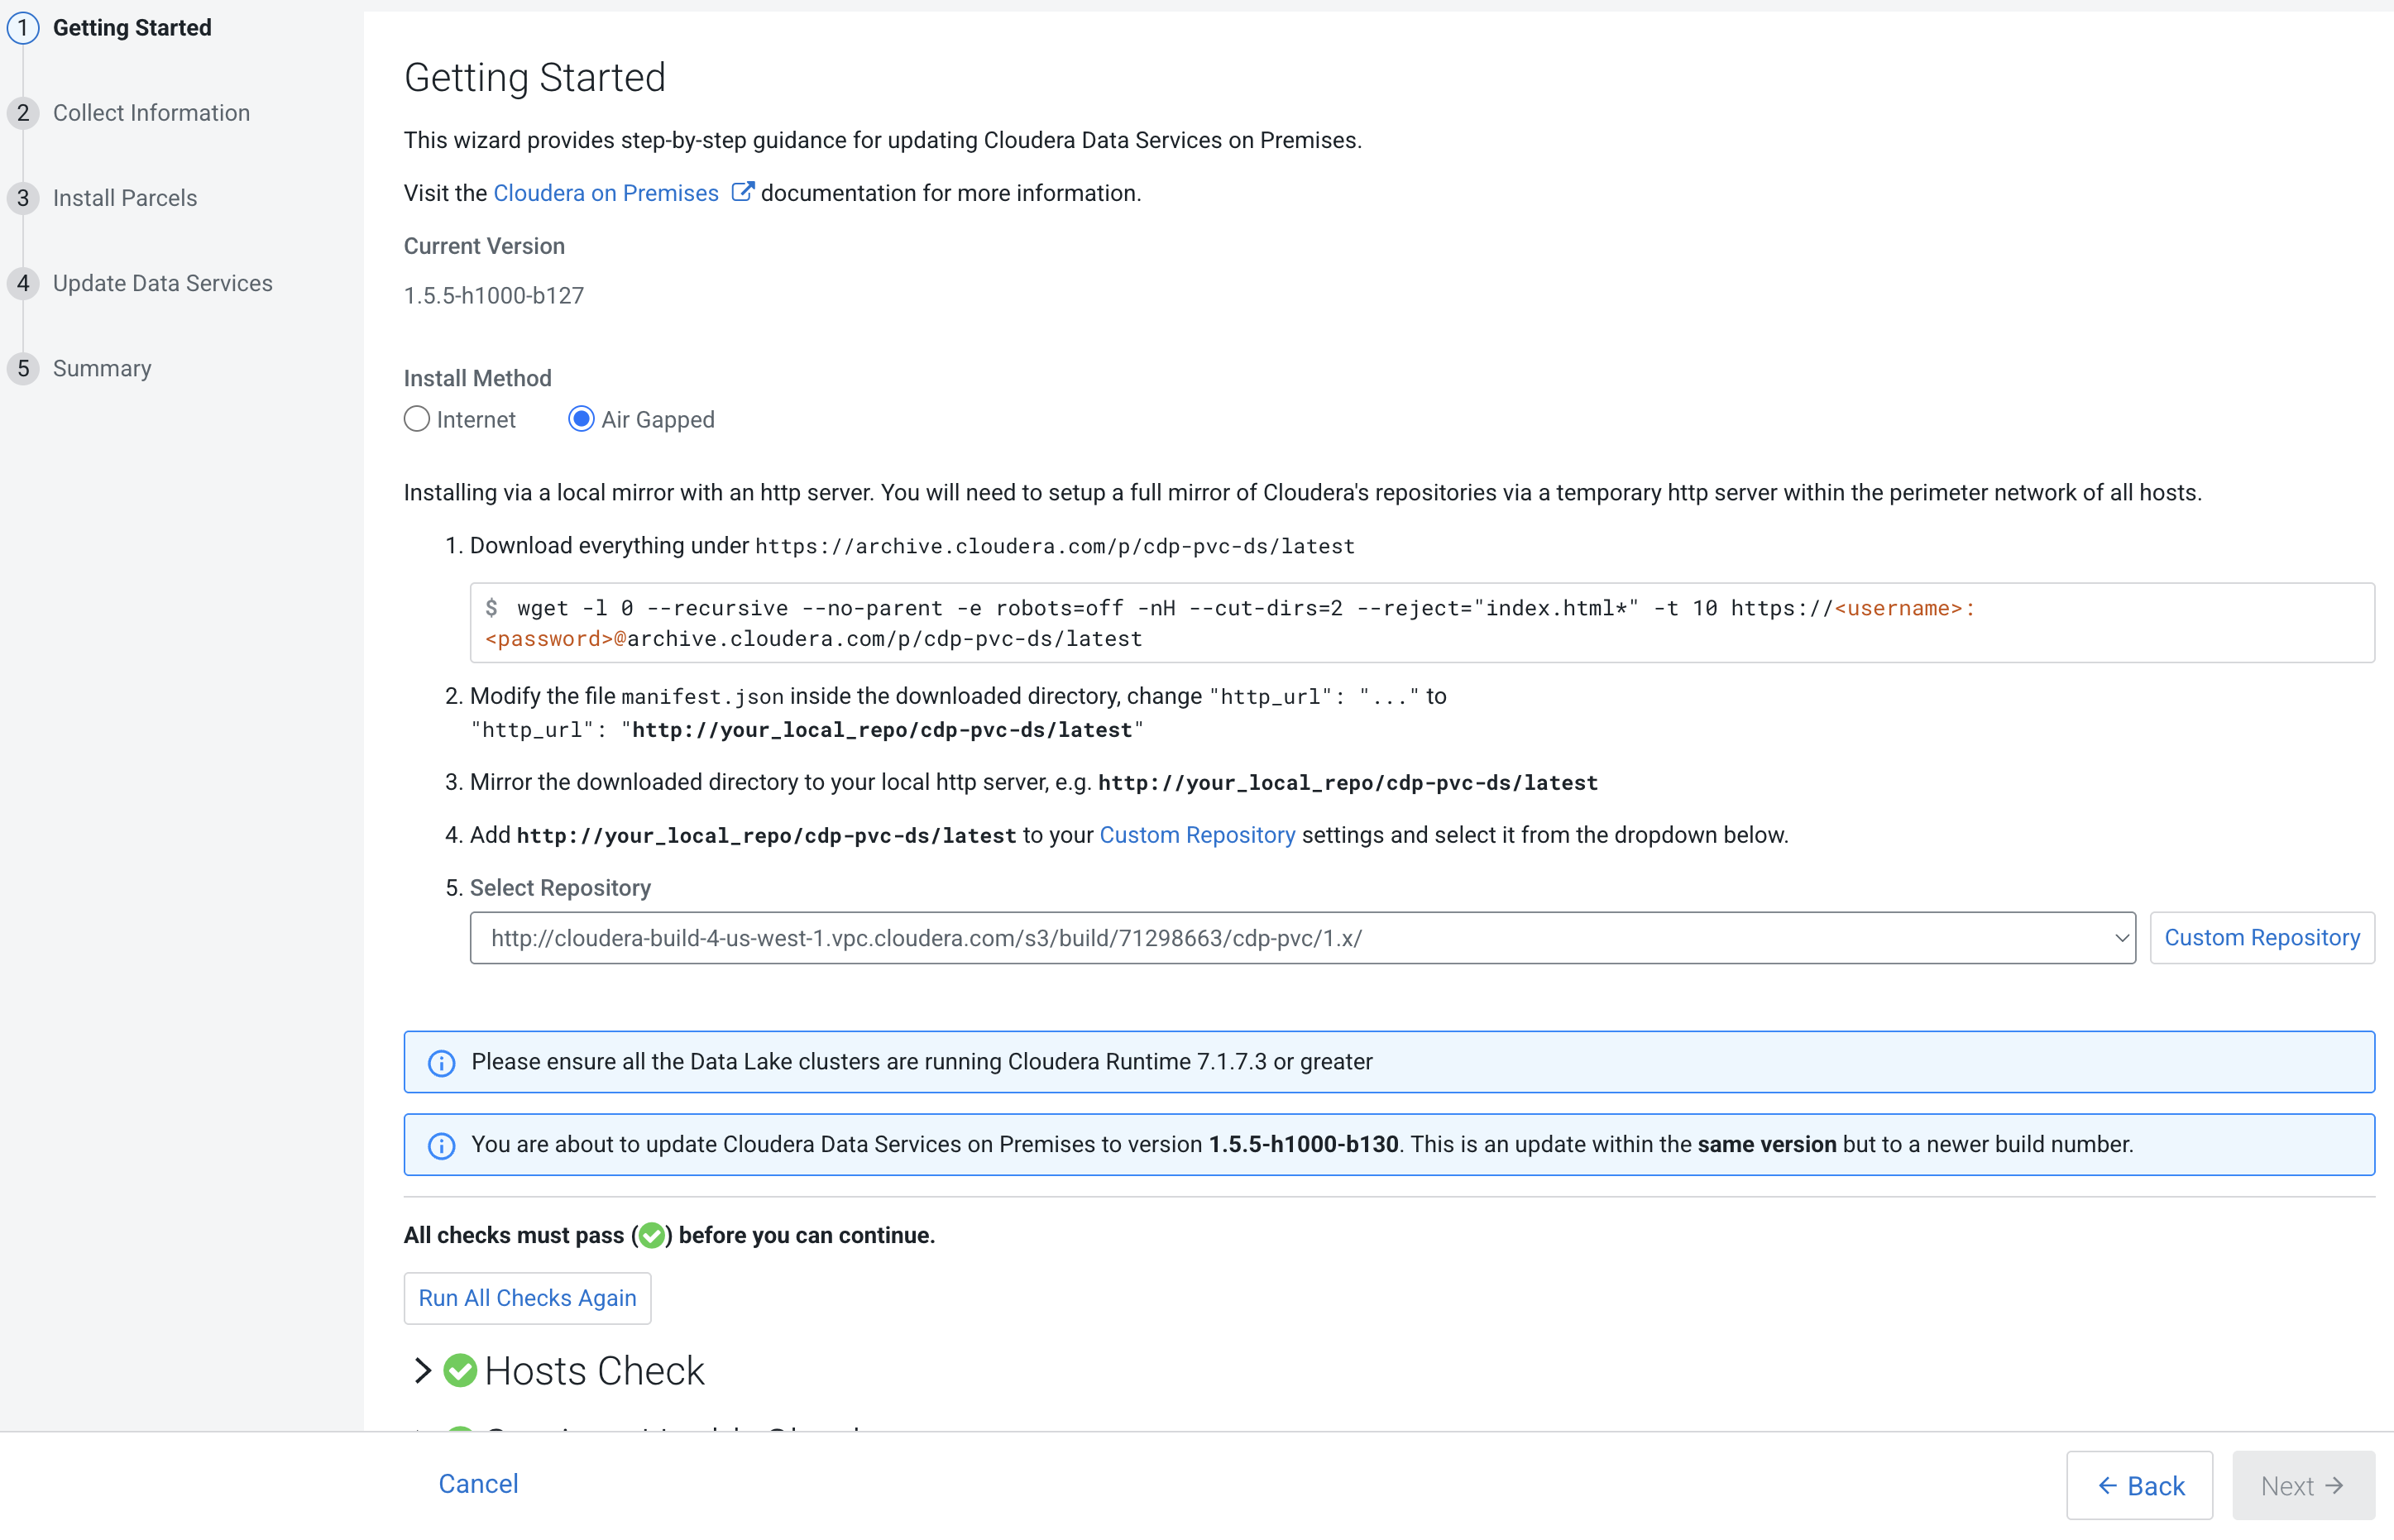
On the Getting Started page, you can select the Install method -
Air Gapped or Internet and proceed. For
more information on the pre-upgrade checklist, see Pre-upgrade checklist.
Internet install method
Air Gapped install method
Click Next.
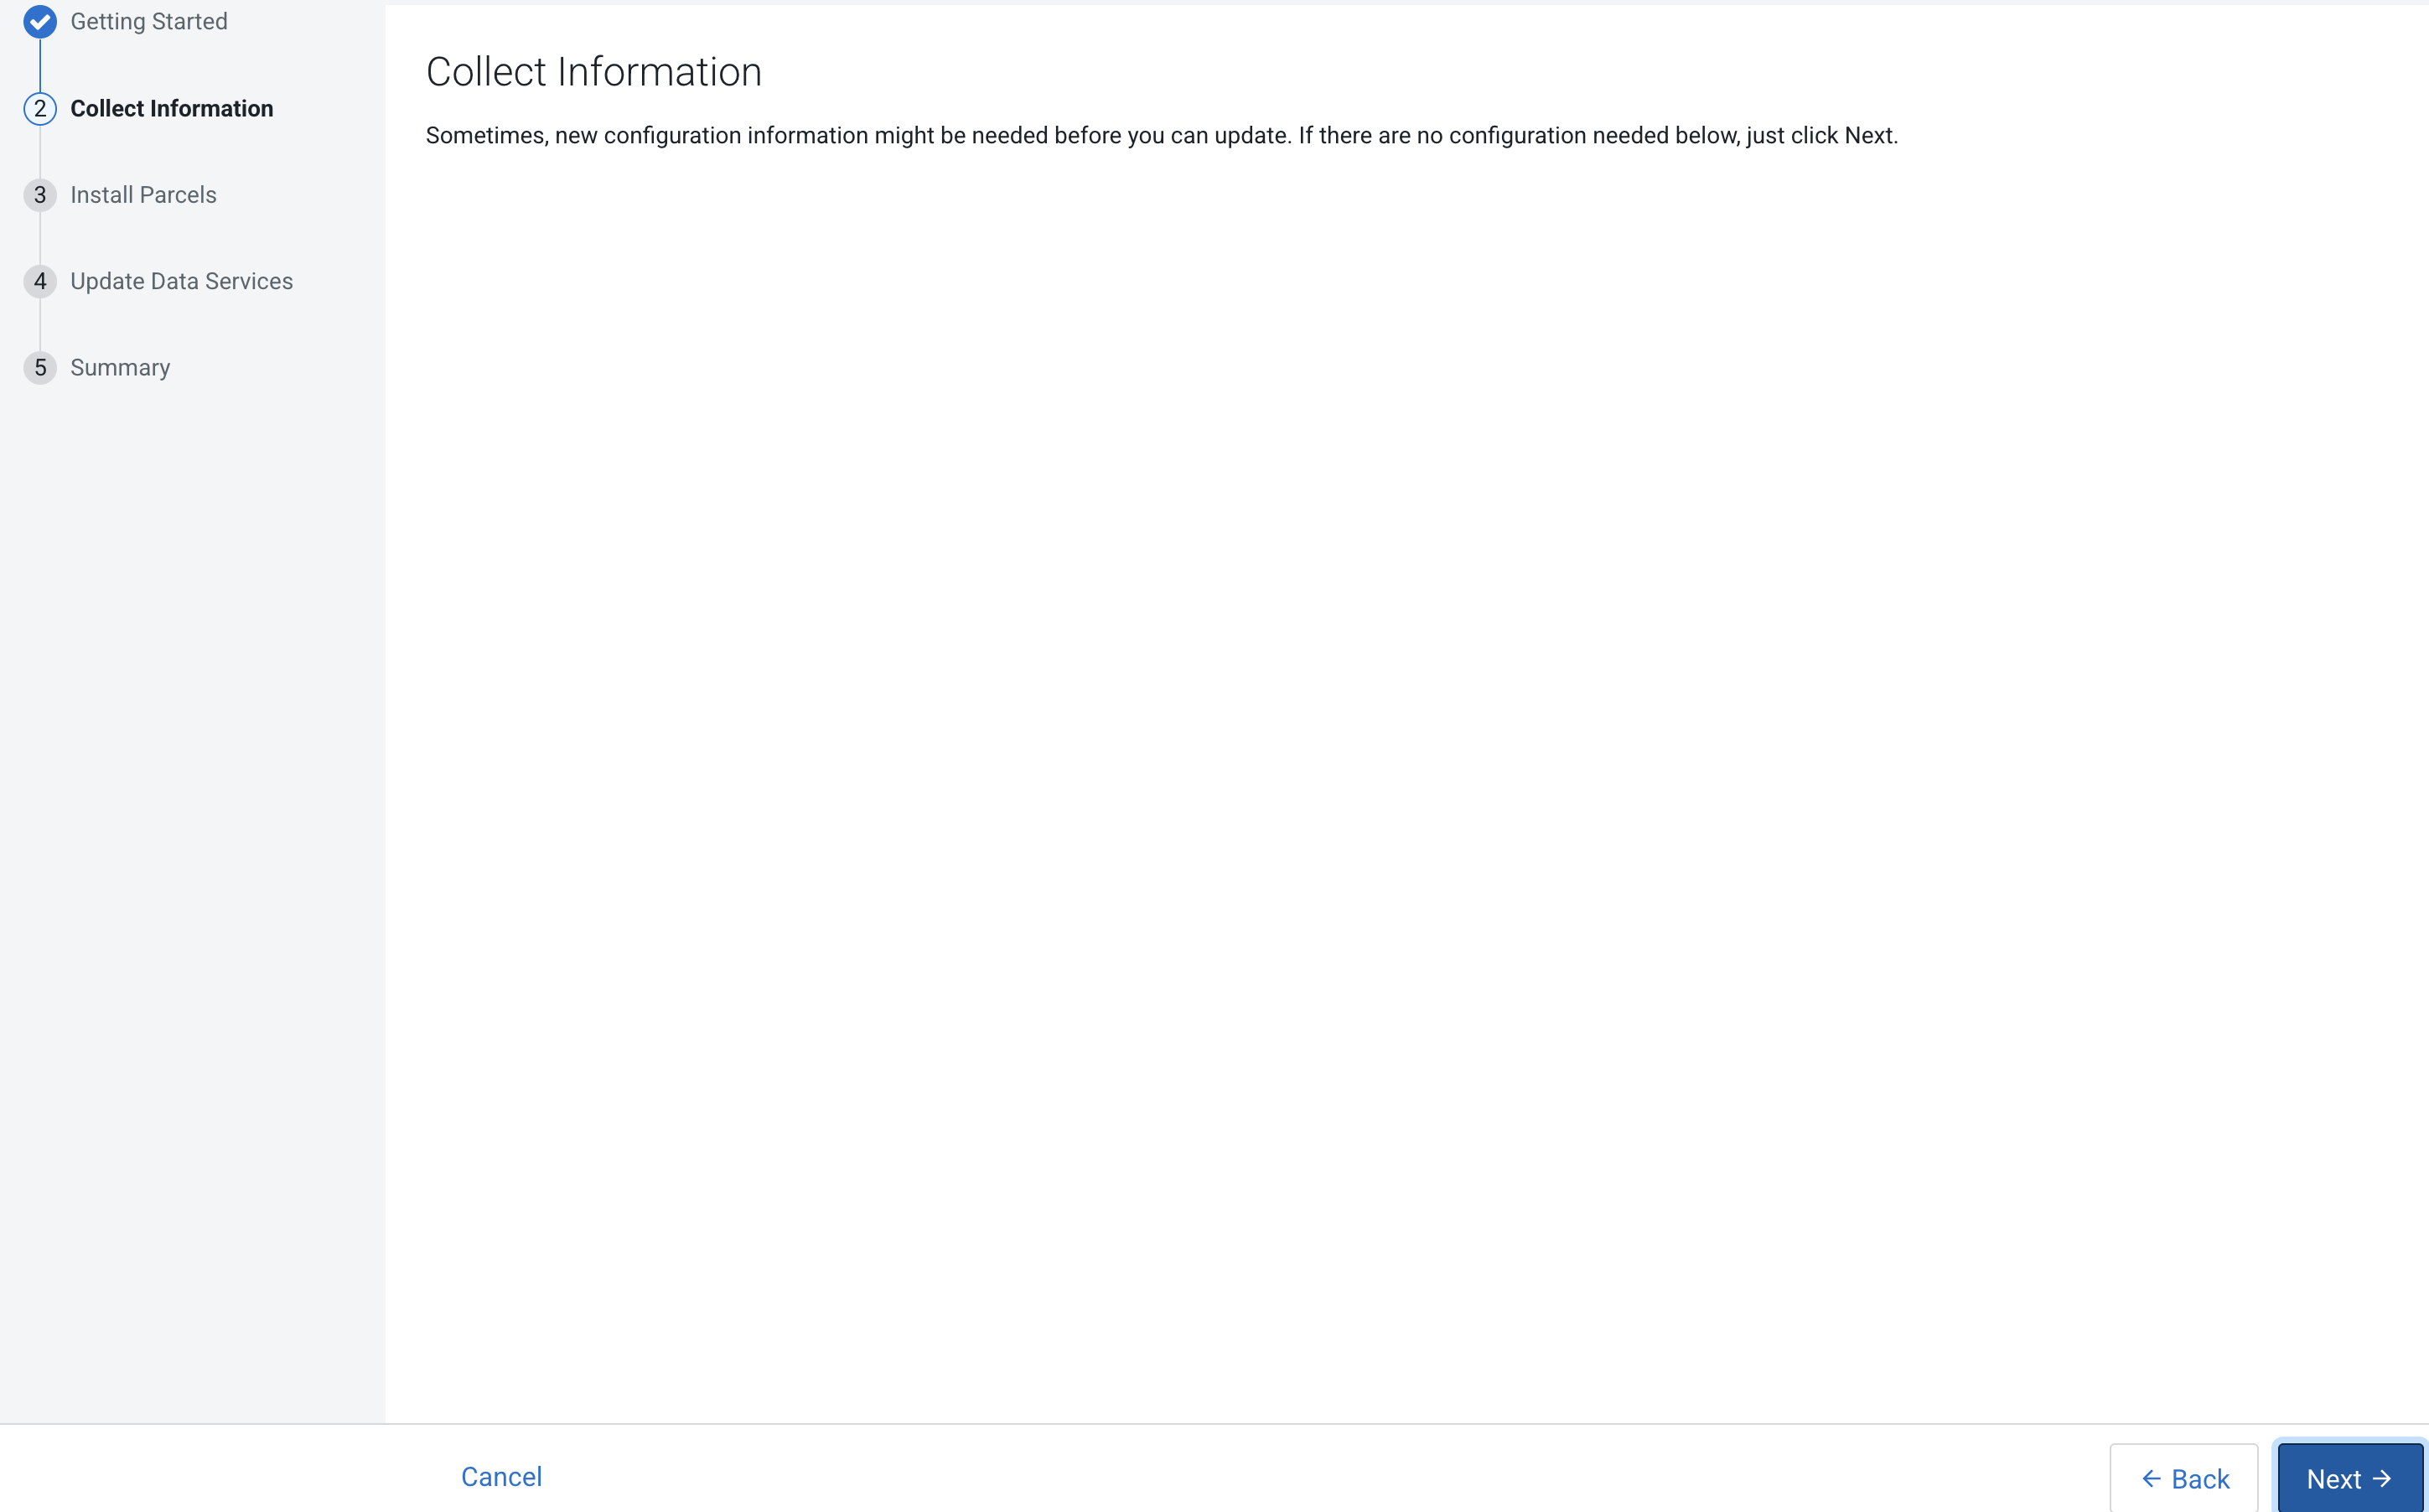
On the Collect Information page, click
Next.
As part of the upgrade process workflow, this step is the only opprtunity for you to
generate a post-upgrade cleanup script.
Must be run only after the successful upgrades of all Cloudera Embedded Container Service clusters using the same custom docker
repository.
On the Install Parcels page, click
Next.
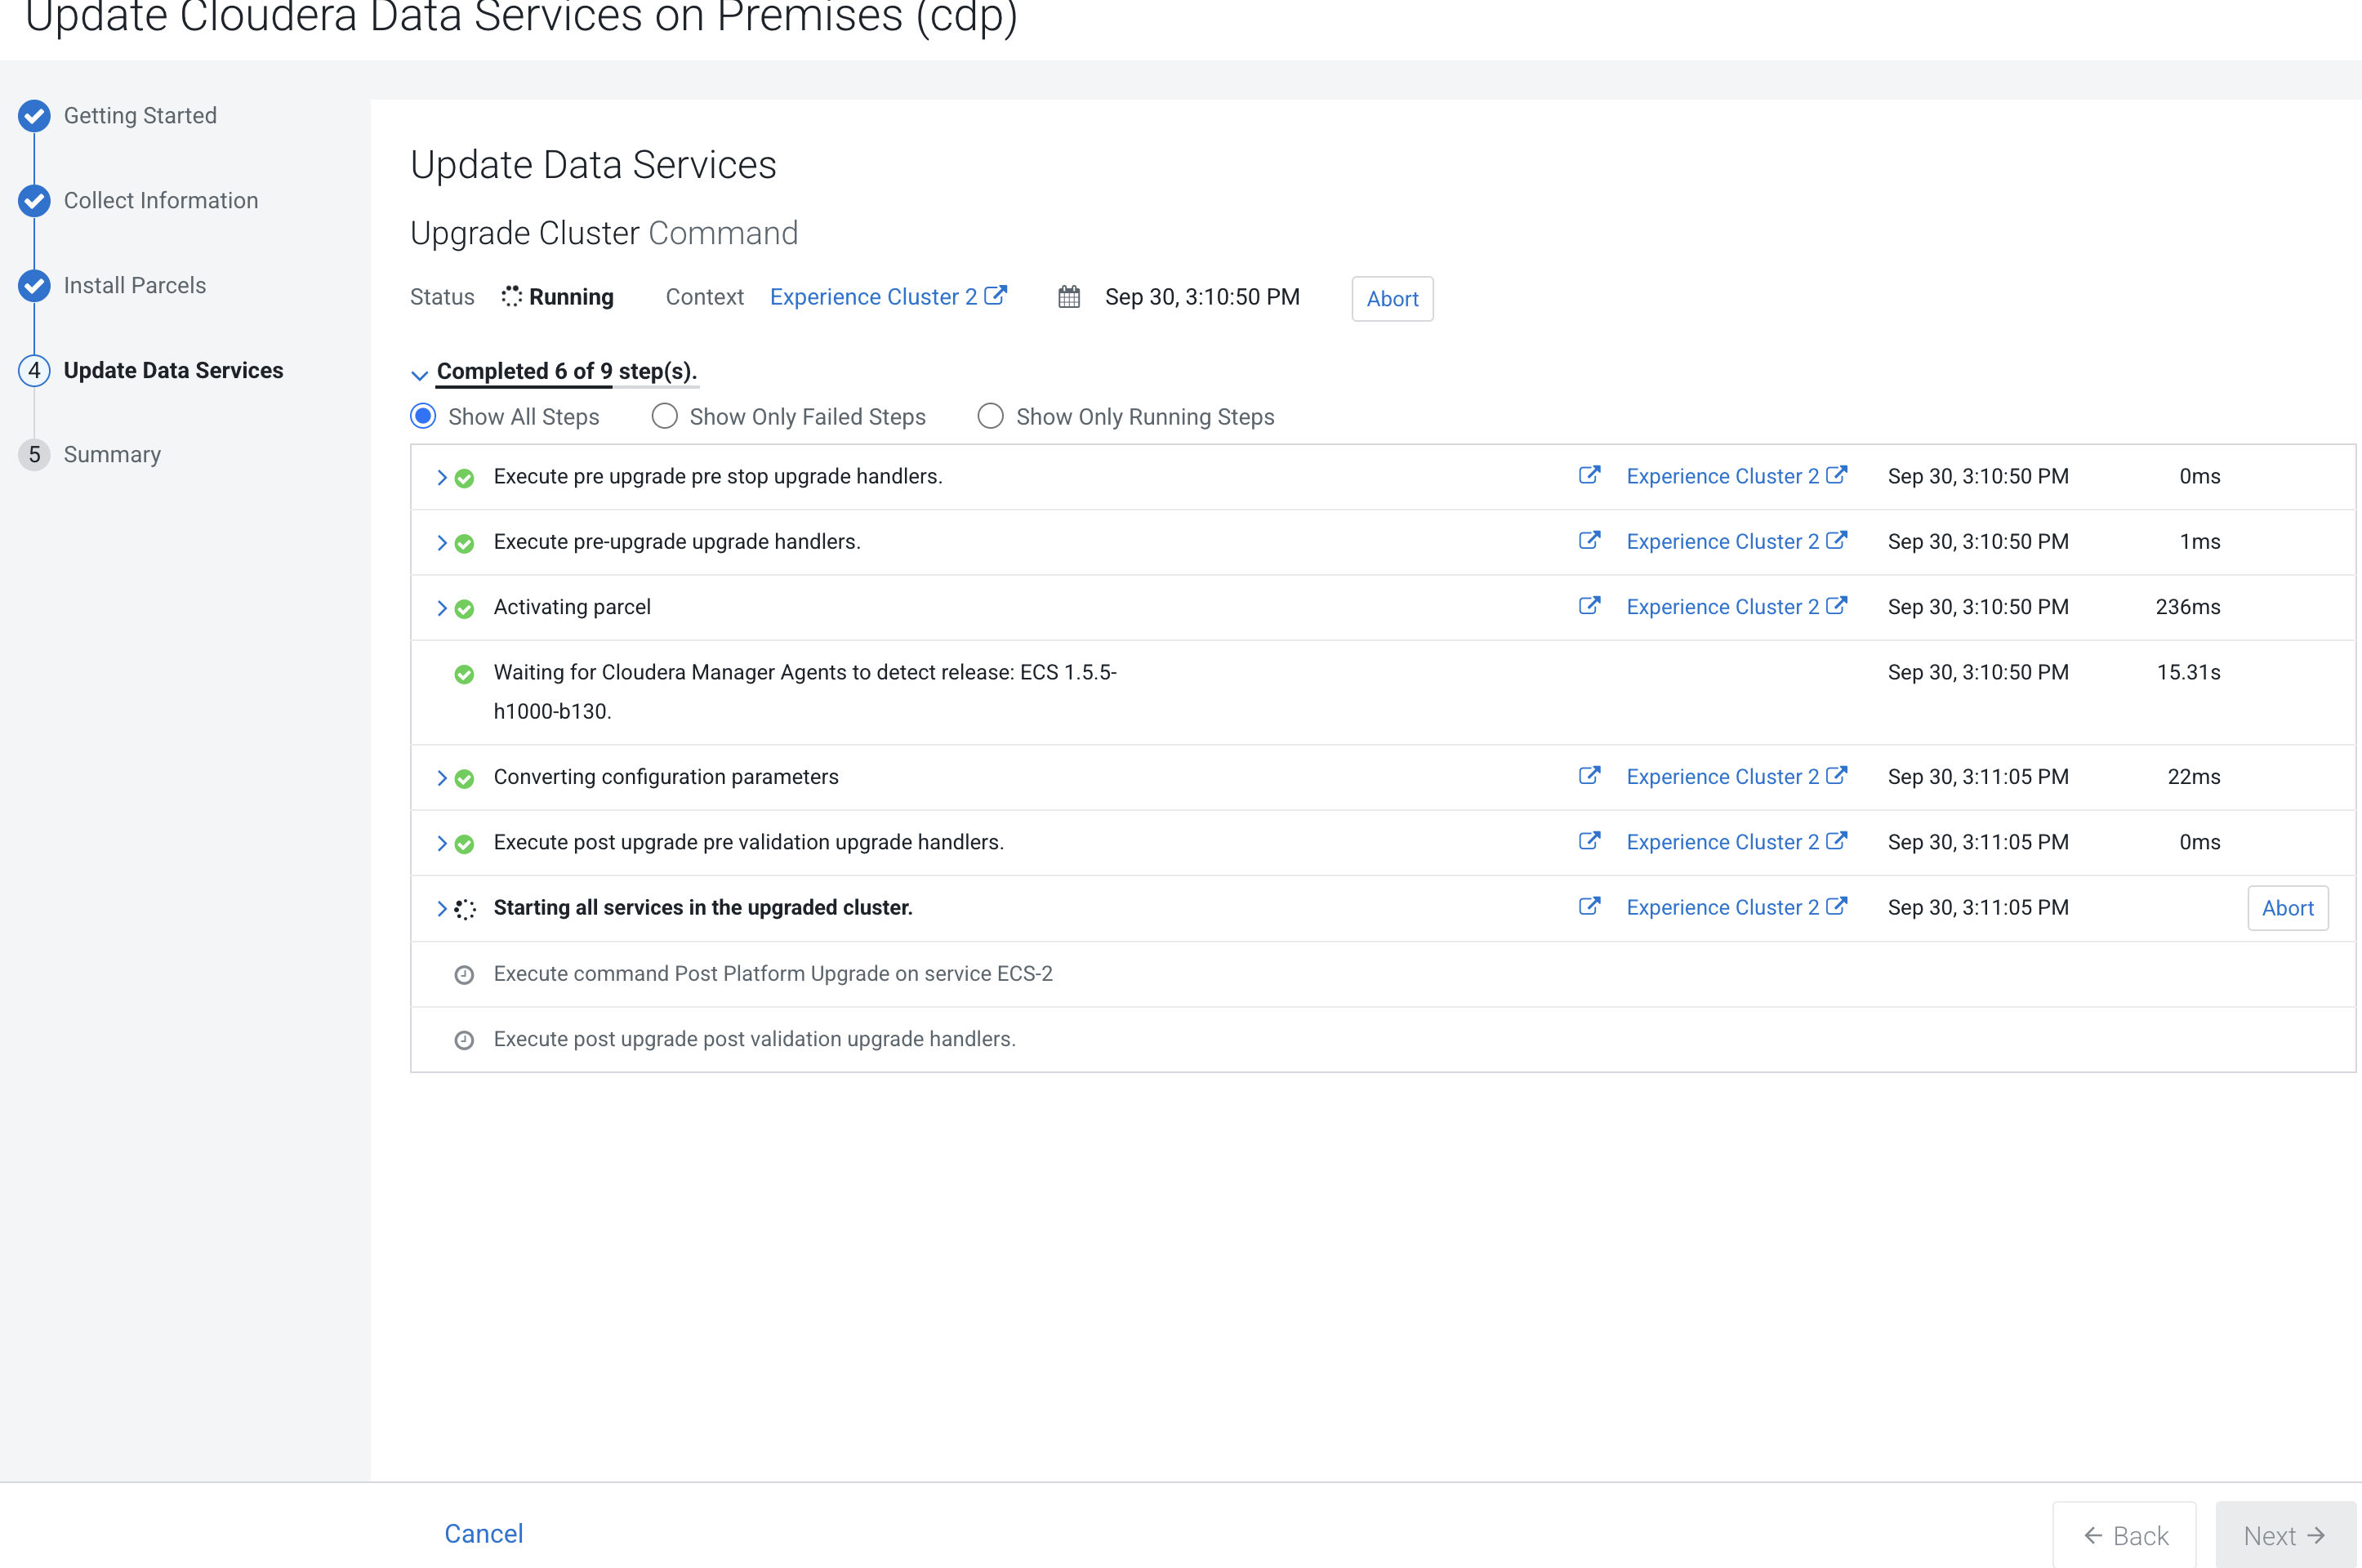
On the Update Data Services page, you can see the progress of
your upgrade. Post Upgrade Validation is run and these are a set of health checks
added as the last step in the upgrade to verify that the upgrade was successful and the
cluster is healthy. This includes verifying that the services are healthy, the hosts are
upgraded to the new version, and that the control plane is in a healthy state after
upgrade. For the control plane to be determined as good health, it will verify that RKE2,
Longhorn, and Vault are healthy. It will also check that the critical pods in the control
plane namespace are up and running.
Click Next after the upgrade is complete .
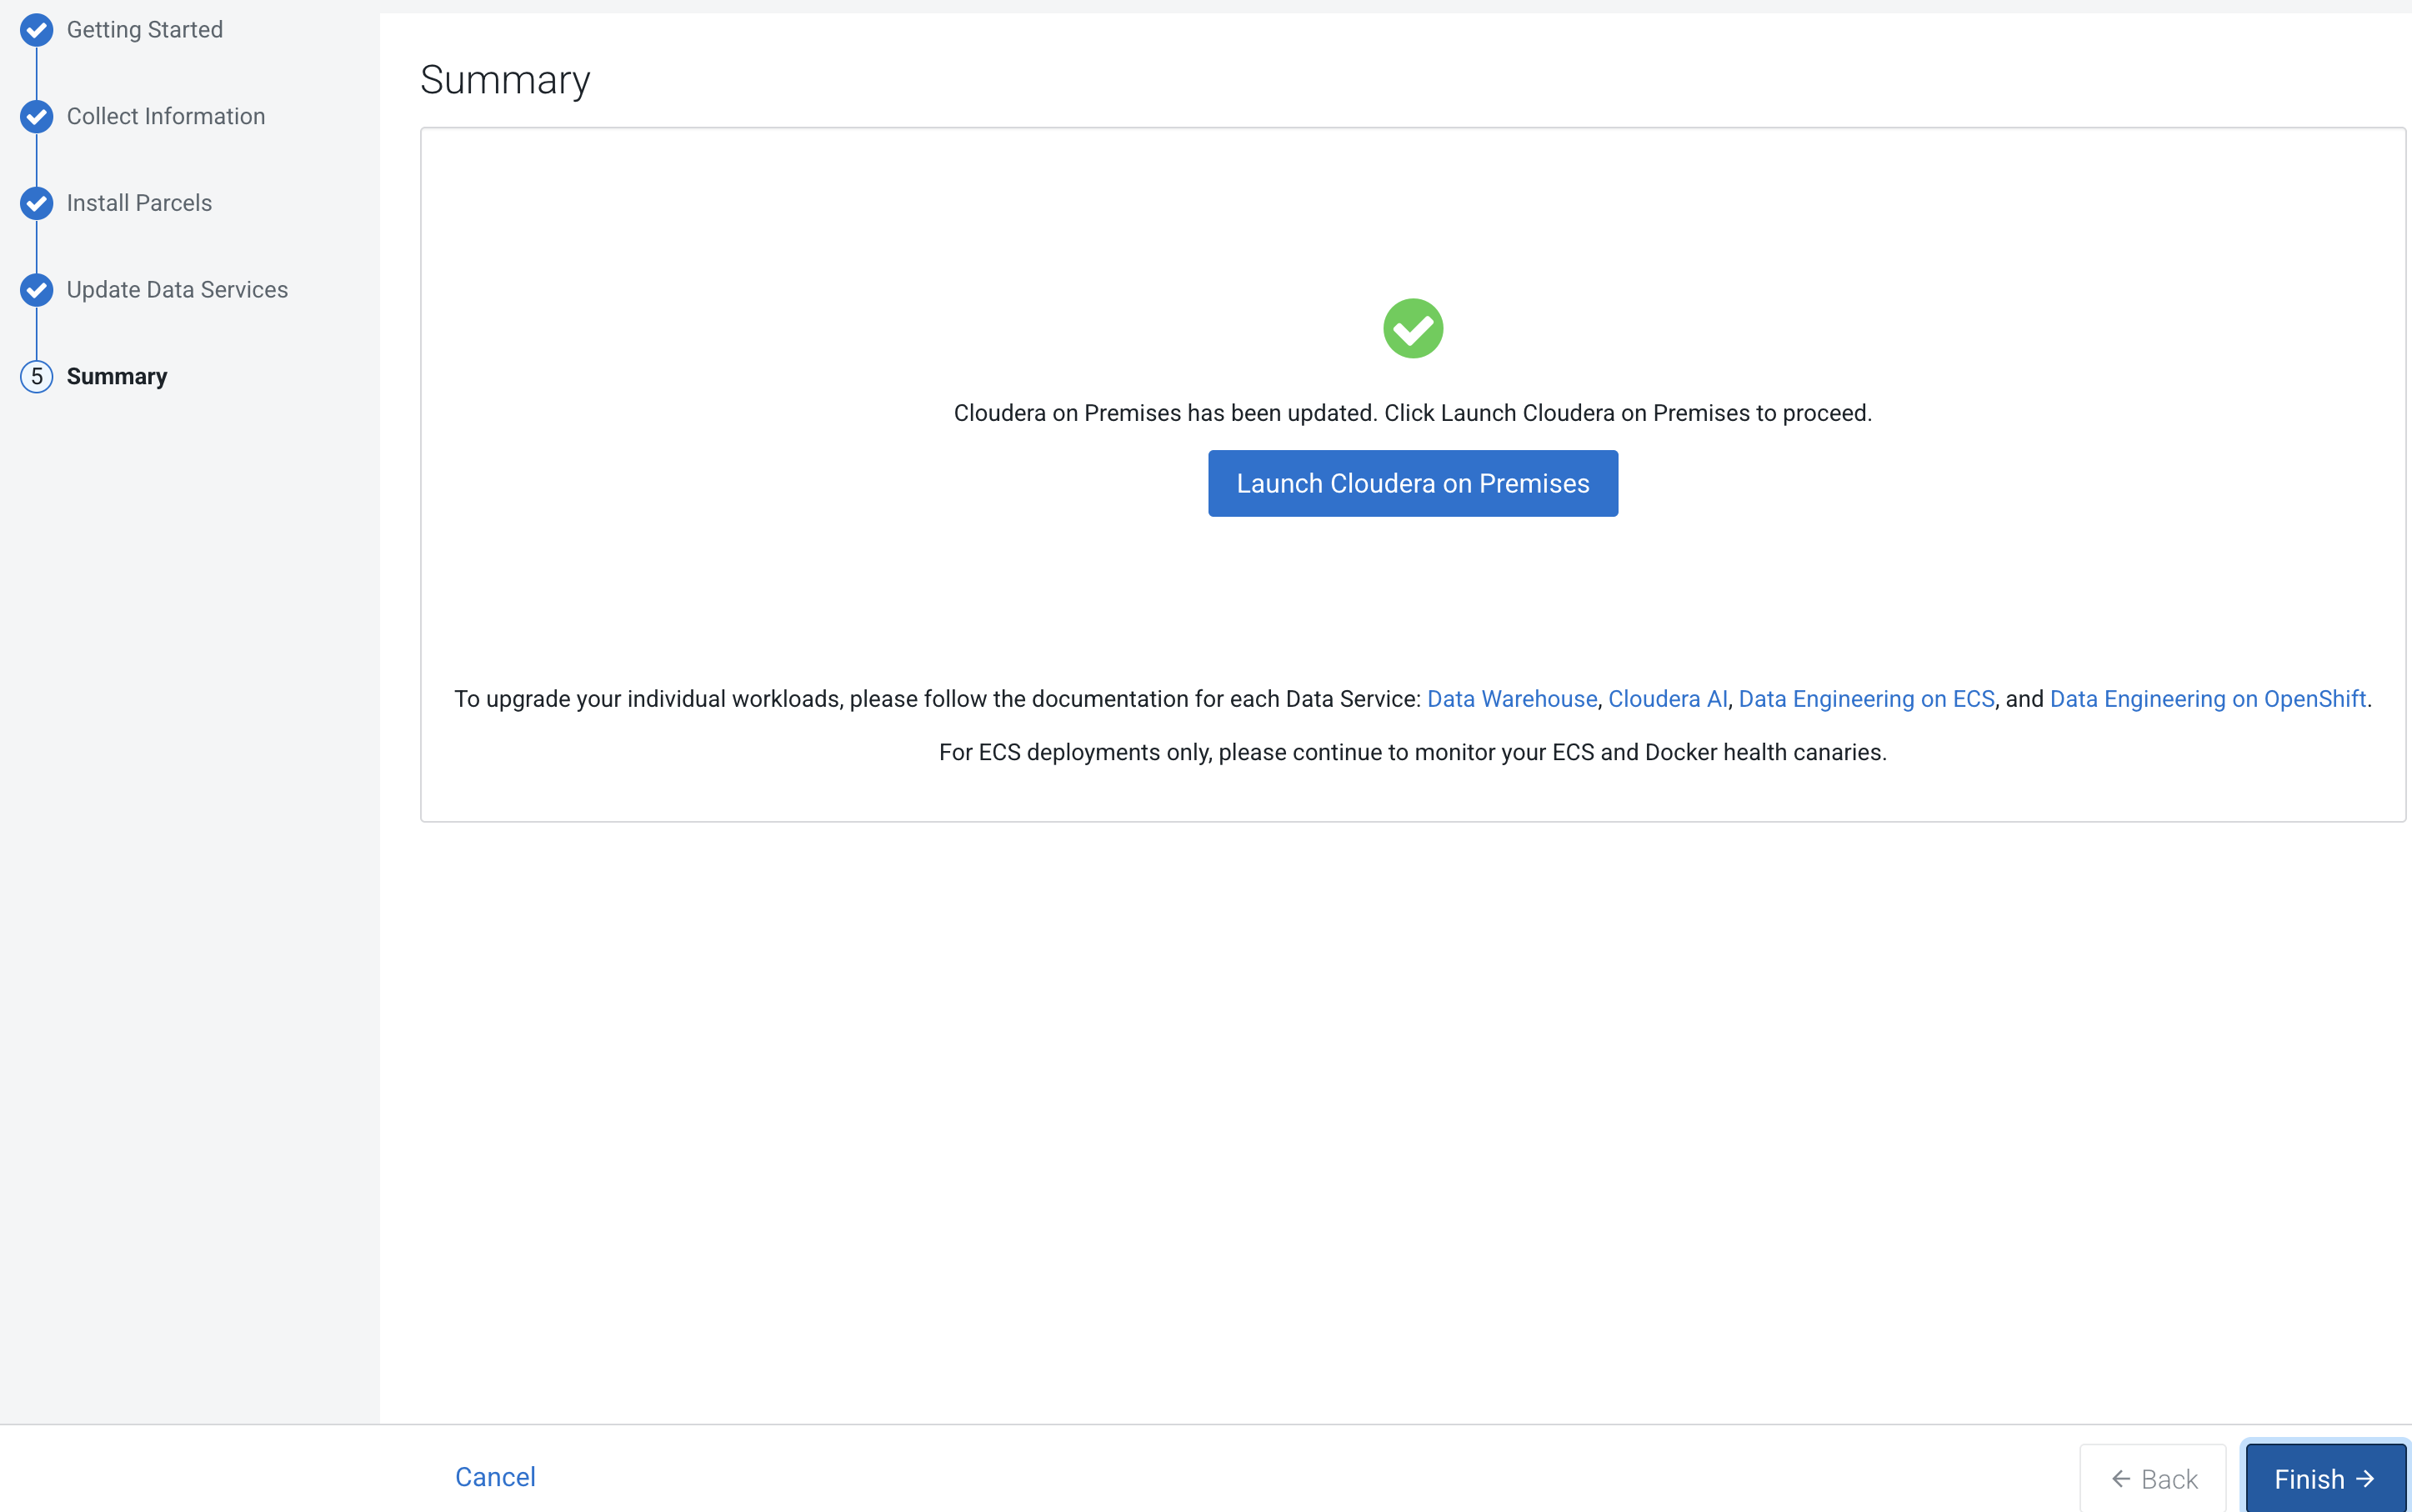
After the upgrade is complete, the Summary page appears. You can
now Launch Cloudera on premises
from here.
If you see a Longhorn Health Test message about a degraded Longhorn volume, wait for
the cluster repair to complete.
Or you can navigate to the Cloudera Data Services on premises page and click Open Cloudera on premises.
Cloudera Data Services on premises opens in a new
window.
If the upgrade stalls, do the following:
Check the status of all pods by running the following command on the server node:
export PATH=$PATH:/opt/cloudera/parcels/ECS/installer/install/bin/linux/:/opt/cloudera/parcels/ECS/docker
export KUBECONFIG=~/kubeconfig

kubectl get pods --all-namespaces
If there are any pods stuck in "Terminating" state, then force terminate the pod
using the following
command:
kubectl delete pods <NAME OF THE POD> -n <NAMESPACE> --grace-period=0 —force
If
the upgrade still does not resume, continue with the remaining steps.
If there are any pods in the "Pending" state, then you can try to reschedule the
pods in the "Pending state" by restarting the yunikorn-scheduler. Run the following
commands to restart yunikorn-scheduler:
kubectl get pods -n yunikorn

kubectl get deploy -n yunikorn

kubectl scale --replicas=0 -n yunikorn deployment/yunikorn-scheduler

kubectl get deploy -n yunikorn

kubectl scale --replicas=1 -n yunikorn deployment/yunikorn-scheduler

kubectl get deploy -n yunikorn
In the Admin Console, go to the service and click Web UI > Storage UI.
The Longhorn dashboard opens.
Check the "In Progress" section of the dashboard to see whether there are any
volumes stuck in the attaching/detaching state in. If a volume is that state, reboot
its host.
In the LongHorn UI, go to the Volume tab and check if any of
the volumes are in the "Detached" state. If any are in the "Detached" state, then
restart the associated pods or reattach them to the host manually.
You may see the following error message during the Upgrade Cluster >
Reapplying all settings > kubectl-patch
:
kubectl rollout status deployment/rke2-ingress-nginx-controller -n kube-system --timeout=5m
error: timed out waiting for the condition
If you see this error, do the
following:
Check whether all the Kubernetes nodes are ready for scheduling. Run the following
command from the ECS Server
node:
kubectl get nodes
You will see
output similar to the following:
NAME STATUS ROLES AGE VERSION
<node1> Ready,SchedulingDisabled control-plane,etcd,master 103m v1.21.11+rke2r1
<node2> Ready <none> 101m v1.21.11+rke2r1
<node3> Ready <none> 101m v1.21.11+rke2r1
<node4> Ready <none> 101m v1.21.11+rke2r1
Run the following command from the ECS Server node for the node showing a status of
SchedulingDisabled:
kubectl uncordon <node1>
You must add the NODENAME to the end of the command.
You will see output similar to the following:
<node1>node/<node1> uncordoned
Scale down and scale up the rke2-ingress-nginx-controller pod
by running the following command on the ECS Server
node:
kubectl delete pod rke2-ingress-nginx-controller-<pod number> -n kube-system
Resume the upgrade.
If a new release-dwx-server pod is unable to start because of an
existing release-dwx-server pod failing to start:
Delete the pod manually by executing the following
command:
kubectl delete -n cdp pod cdp-release-dwx-server-<pod_id>
Resume the upgrade wizard if it had timed out.
After upgrading, the Cloudera Manager admin role may be missing the
Host Administrators privilege in an upgraded cluster. The cluster administrator should run
the following command to manually add this privilege to the
role.
If you specified a custom certificate, select the Cloudera Embedded Container Service
cluster in Cloudera Manager, then select Actions > Update Ingress Controller . This command copies the cert.pem and
key.pem files from the Cloudera Manager server
host to the Cloudera Embedded Container Service Management Console host.
After upgrading, you can enable the unified time zone feature to synchronize the Cloudera Embedded Container Service cluster time zone with the Cloudera Manager Base time zone. When upgrading from earlier versions of
Cloudera Data Services on premises to 1.5.5 SP2 and higher,
unified time zone is disabled by default to avoid affecting timestamp-sensitive logic. For
more information, see Cloudera Embedded Container Service unified time
zone.
 icon, then click
Update.
icon, then click
Update.