Using the Cloudera Data Engineering CLI
If at any time you are having issues with the CDE CLI, you can view the CDE CLI options by adding the --help flag to any CLI commands:
cde spark --help

cde spark submit --help

cde airflow --help

cde resource --help- Experimenting with CDE Spark Submit CLI
- Creating a CDE Resource
- Uploading all files to the CDE Resource
- Creating CDE jobs with files uploaded to the Resource
- Running CDE jobs
Step 1: Experimenting with CDE Spark Submits
cde spark submit pysparkjob.py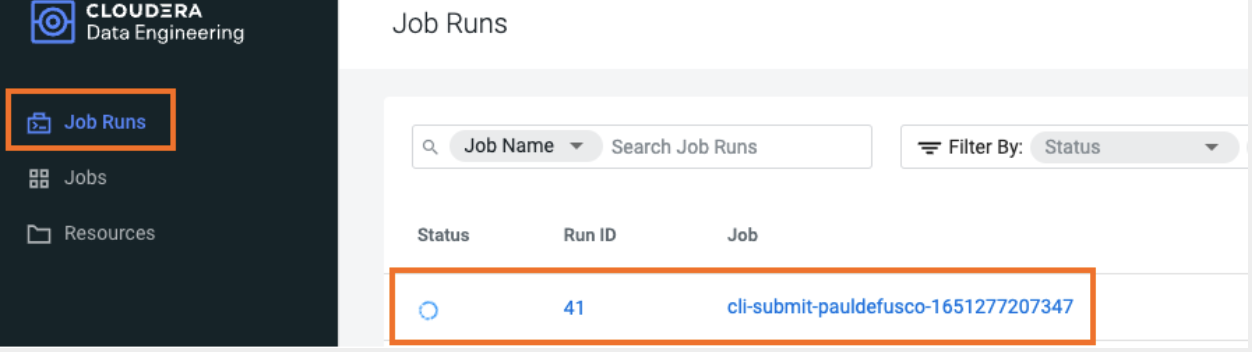
Step 2: Creating a CDE Resource
cde resource create --name cde_cli_resourceStep 3: Uploading all files to the CDE Resource
When uploading to a resource the two important inputs are the name of the target CDE Resource and the local path to the files being uploaded.
cde resource upload --name cde_cli_resource --local-path "pysparkjob.py" --resource-path "pysparkjob.py"Step 4: Creating CDE jobs with files uploaded to the Resource
Once the files and dependencies have been uploaded you can easily instantiate a CDE job with the job create command.
cde job create --name "cde_cli_job" --type "spark"
                --application-file "pysparkjob.py"
                --cron-expression "0 */1 * * *" \
                --schedule-enabled "true"
                --schedule-start "2022-04-29"
                --schedule-end "2022-05-02"
                --mount-1-resource "cde_cli_resource"
Step 5: Running CDE jobs
cde job run --name "cde_cli_job" --application-file "pysparkjob.py" You have now completed a basic workflow to start experimenting with the CDE CLI. Below are some more useful examples:
More CDE CLI examples
- Search for CDE jobs based on attributes You can use attributes for your search. In this case, you can search by name.
cde job list --filter 'name[like]%name_pattern%' - List all CDE job runs
cde run list - Describe CDE job runReplace the integer with your job run id. For example, 47 is the ID referred in the below command.
cde run describe --id 47 - Create a CDE job with Custom Spark Log Level
A big advantage of using CDE is Spark observability. Logging level can be easily customized. Furthermore, every log is always available to the CDE user.
Using the log-level parameter you can choose any of the following options: TRACE, DEBUG, INFO, WARN, ERROR, FATAL, OFFcde job create --name "cde_cli_job_custom_log_level" --type "spark" --application-file "pysparkjob.py" --log-level "DEBUG" --schedule-enabled "false" --mount-1-resource "cde_cli_resource" - Collect CDE Job Run LogsYou can download the Spark logs you have access to in CDE. Notice you have more options e.g. executor logs
cde run logs --type "driver/stdout" --id 47You can modify the log type to any of the available tabs in the corresponding CDE job Run page. For example:
- driver/stderr or Driver/stdout
- executor id/stdout