Importing Sentry permissions into Ranger
You must import the Sentry permissions to Cloudera cluster Ranger.
-
Login to the RANGER_ADMIN portal with administrator user
credentials or user privileges as
ADMIN- Under Settings > Users/Groups/Roles > Search for the ranger user.
- Click on the ranger user and change its role to Admin and save the changes.
- Confirm authz-ingest.zip is available under '/opt/cloudera/cm/lib/dr/' path. If authz-ingest.zip is not available, contact Cloudera customer support to provide it. Once you have authz-ingest.zip, copy to the /opt directory of the migration cluster node (or a Data Lake node of the cloud cluster).
-
Unzip the authz-ingest.zip into the
/optdirectory, which contains the following files:config-filesscripts
The
config-filescontains the following:authorization-migration-site.xmlranger-hive-security.xmlranger-kafka-security.xmlranger-plugin-policymgr-ssl.xml -
Ranger is TLS/SSL enabled using Cloudera Manager AUTO-TLS.
From the Ranger admin host, copy
cm-auto-global_truststore.jks(from the Ranger-admin process directory) to the following location:/opt/authz-ingest/config-files/of the migration tool host.Steps to find the ranger admin process directory:- Execute the below command to get the RANGER_ADMIN
process.
ps -ef | grep proc_rangeradmin -
Search for -cp option from the above command output and look for "/var/run/cloudera-scm-agent/process/<ID>-ranger-RANGER_ADMIN"
If you have done SSL setup manually or in a different method, copy the filename which you created for truststores.
For example:cp /path/to/cm-auto-global_truststore.jks /opt/authz-ingest/config-files/- Execute the below command to get the RANGER_ADMIN
process.
-
Export the following variables:
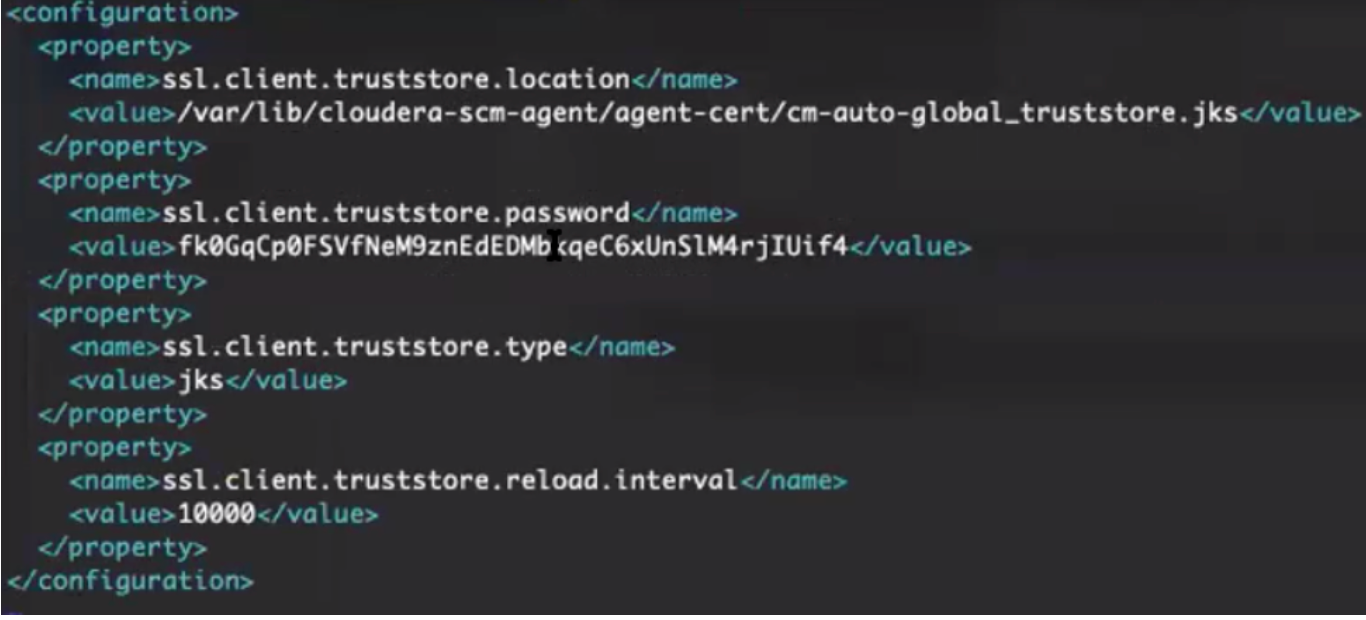
JAVA_HOME- Java home path used on the clusterRANGER_ADMIN_URL- Ranger Admin portal urlRANGER_ADMIN_SSL_ENABLED- either true or falseRANGER_ADMIN_TRUSTORE_PASSWORD- If Ranger is TLS/SSL enabled using Cloudera Manager AUTO-TLS, then the password can be found on the Ranger host/etc/hadoop/conf/ssl-client.xmlproperty 'ssl.client.truststore.password'
EXAMPLE:
export JAVA_HOME=
/usr/java/jdk1.8.0_232-cloudera/export RANGER_ADMIN_URL=<
ranger admin url with port>export RANGER_ADMIN_SSL_ENABLED=<
true or false>export RANGER_ADMIN_TRUSTORE_PASSWORD=<
ssl.client.truststore.password> -
For the Kerberos-based authentication, use the following process:
- Find the Ranger admin keytab location and provide it in the following
command:
export
                                    RANGER_ADMIN_KEYTAB_PATH=/path/to/rangeradmin.keytab
In the CDEP cluster ranger keytab shall be available in the “
/cdep/keytabs/rangeradmin.keytab” or under the ranger admin process directory “/var/run/cloudera-scm-agent/process/<ranger-process-number>-ranger-RANGER_ADMIN” location.Steps to find the ranger admin process directory:
- Execute the below command to get the RANGER_ADMIN process.
ps -ef | grep proc_rangeradmin-
Search for
-cpoption from the above command output and look for "/var/run/cloudera-scm-agent/process/<ID>-ranger-RANGER_ADMIN"
If your ranger node and migration node are different, copy the ranger keytab to the migration node.
On the migration node run the following
klistcommand to fetch a list of principals available in${RANGER_ADMIN_KEYTAB_PATH}klist -kt ${RANGER_ADMIN_KEYTAB_PATH}Run the following
kinitcommand using${RANGER_ADMIN_KEYTAB_PATH}withrangeradmin/_HOST@REALM principle.Update _HOST and REALM using the following command:
kinit -kt ${RANGER_ADMIN_KEYTAB_PATH}
                                    rangeradmin/_HOST@REALM
- Find the Ranger admin keytab location and provide it in the following
command:
-
Go to location
/opt/authz-ingest/config-filesand open the fileauthorization-migration-site.xml -
Add below property and provide the path of the
sentry
                        permissions.json
file which needs to be imported.<property><name>authorization.migration.export.output_file</name><value>file:///root/permissions.json</value></property> -
Set the following properties to create AWS S3 policy for Hive Warehouse
location:
<property><name>authorization.migration.create.s3.policy</name><value>true</value></property><property><name>authorization.migration.target.s3.bucket.name</name><value>bucket_name</value></property> -
Set the following properties which ensures that URI/URL policies are
appropriately converted into AWS S3 URL Hive policy:
<property>
<name>authorization.migration.translate.url.privileges</name>
<value>true</value>
</property>
<property>
<name>authorization.migration.migrate.url.privileges</name>
<value>true</value>
</property>
<property>
<name>authorization.migration.destination.location.prefix</name>
<value>s3a://mybucket</value>
</property>
-
(Optional) Transforming old user name into new user name requires you to set
the following properties:
<property>
<name>authorization.migration.translate.user</name>
<value>true</value>
</property>
<property>
<name>authorization.migration.usermap.file.path</name>
<value>file:///root/UserMapping.json</value>
</property>
Use the following information to provide the valid user mapping:
Format:
=> For the JSON file format we can have multiple users also in the JSON object formatted like :
{“testuser1”:”testuser1@host.com”, “testuser2”:”testuser2@host.com”}
=> And with the CSV format, it's pipe-delimited with one entry per line.
testuser1,testuser1@host.com
testuser2,testuser2@host.com
-
A flag-based new functionality is added in Authzmigrator, which skips
{OWNER} policy while migrating from Sentry to Ranger. You must add
the below property in authorization-migration-site.xml to enable this
feature.
By default, this feature is disabled by setting the below value to false.
<property> <name>authorization.migration.skip.owner.policy</name> <value>true</value> </property> - Save the file and exit
-
Run the script:
cd authz-ingest/scriptssh authz-import.shA confirmation message appears.
"Ingesting Ranger policies finished successfully"
"Ingesting of permissions to Ranger service is complete"