Configure your MiNiFi Agents in Windows
Once you have installed the MiNiFi agent, update the configuration files.
Configure MiNiFi C++ Agent
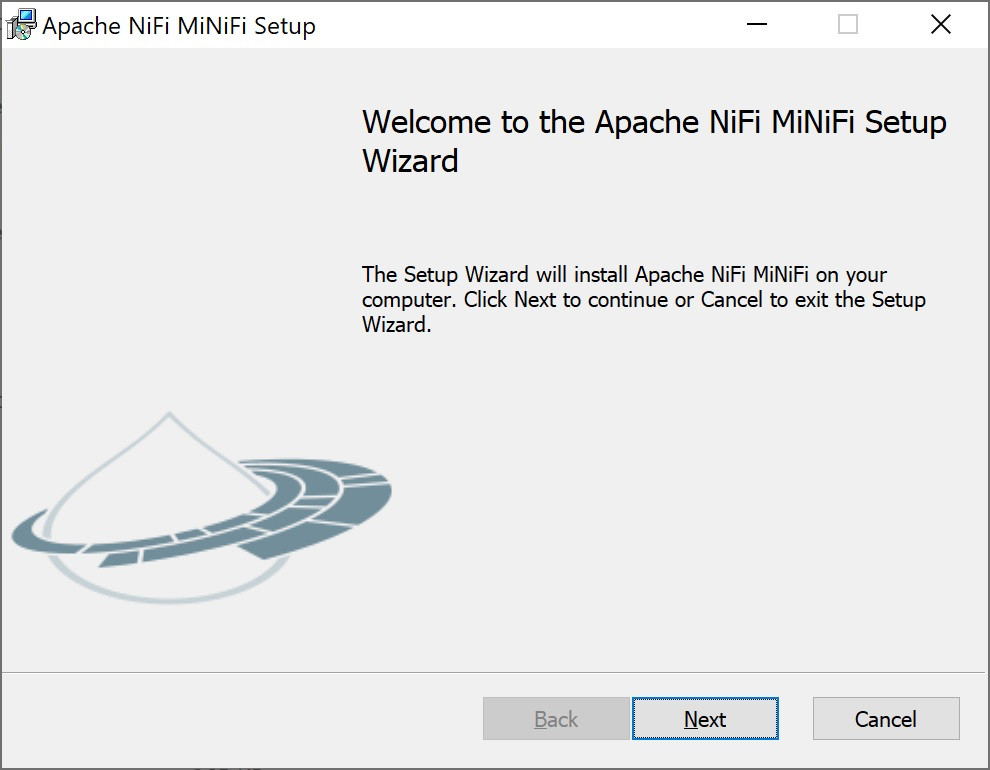
- Open the Apache NiFi MiNiFi Setup wizard, and click Next.
The Apache NiFi MiNiFi License page appears. - Check the Click here to accept this license option, and click
Next.

TheService Account Informationpage appears. - Enter a user for the windows service that is installed and a password.
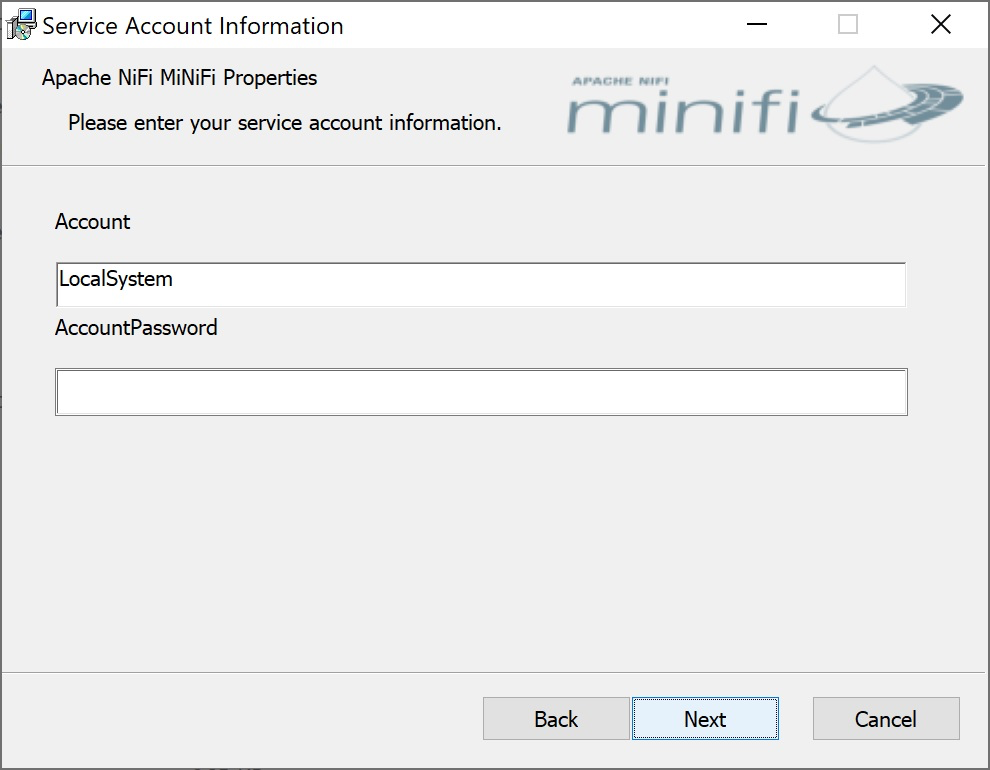
- Click Next.The
Agent Propertiespage appears as shown in the following image: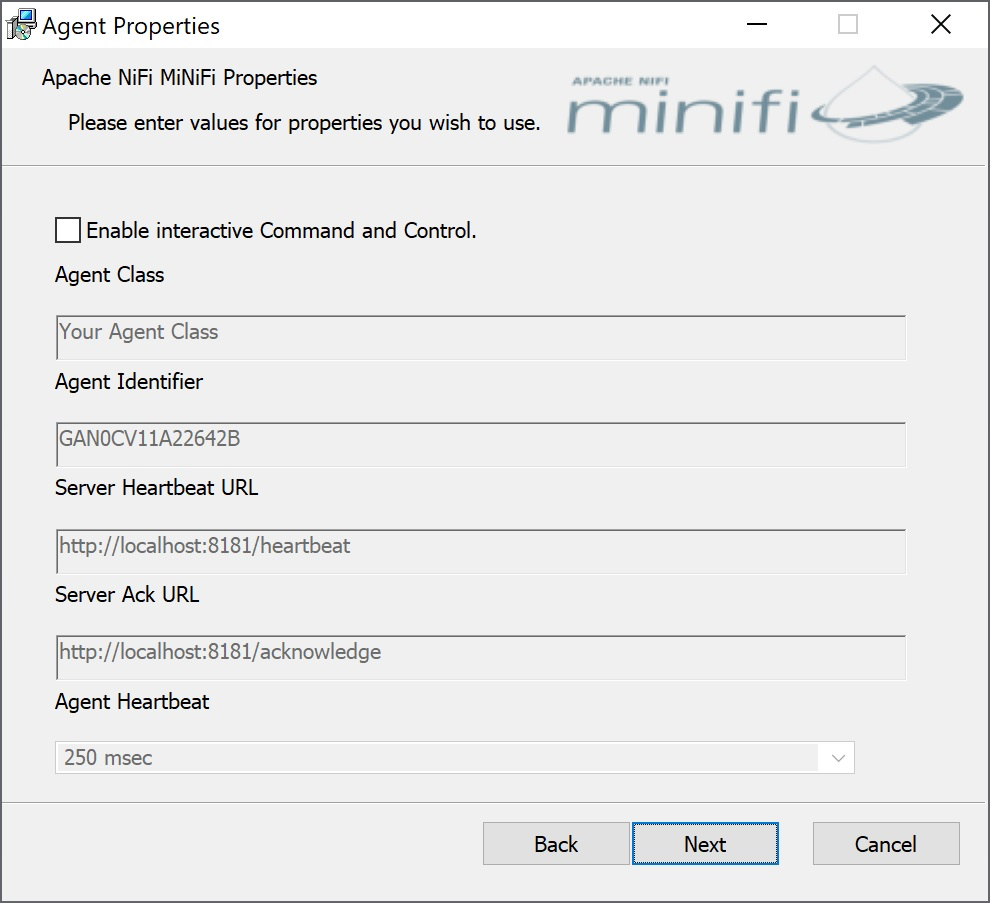
- Check the Enable interactive Command and Control option.
After you enable this option, you can edit your properties.
- Edit the following properties:
- Agent Class
- Agent Identifier
- Server Heartbeat URL
- Server Ack URL
- Agent Heartbeat
- Click Next.
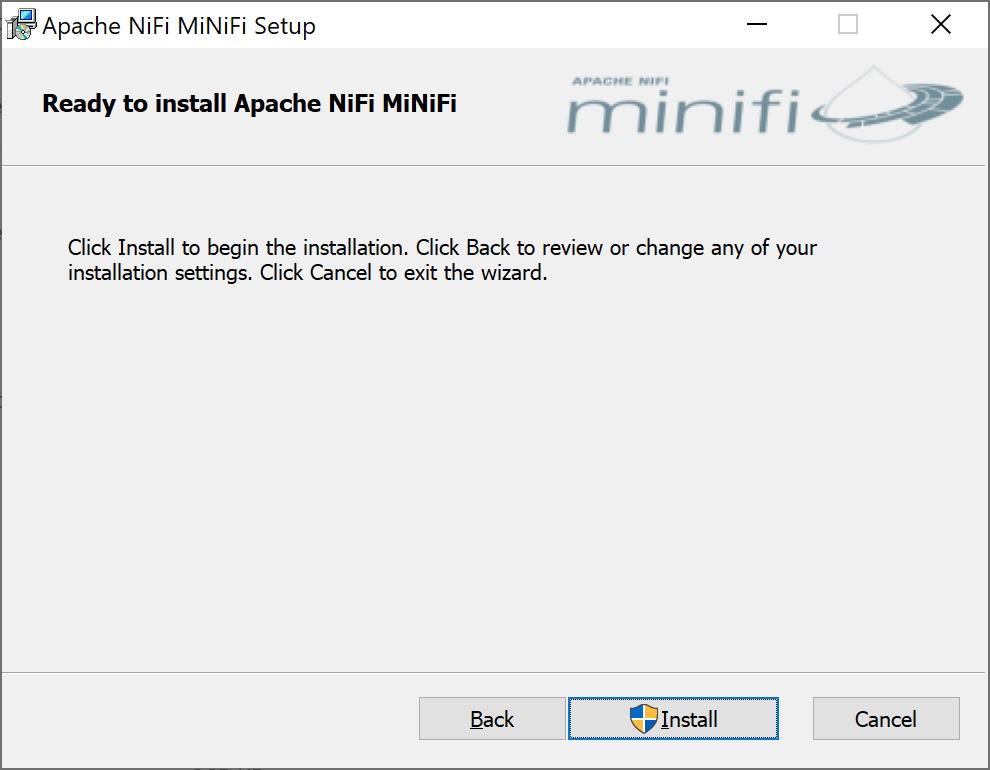
- Click Install.
Configure MiNiFi Java Agent
- Download the MiNiFi Java installer in your PC through the paywall.
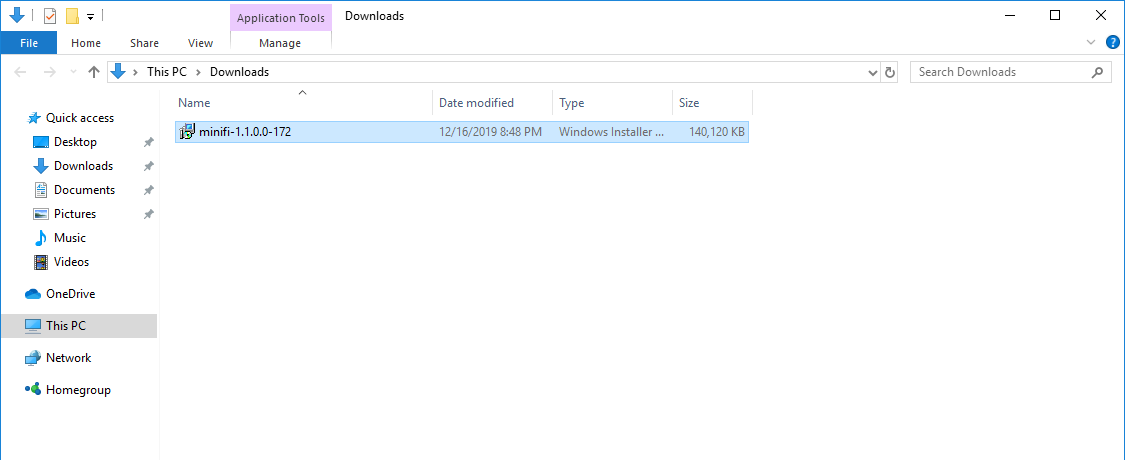
- Double-click the executable file.
The
HDF MiNiFi setupwizard appears, as shown in the following image: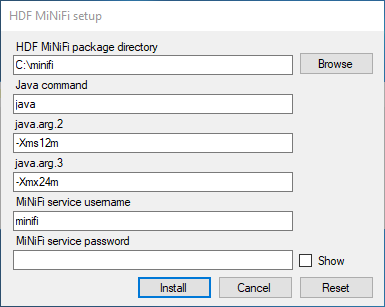
- Configure the Java command option to the path of the java
installation you would like to use.
- Click Install.
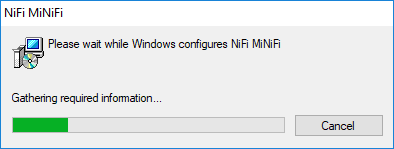
Windows starts configuring NiFi MiNiFi, as shown in the following image:
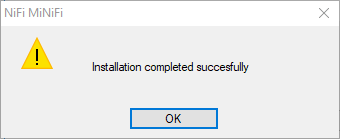
- Click OK when installation completes.
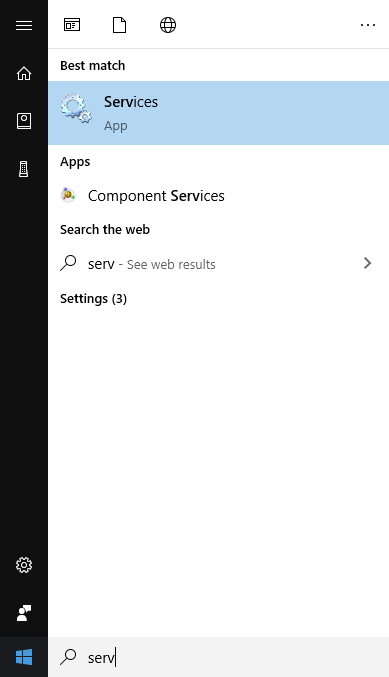
- Search for services in the Start menu of your PC and open it, as
shown in the following image:You can also run services by pressing [Windows key + R] and then typing
services.mscin the Open field, as shown in the following image: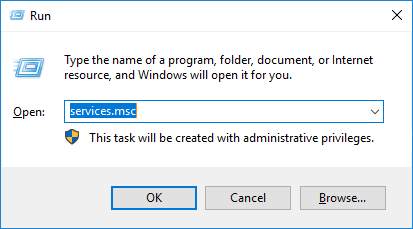
After you click OK, the Services window appears.
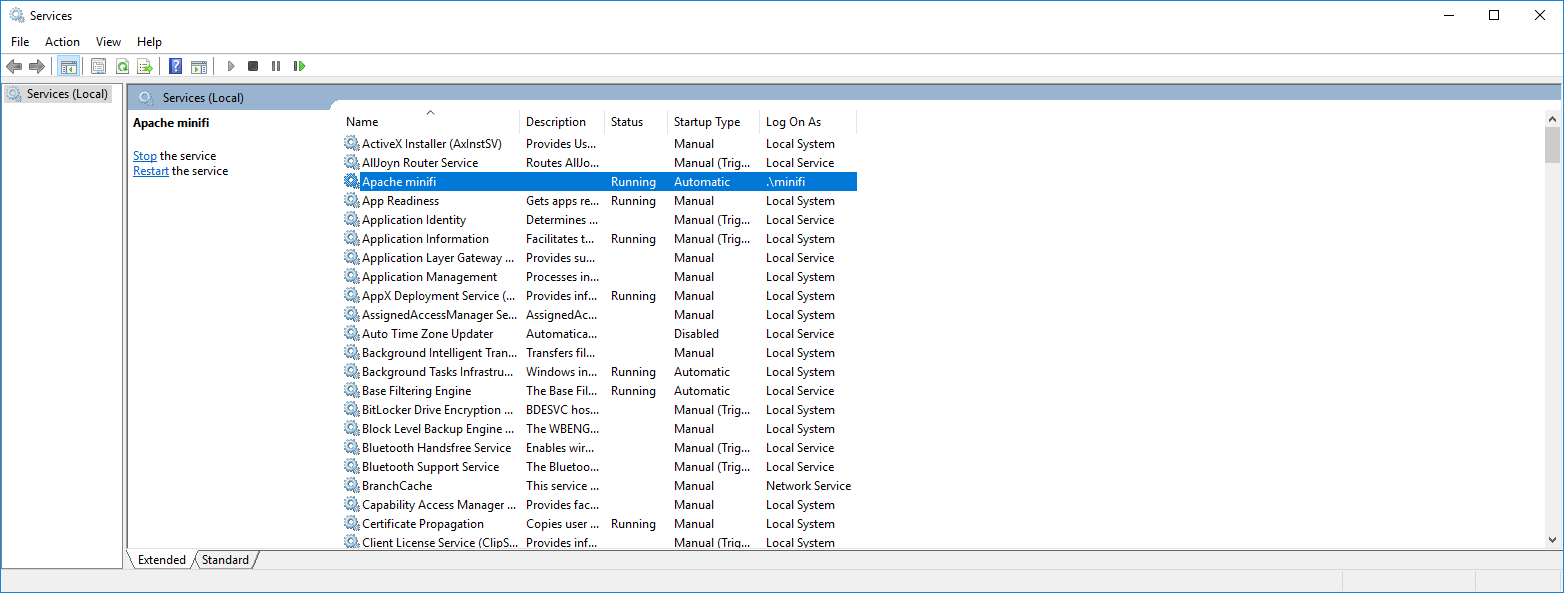
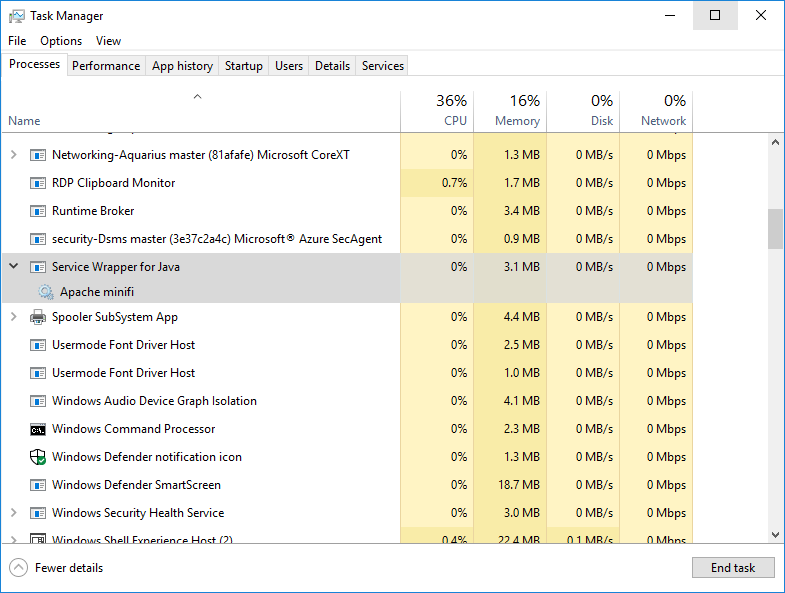
- In the Services window, double-click Apache
minifi.
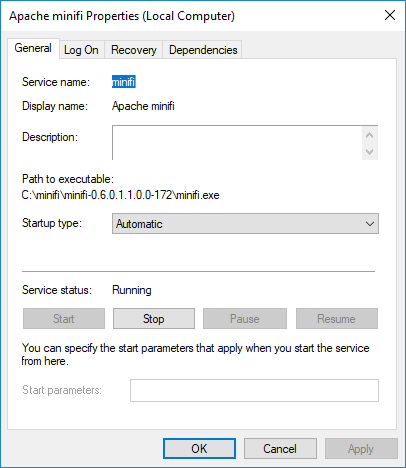
The
Apache minifi Properties (Local Computer)window appears. - Check the services setup and click OK.
- In the Task Manager window confirm whether the process is running.
- Exit or close the window when done.