Example dataflow in Cloudera Edge Management
The example dataflow consists of just two processors: GenerateFlowFile and LogAttribute. These processors are normally used for testing, but they can also be used to build a ReadyFlow and see Cloudera Edge Management in action.
-
Drag the GenerateFlowFile and LogAttribute processors to the canvas and connect
them (using the guidelines provided above).
The dataflow appears on the canvas as shown in the following image:

-
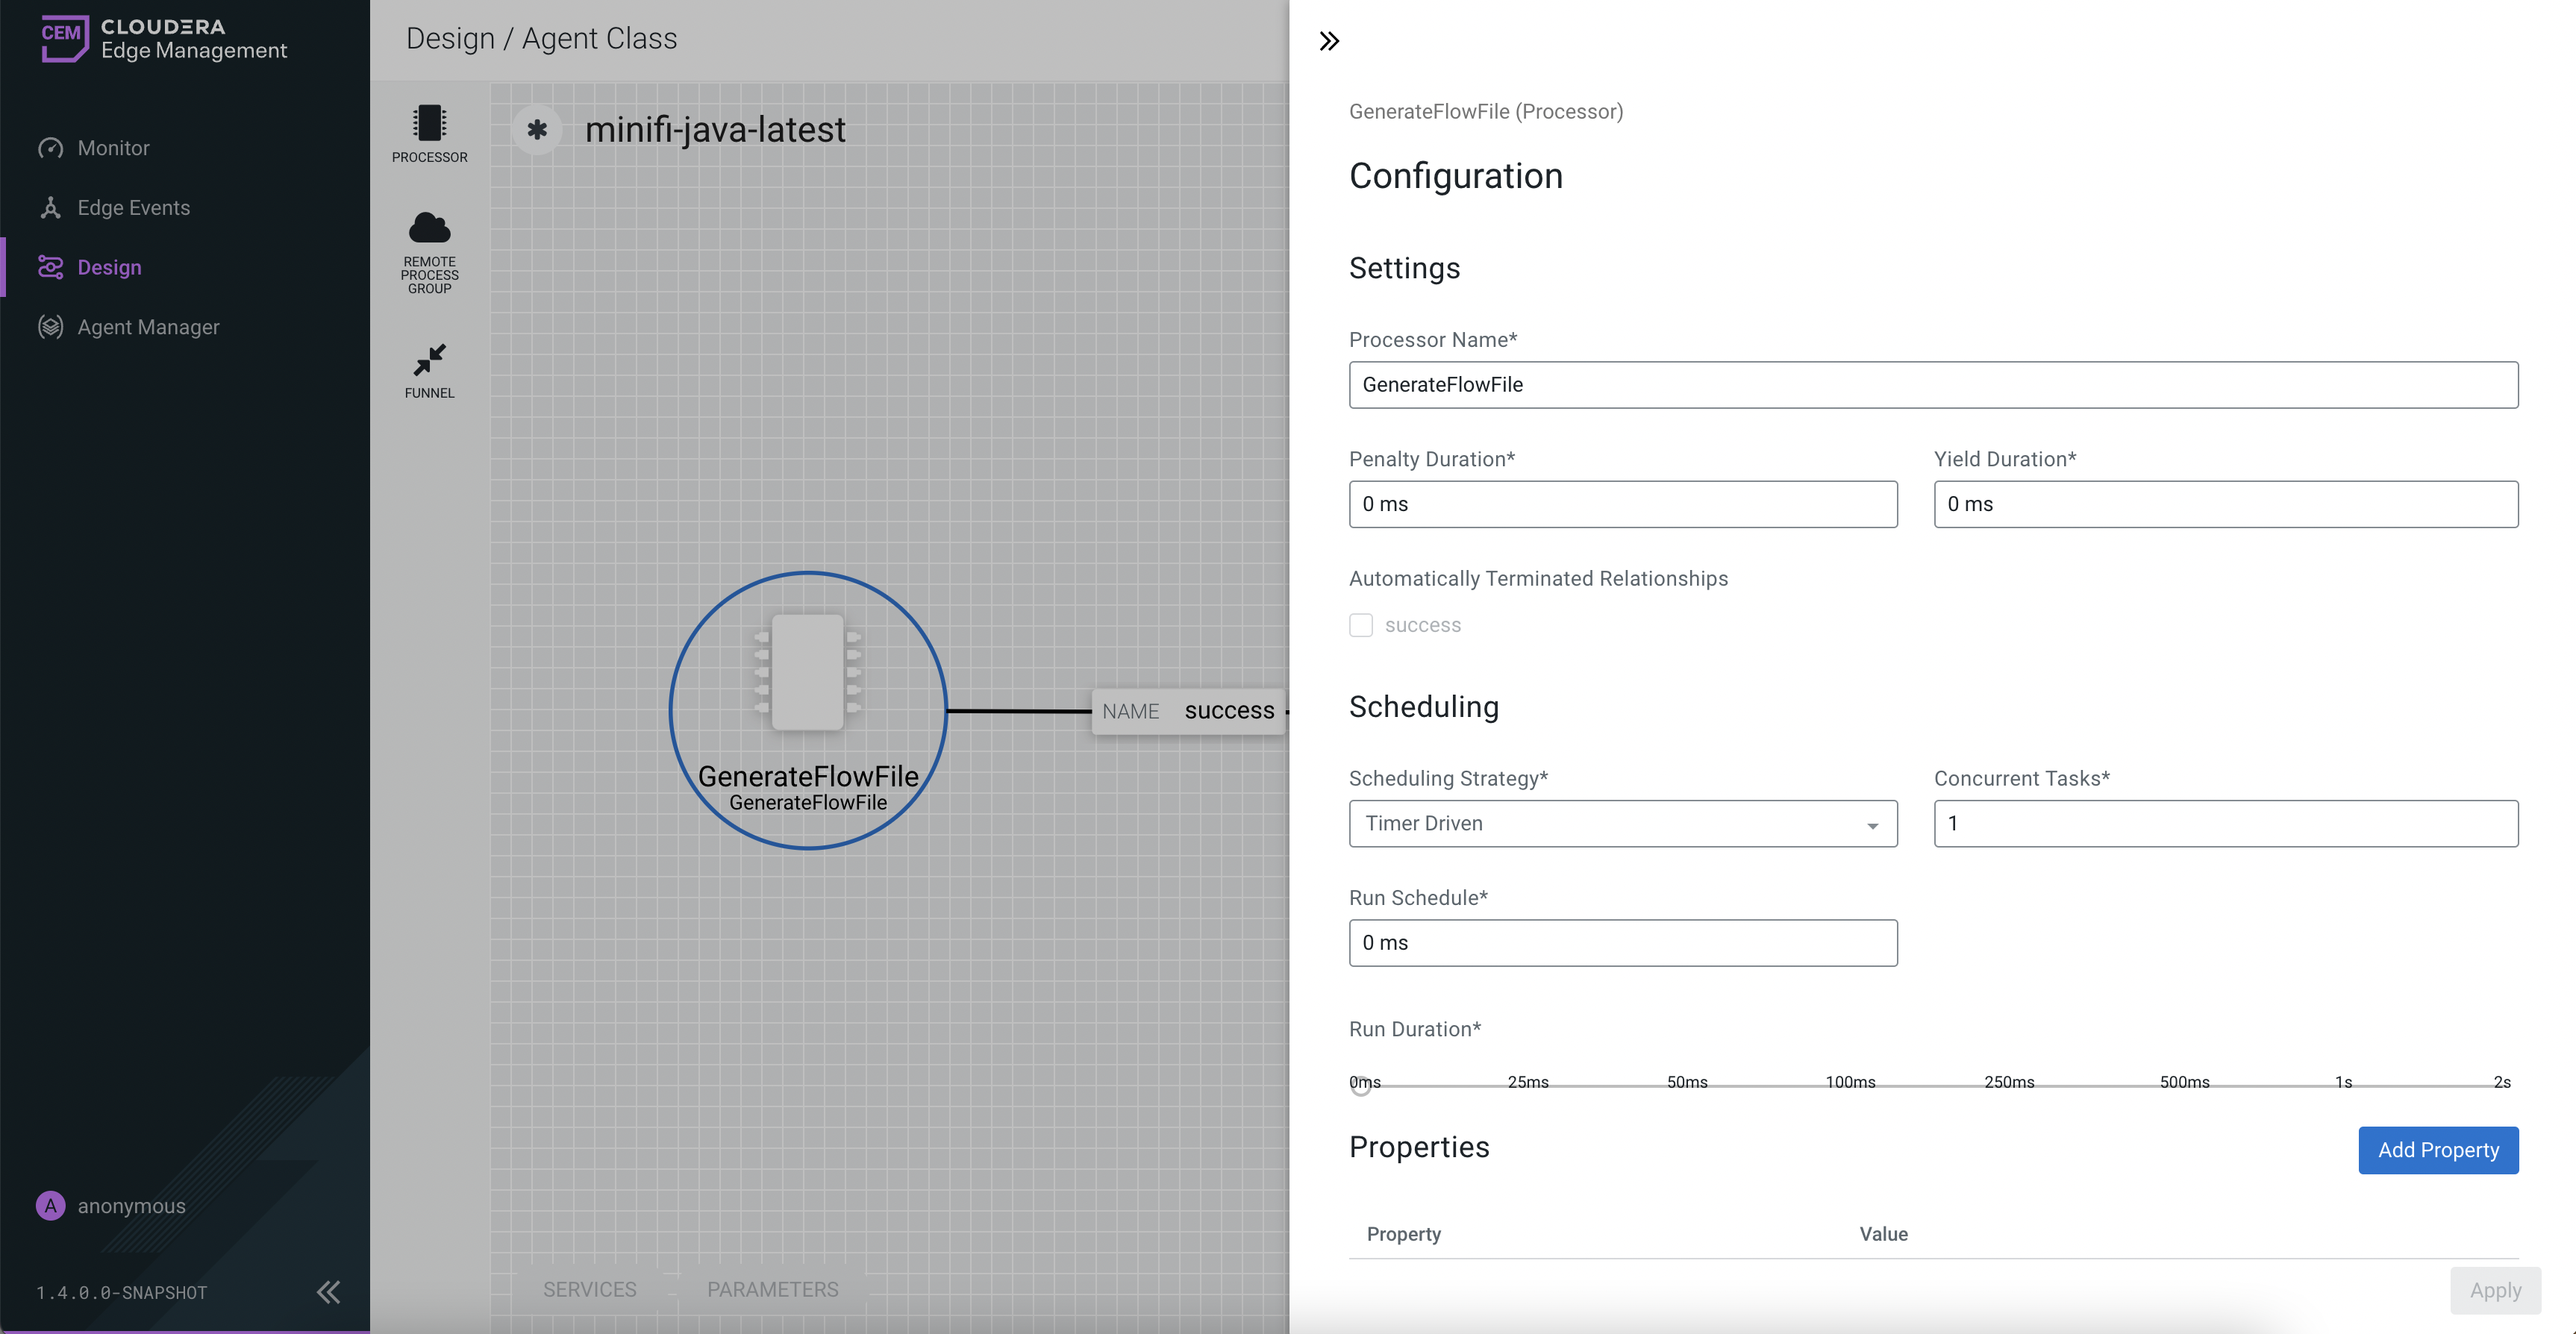
Configure the GenerateFlowFile processor and click Apply
to apply the changes.
- In the Scheduling section, set Run Schedule to: 5 sec. Note that the GenerateFlowFile processor can create many FlowFiles very quickly. Therefore, setting the Run Schedule is important, so that the flow does not overwhelm the system Cloudera Edge Management is running on.
- In the Properties section, set File Size to 10 KB.
The following image shows the configuration properties of the GenerateFlowFile processor:

-
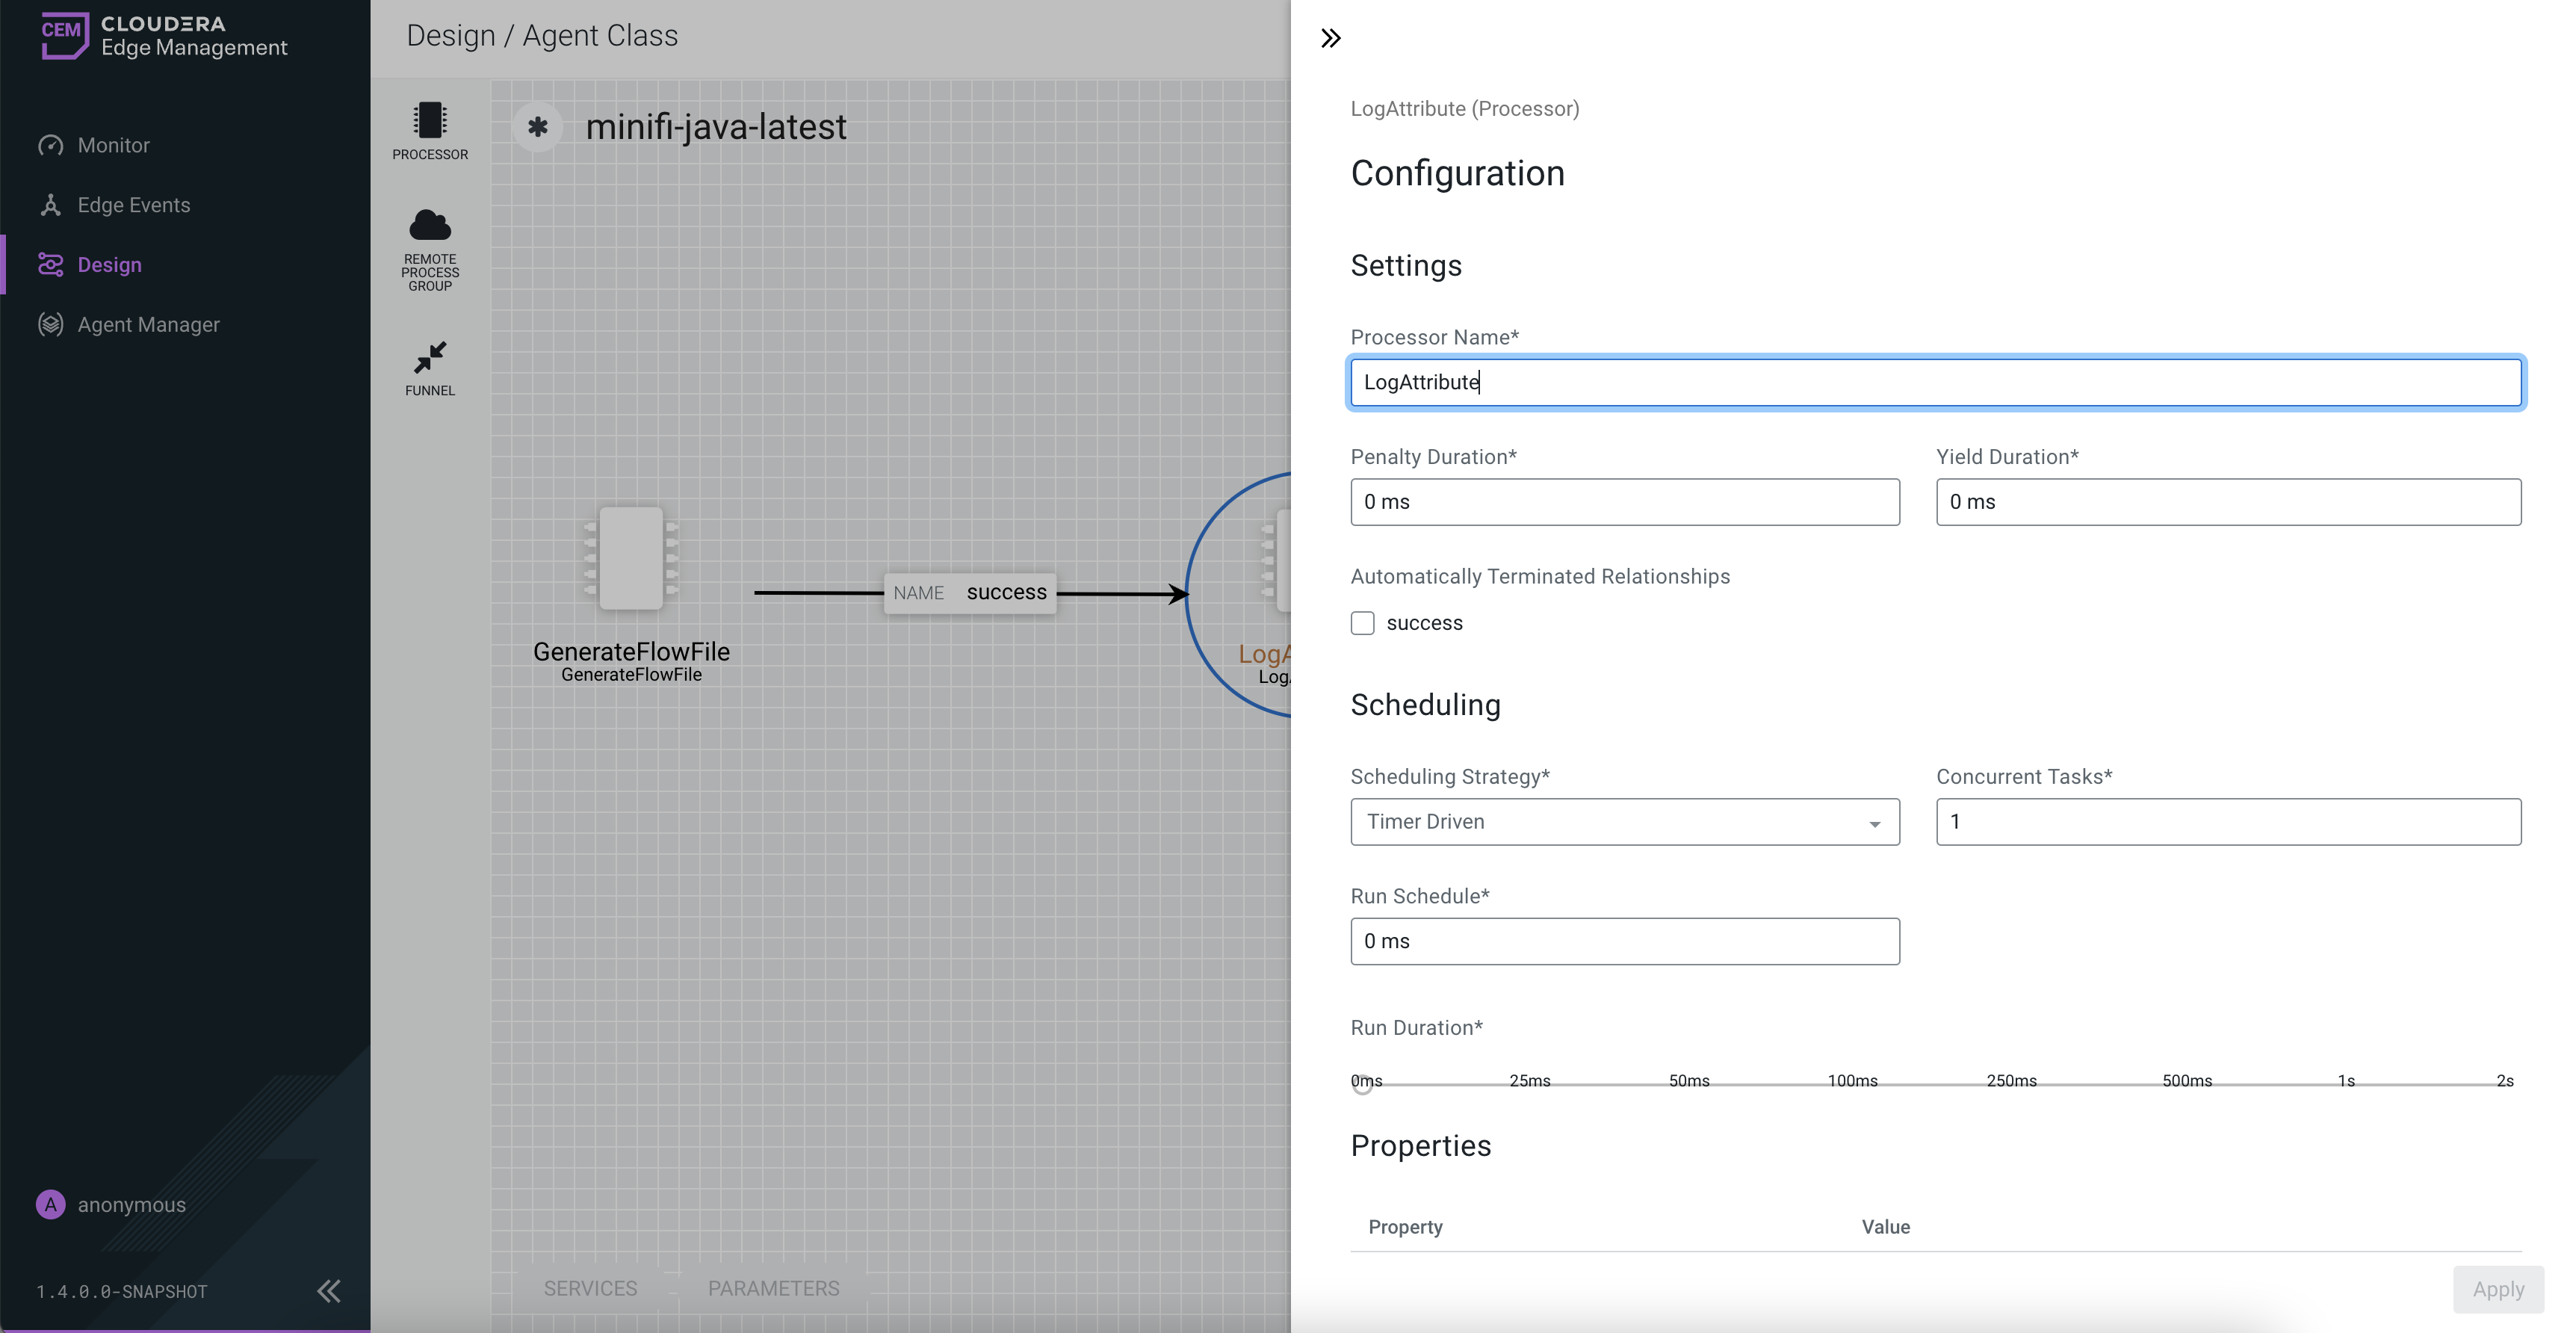
Configure the LogAttribute processor and click Apply to
apply the changes.
- In the Settings section, under Automatically Terminated Relationships, select the checkbox next to success. This terminates flow files after the processor successfully processes them.
- In the Properties section, set the Log Payload property to true. This way, the payload of the FlowFile is logged, in addition to its attributes. Otherwise, if set to false, just the attributes are logged.
The following image shows the configuration properties of the LogAttribute processor:
- Publish the flow by selecting Publish from the ACTIONS drop-down.
