Edge Flow Manager user interface
The Edge Flow Manager UI is designed to help you efficiently manage and monitor your dataflows and deployments. Learn how to use the UI to build, edit, publish, and revert dataflows, and monitor deployments and agent events.
http://<hostname>:10090/efm/ui.Anyone with access to the Cloudera Edge Management UI can view events and view or modify dataflows.
Monitor
When you click Monitor in the left navigation, the Dashboard screen appears. This is the initial page of the Edge Flow Manager UI that allows you to monitor C2 server and agent deployments.
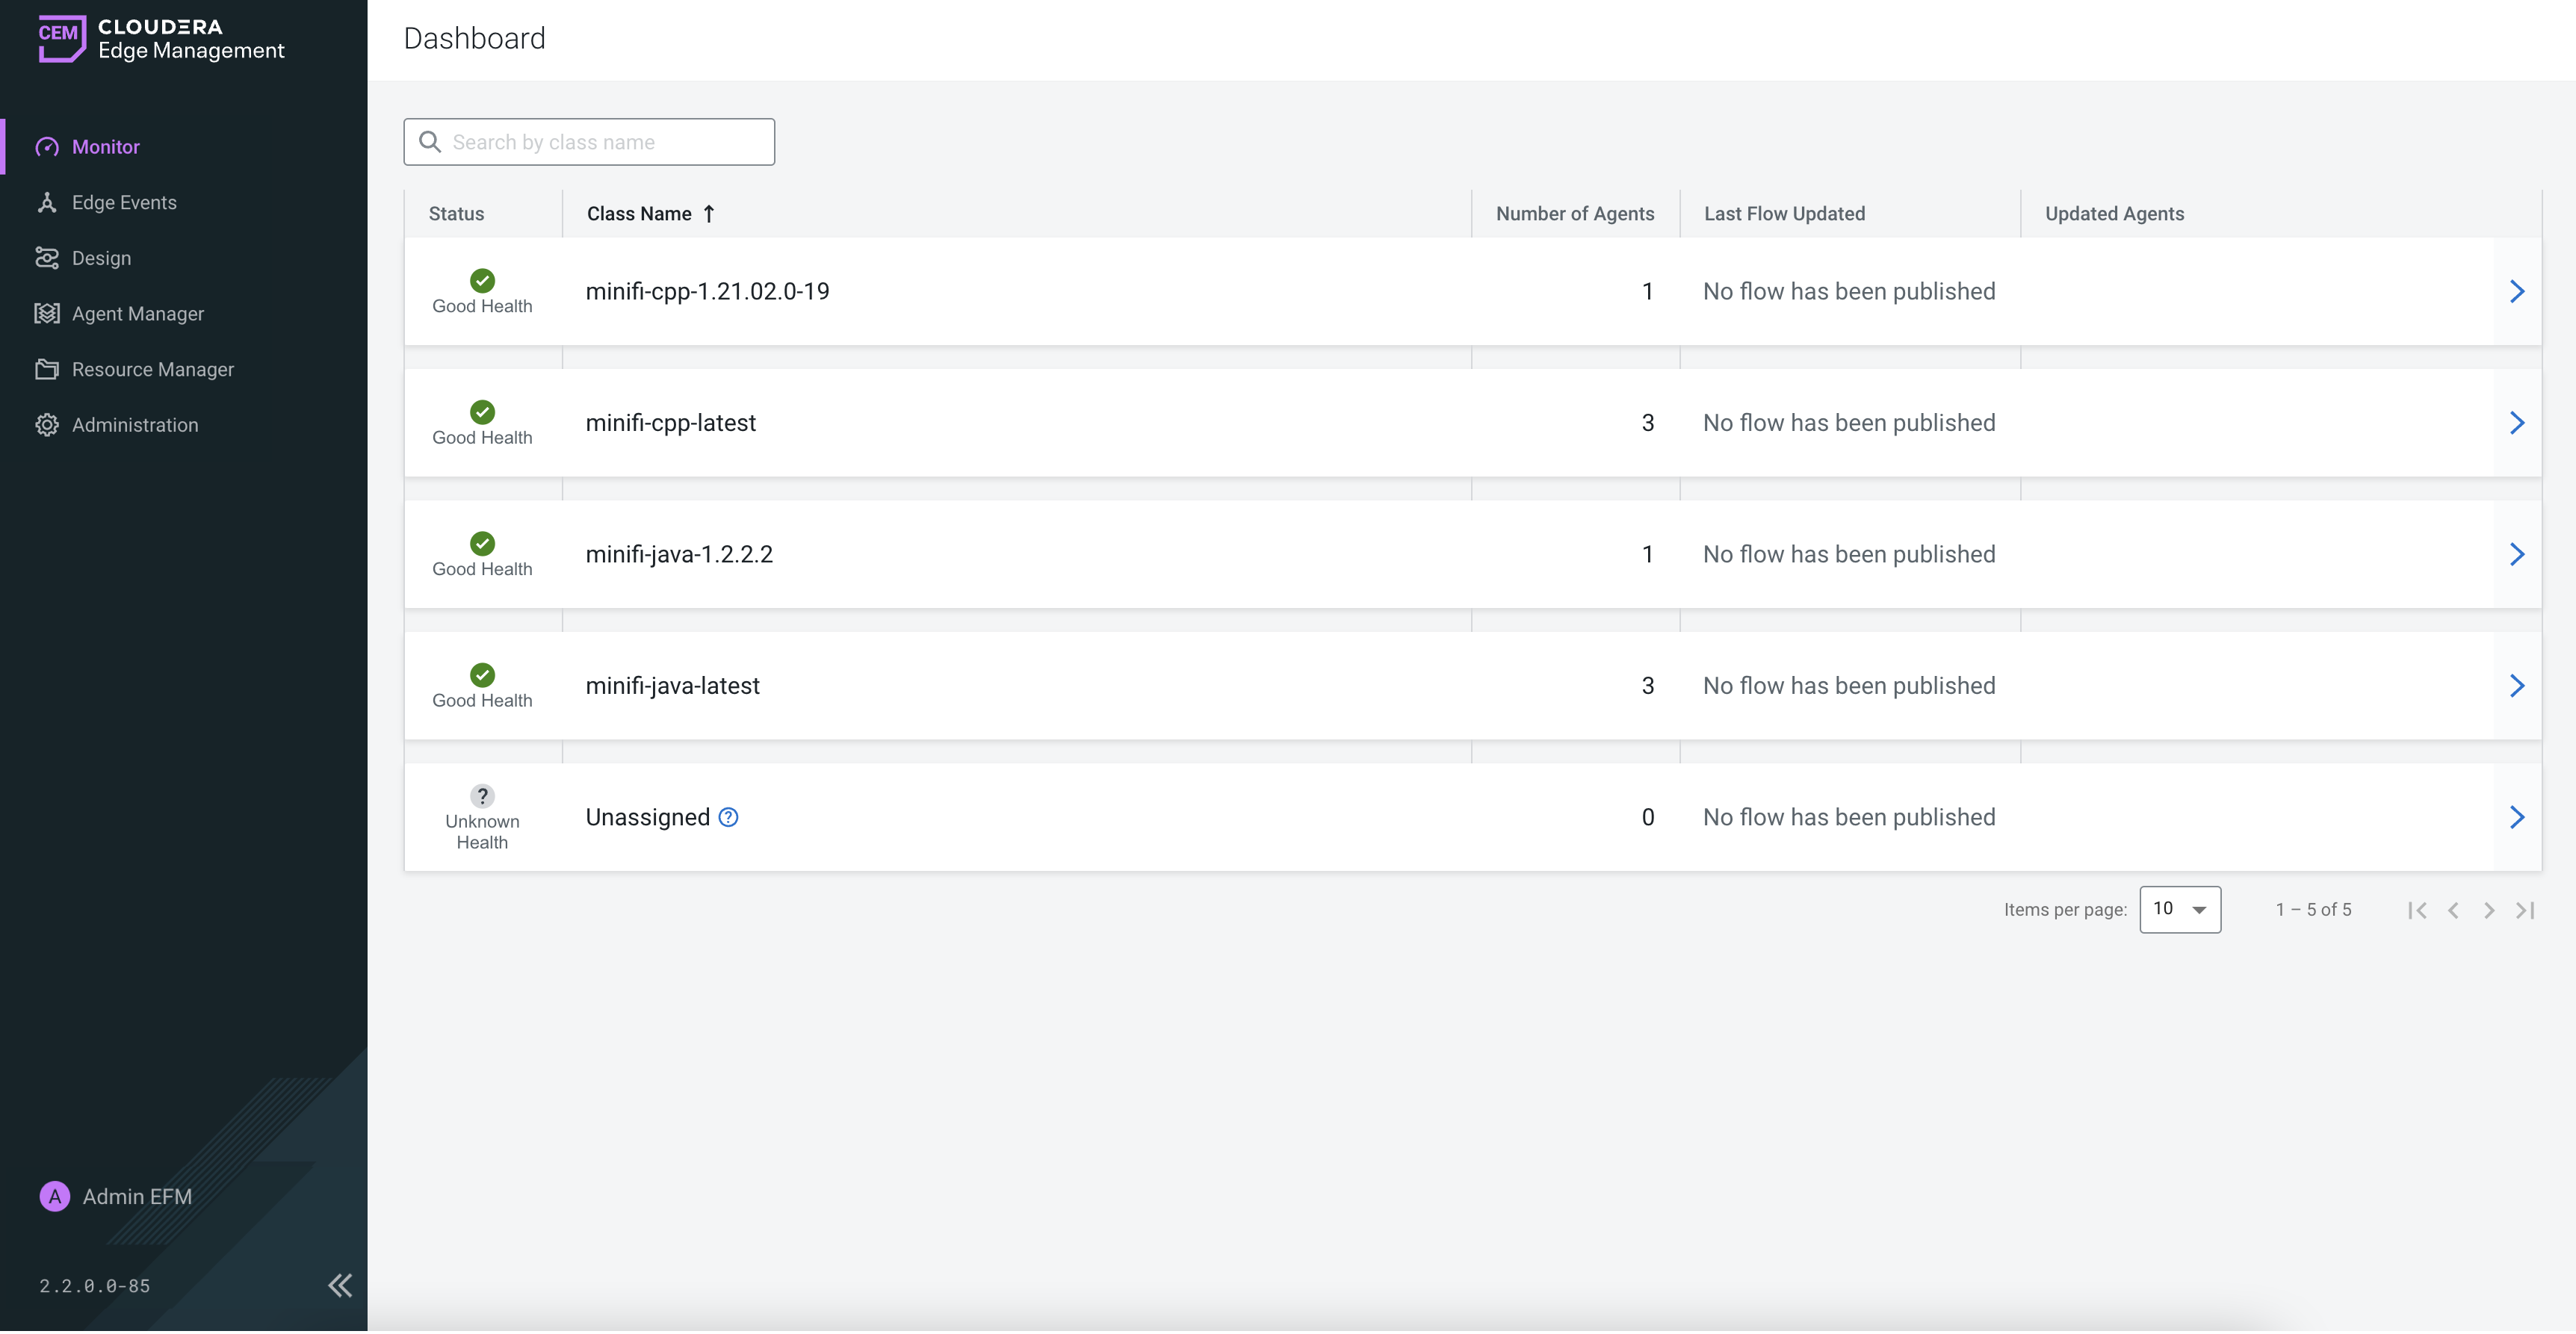
For more detailed information on how to monitor deployments, see Monitoring deployments in Cloudera Edge Management.
Edge Events
Edge Events allows you to monitor C2 server and agent events in Cloudera Edge Management.
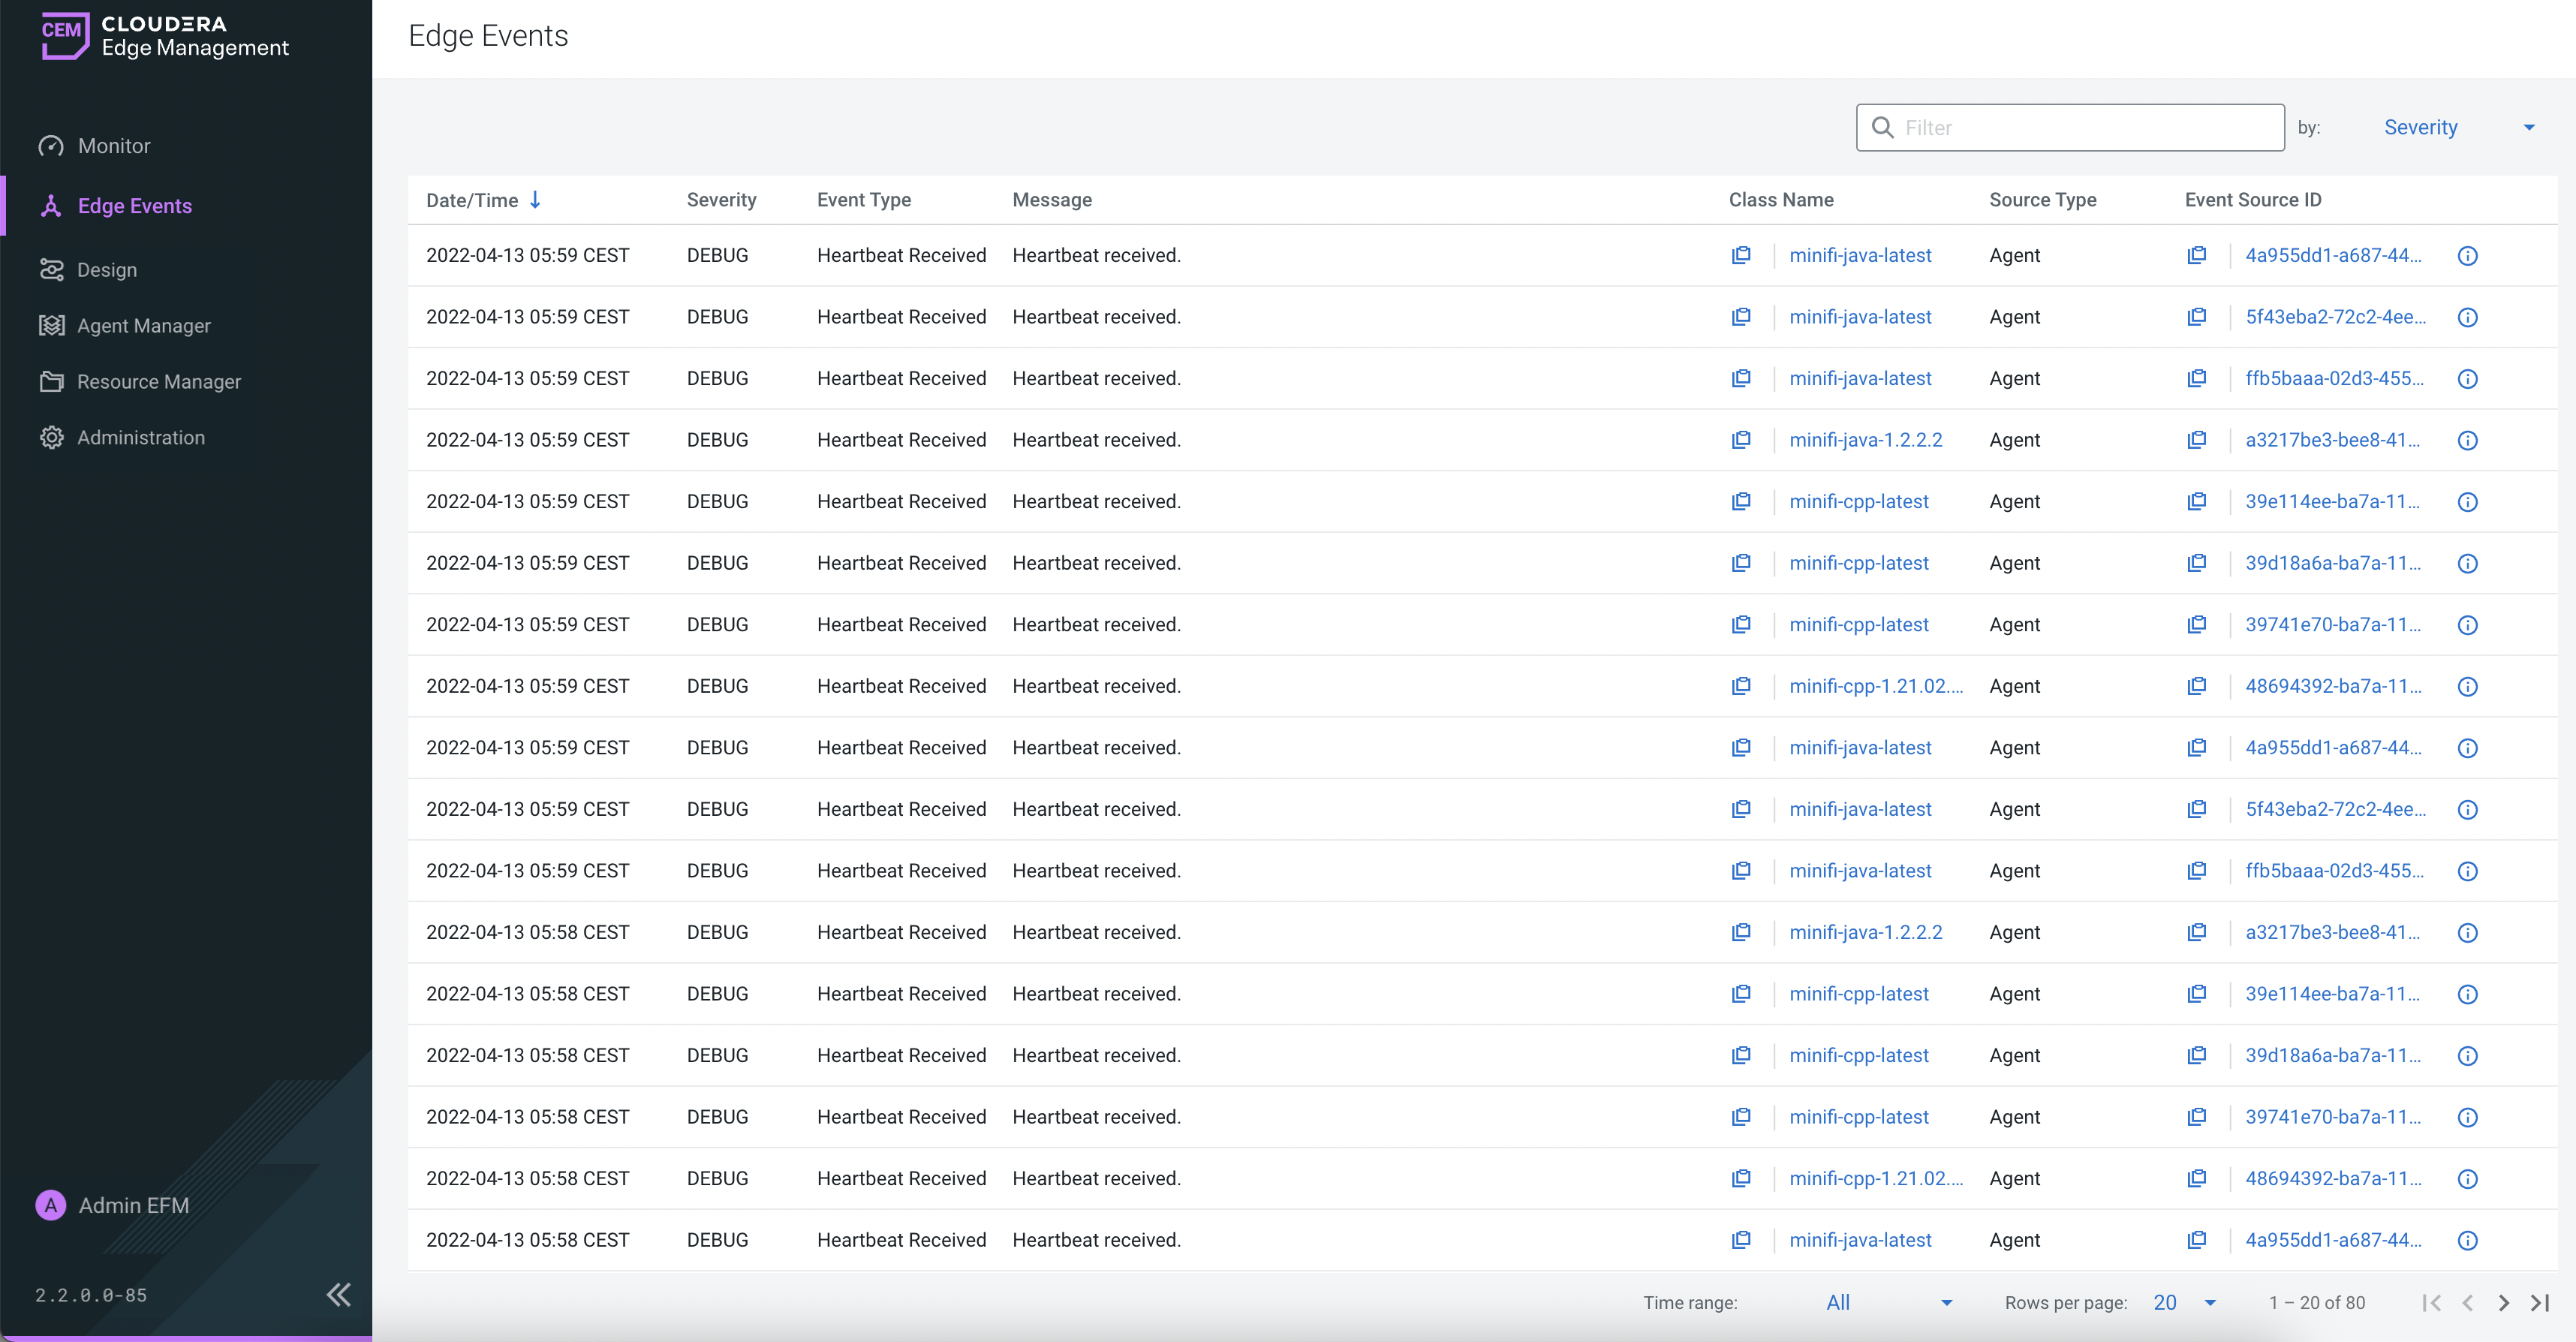
For more detailed information on how to monitor server and agent events, see Monitoring events in Cloudera Edge Management.
Design
Learn how to build and publish dataflows using the flow designer in Cloudera Edge Management.
Open Flow
- Status
- Class
- Published Version
- Published On
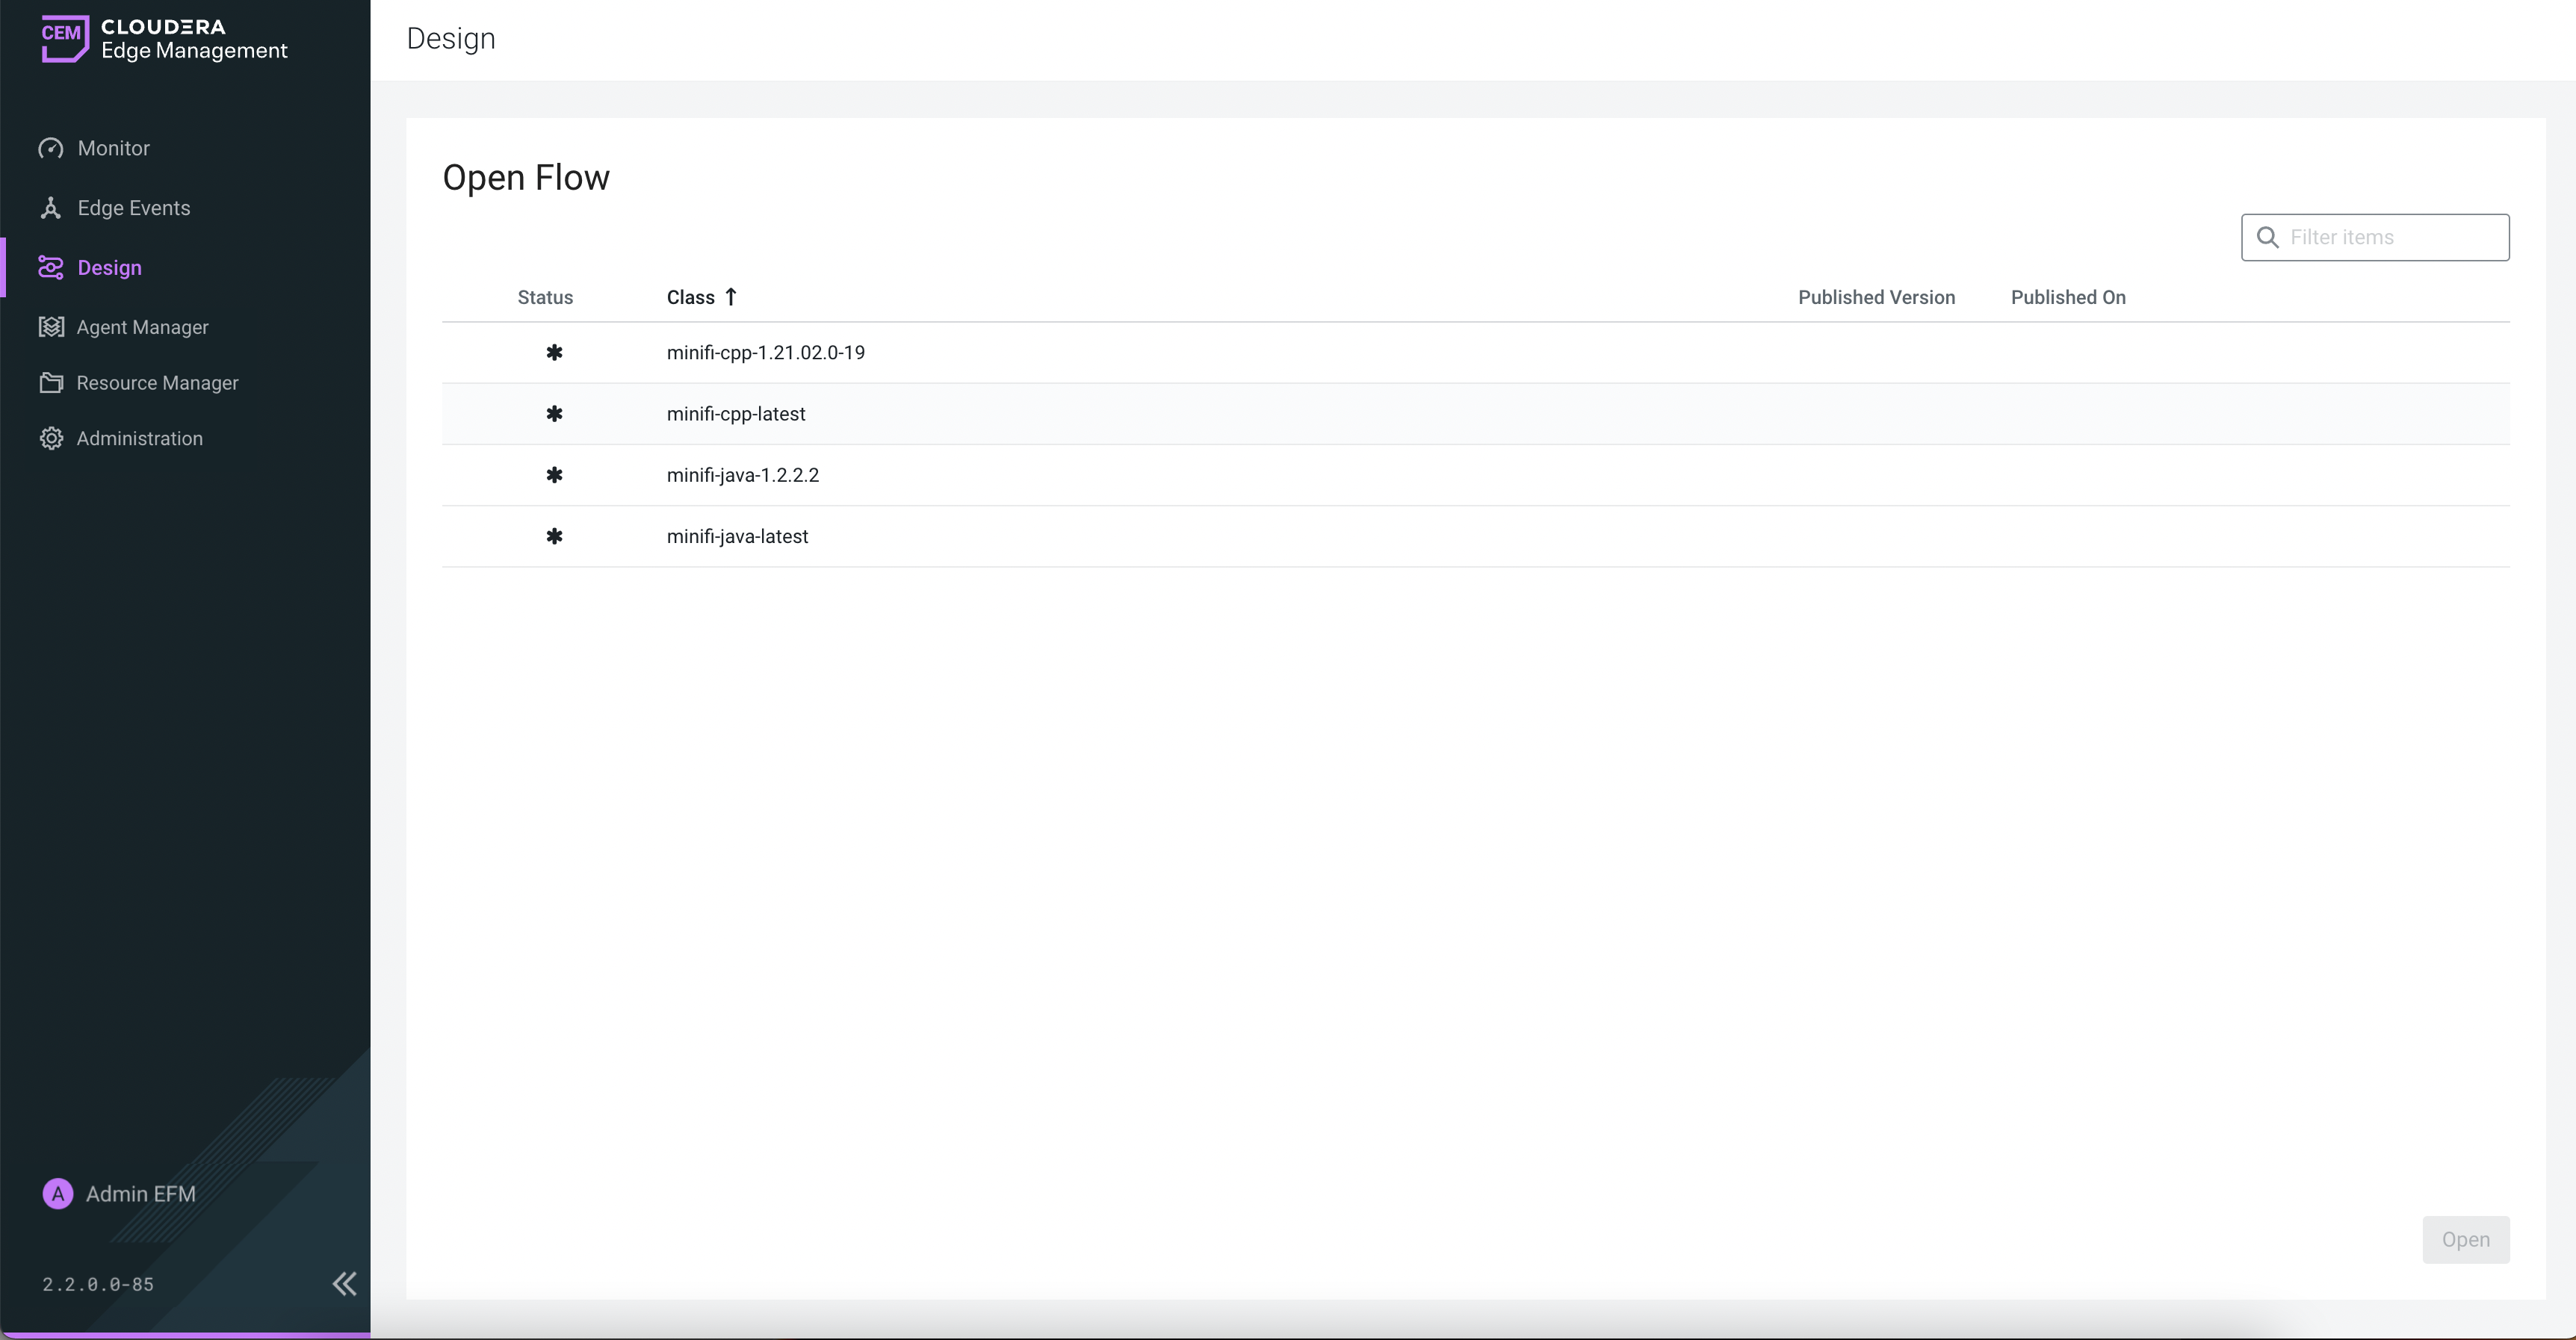
You can sort data in each column in ascending or descending order by clicking the column name. For example, you can sort the dataflows based on which class they are associated with by clicking the Class column name.
You can also filter the data by class by using the Filter items search bar.
Design
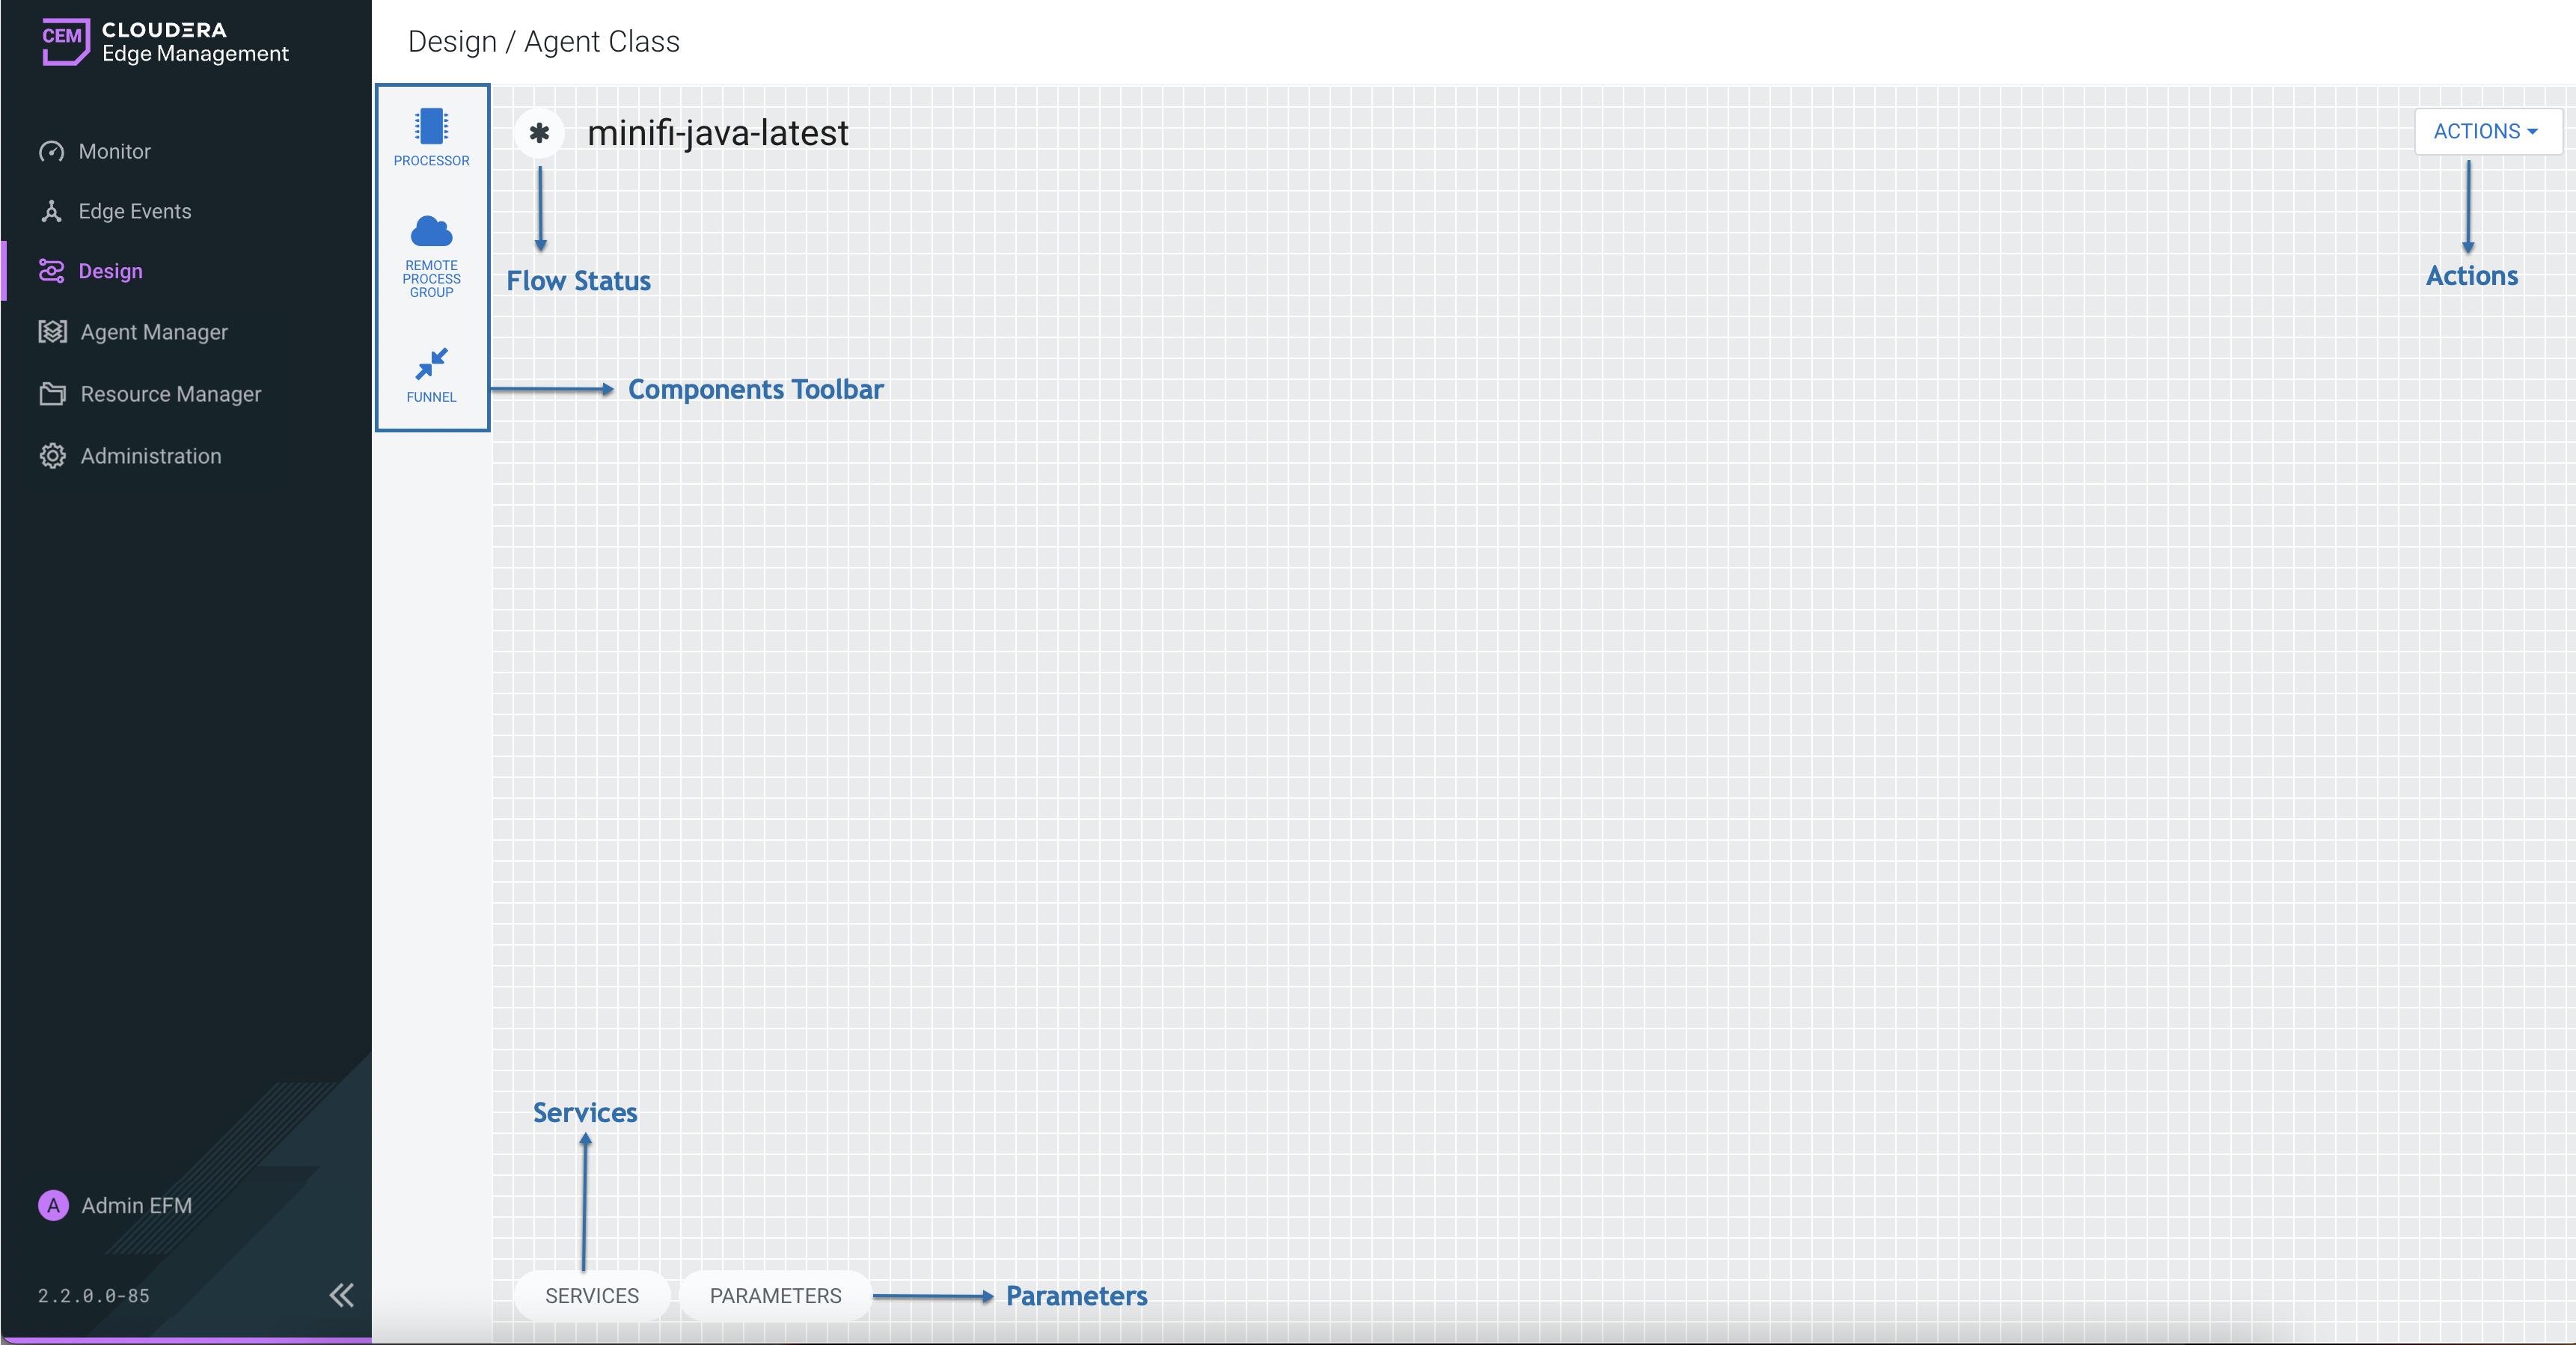
The Design screen contains the following segments, each responsible for different functionalities of the application:
- Components Toolbar: Contains the components that you can drag onto the canvas to build your dataflow.
-
Services: Shared services that can be used by processors and other services for configuration or task execution.
- Parameters: Allows you to parameterize the values of processor and service properties in the flow.
- Actions: A drop-down menu to open a different dataflow, publish a dataflow, or revert to the last published version of a dataflow.
- Flow Status: Displays information about the flow including when it was published, the last
published version, and the status of the flow.
- Modified (
 ) indicates the flow has been modified since the flow has been
published.
 - Current (
 ) indicates the current published version of the flow.
- Modified (
For more information on how to build a dataflow, see Building a dataflow in Cloudera Edge Management. For more information on publishing a dataflow, see Publishing a dataflow in Cloudera Edge Management.
Agent Manager
The Agent Manager screen in Cloudera Edge Management enables you to monitor the health of the agents, as well as view, filter, and initiate commands on specific agents.
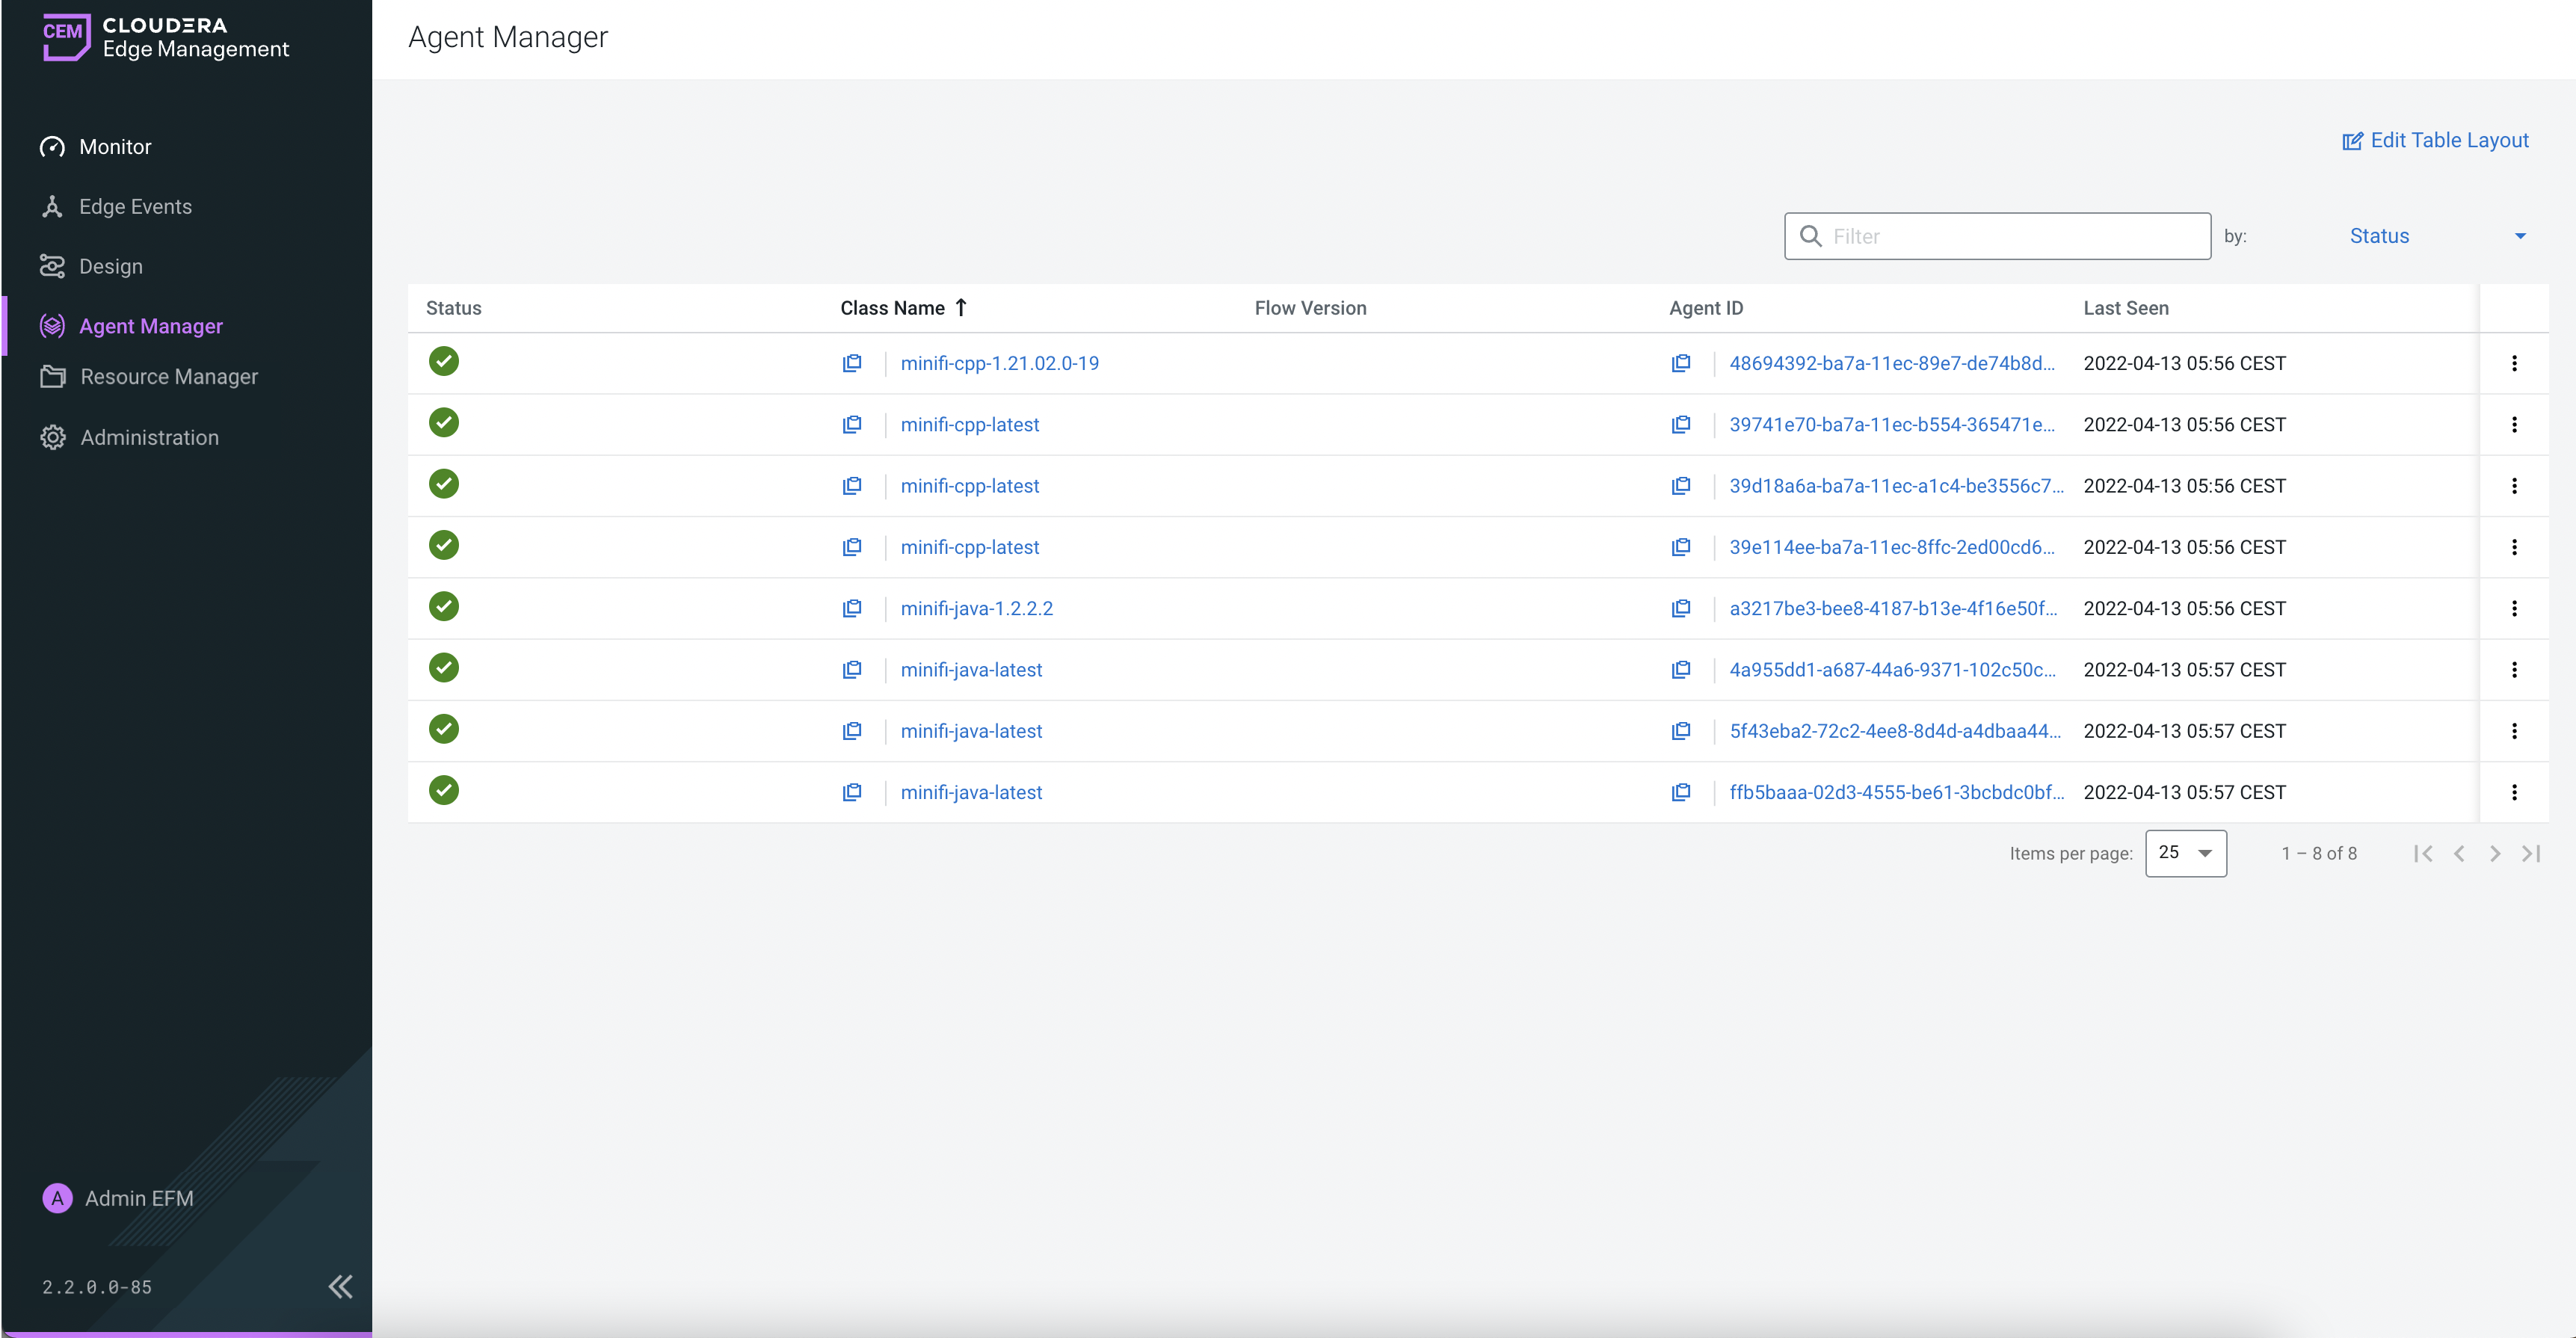
For more information on how to manage agents, see Managing agents in Cloudera Edge Management.
Resource Manager
The Resource Manager screen enables you to upload new or manage existing assets and extensions in Cloudera Edge Management.
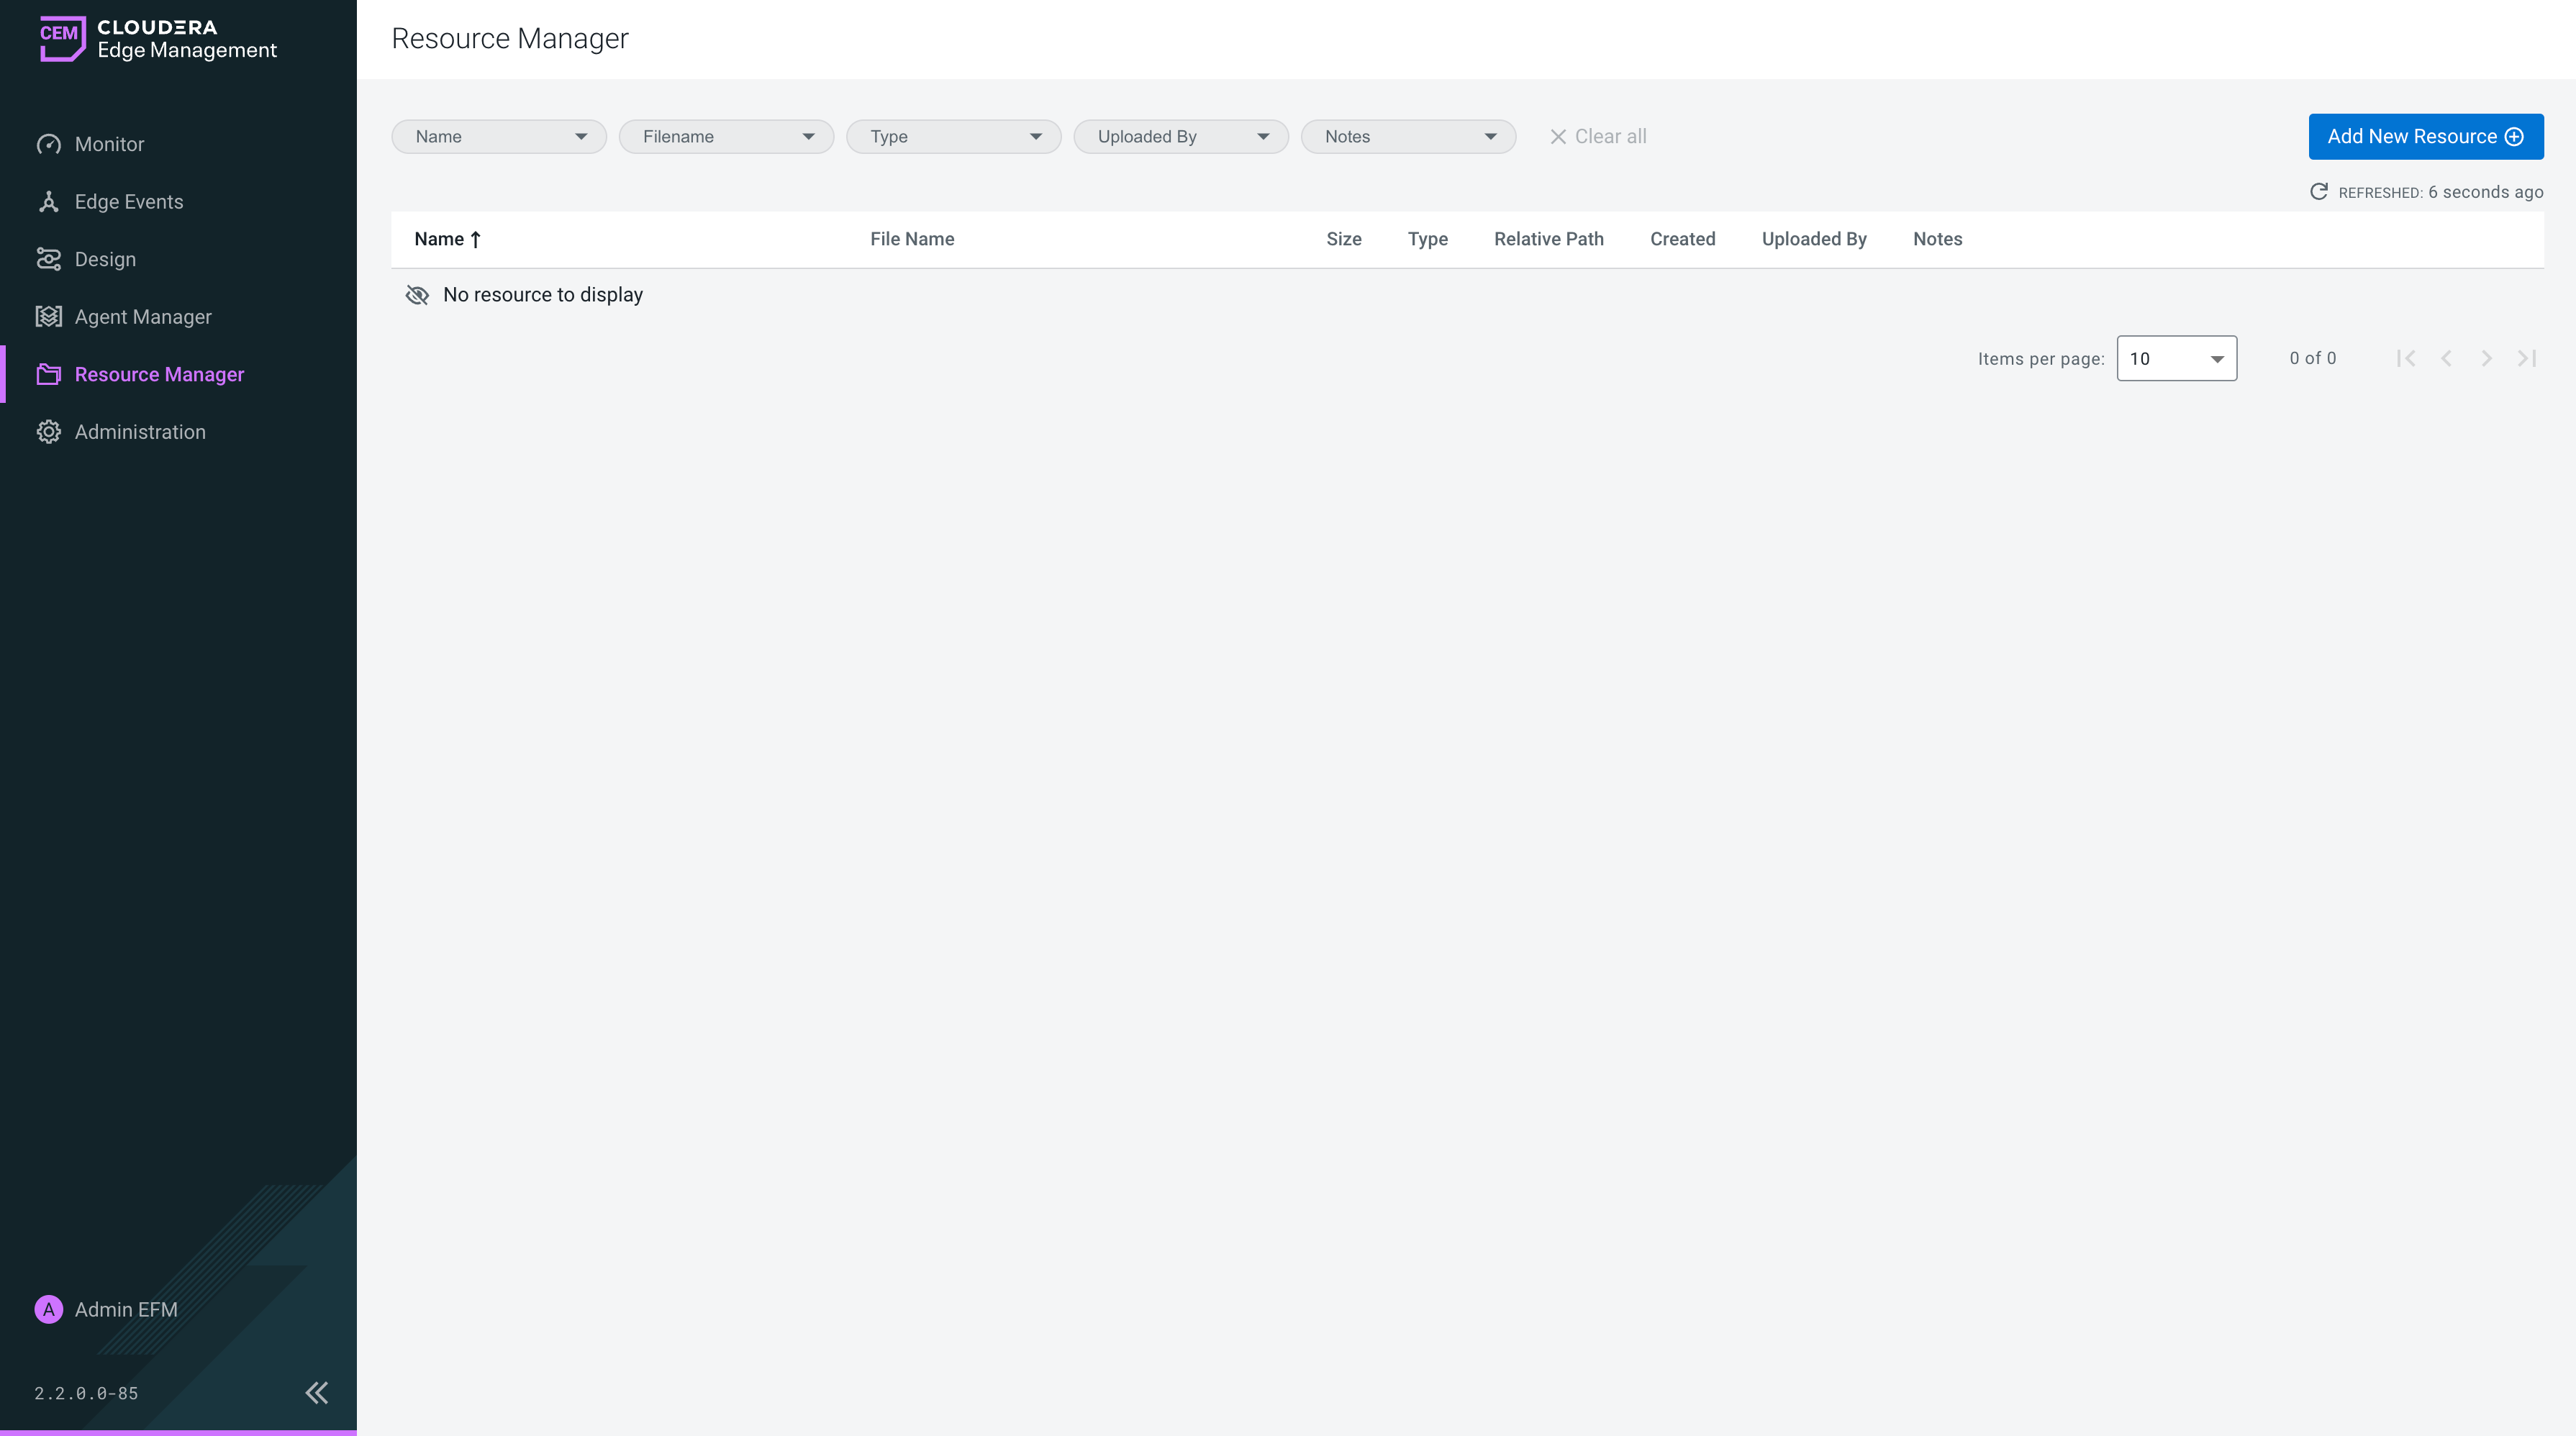
For more information on how to work with resources, see Managing resources in Cloudera Edge Management.
Administration
Authorization in Cloudera Edge Management is linked to roles assigned to agent classes. These roles must be associated with authenticated users. The Administration screen enables you to manage the permissions of each user.
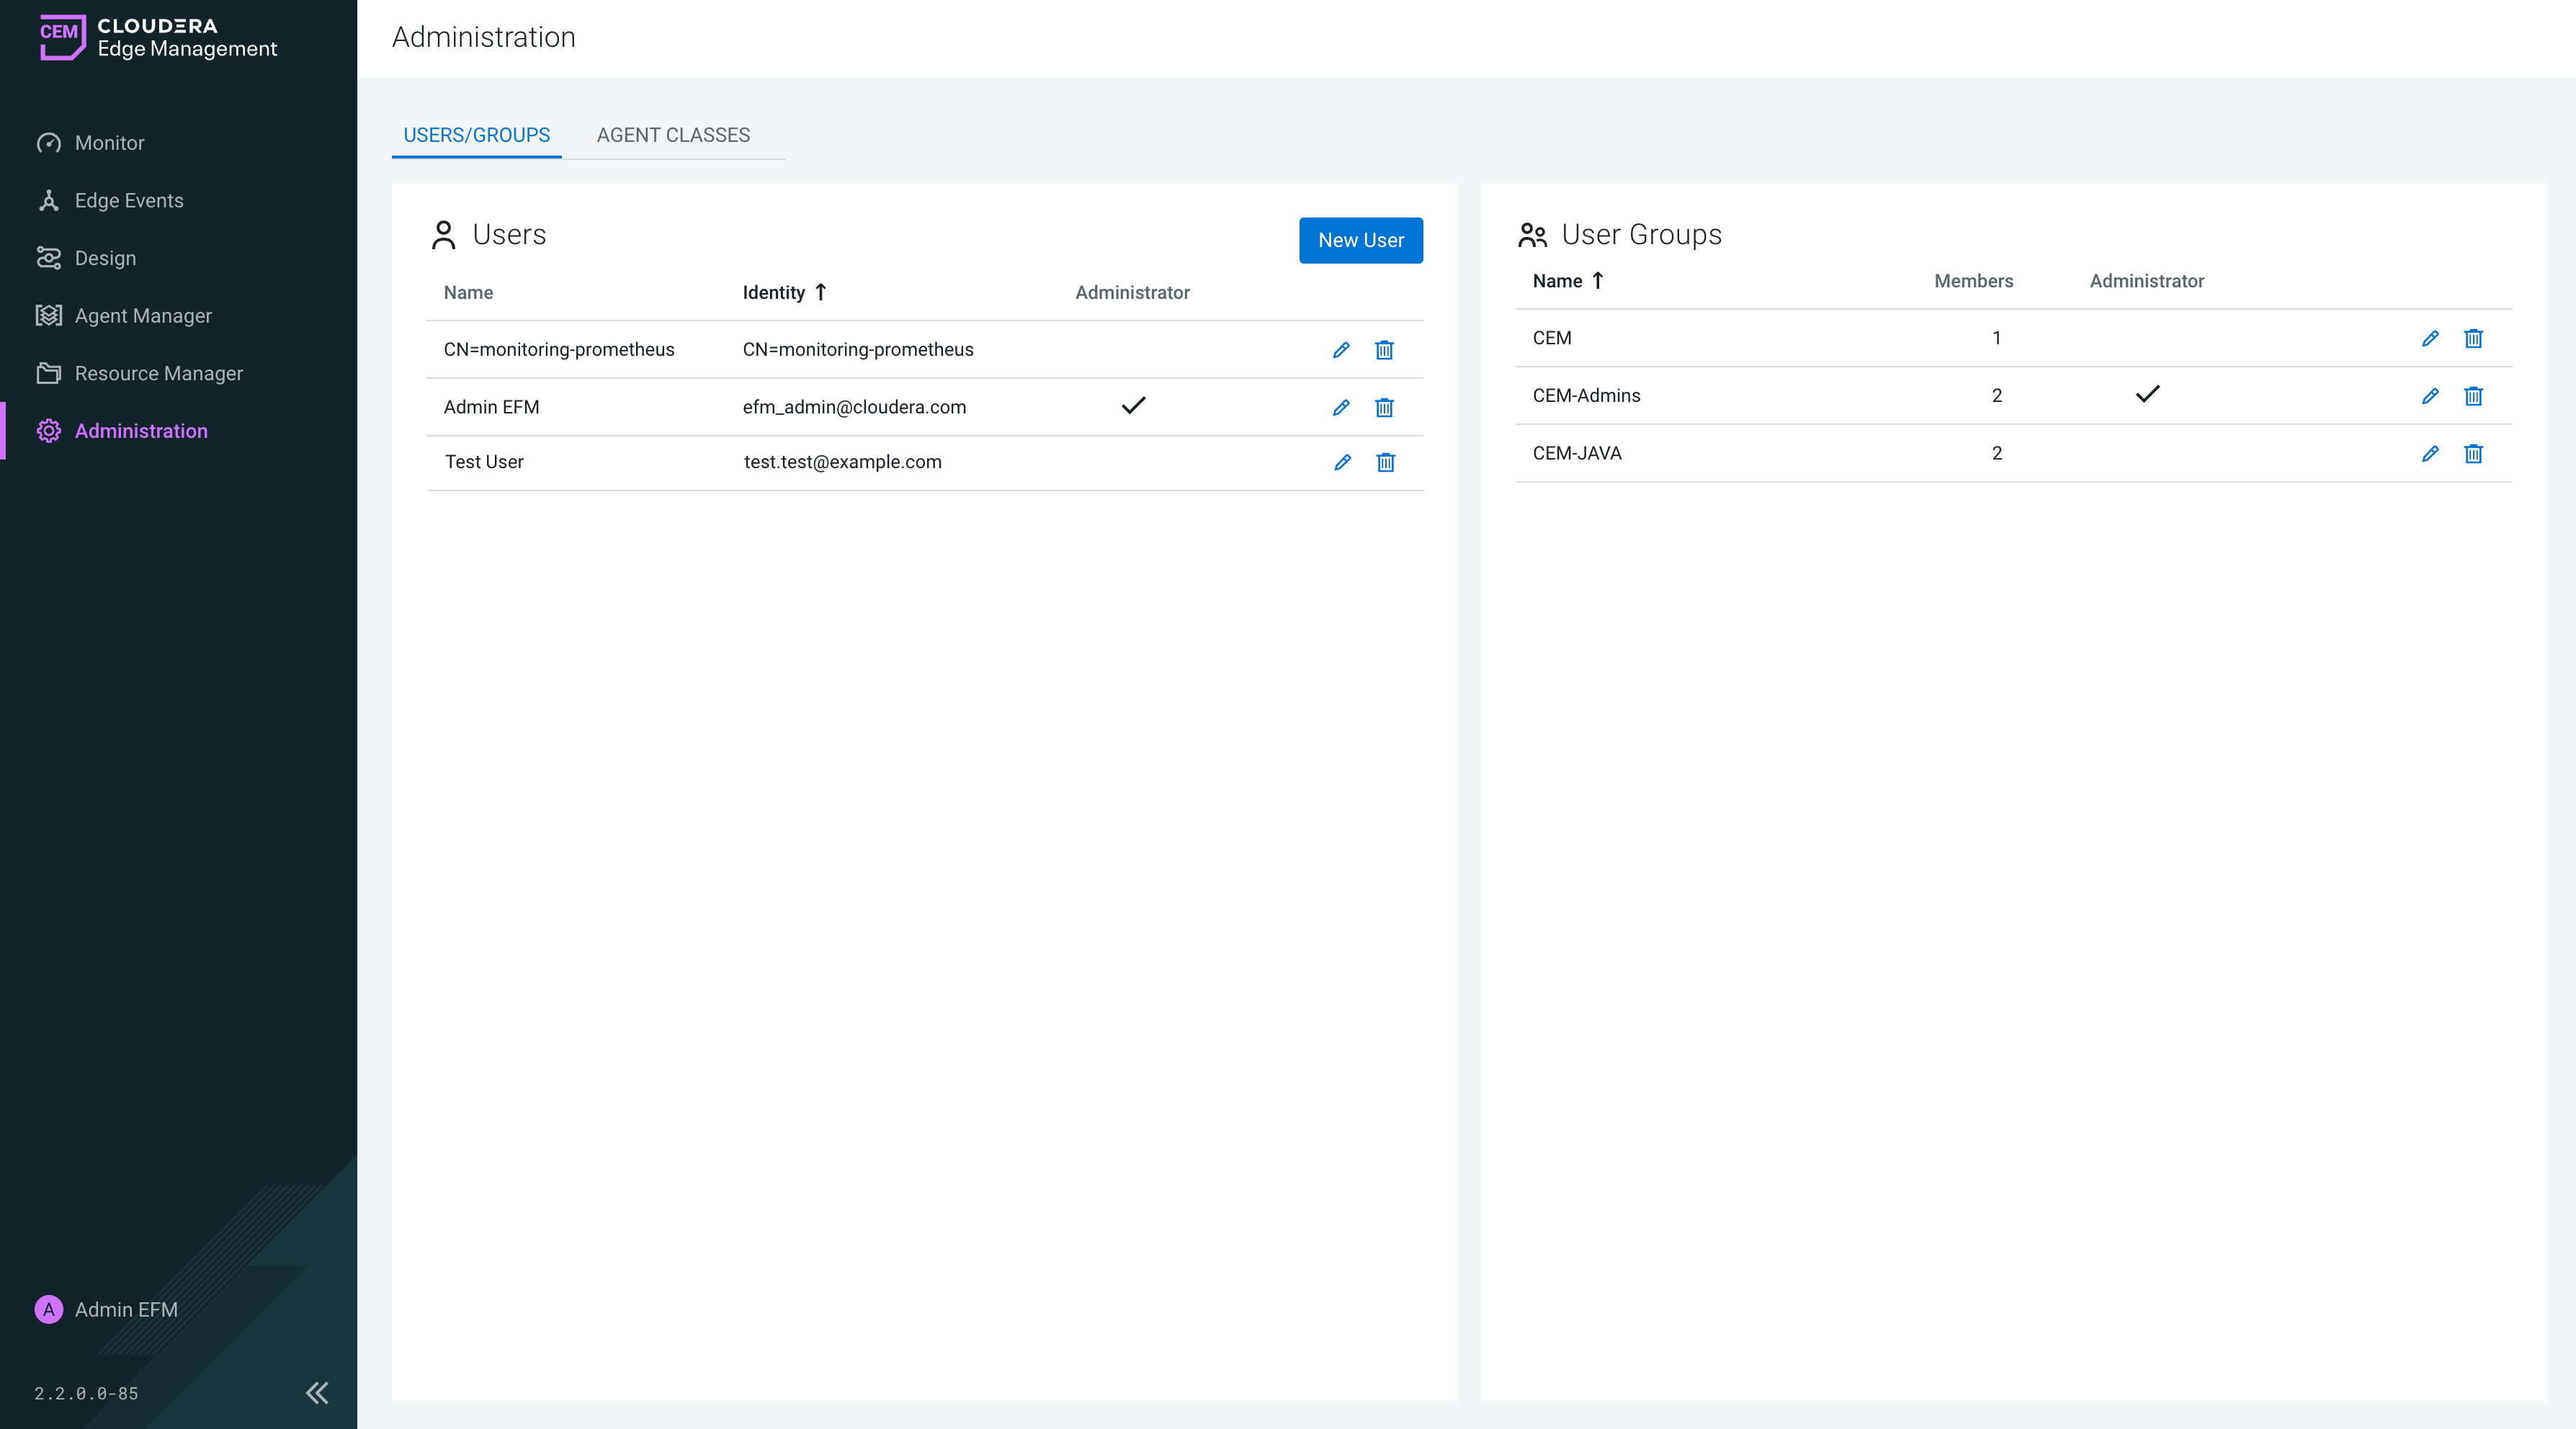
For more information on how to manage users and permissions, see Access control policies.
