Connecting NiFi to NiFi Registry
Learn about the steps to configure NiFi to connect to the NiFi Registry, enabling support for versioned flows in Cloudera Flow Management.
- You have added and configured NiFi and NiFi Registry.
- You have started both NiFi and NiFi Registry.
-
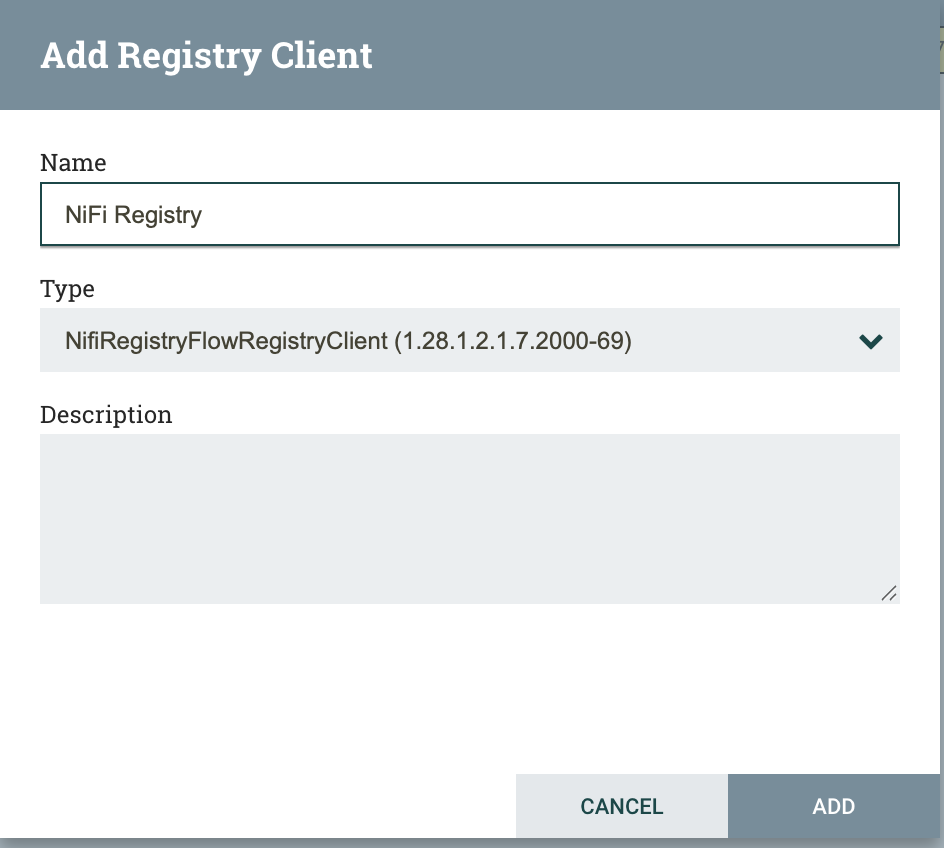
Click the Add icon (+) to
launch the Add Registry Client dialog.
The following modal window is displayed:
-
Click ADD.
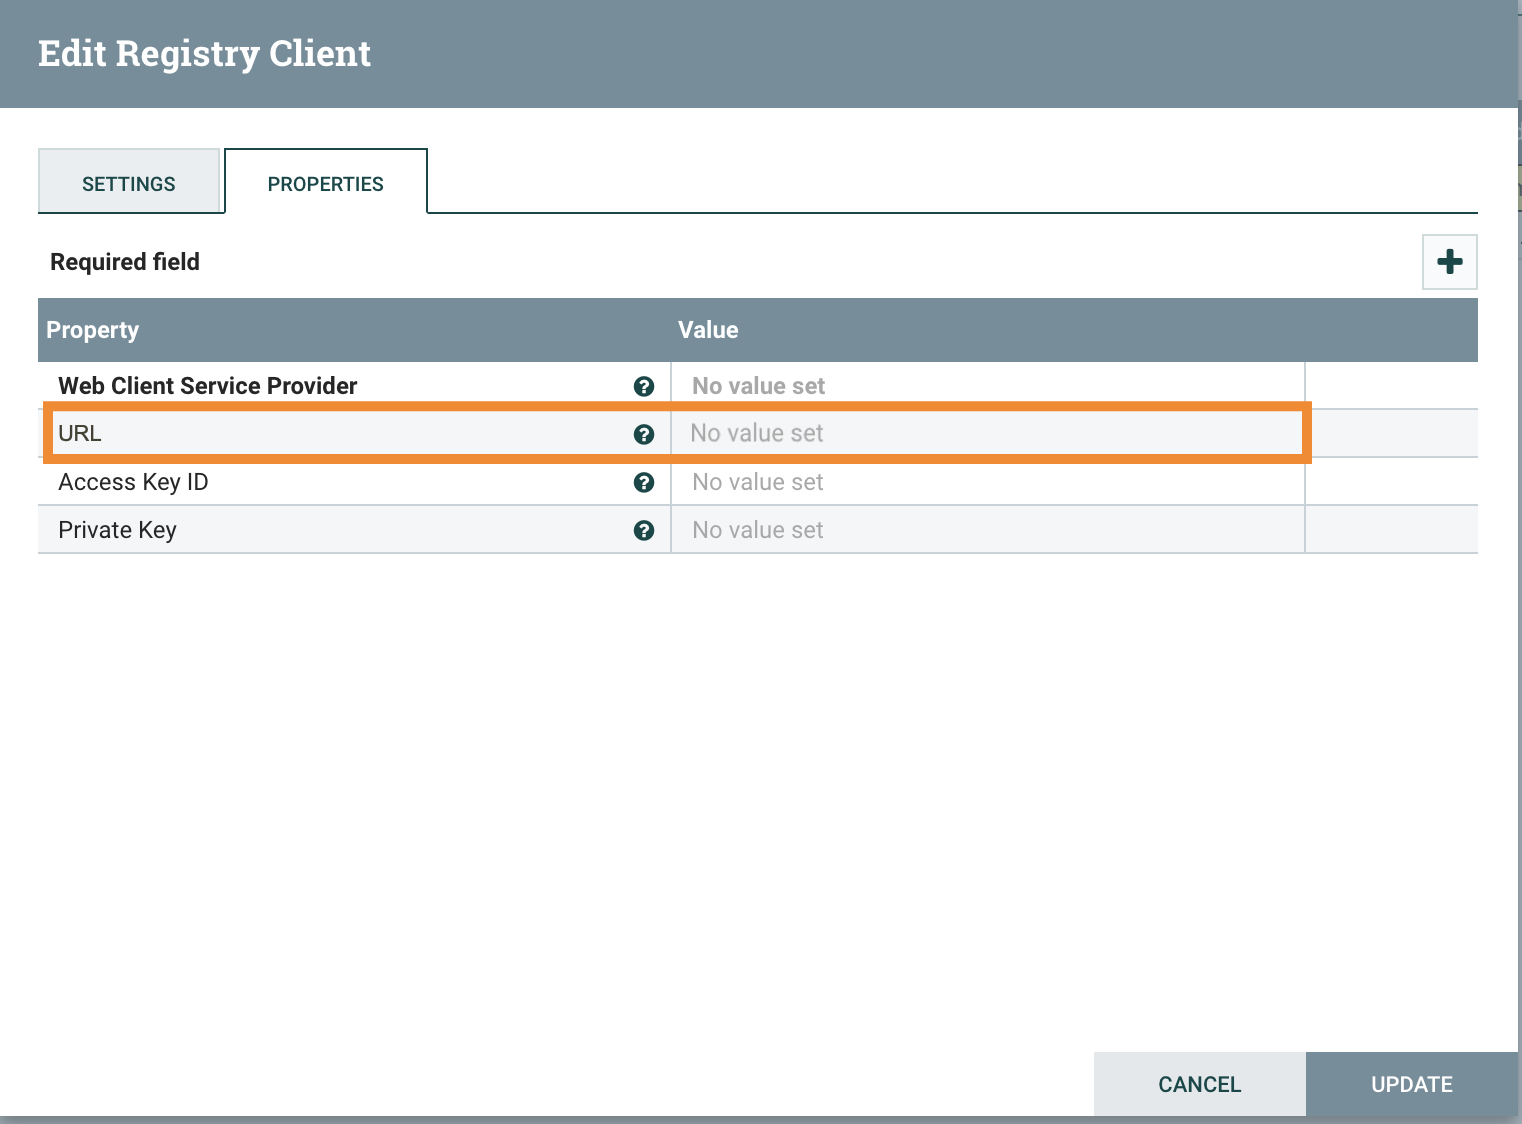
The new entry appears marked with
 indicating that the URL is missing. This is expected behavior.
-
To provide the Registry URL, click
 on the right side of the Registry Client row
and enter the URL of your NiFi Registry instance, including the port.
on the right side of the Registry Client row
and enter the URL of your NiFi Registry instance, including the port.
-
Click UPDATE.
The warning (
) disappears, confirming that the connection is established. You can
close the configuration.
Once you have connected NiFi and NiFi Registry, add users or groups to Ranger policies, and if needed, deselect unwanted NiFi Registry dependencies.