Updating the Control Plane certificates in Cloudera Data Engineering Virtual Clusters
Learn about how to update the Control Plane certificates in Cloudera Data Engineering Virtual Clusters.
When you create a Cloudera Data Engineering Virtual Cluster, Cloudera Data Engineering automatically installs a self-signed TLS certificate. Perform the following steps to update the TLS certificate for Cloudera Data Engineering virtual clusters:
- In the Cloudera console, click the Data Engineering tile. The Cloudera Data Engineering Home page displays.
- Click Administration in the left navigation menu. The Administration page displays.
- In the Services column, select the service containing the virtual cluster for which you want to update the TLS certificate.
- In the Virtual Clusters column on the right, click the Cluster Details icon for the virtual cluster for which you want to update the TLS certificate.
- Click to copy the URL to your clipboard.
- Paste the URL into a text editor to identify the endpoint host. For example, the URL is
similar to the
following:
http://dfdj6kgx.cde-2cdxw5x5.apps.ecs-demo.example.com/dex/api/v1The endpoint host is
dfdj6kgx.cde-2cdxw5x5.apps.ecs-demo.example.com. - Create your CA certificate and a private key. Make sure that your CA certificate includes
the Subject Alternative Names (SAN) for all relevant endpoints.
- CN (Common Name):
*.cde-2cdxw5x5.apps.ecs-demo.example.com - Domain name for the Virtual Cluster:
dfdj6kgx.cde-2cdxw5x5.apps.ecs-demo.example.com
- CN (Common Name):
- Sign in to Cloudera Data Engineering as
VC Admin. The Cloudera Data Engineering Home page displays. - Click Administration in the left navigation menu. The Administration page displays.
- In the Services column, select the service containing the virtual cluster for which you want to update the TLS certificate.
- In the Virtual Clusters column on the right, click the Cluster Details icon for the virtual cluster for which you want to update the TLS certificate.
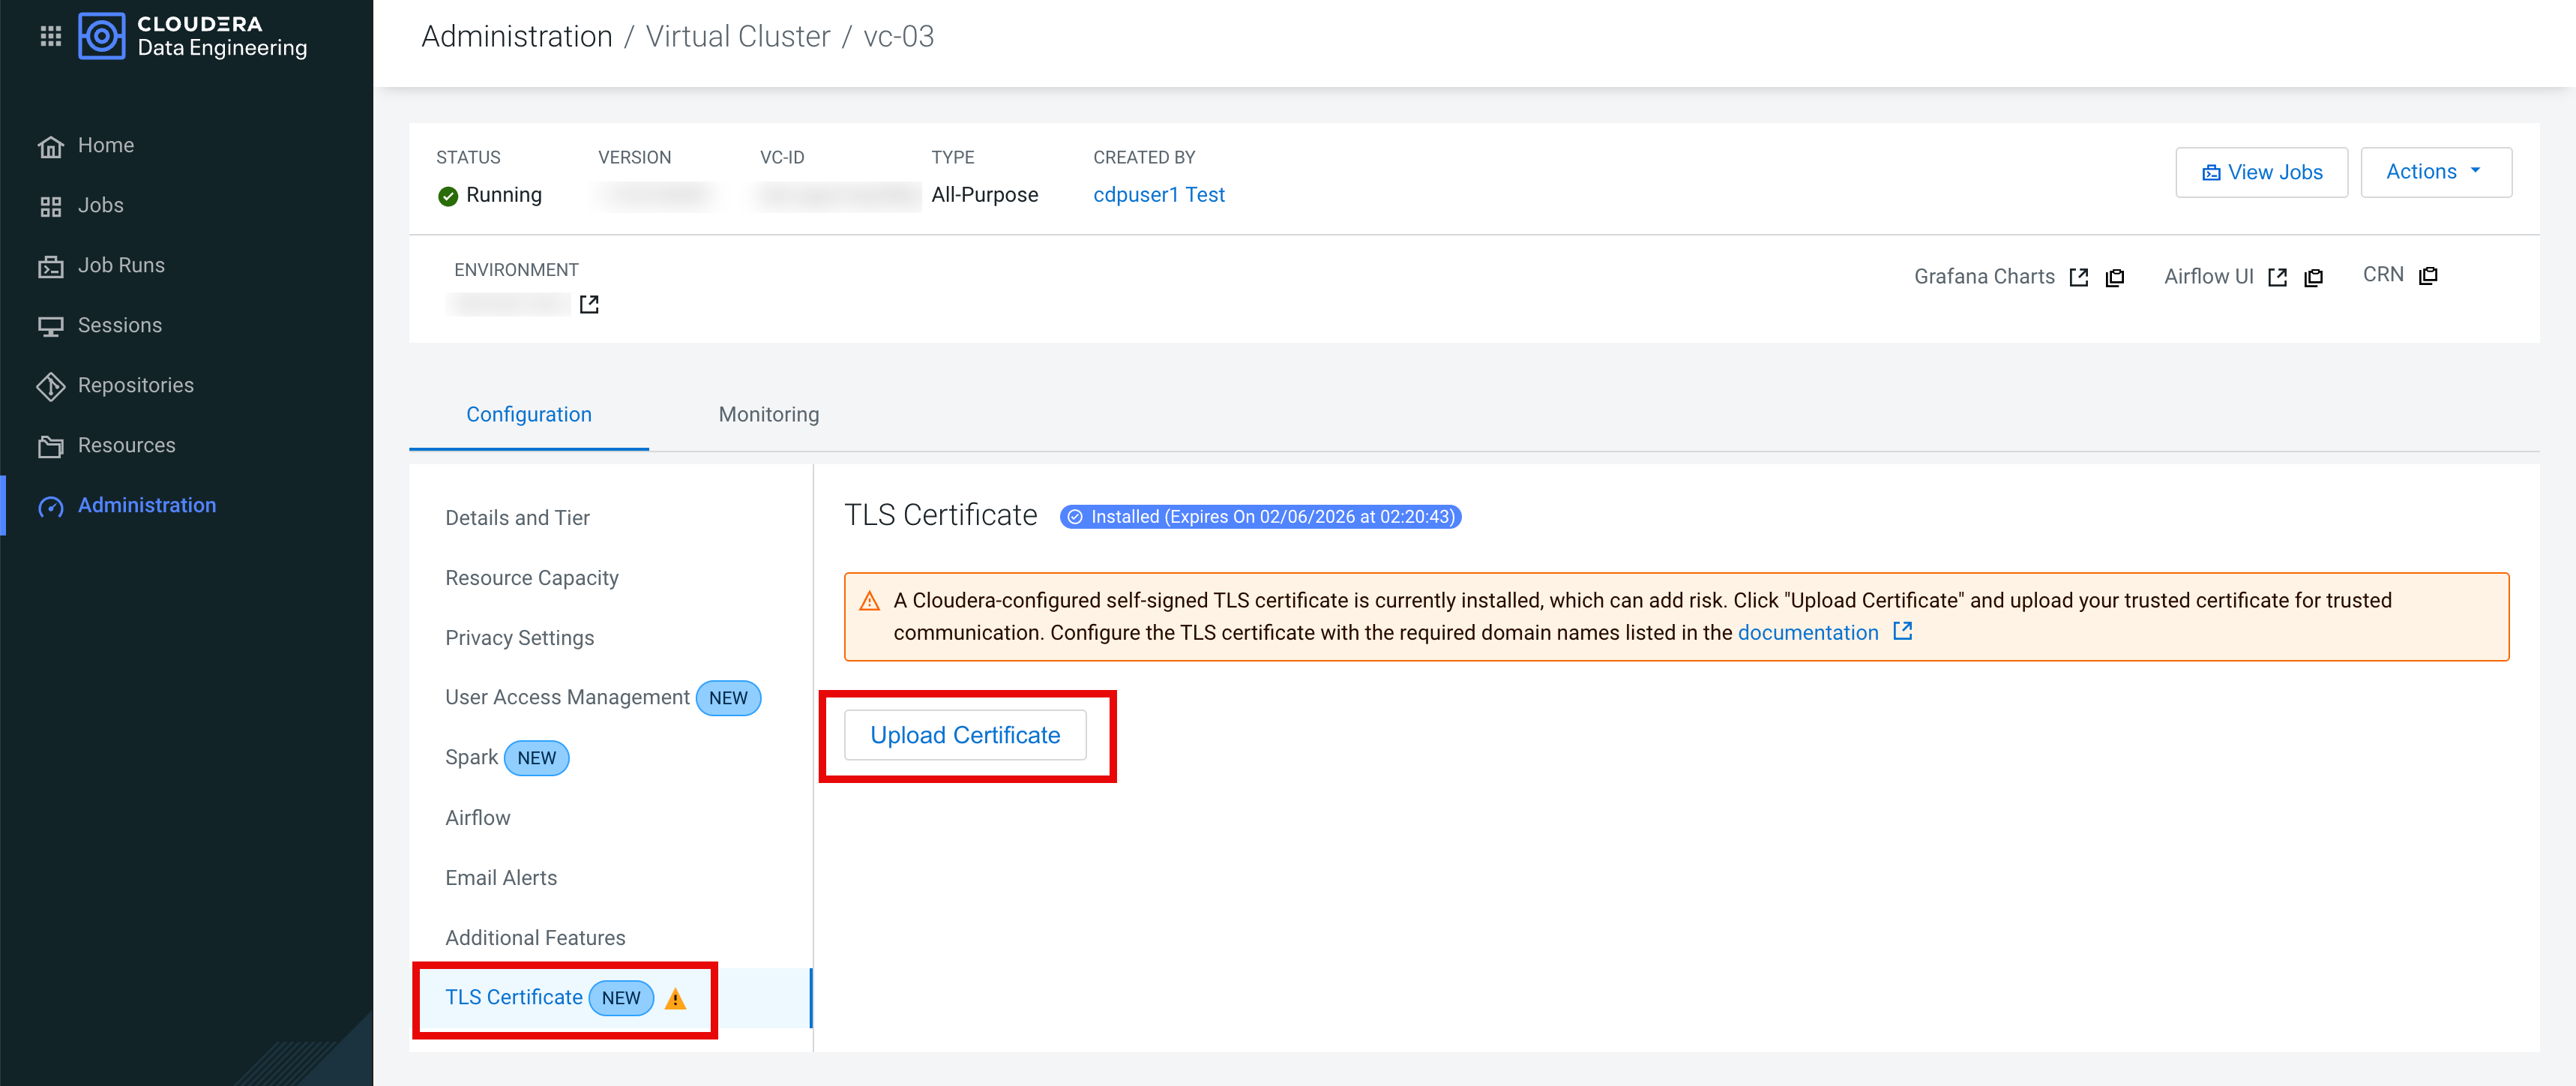
- On the Configuration tab, click TLS Certificate.
- Click Upload Certificate.
- Under PEM file, click Select File and select
your TLS certificate.
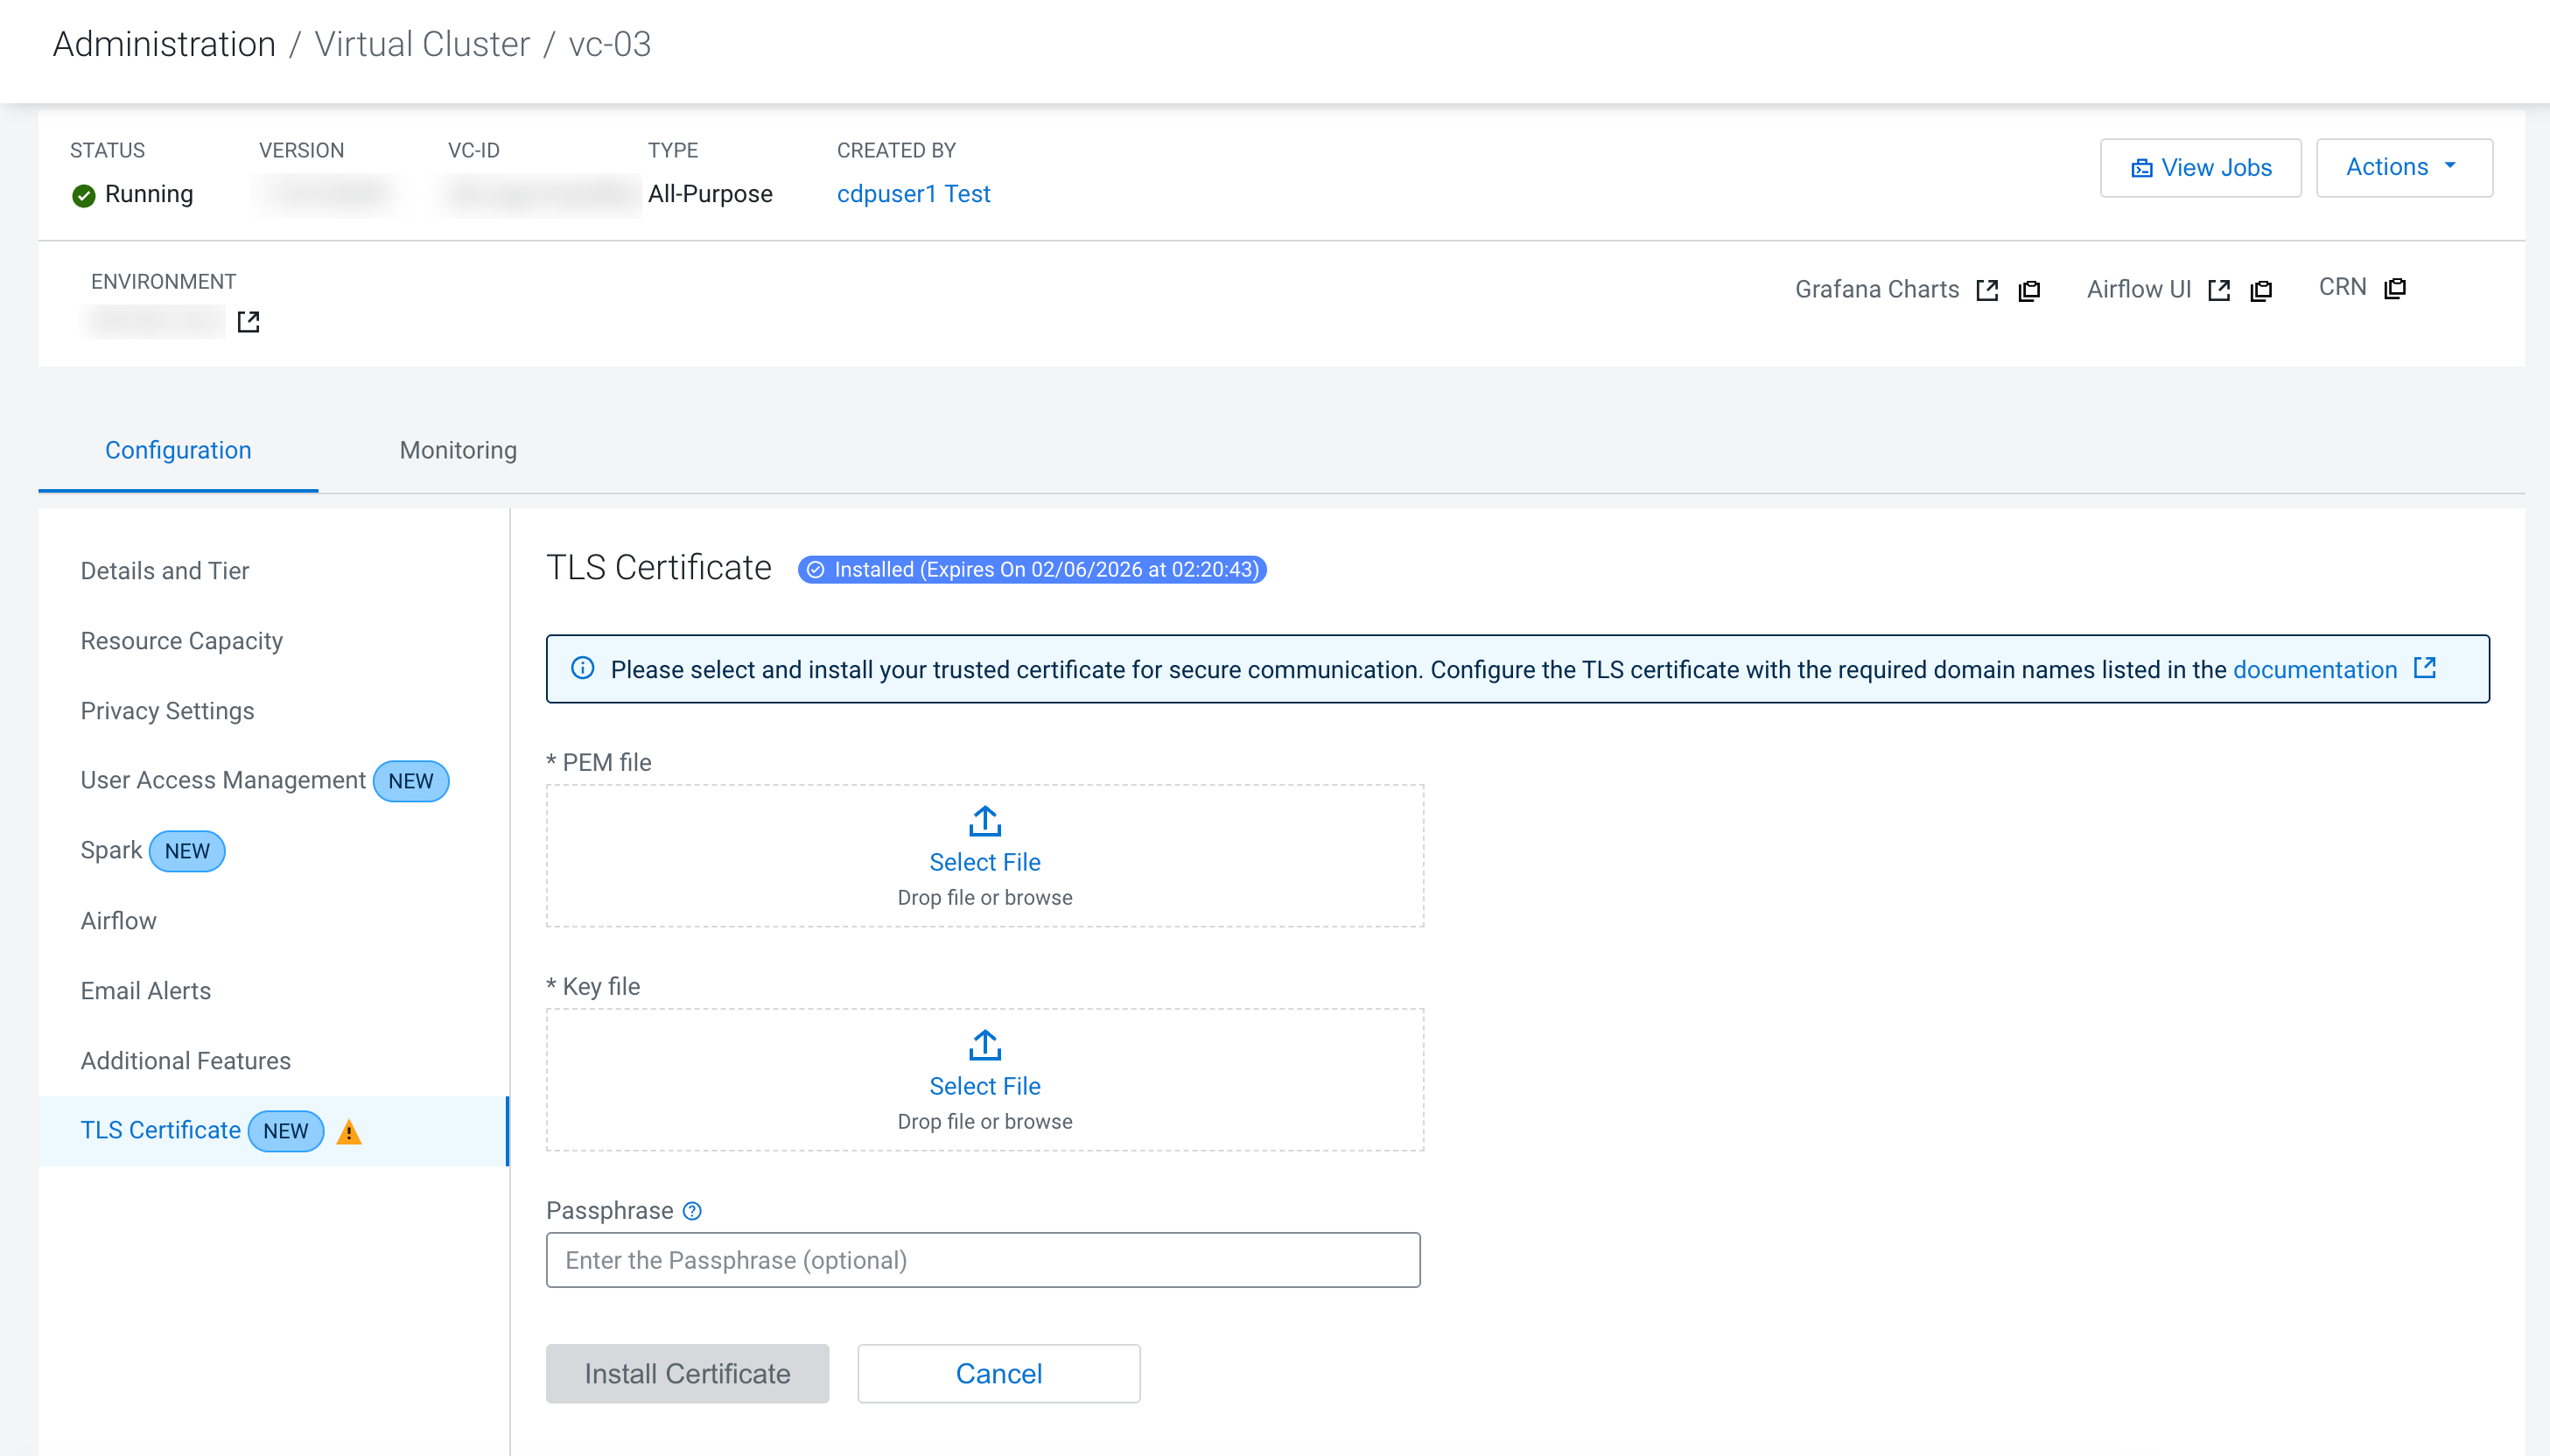
- Under Key file, click Select File and select your key file.
- (Optional) If your key file is encrypted with a password, then enter the password in the Passphrase field.
- Click Install Certificate.
- Repeat the preceding steps for all Virtual Clusters.
- Make sure that you are using the VCAdmin role for the corresponding Virtual Cluster and
rotate Virtual Cluster TLS
certificate.
curl -H "Cookie: cdp-session-token=${CST}" \ '[***BASE-URL***]/dex/api/v1/cluster/<cluster-id>/instance/{id}/tls' \ -H 'accept: application/json' \ -H 'Content-Type: application/json' \ -X 'PUT' -d '{ certificate_details": { "certificate": "base64 encoded.pem-file content", "key": "<base64 encoded file content>", "passphrase": "<base64 encoded passphrase for the key>" (optional) } }' - Make sure that you are using the VCUser role for the corresponding Virtual Cluster and view
the Virtual Cluster level TLS Certificate
information.
curl -H "Cookie: cdp-session-token=${CST}" \  '[***BASE-URL***]/dex/api/v1/cluster/<cluster-id>/instance/{id}/tls' \
  -H 'accept: application/json' \
  -H 'Content-Type: application/json' \
  -X GET -d '{}'