Configuring autoscaling
To configure autoscaling, add a load-based or schedule-based policy to a cluster and define the policy parameters.
yarn_resourcemanager_nodemanager_graceful_decommission_timeout_secs- From the Cloudera Management Console, click Data Hub Clusters and then select the cluster that you want to add an autoscaling policy to. You can add autoscaling policies to clusters after they have been created, not during the cluster creation process.
- From the cluster details page, select the Autoscale tab and then click the slider button to enable autoscaling. Autoscaling is disabled by default.
- Click Add Autoscale Policy and select Load-Based or Schedule-Based.
- Define the policy parameters.
- For load-based scaling:
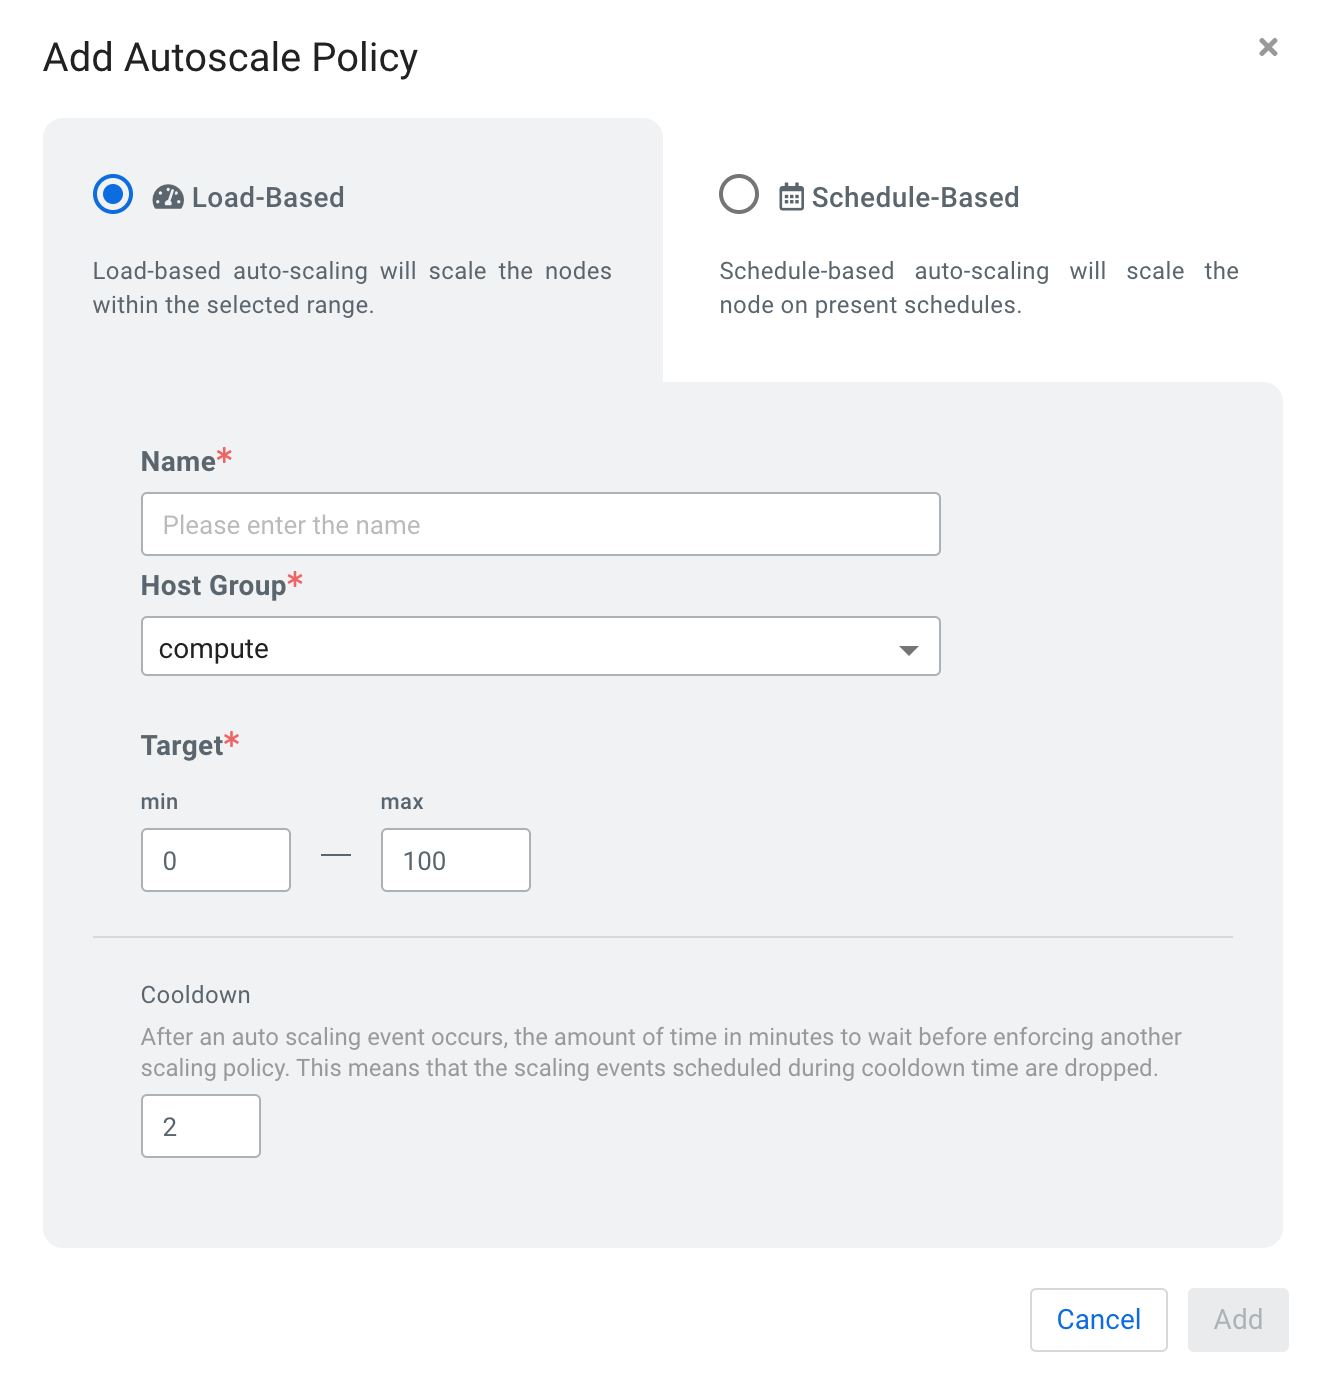
Parameter Description Name Enter a unique name for the policy. Hostgroup Select the host group that you want to scale. The list of available host groups is determined by which host groups include services that can be scaled. Target Enter a minimum and maximum number of nodes for the policy. The maximum number of nodes determines how many instances are provisioned, but these instances are suspended and resumed as the workload demand requires. The policy will not provision instances beyond the maximum range of nodes that you define, regardless of the demand on the cluster. - For schedule-based scaling:
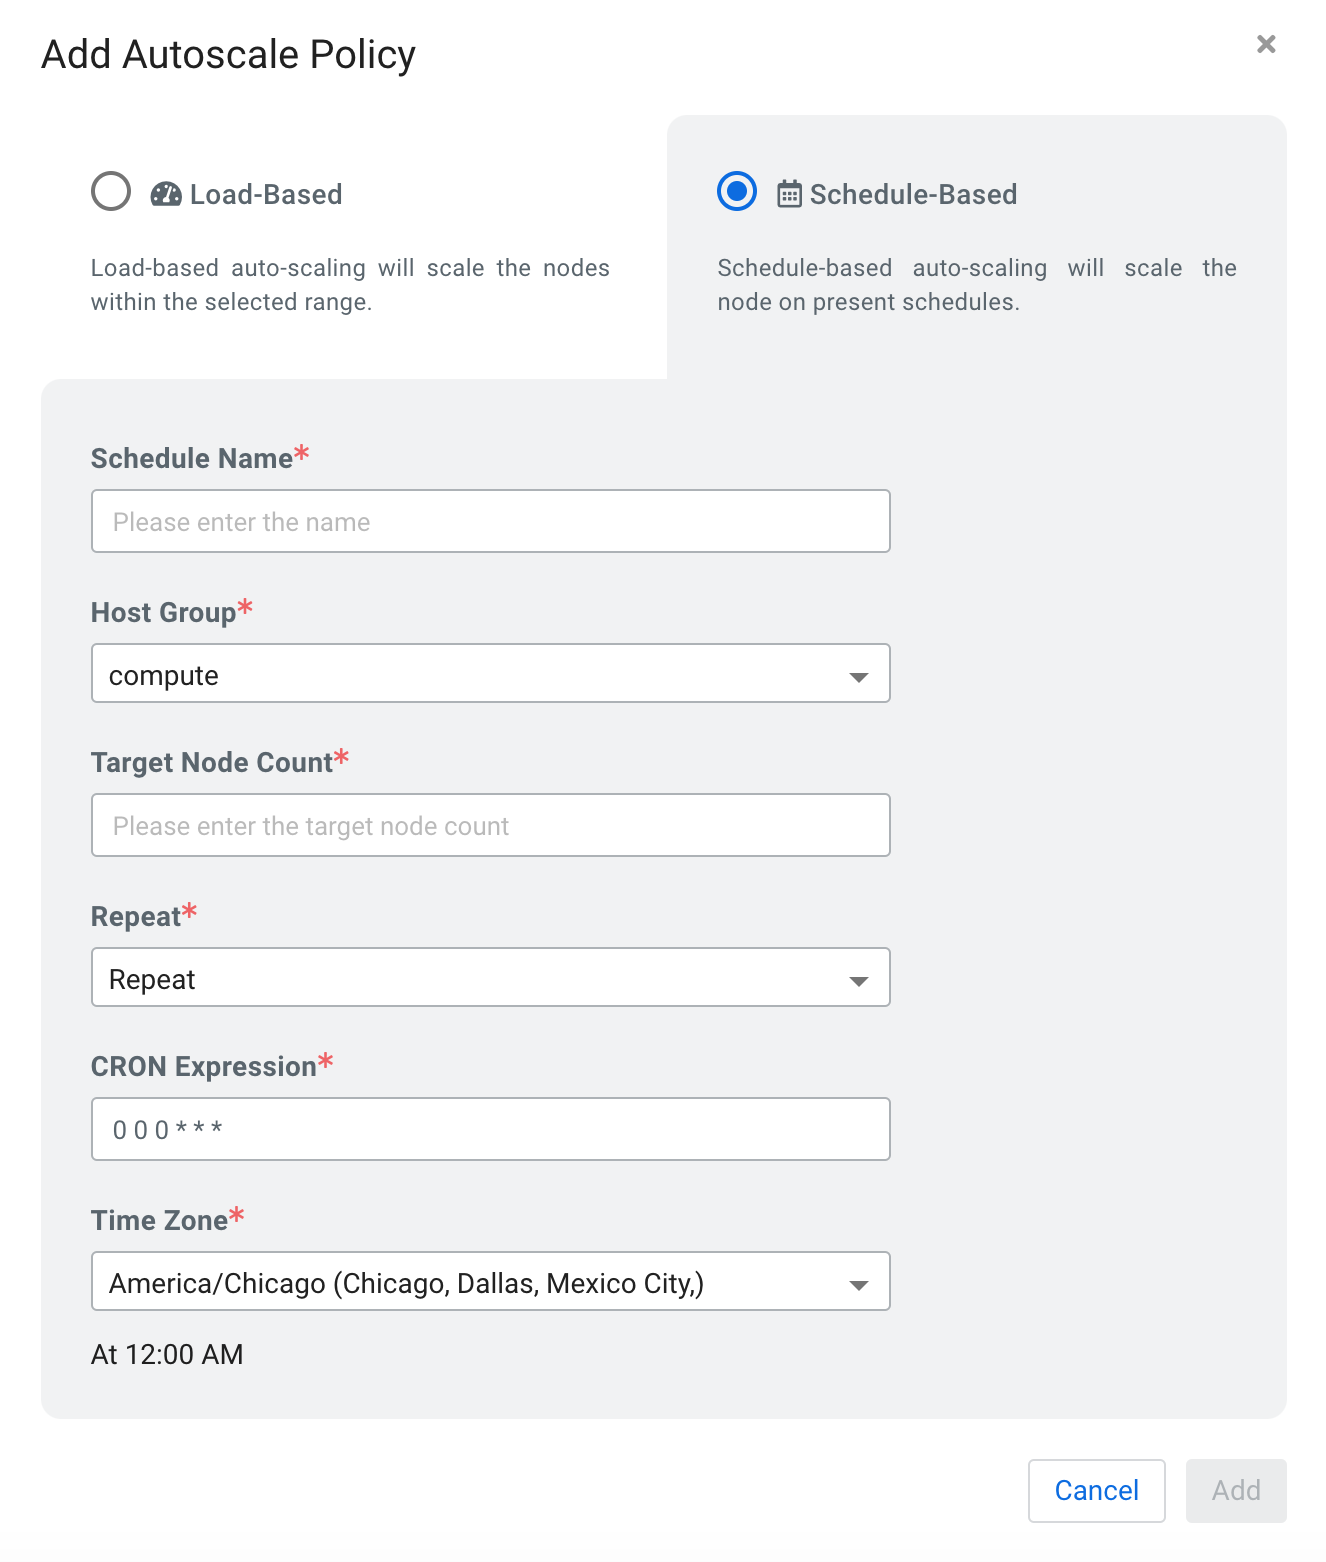
Parameter Description Schedule Name Enter a unique name for the schedule. Hostgroup Select the host group that you want to scale. The list of available host groups is determined by which host groups include services that can be scaled. Target Node Count Enter the number of nodes that you want to upscale or downscale the host group to. Repeat Currently, only repeating schedules are supported. CRON Expression Enter a CRON expression string to define the details of the schedule that you want to create. Time Zone Select the appropriate timezone on which to base the CRON expression.
- For load-based scaling:
- Click Add. The policy appears under Auto Scaling on the Provision Data Hub page.