Creating Data Visualization application using ML Runtime
Learn how to create a Data Visualization application when using ML Runtime in Cloudera Machine Learning (CML).
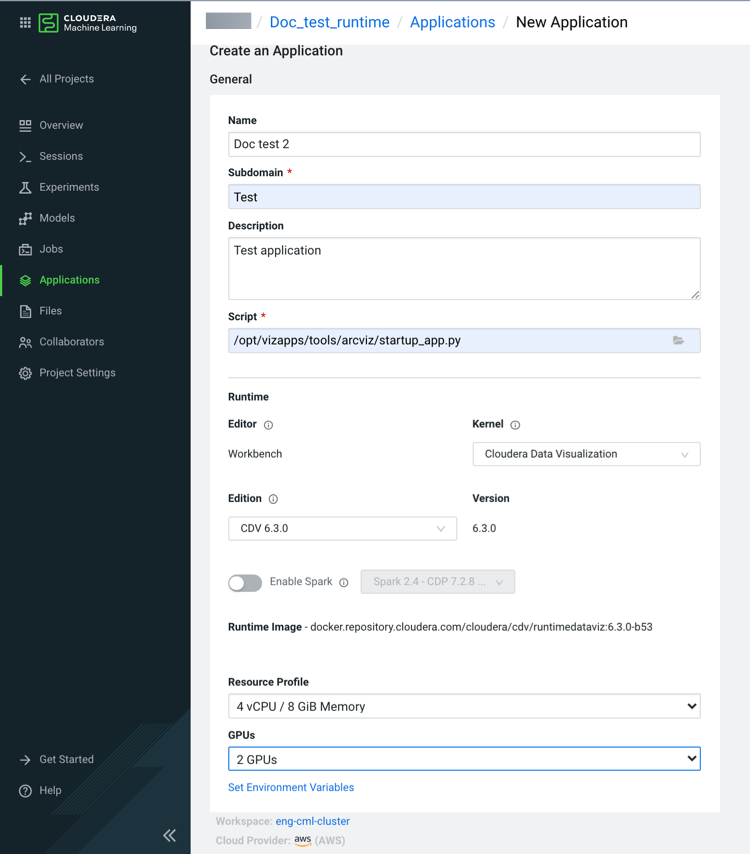
- Provide the following details for your new application:
- Name – Enter a name for the application.
- Subdomain – Enter a subdomain that will be used to construct the URL for the web application. Make sure it contains URL friendly characters.
- Description – Enter a description for the application.
- Script – Select the path to the startup script.
- Kernel – Select Cloudera Data Visualization for the kernel supported by the Runtime variant of the CML project.
- Edition – Select the edition of the Runtime variant you want to use for your application.
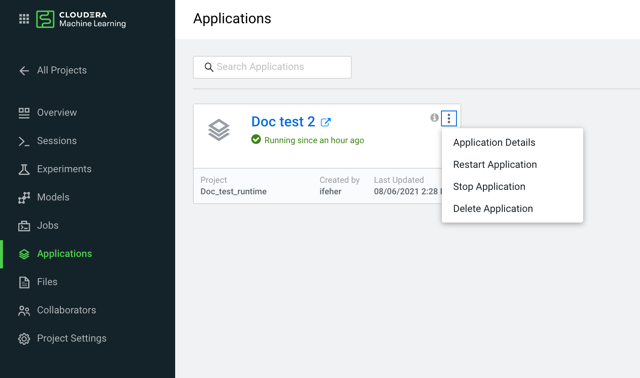
In a few minutes, you should see the application status change from Starting to Running on the Applications page. Your application has a hosted, fully-functional Data Visualization platform.
You can Restart, Stop, or Delete an application from the supplemental menu of the application. If you want to make changes to the application, click Application Details and go to the Settings tab.