Editing custom colors
Administrators can edit custom color palettes to update names, color values, or other palette settings. However, once a custom color palette is created, its type (distinct, gradient with values, or gradient with percentages) cannot be changed.
-
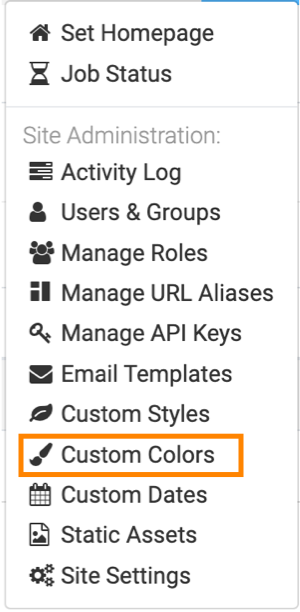
Click
 on the main navigation bar to open the
Administration menu and select Custom
Colors.
on the main navigation bar to open the
Administration menu and select Custom
Colors.
-
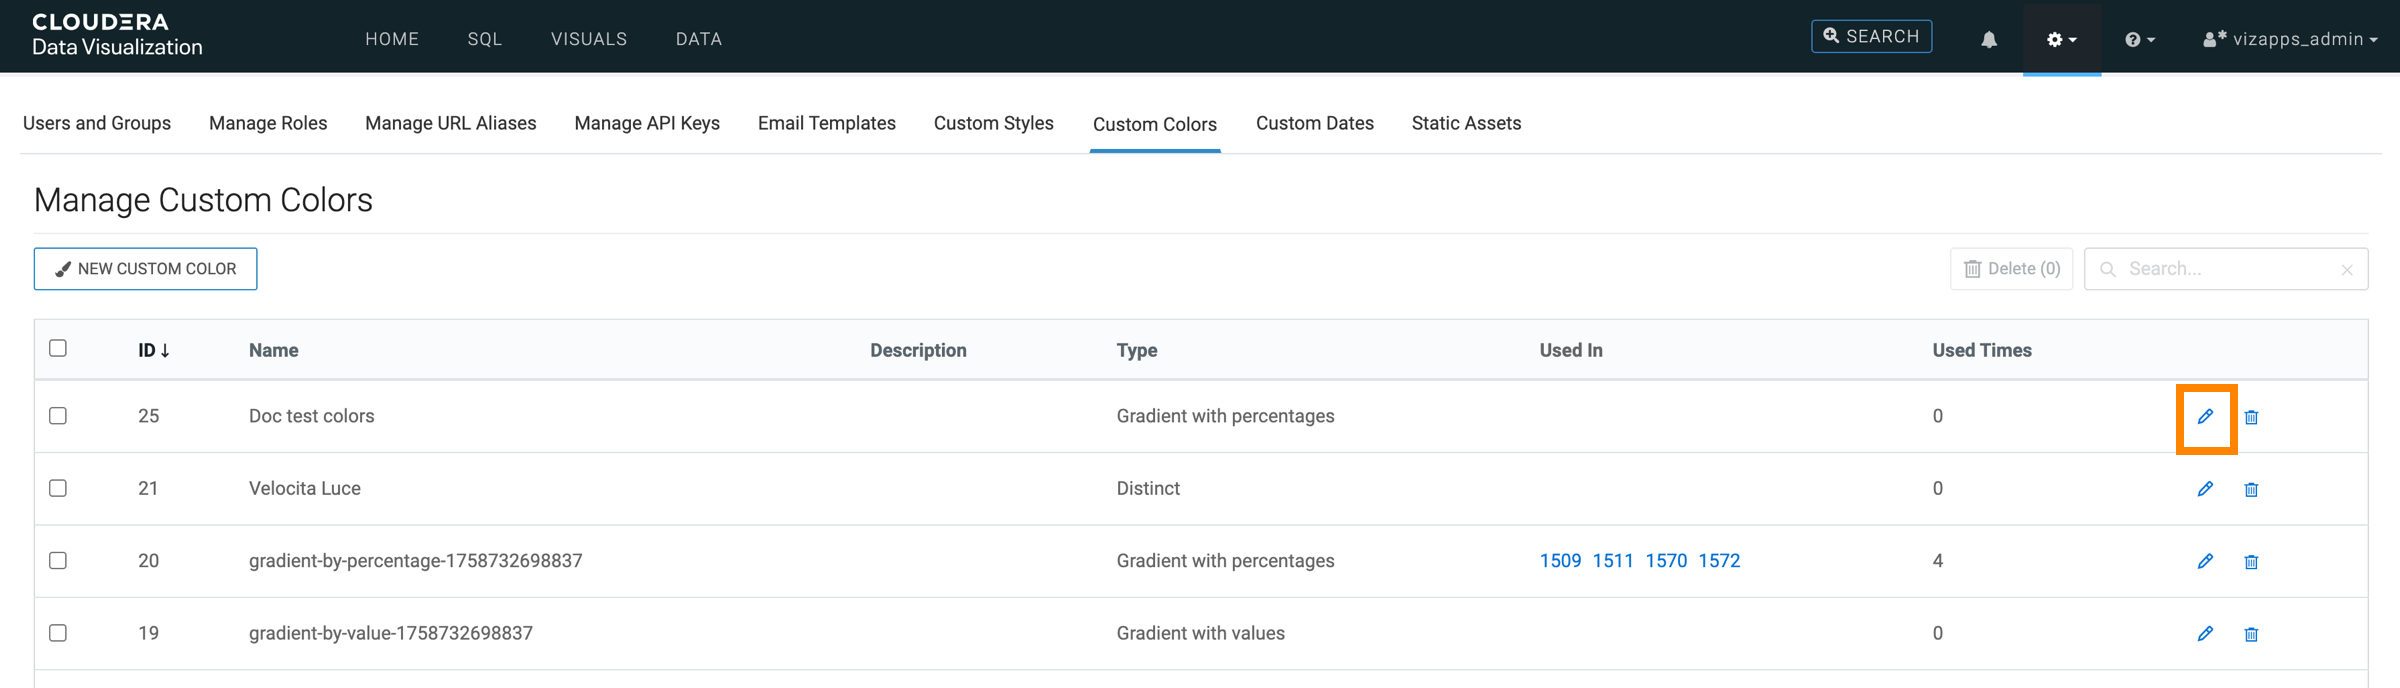
In the Manage Custom Colors interface, find the custom color
palette you want to edit and click
 on the
row.
on the
row.
In this example, the custom color Doc test colors is edited.
-
In the Custom Color interface, update the palette as
needed.
-
To remove a color from a distinct color palette, click
 .
.
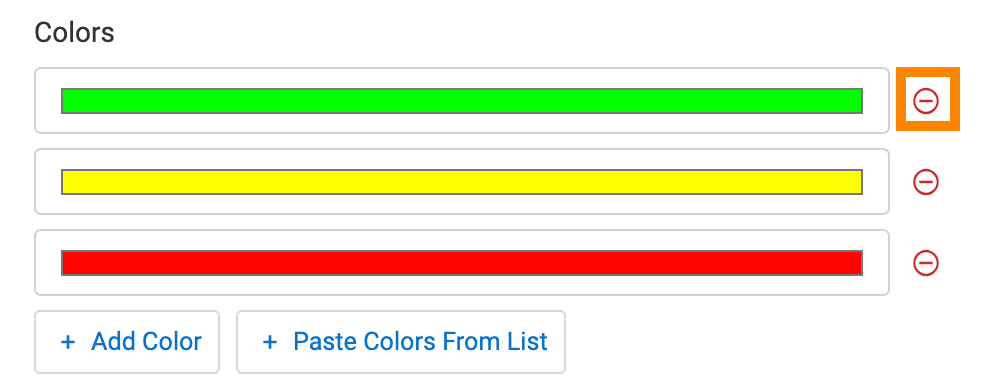
-
To remove a color from a distinct color palette, click