Cloudera Data Visualization provides site-wide settings that allow you to
configure email delivery and enable users to share visuals and receive system notifications by
email.
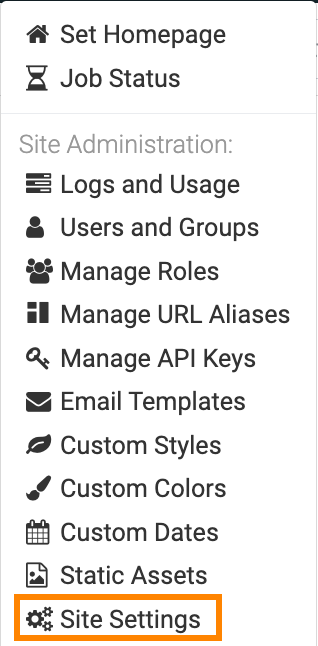
Click on the main navigation bar to open the
Administration menu and select Site
Settings.
The Site Settings interface opens on the Data Site
Settings page by default.
Open the Email page from the left navigation.
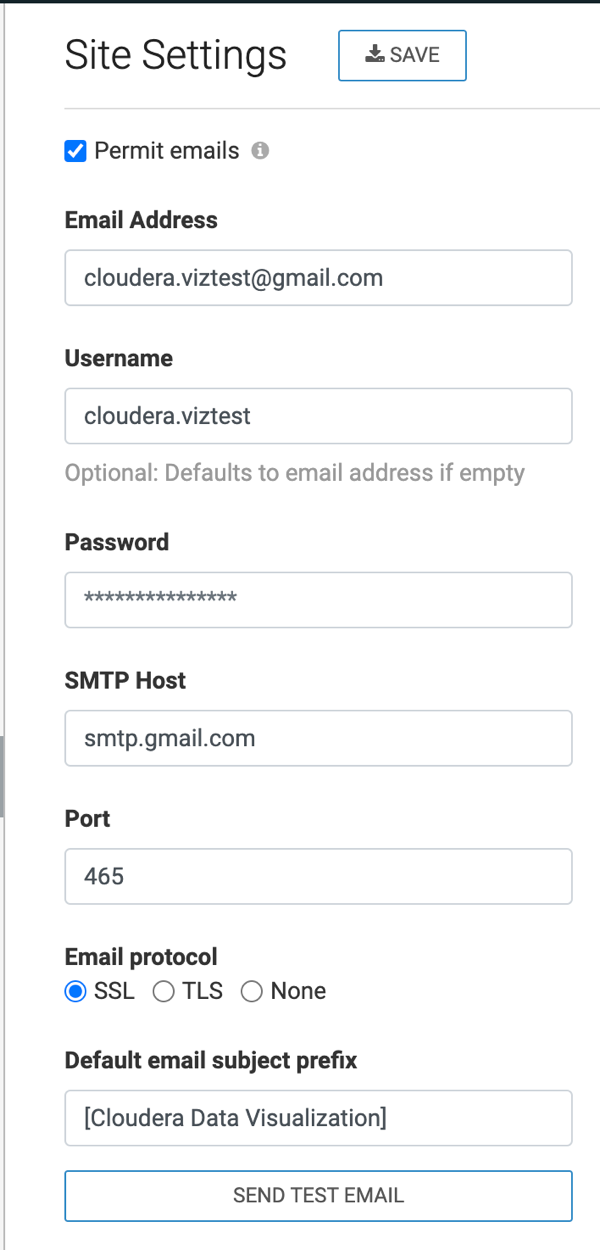
Select Permit emails to allow users to share visuals by email
and receive job and extract refresh status notifications.
Enter the Email Address and
Password.
Optionally, you can also enter your Username. If left blank,
your email address is used as the default value.
These details have to belong to a valid account, as all outgoing emails are sent using
this account.
Enter the SMTP Host.
Enter the Port.
For Email protocol, select the appropriate option required by
your provider: SSL, TLS, or None.
Enter the Default email subject prefix.
The default prefix is [Cloudera Data Visualization].
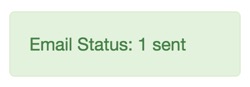
Optional: Test the email functionality by clicking SEND TEST EMAIL.
If the settings are correct, a success message is displayed.
 on the main navigation bar to open the
Administration menu and select Site
Settings.
on the main navigation bar to open the
Administration menu and select Site
Settings.