Creating custom pod configurations for Impala Virtual Warehouses
You can configure the resources used by Impala Virtual Warehouses in Cloudera Data Warehouse (CDW) Private Cloud environments to optimize Impala performance or to control resource usage in the environment.
-
Go to your environment and click
 > Edit.
The Environment Details page is displayed.
> Edit.
The Environment Details page is displayed. -
Select one of the following two pod configuration options from the
Select Pod Configuration section:
- The Cdw Defaults option is selected by default. CDW uses default values for the pods if a specific pod configuration is not used.
- Select the 1 x Node option for allocation of most node resources found in the environment, to the Impala executors and coordinators.
The following image shows the two default pod configurations: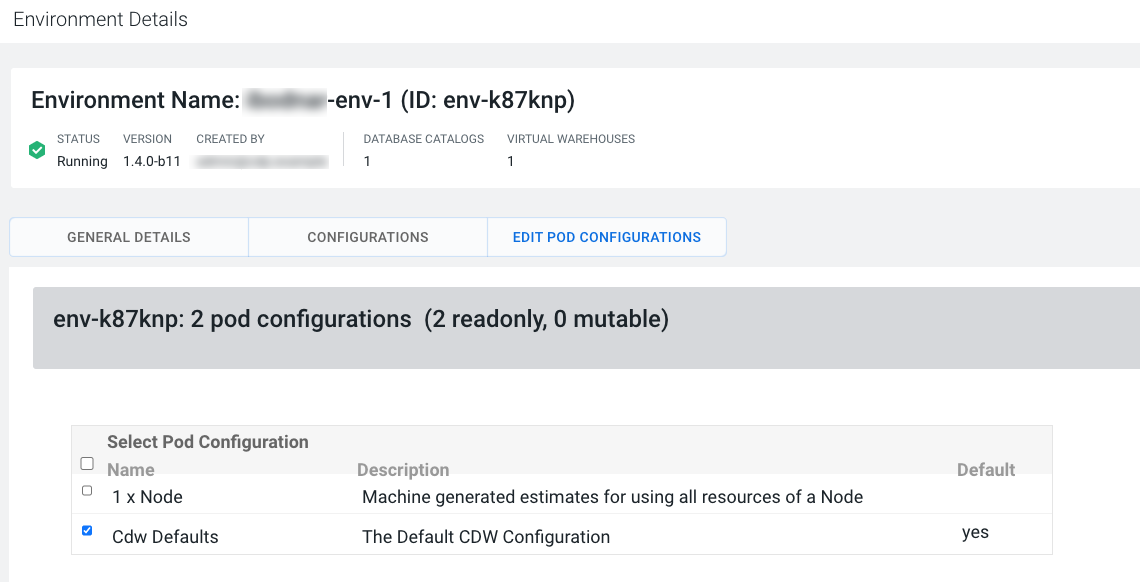
-
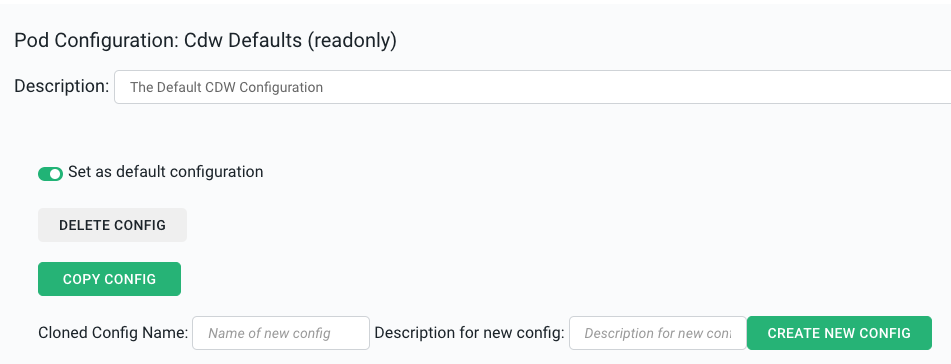
Click COPY CONFIG to create and edit a new configuration
with the option that you selected earlier as the basis.
- Optional:
Enter a description for the new configuration in the
Description field.
- Optional:
Enter a description for the new configuration in the
Description field.
-
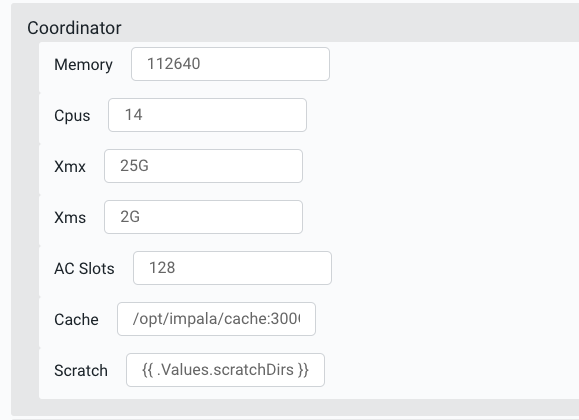
Specify the values for the following parameters under the
Coordinator section:
- Memory
- CPU
- Xmx (maximum memory allocation pool for a Java Virtual Machine)
- Xms (initial memory allocation pool for a Java Virtual Machine)
- AC Slots (
admission_control_slotsflag) - Cache (size of the data cache)
- Scratch (limit of Impala scratch space)
-
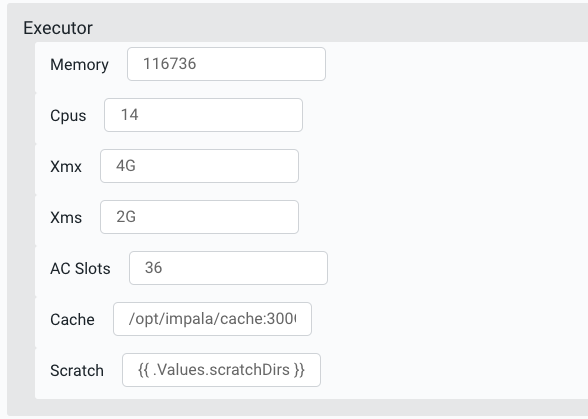
Specify the values for the following parameters under the
Executor section:
- Memory
- CPU
- Xmx (maximum memory allocation pool for a Java Virtual Machine)
- Xms (initial memory allocation pool for a Java Virtual Machine)
- AC Slots (
admission_control_slotsflag) - Cache (size of the data cache)
- Scratch (limit of Impala scratch space)
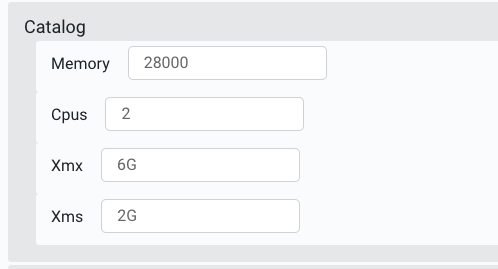
-
Specify the values for the following parameters under the
Catalog section:
- Memory
- CPU
- Xmx (maximum memory allocation pool for a Java Virtual Machine)
- Xms (initial memory allocation pool for a Java Virtual Machine)
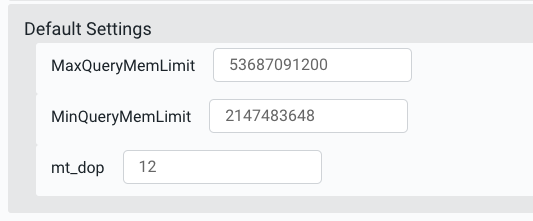
-
Specify the values for the following parameters under the Default
Settings section:
- MaxQueryMemLimit
- MinQueryMemLimit
- mt_dop
-
Click APPLY at the top of the Environment Details
page.
The new pod configuration becomes available in the Pod Config drop-down menu as shown in the following image. You can select this Impala pod configuration while creating a new Impala Virtual Warehouse:
