Prerequisites
Learn how to collect the information you need to deploy the Slack to Milvus [Technical Preview] ReadyFlow, and meet other prerequisites.
For your data ingest source
- You have created a Slack workspace and channel.
- In Slack Workspace Directory click Manage Organization.

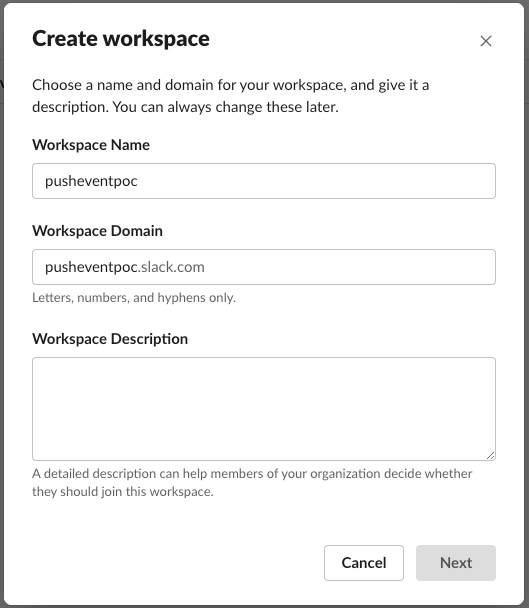
- Click Create Workspace.

- Provide Workspace Name and Workspace
Domain. You may leave Workspace Description
empty.
- In Slack Workspace Directory click Manage Organization.
- You have your Slack User or Bot Access Token.
- You have configured the necessary scopes for your token access.
For more information on getting started with Slack Enterprise Grid sandboxes, see the Slack documentation.
For Cloudera Data Flow
-
You have enabled Cloudera Data Flow for an environment.
For information on how to enable Cloudera Data Flow for an environment, see Enabling Cloudera Data Flow for an Environment.
-
You have created a Machine User to use as the Cloudera Workload User.
- You have given the Cloudera Workload User the
EnvironmentUser role.
- From the Management Console, go to the environment for which Cloudera Data Flow is enabled.
- From the Actions drop down, click Manage Access.
- Identify the user you want to use as a Workload User.
- Give that user EnvironmentUser role.
-
You have synchronized your user to the Cloudera on cloud environment that you enabled for Cloudera Data Flow.
For information on how to synchronize your user to FreeIPA, see Performing User Sync.
- You have granted your Cloudera user the DFCatalogAdmin and DFFlowAdmin
roles to enable your user to add the ReadyFlow to the Catalog and deploy the flow
definition.
- Give a user permission to add the ReadyFlow to the
Catalog.
- From the Management Console, click User Management.
- Enter the name of the user or group you wish to authorize in the Search field.
- Select the user or group from the list that displays.
- Click .
- From Update Roles, select DFCatalogAdmin and click Update.
- Give your user or group permission to deploy flow definitions.
- From the Management Console, click Environments to display the Environment List page.
- Select the environment to which you want your user or group to deploy flow definitions.
- Click to display the Environment Access page.
- Enter the name of your user or group you wish to authorize in the Search field.
- Select your user or group and click Update Roles.
- Select DFFlowAdmin from the list of roles.
- Click Update Roles.
- Give your user or group access to the Project where the ReadyFlow will be
deployed.
- Go to .
- Select the project where you want to manage access rights and click
 More > Manage Access.
- Start typing the name of the user or group you want to add and select them from the list.
- Select the Resource Roles you want to grant.
- Click Update Roles.
- Click Synchronize Users.
- Give a user permission to add the ReadyFlow to the
Catalog.
For your data ingest target
- Your Milvus version is 2.4.4.
- You have the Milvus access token.
- You have the name of the destination Milvus collection.
- You have the URI of the destination Milvus instance.
- Your Milvus collection schema has the following field names and field
types:
- id (INT64) You must enable Auto ID on this field.
- text_embedding (FLOAT_VECTOR)
- text (VARCHAR)
- author (VARCHAR)
- channel (VARCHAR)
- The ‘text_embedding’ field in your destination Milvus collection is configured with the same dimensions as the default HuggingFace 'all-MiniLM-L12-v2' model (384).
- The text, author, and channel VARCHAR fields have been configured with Max Length values large enough to accommodate their respective values in your PDFs.