Creating network security groups
Security groups can be created and managed from the Nwtork Security Groups page on the Azure Portal
For detailed instructions on how to create new security groups on Azure, see Filter network traffic with a network security group using the Azure portal.
-
Go to and click Network Security Group.
Figure 1. Network security group 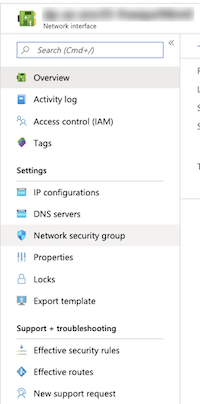
-
On the Network Security Group page, click
Inbound Security Rules to display the list of
rules.
Figure 2. View Inbound Security Rules 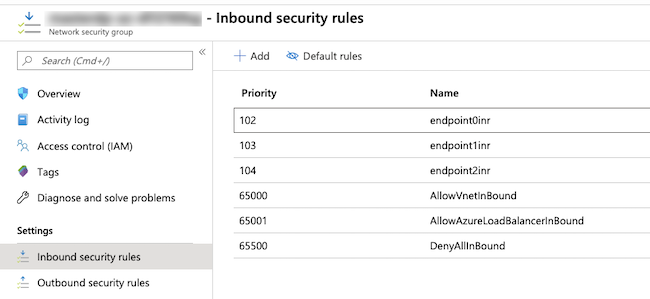
-
In the Inbound security rule tab, click
Add.
Figure 3. Add new inbound security rule 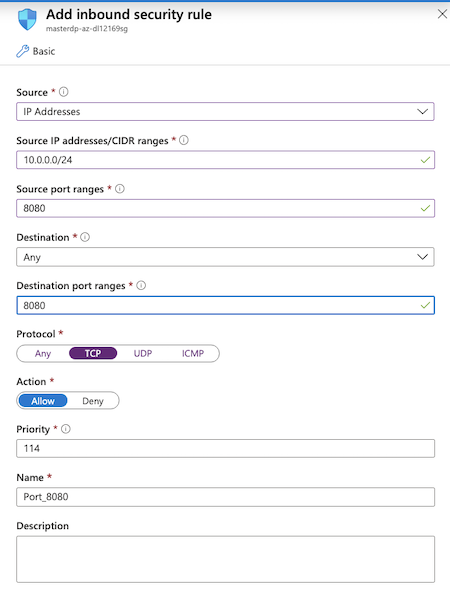
You need to create two security groups: Knox and Default. The Cloudera Management Console UI and CLI use this terminology, so if you decide to choose different names, ensure that you are able to distinguish between the two security groups.
