Creating a new vault and vault key
Create a vault and vault key on your Azure portal.
Create a key vault in the same region and resource group as the one that you want to use for registering the Cloudera environment.
-
Click Generate/Import.
Figure 1. Generate/Import new vault key 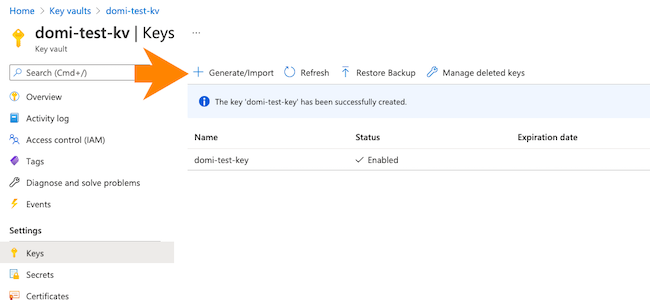
-
Provide the key name and key type (make sure to select RSA).
For detailed instructions, see Add a key to Key Vault in the Azure documentation.
Figure 2. Enter key name and key type 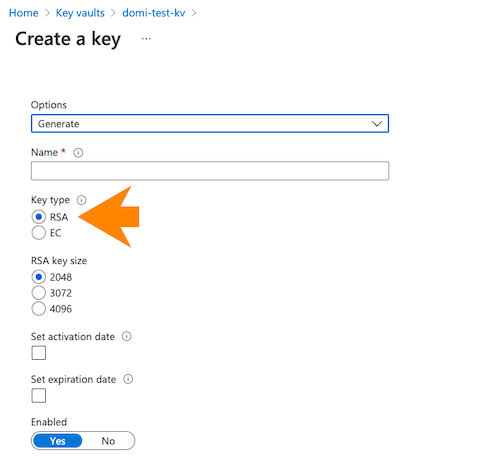
-
Go to the vault key details and copy the key identifier (an HTTPS URL) for the
key that was created.
You will need to provide it during Cloudera environment registration later.
Figure 3. Copy key identifier 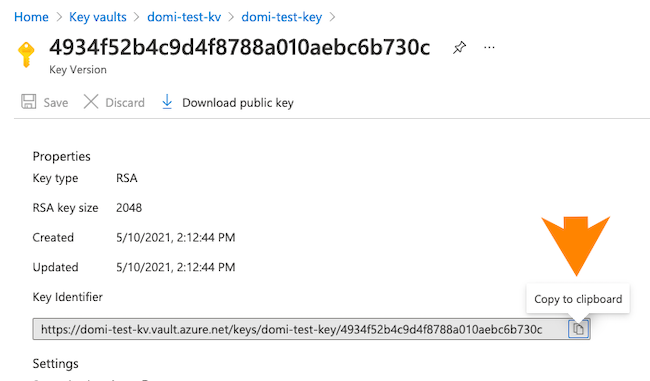
-
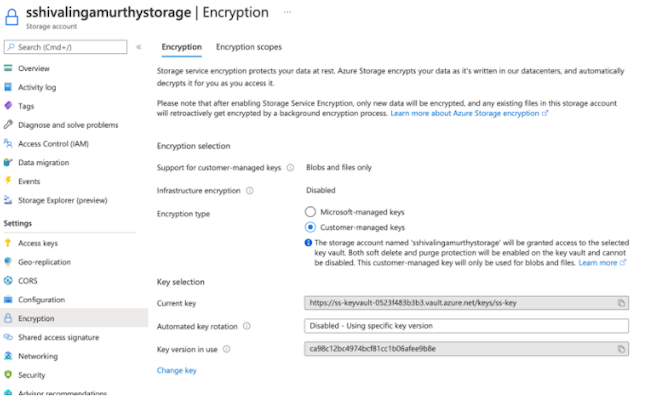
If you need encryption on the Azure storage account, you can set it up in the
Encryption section of your storage account settings
page on the Azure portal using the same or a different encryption key.
Figure 4. Set up Azure storage account encryption