In technical preview (TP), do not use the ‘root.default’ resource pool. You must
create at least one resource pool for quota management.
Go to Cloudera Manager > Resource Utilization tab.
Under the root.default resource pool (or any already
created custom resource pool), create a child node for Cloudera Machine Learning
(CML).
Pools are organized in a hierarchical manner.
CML reserves 30 GB Memory and 20 CPU for the CML workspace
installation. The resource pool created for CML should have at least 38 GB
of Memory and 22 CPU.
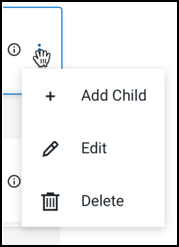
Click the actions menu in a pool and select Add Child.
Figure 1. Add Child
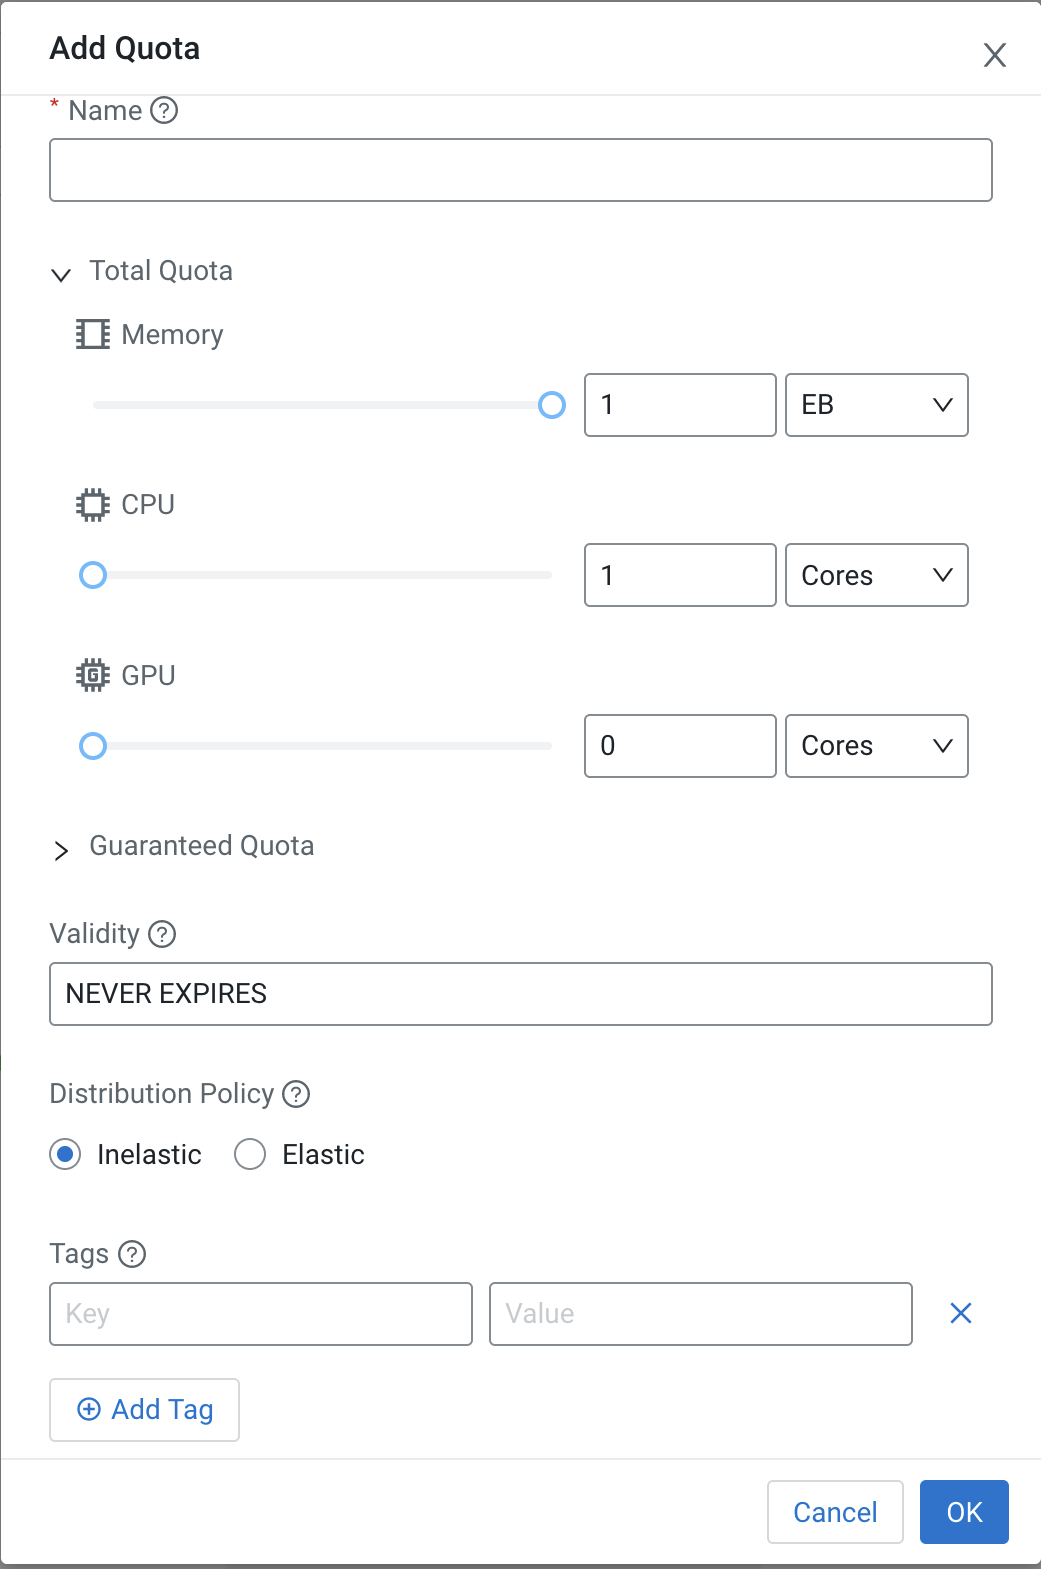
The Add Quota dialog box opens.Figure 2. Add Quota
Enter the following information:
Name – Enter a name for this resource pool.
Memory – Use the sliders to select the memory allocation for
the pool. Use the drop-down list to select the units. .
CPU – Use the sliders to select the CPU allocation for the
pool. You can choose how CPUs are counted by selecting Cores or
Millicores from the drop-down list.
GPU – Use the sliders to select the GPU allocation for the
pool.
Validity – Enter the length of time that the pool can remain
active. To keep the pool active indefinitely, enter
NEVER_EXPIRES.
Tags – Tags provide a way to add user-defined name/value pairs
as metadata for the pools.
Note that the maximum value of the sliders is limited by the available
resources, i.e. total resources of the parent pool and the amount of
resources not used by other sibling pools.