Creating custom tools while creating workflows
Create custom tools for an Agentic Workflow during the workflow creation process to extend platform functionality.
-
Provide a Workflow Name and click the Create
Workflow button. A draft workflow is created and the
Edit Workflow page is displayed.
Figure 1. Edit Workflow page 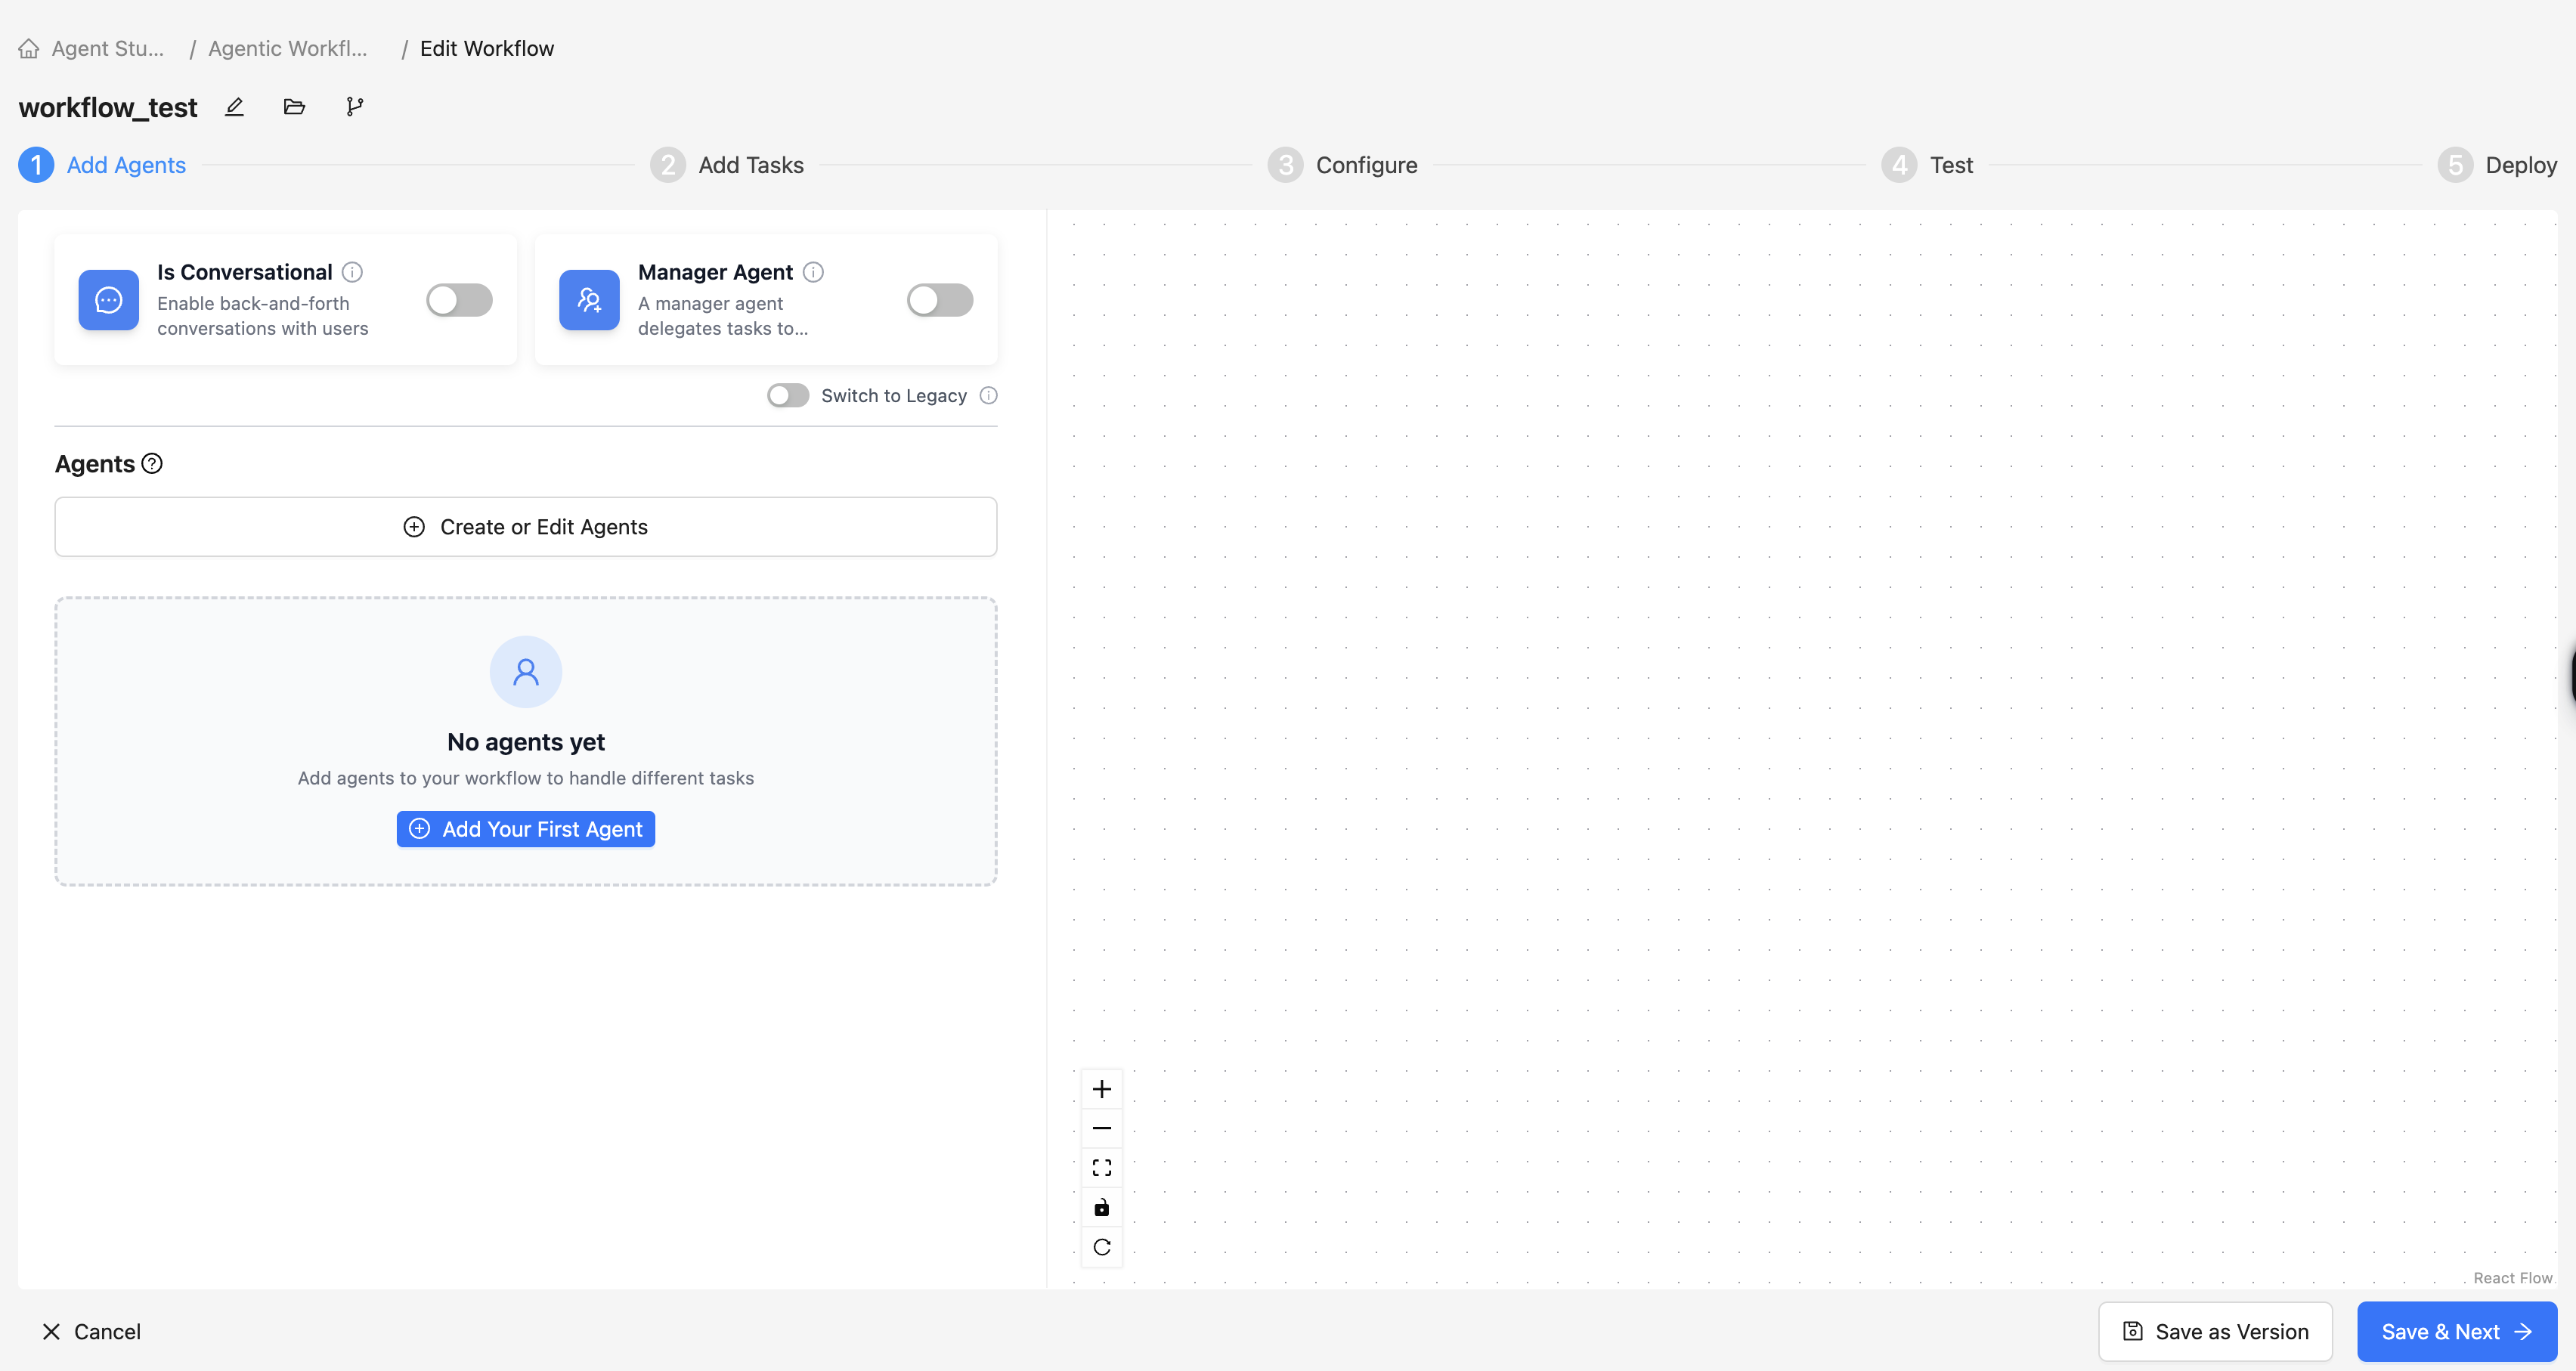
-
In Create or Edit Tools perform one of the
following actions:
-
Create tool from template by selecting a tool from the list of existing
tools and clicking the Create Tool from Template
button.
Figure 2. Create or Edit Tools modal window 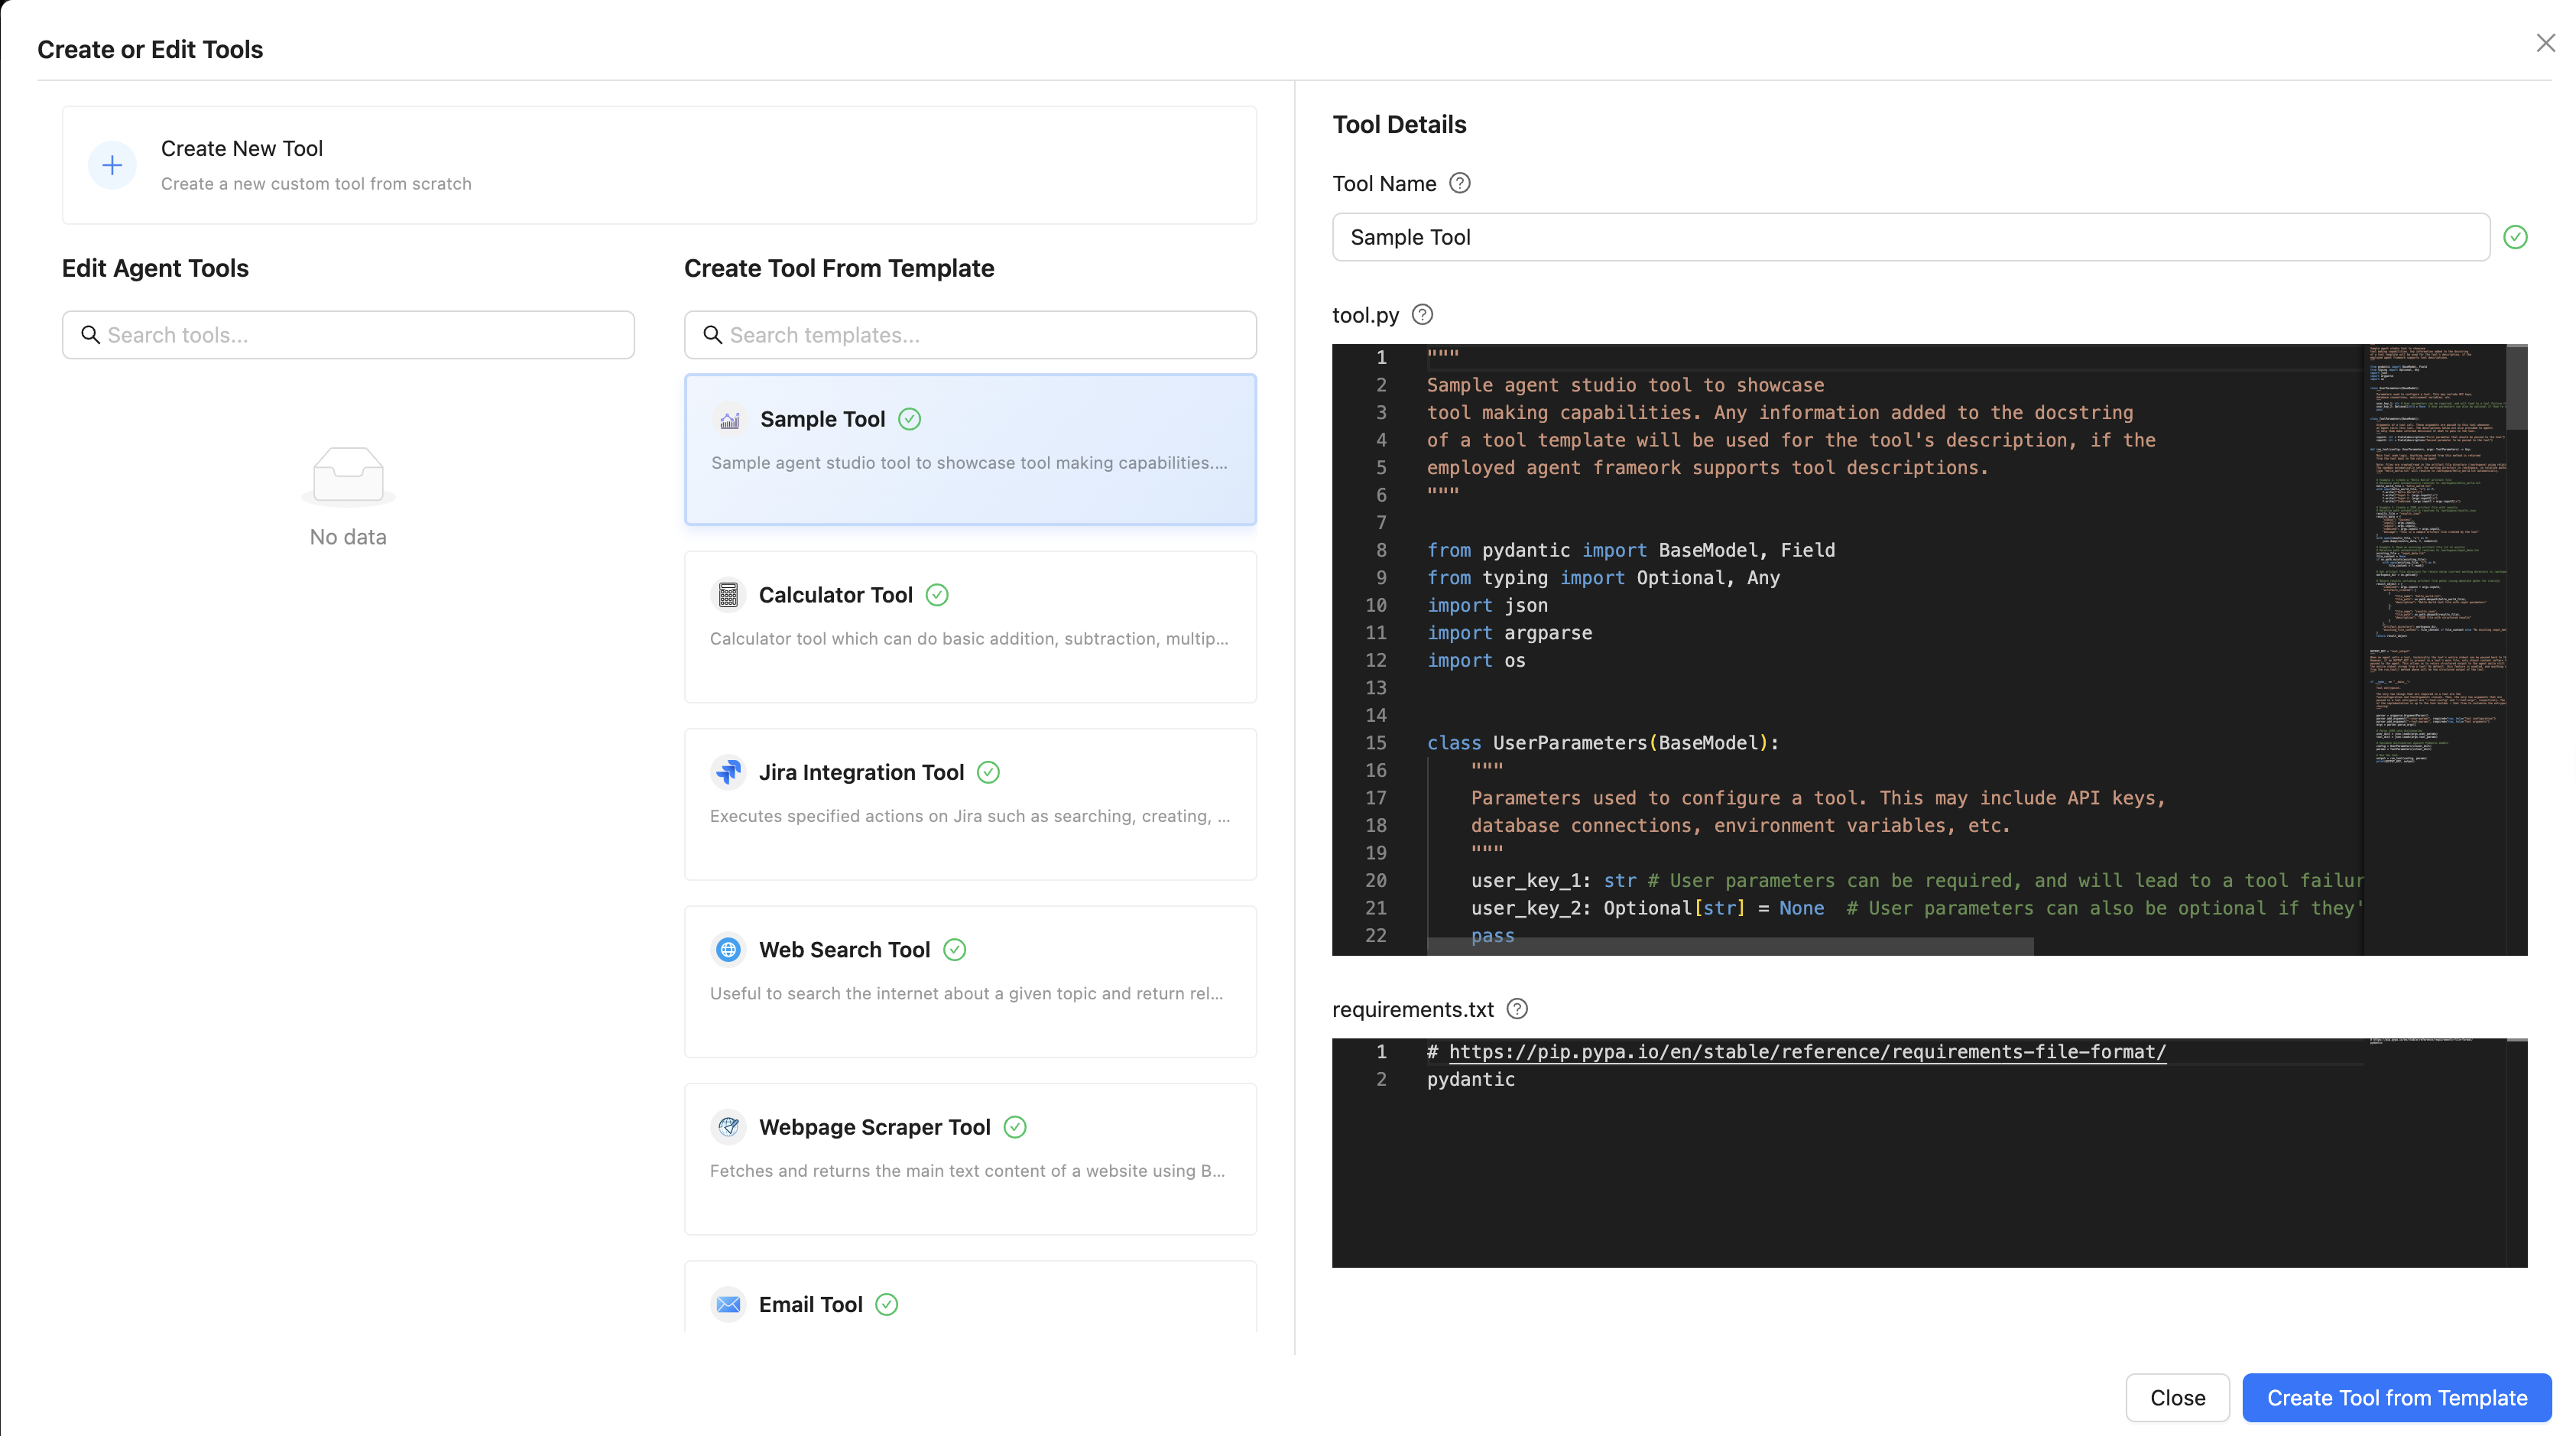
-
Create tool from template by selecting a tool from the list of existing
tools and clicking the Create Tool from Template
button.