Migrating AMP based RAG Studio deployment to Runtime-based RAG Studio deployment
Follow the steps to manually migrate your current Accelerators for Machine Learning Projects (AMP) based RAG Studio deployment to the updated Runtime-based RAG Studio.
As no automated migration tool is currently available, the steps are required to successfully preserve and transfer your existing Knowledge Bases and Chat History.
Before starting the migration, ensure that the following conditions are met:
- An active AMP deployment is required that contains the Knowledge Bases and Chat History intended for migration.
- A newly deployed Runtime mode environment is required. This environment must be empty and contain no existing data.
- Ensure that the LLM providers and API keys in your Runtime mode deployment are configured to match the settings previously used in your AMP environment.
- Prior to starting the file transfer, stop the Runtime mode application. Do not delete the application; only stop the service.
-
Click the Overview option. The RAG Studio -
Project window displays.
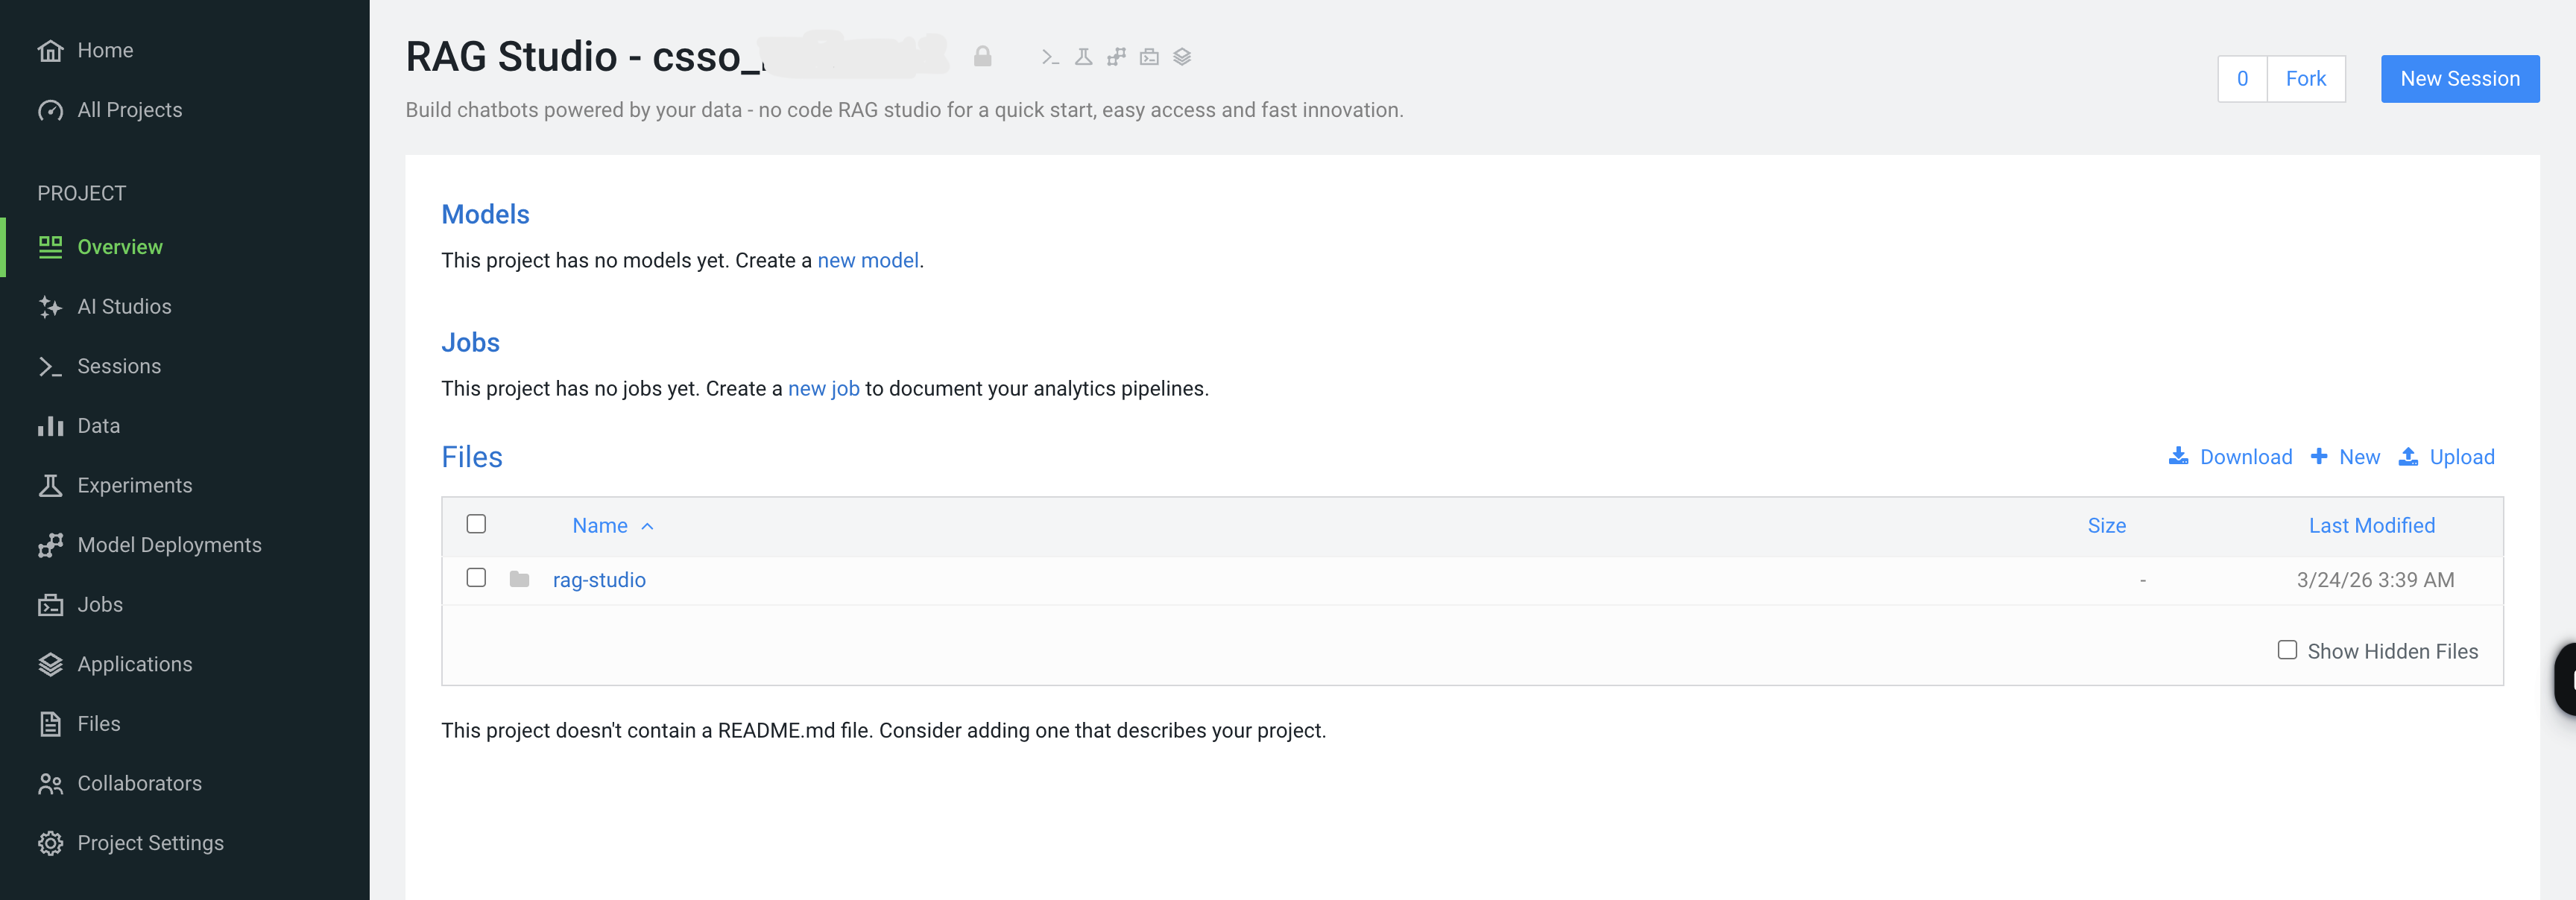
-
Click the rag-studio file. The Files
window displays.

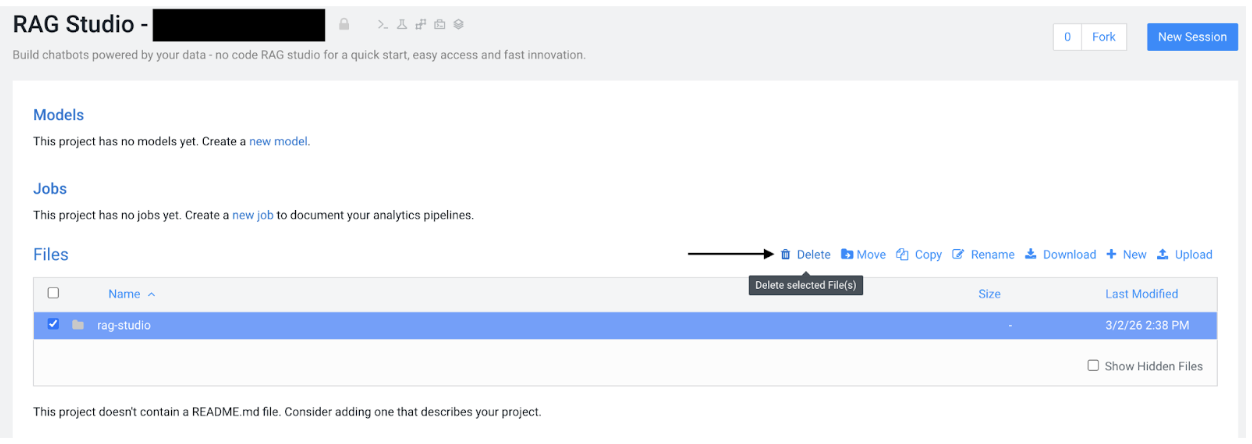
-
Select the rag-studio/databases file checkbox and delete
the existing rag-studio file in the root directory of the
project.
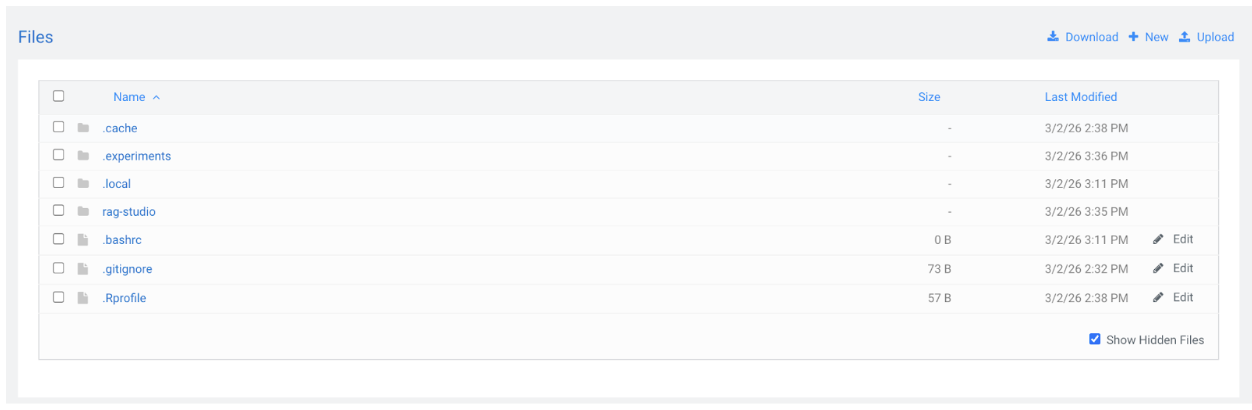
-
Click the Upload button, to upload the
rag-studio folder from your local
RagStudioMigration directory into the project
root.

All the files from the RagStudioMigration directory on your local machine, are successfully uploaded into the project root.
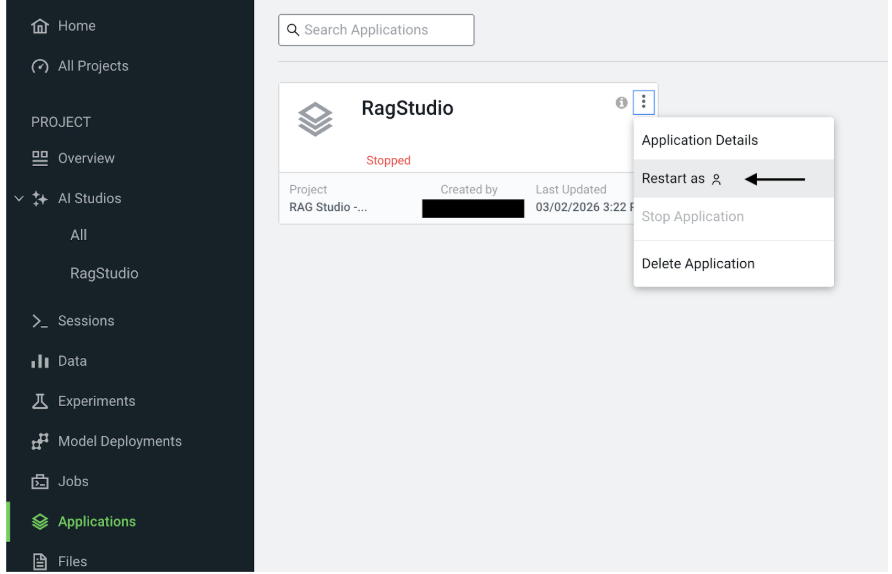
-
Click the
 option in the RagStudio tile and select Restart as to
restart the RagStudio application.
option in the RagStudio tile and select Restart as to
restart the RagStudio application.
Post-Migration Troubleshooting:
When using Amazon Bedrock, you might encounter issues where LLMs, Embedding Models, or Reranking models appear with incorrect IDs. This can be caused by Bedrock renaming its IDs based on the Inference Profiles.
Follow the steps, if a model is reported as missing or invalid:
- Manually reselect the correct model or inference profile.
- Navigate to the relevant settings, such as chat settings or index settings, and choose the correct option from the available dropdown menus.