Managing cluster resources using Quota Management
You can use Quota Management page in the Management Console to control how cluster resources are allocated across all CDP Private Cloud Data Services.
Overview
Quota management enables you to control how resources are allocated within your CDP Private Cloud Data Services clusters. In order to prevent a single workload from consuming all available cluster resources, you can limit the number of CPUs, GPUs, and memory allocated by application, user, business units, or Data Service by defining resource pools that define resource limits. Pools are organized in a hierarchical manner by defining nodes in the hierarchy with resource limits, which can then be subdivided as needed to allocate resources for an organization and to allocate resources to cluster-wide services such as the Control Plane. You can also use this feature to audit workload ownership and resource usage.
A system administrator defines the initial groupings, starting with the default tenant node and first creating child nodes that define quotas for CDP system resources. You will need to edit the default node setttings to reflect the current total resources of your cluster.

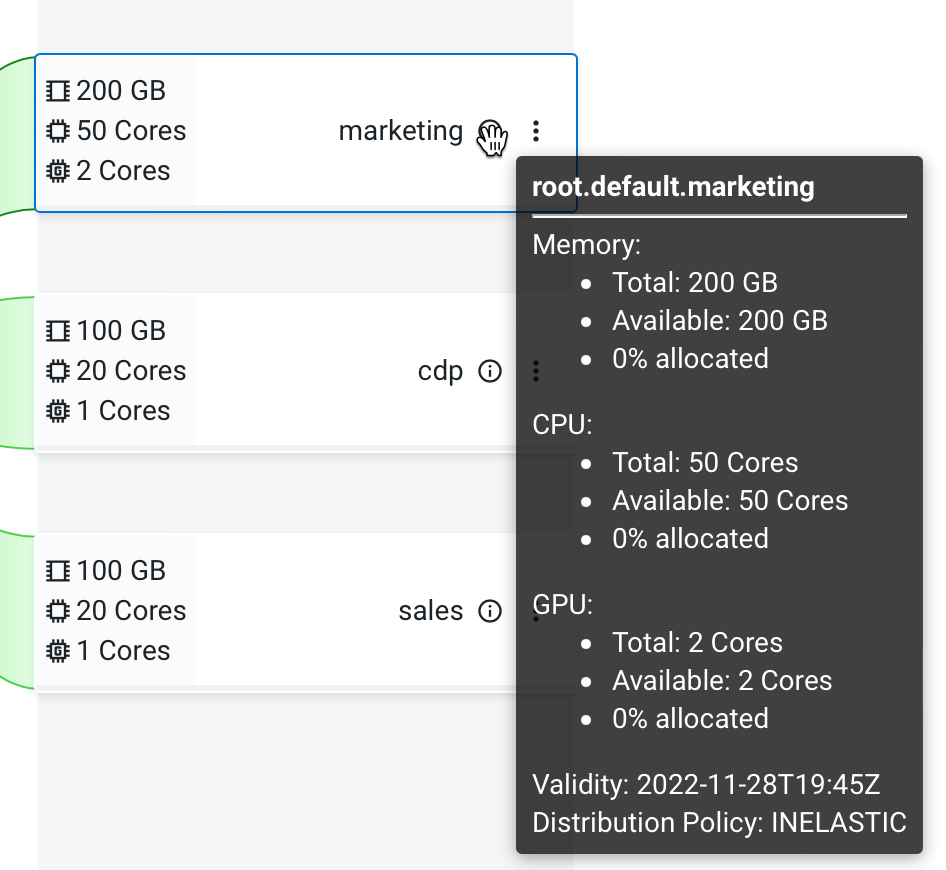
Next the administrator creates one or more child nodes, in this example, nodes are created for the marketing and sales business units and a node is created for CDP resources.

When Data Service users create new artifacts in their service’s interface they
can reference a parent pool name in which to run their workload. The resources available for
the workload are limited by the quotas established and consumed in the parent for pool. For
example, the Parent pool, root.default.marketing refers to the “marketing”
business unit pool node defined in the hierarchy.
Accessing the Quotas Page
-
Open the CDP console.
-
Go to the Management Console service.
-
Click Resource Utilization in the left navigation panel.
-
Select the Quotas tab.
Creating child nodes (resource pools),
- Click the actions menu in a pool and select Add Child.
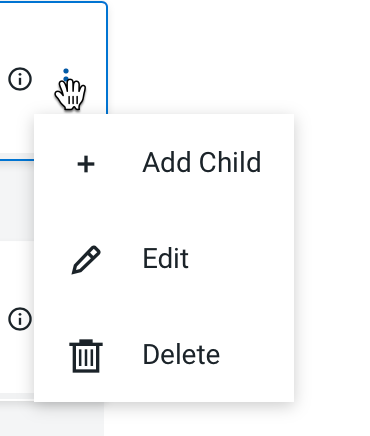
The Add Quota dialog box displays.
- Enter the following information:
- Name – Enter a name for this resource pool.
- Memory – Use the sliders to select the memory allocation for the pool. Use the drop-down list to select the units.
- CPU – Use the sliders to select the CPU allocation for the pool. You can choose how CPUs are counted by selecting Cores or Millicores from the drop-down list.
- GPU – Use the sliders to select the GPU allocation for the pool.
- Validity – Enter the length of time that the pool can remain active. To keep the pool active indefinitely, enter -1.
- Distribution policy – The distribution type of the parent quota to the child pools (elastic or inelastic).
- Tags – Tags provide a way to add user-defined name/value pairs as metadata for the pools. Tags are not currently used in this release.
Note that the maximum value of the sliders is limited by the resources of the parent pool and the amount of resources not used by other pools.
Editing a resource pool
You can edit a resource pool after creating it by clicking the actions menu for the pool and selecting Edit.
Viewing details of a resource pool
You can view the resource allocations and other information by clicking the “i” icon. The namespace for the pool appears at the top:
Sorting the resource pool display.
Click the Sort by drop down list and select a sorting option to sort the resource pools within each level.
Using Resource pools in a Data Service
When creating artifacts in a Data Service, you specify which pool to use to allocate resources to the artifacts.
- For information about specifying pools in the Cloudera Data Engineering (CDE) service, see Adding a Cloudera Data Engineering service and Creating virtual clusters .
- For information about specifying pools in the Cloudera Machine Learning (CML) service, see Configuring Quotas.
- For information about specifying pools in the Cloudera Data Warehouse (CDW) service, see Enable quota management (optional).