Cloudera Octopai Client - Linux Installation
Learn about installing Cloudera Octopai Client on supported Linux systems.
- You must verify that your environment meets the general system requirements before starting the installation. For instructions, see General System Requirements for Cloudera Octopai Data Lineage Client.
- You must have root or sudo access to the Linux system that must comply with the Cloudera Octopai Client system requirements.
-
Download TAR or zip archive file from File Manager, and extract
the Cloudera Octopai Client package at
/opt/Octopai-Client.
sudo tar xvf Octopai-Client.tar.gz
sudo yum install unzip -y
sudo unzip Octopai-Client.zip -d /opt/
Figure 1. License file example 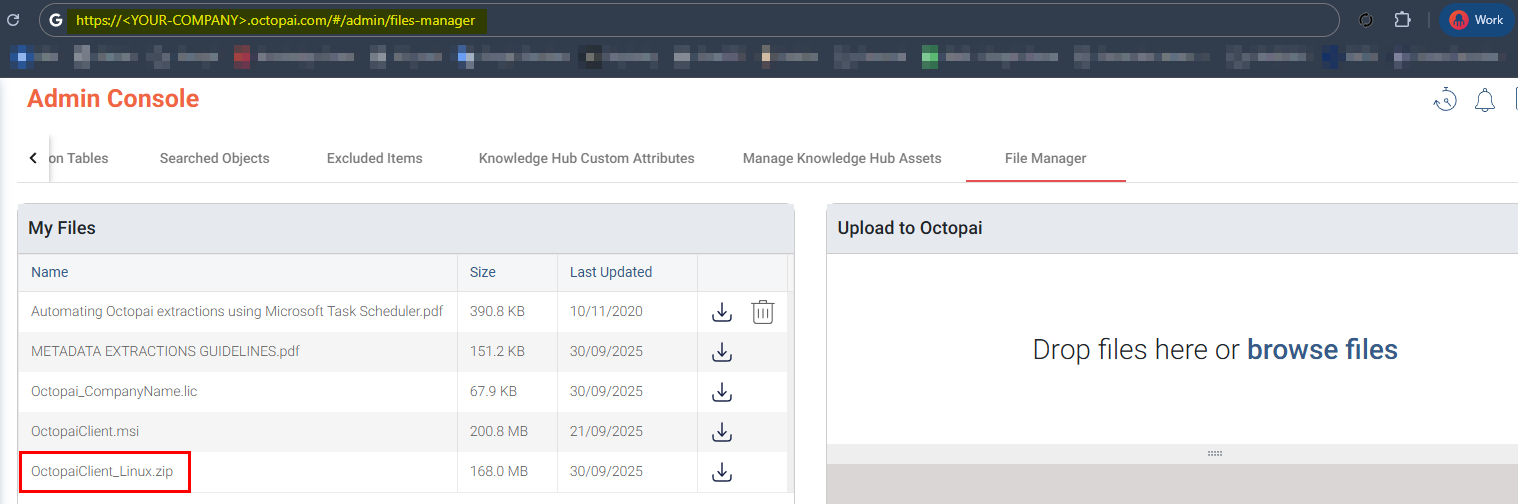
-
Copy the license file by downloading the license file from File
Manager and placing it in the /opt/Octopai-Client
directory on the Linux host.

-
Run the Cloudera Octopai Client by using the following
command:
cd /opt/Octopai-Client
dotnet OctopaiClient.dll --Urls http://0.0.0.0:5656
The following example shows a sample Cloudera Octopai Client output.
Figure 2. Sample Cloudera Octopai Client output 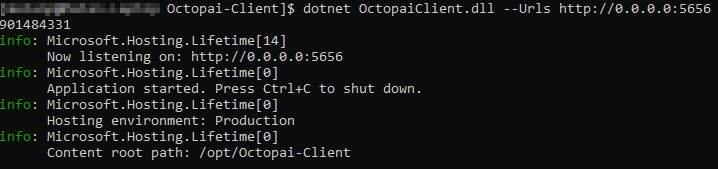
Create a Linux service
Configure a systemd service so the Cloudera Octopai Client starts automatically after reboots.
- Create the service definition.
- Edit the service
file.
sudo nano /etc/systemd/system/octopai.service - Paste and adjust the following content to match your
environment.
[Unit]
Description=Octopai Client
[Service]
ExecStart=/usr/bin/dotnet /opt/Octopai-Client/OctopaiClient.dll --Urls http://0.0.0.0:5656
Restart=always
RestartSec=10
KillSignal=SIGINT
SyslogIdentifier=octopai-client
User=octopai
Group=octopai
WorkingDirectory=/opt/Octopai-Client/
Environment=USER=octopai
[Install]
WantedBy=multi-user.target
- Edit the service
file.
- Reload systemd configuration by using the following
command:
sudo systemctl daemon-reload - Enable the service by using the following
command:
sudo systemctl enable octopai.service - Start or restart the service by using the following
command:
sudo systemctl restart octopai.service - Check the service log by using the following
command:
sudo journalctl -u octopai.service