IBM Cognos Report Studio
Learn how to export, schedule, and manage IBM Cognos reports and packages.
-
Read the Permission for Cloudera Data Lineage (formerly Octopai) Windows NT User to the Cognos ZIP files folder.
-
Export and Schedule Export of IBM Cognos Reports and Packages
-
Open IBM Cognos Administration and go to the Configuration
tab.
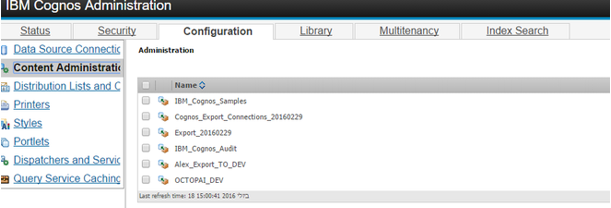
-
Click the New export button.

-
Name the export.
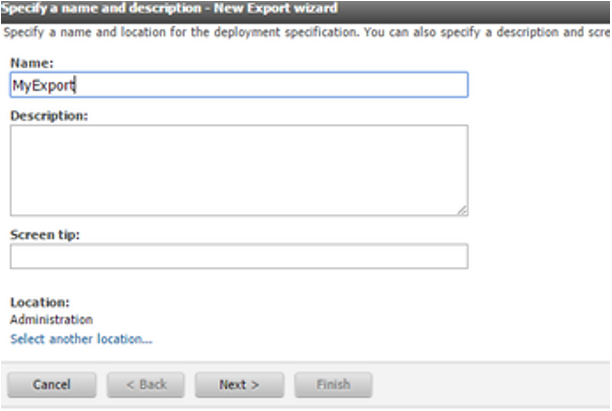
-
Select the deployment method by choosing the first option.
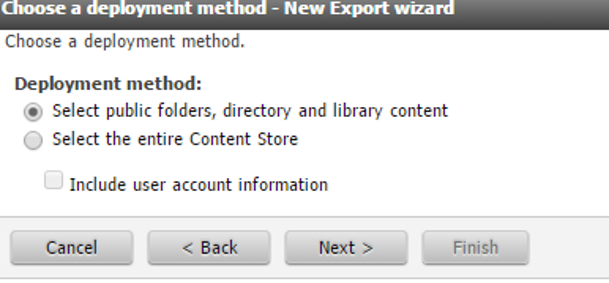
-
Click Add.

-
Add packages and reports you want by dragging them from left to right and then
click OK.

-
Select all the checkbox objects and then click Next.
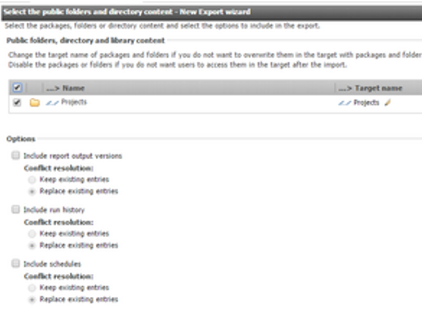
-
Click Next.
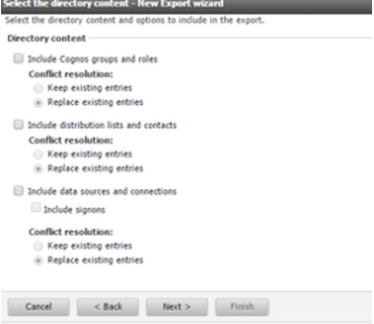
-
Click Next.
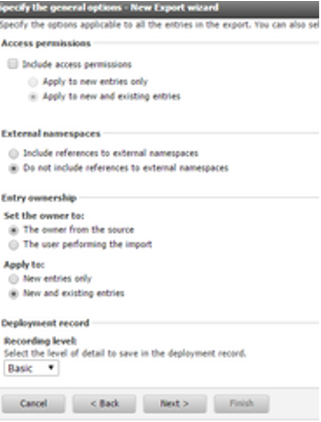
-
Click Next.
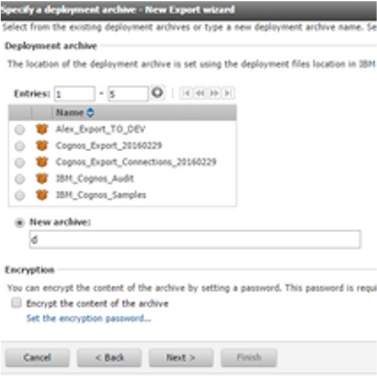
-
Click Next.
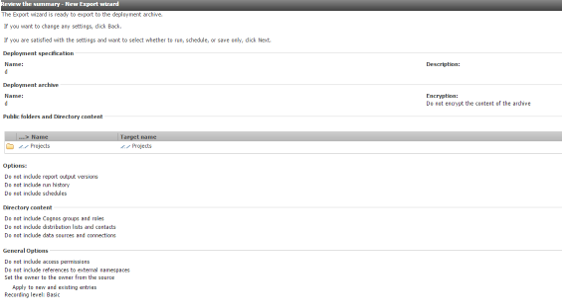
-
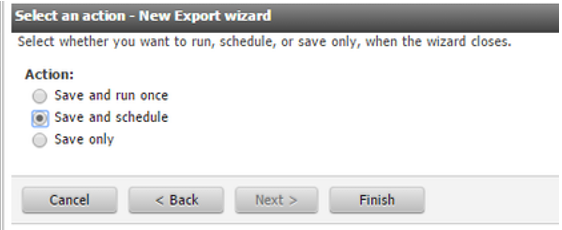
Choose the Save and run once or the Save and
schedule checkbox and click Finish.
-
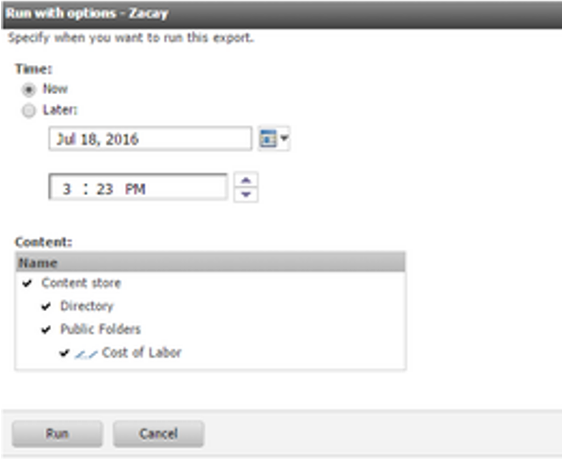
If you chose Save and schedule, choose when to schedule and
then click Run.
-
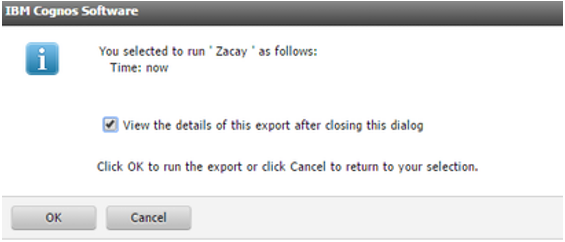
Click OK.
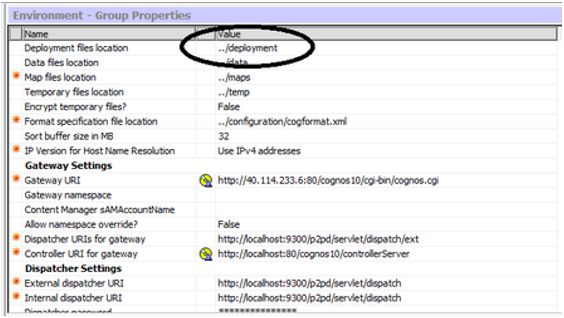
 The file is saved under the deployment folder on the Cognos server. Usually the installation folder is at C:\Program Files\ibm\cognos\c10_64\deployment. The extracted file will appear in the destination defined folder.
-
Open IBM Cognos Administration and go to the Configuration
tab.
-
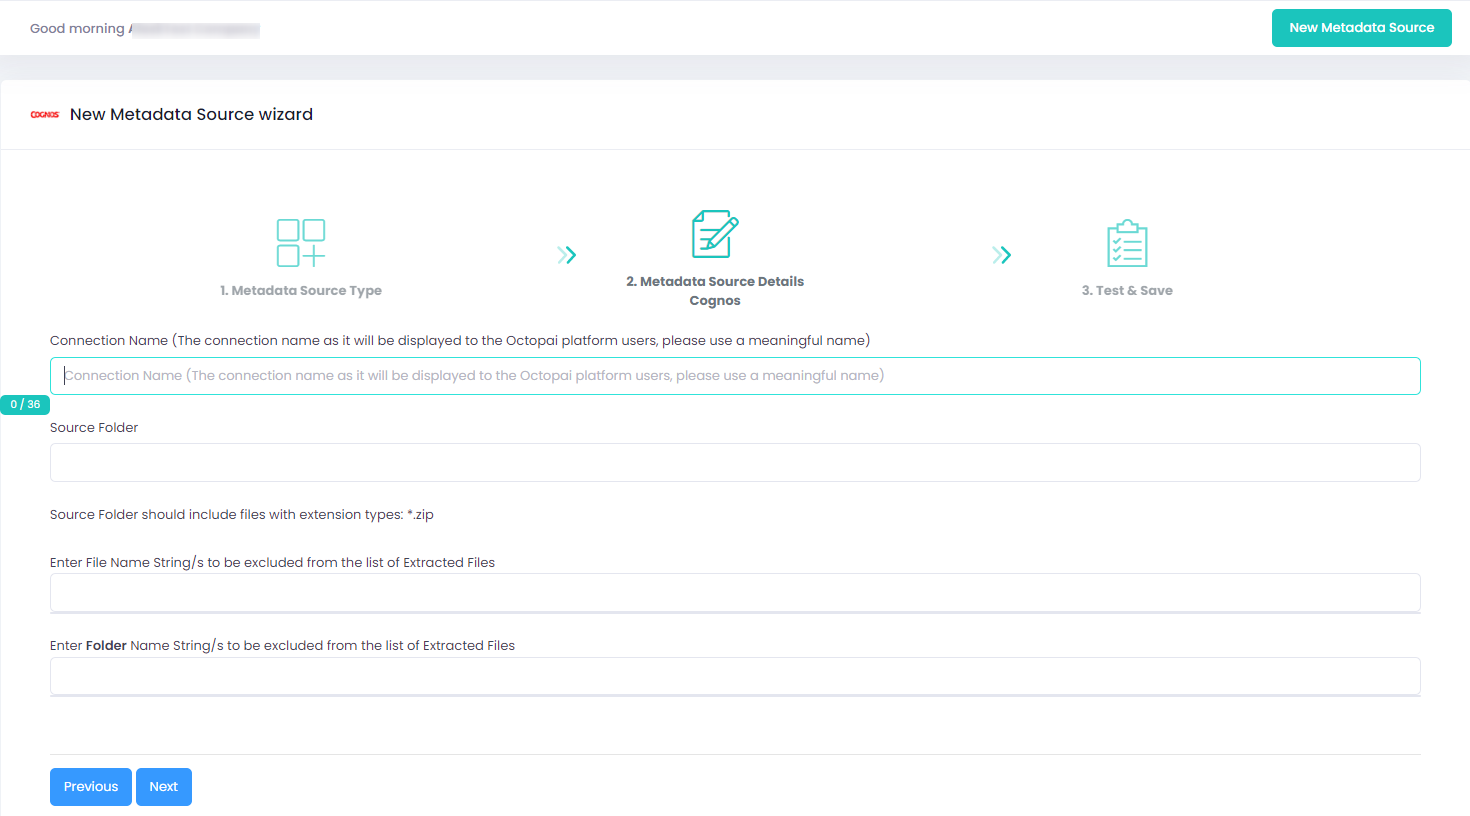
Set up the IBM Cognos Metadata Source.
If an error occurred during the extraction, see Troubleshoot connector extraction failures.