Enabling Ranger HDFS plugin manually on a Data Hub
How to enable an HDFS plugin for Ranger, service-wide, on a Data Hub using Cloudera Manager.
The Ranger HDFS plug-in helps to centralize HDFS authorization policies. Apache Ranger plugins validate the access of a user against the authorization policies defined in the Apache Ranger policy administration server, and stored in the HDFS service instance, also called a repository. When you enable the Ranger HDFS plugin and an HDFS service user attempts access, Ranger checks whether a policy exists granting or denying the user access. If no policy exists, Ranger defaults to use the native permissions model in HDFS. Access control rules configured through this combination of Ranger HDFS plugin and native file system permissions apply.
To enable users define Ranger authorization polices, using an HDFS service plugin:
-
In Search, type Ranger Service,
then click the box to enable the hdfs (service-wide) parameter for Ranger
Service.
Figure 1. Enabling the HDFS Ranger plugin parameter on a Data Hub 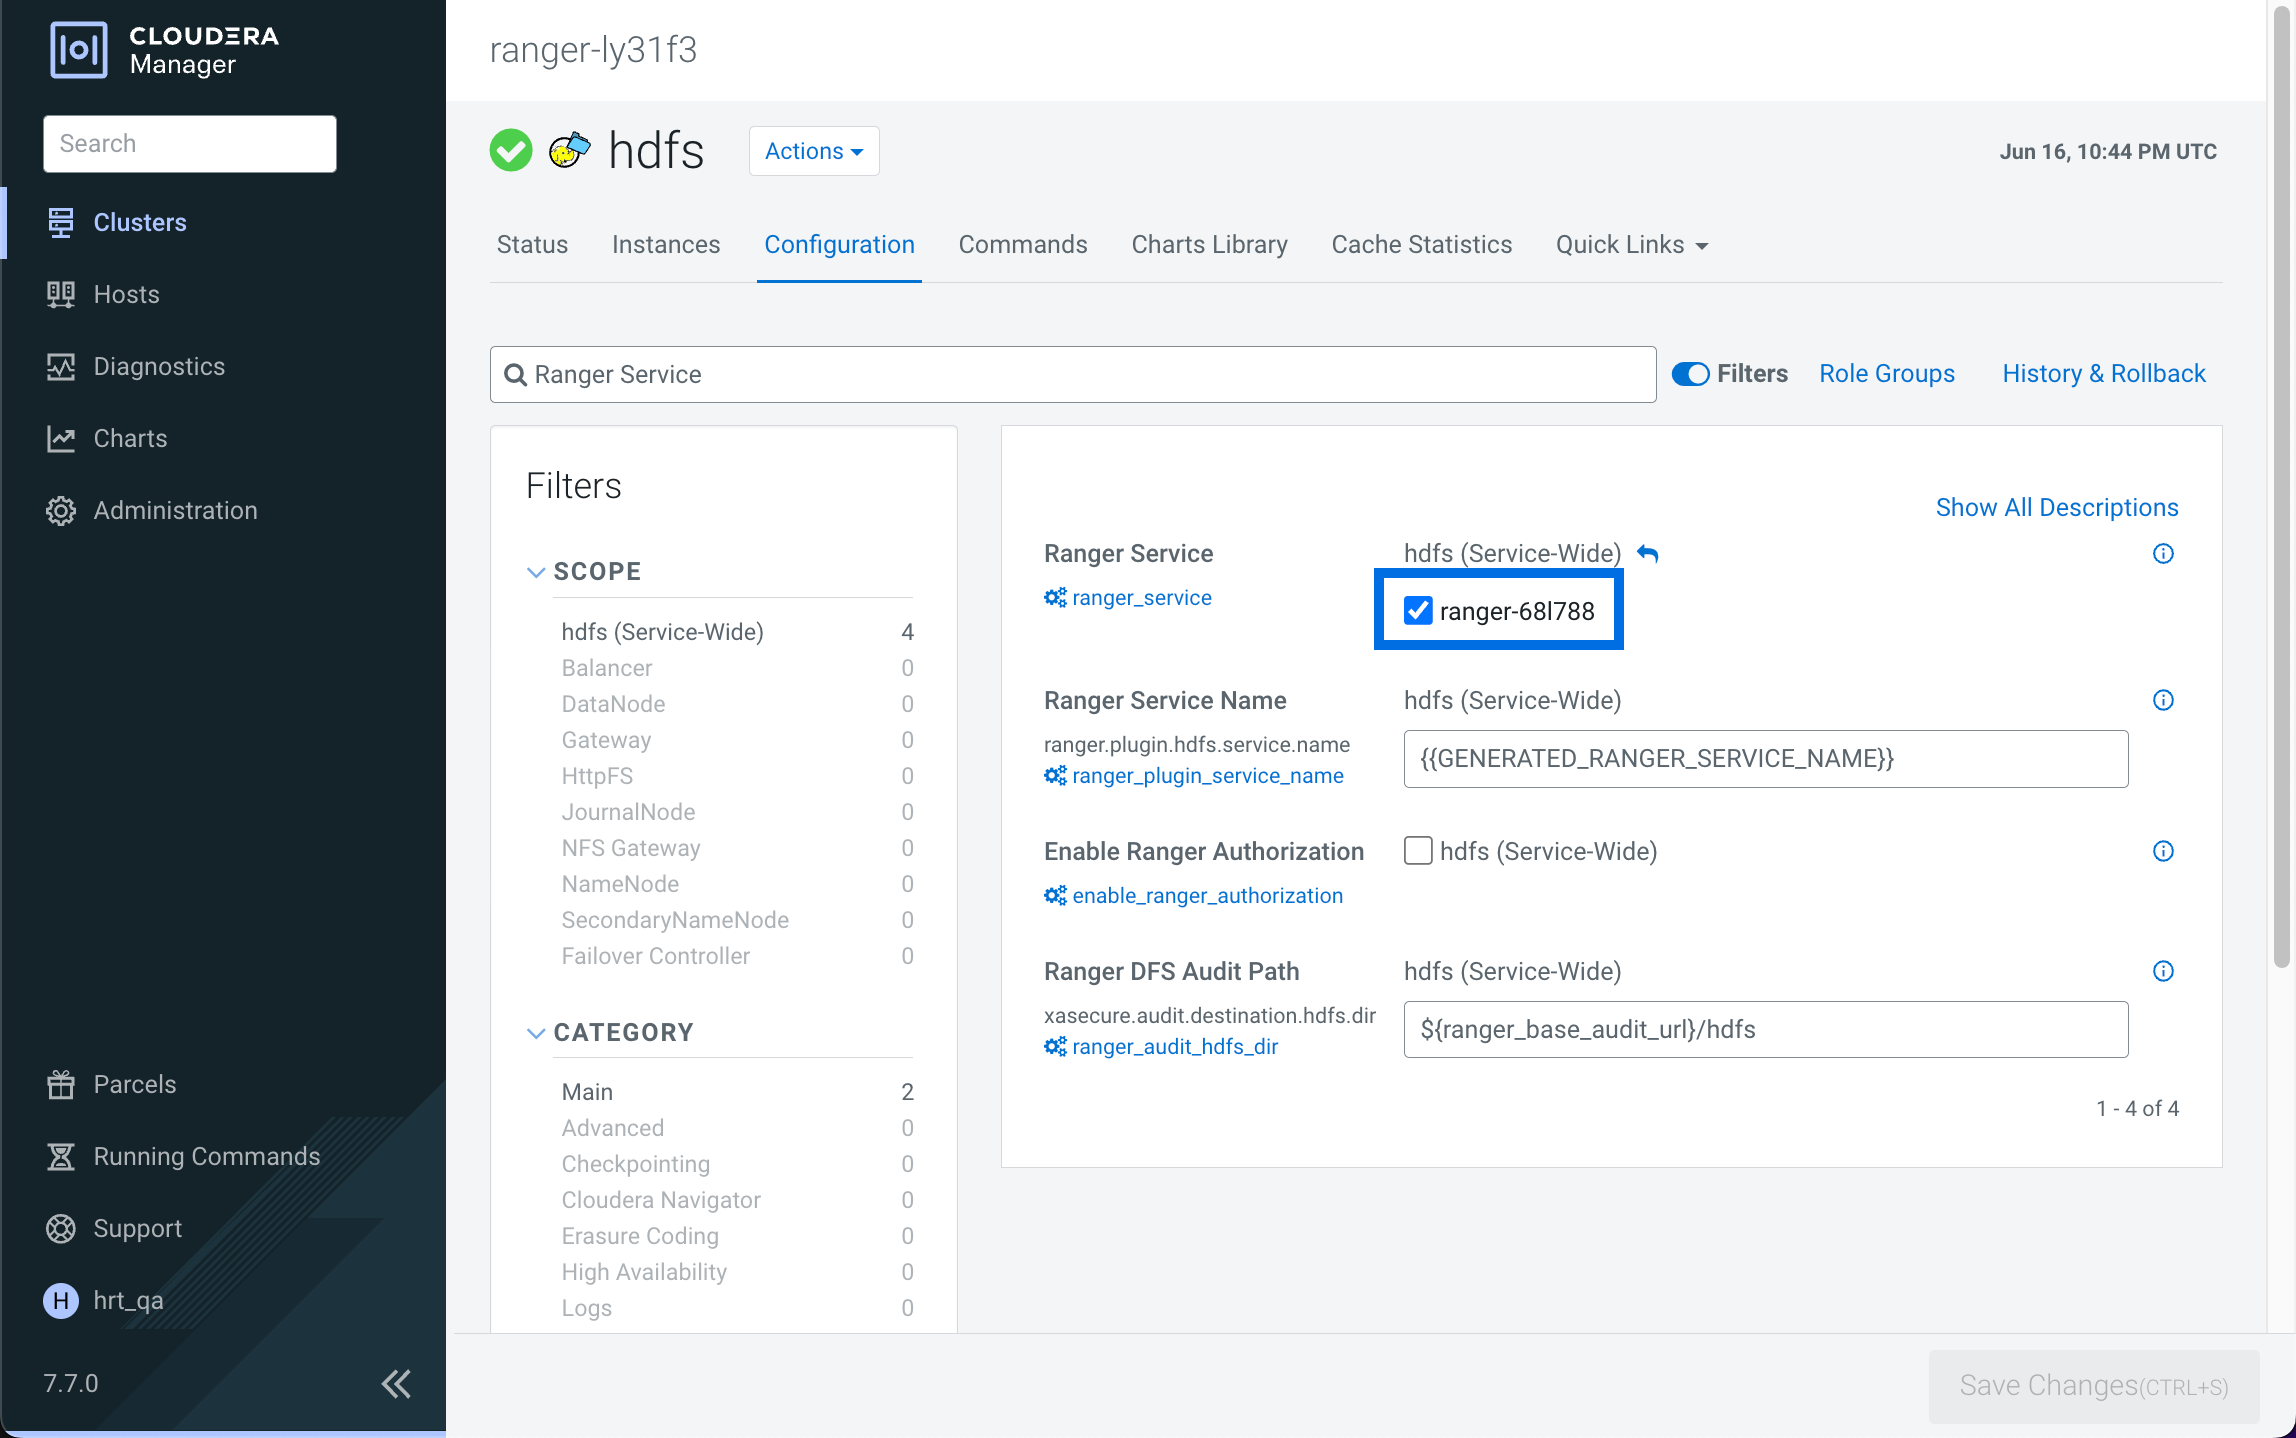 A stale configuration icon displays for the hdfs service.
Figure 2. Result of adding a new configuration parameter 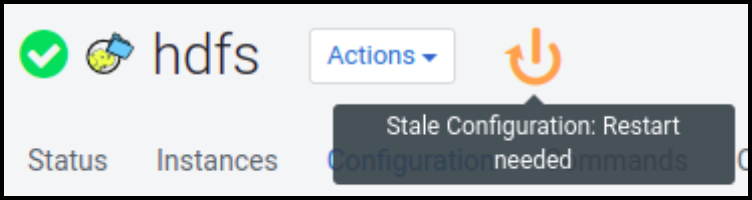
-
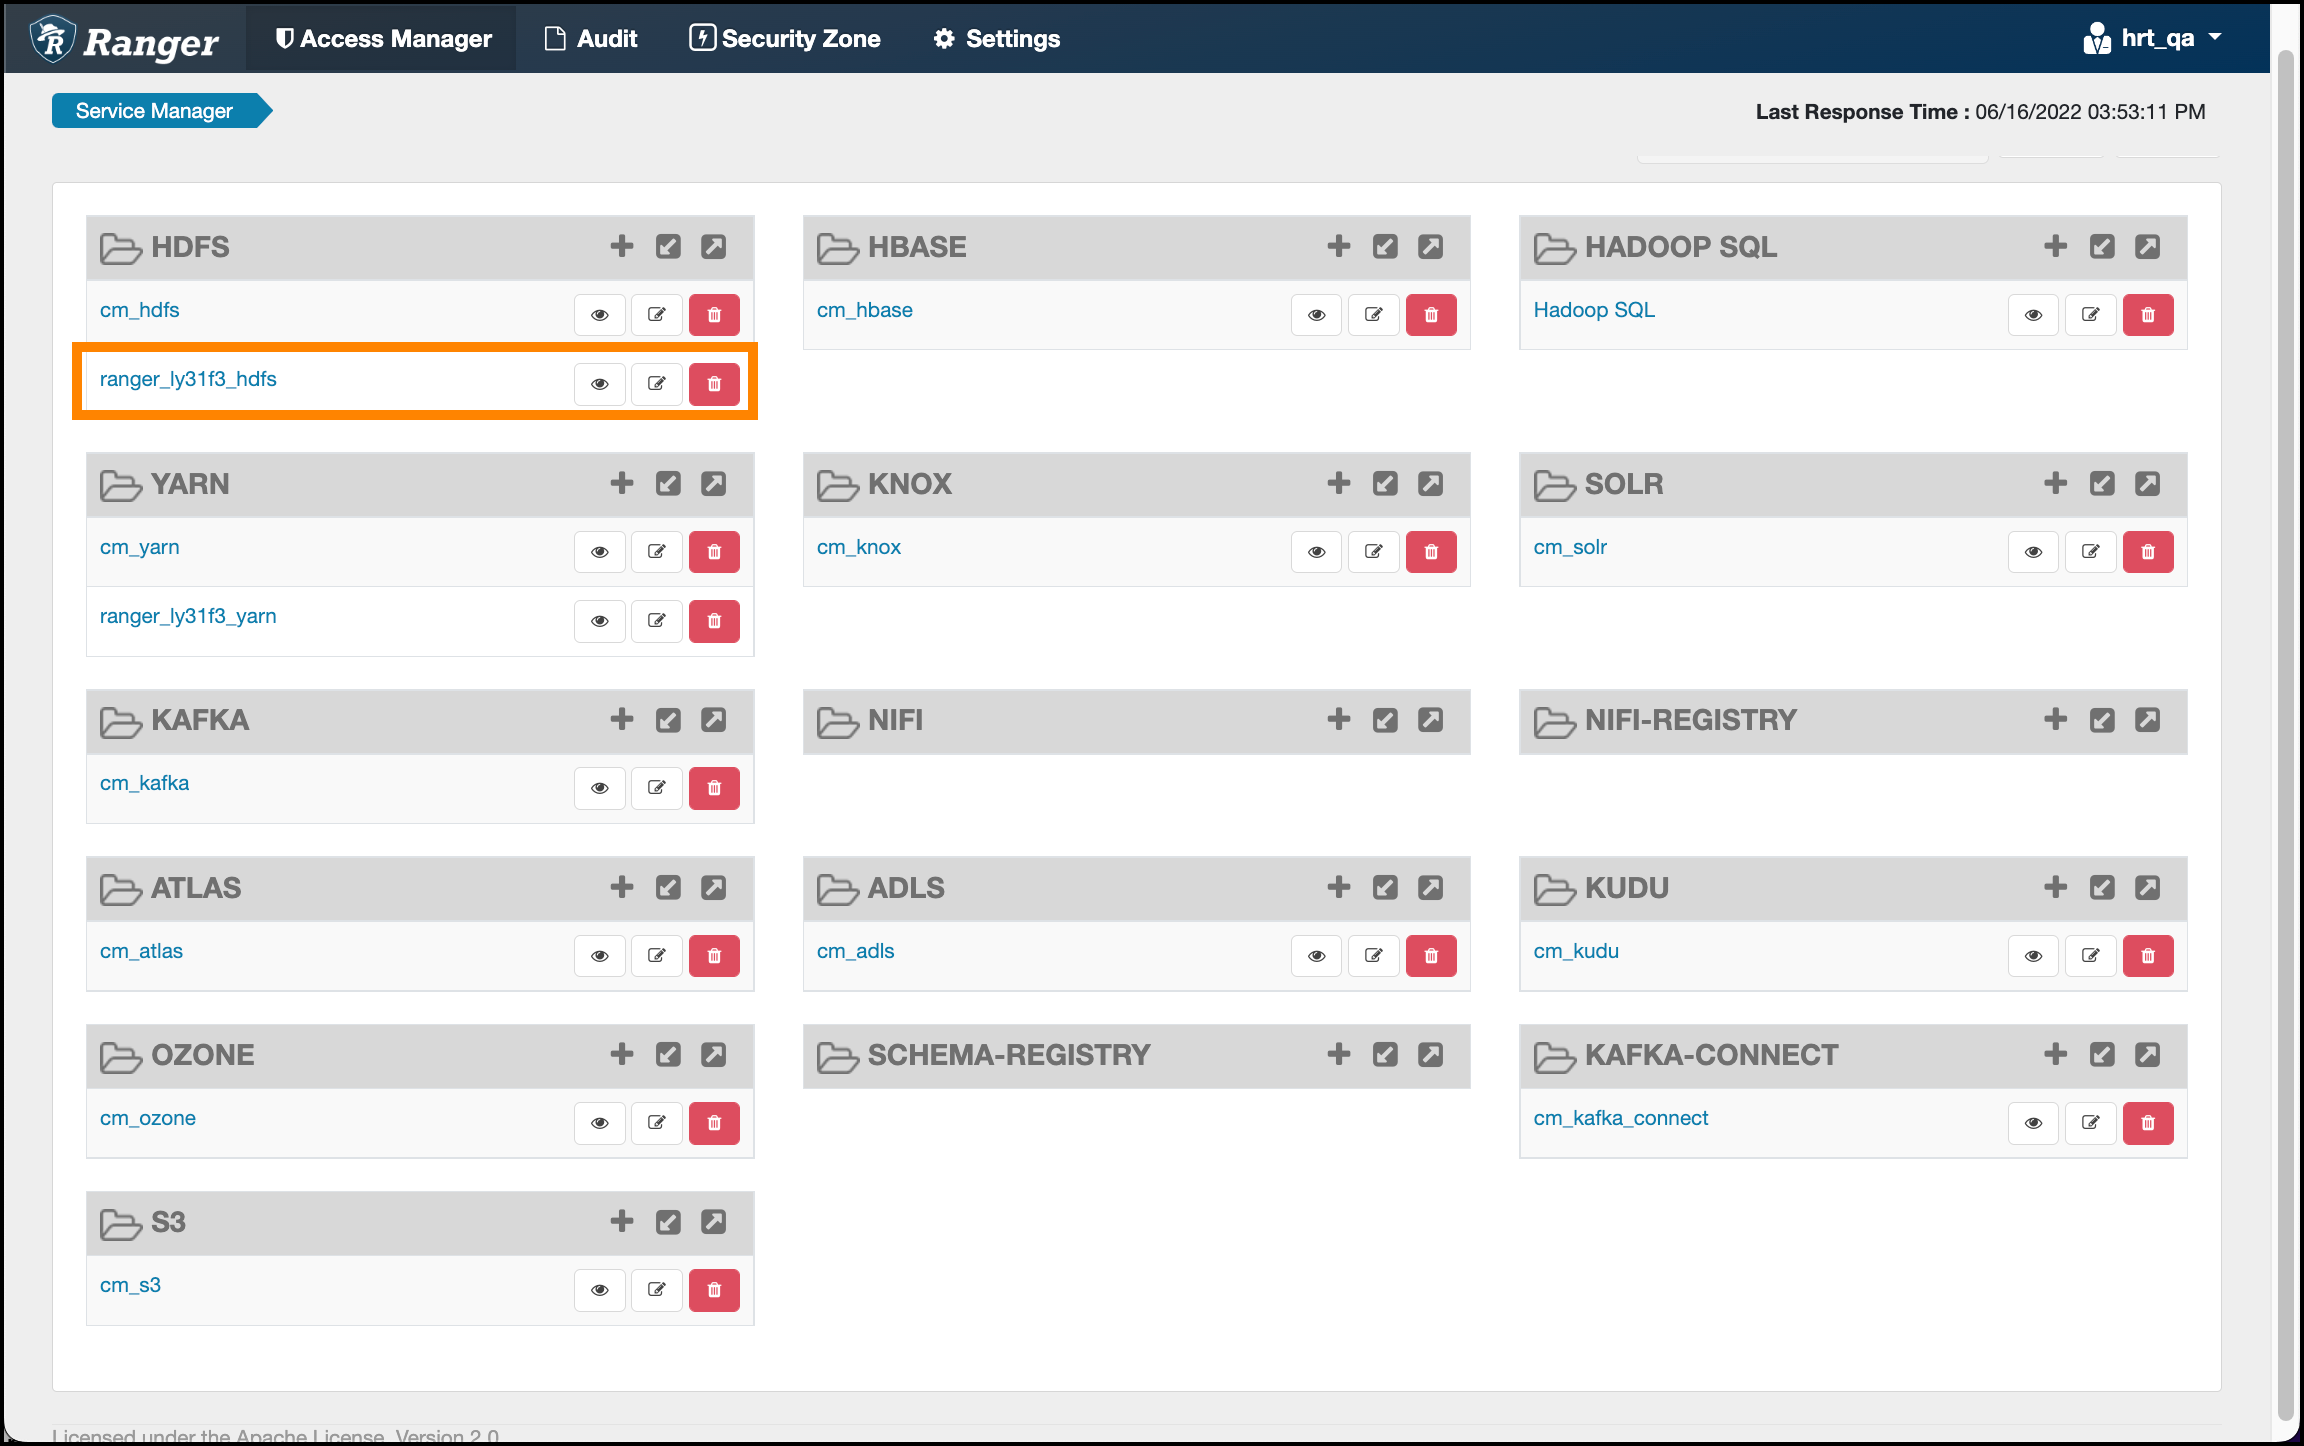
In , confirm that (DataHub cluster name)_hdfs appears.
Figure 3. Confirming HDFS plugin added