Associate node labels with queues
You can use Node labels to partition a cluster into sub-clusters so that jobs run on nodes with specific characteristics. You can use Node labels to run YARN applications on cluster nodes that have a specified node label.
After you create labels and assign node labels to cluster nodes, use the Queue Manager to assign node labels (yarn.scheduler.capacity.<queue-path>.accessible-node-labels) to queues and configure capacity to that queue for the specified label. You must specify capacity on each node label of each queue, and also ensure that the sum of capacities of each node-label of direct children of a parent queue at every level is equal to 100%. Node labels that a queue can access (accessible Node Labels of a queue) must be the same as, or a subset of, the accessible Node Labels of its parent queue.
Assume that a cluster has a total of 8 nodes. The first 3 nodes (n1-n3) have node label=x, the next 3 nodes (n4-n6) have node label=y, and the final 2 nodes (n7, n8) do not have any Node Labels. Each node can run 10 containers.
The queue hierarchy is as follows:
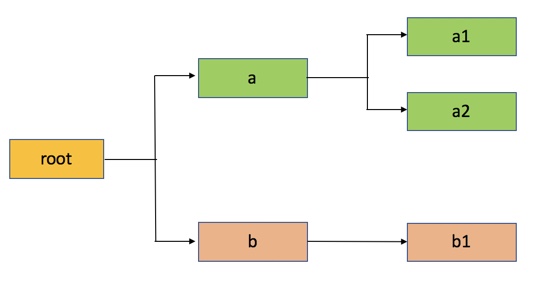
Assume that queue “a” can access Node Labels “x” and “y”, and queue “b” can only access node label “y”. By definition, nodes without labels can be accessed by all queues.
Consider the following example label configuration for the queues, in the Relative resource allocation mode:
capacity(a) = 40, capacity(a, label=x) = 100, capacity(a, label=y) = 50; capacity(b) = 60, capacity(b, label=y) = 50
This means that:
- Queue “a” can access 40% of the resources on nodes without any labels, 100% of the resources on nodes with label=x, and 50% of the resources on nodes with label=y.
- Queue “b” can access 60% of the resources on nodes without any labels, and 50% of the resources on nodes with label=y.
You can also see that for this configuration:
capacity(a) + capacity(b) = 100
capacity(a, label=x) + capacity(b, label=x) (b cannot access label=x, it is 0) = 100
capacity(a, label=y) + capacity(b, label=y) = 100
For child queues under the same parent queue, the sum of the capacity for each label should equal 100%.
Similarly, we can set the capacities of the child queues a1, a2, and b1:
a1 and a2: capacity(a.a1) = 40, capacity(a.a1, label=x) =30, capacity(a.a1, label=y) =50 capacity(a.a2) = 60, capacity(a.a2, label=x) =70, capacity(a.a2, label=y) =50;
b1: capacity(b.b1) = 100, capacity(b.b1, label=y) = 100
You can see that for the a1 and a2 configuration:
capacity(a.a1) + capacity(a.a2) = 100
capacity(a.a1, label=x) + capacity(a.a2, label=x) = 100
capacity(a.a1, label=y) + capacity(a.a2, label=y) = 100
How many resources can queue a1 access?
Resources on nodes without any labels: Resource = 20 (total containers that can be allocated on nodes without a label, in this case n7, n8) * 40% (a.capacity) * 40% (a.a1.capacity) = 3.2 (containers)
Resources on nodes with label=x
Resource = 30 (total containers that can be allocated on nodes with label=x, in this case n1-n3) * 100% (a.labelx.capacity) * 30% = 9 (containers)
To implement this example configuration, perform the following
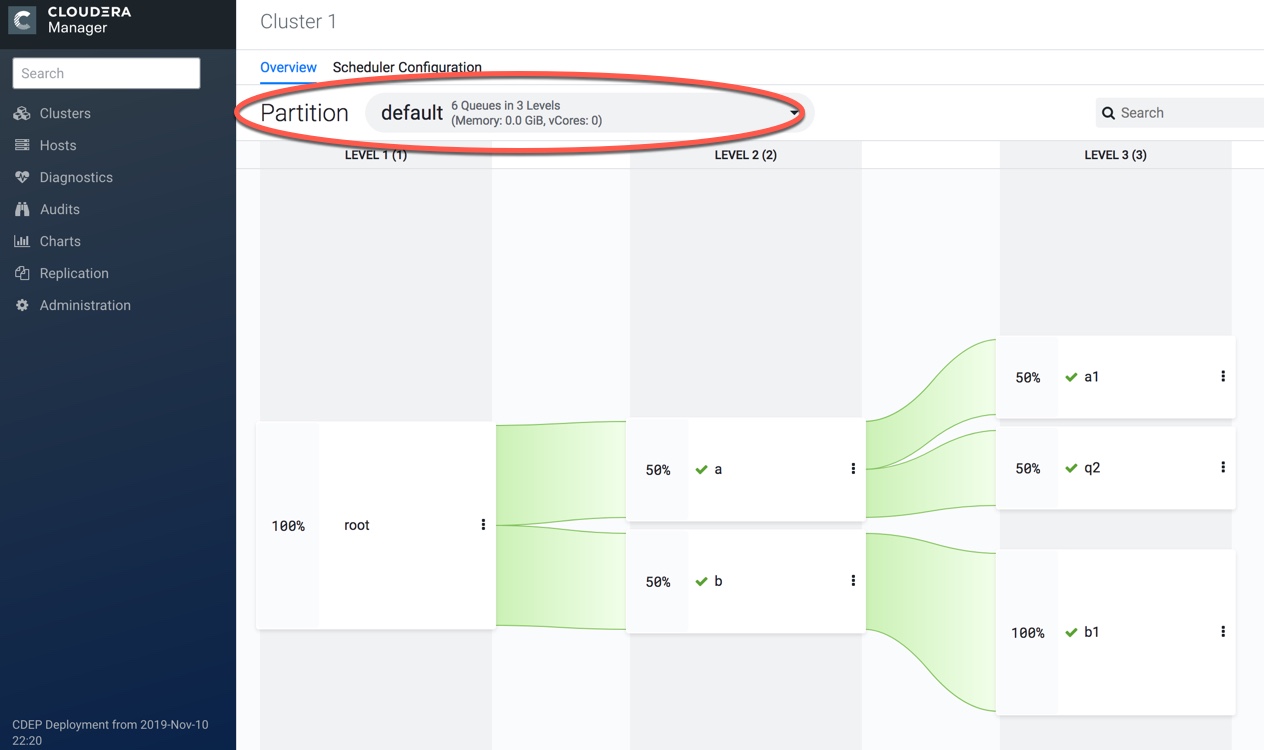
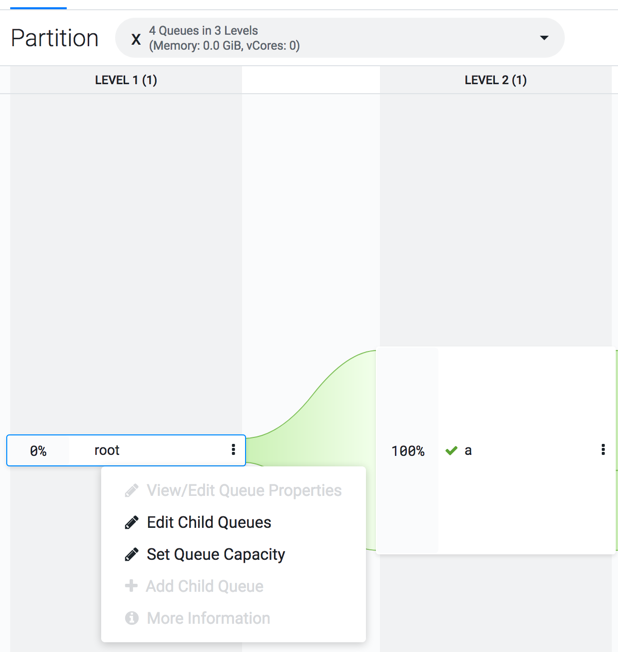
- In Cloudera Manager, select Clusters > YARN Queue Manager UI service. A graphical queue hierarchy is displayed in the Overview tab.
- Click on the three vertical dots on a queue and select the View/Edit Queue Properties option.
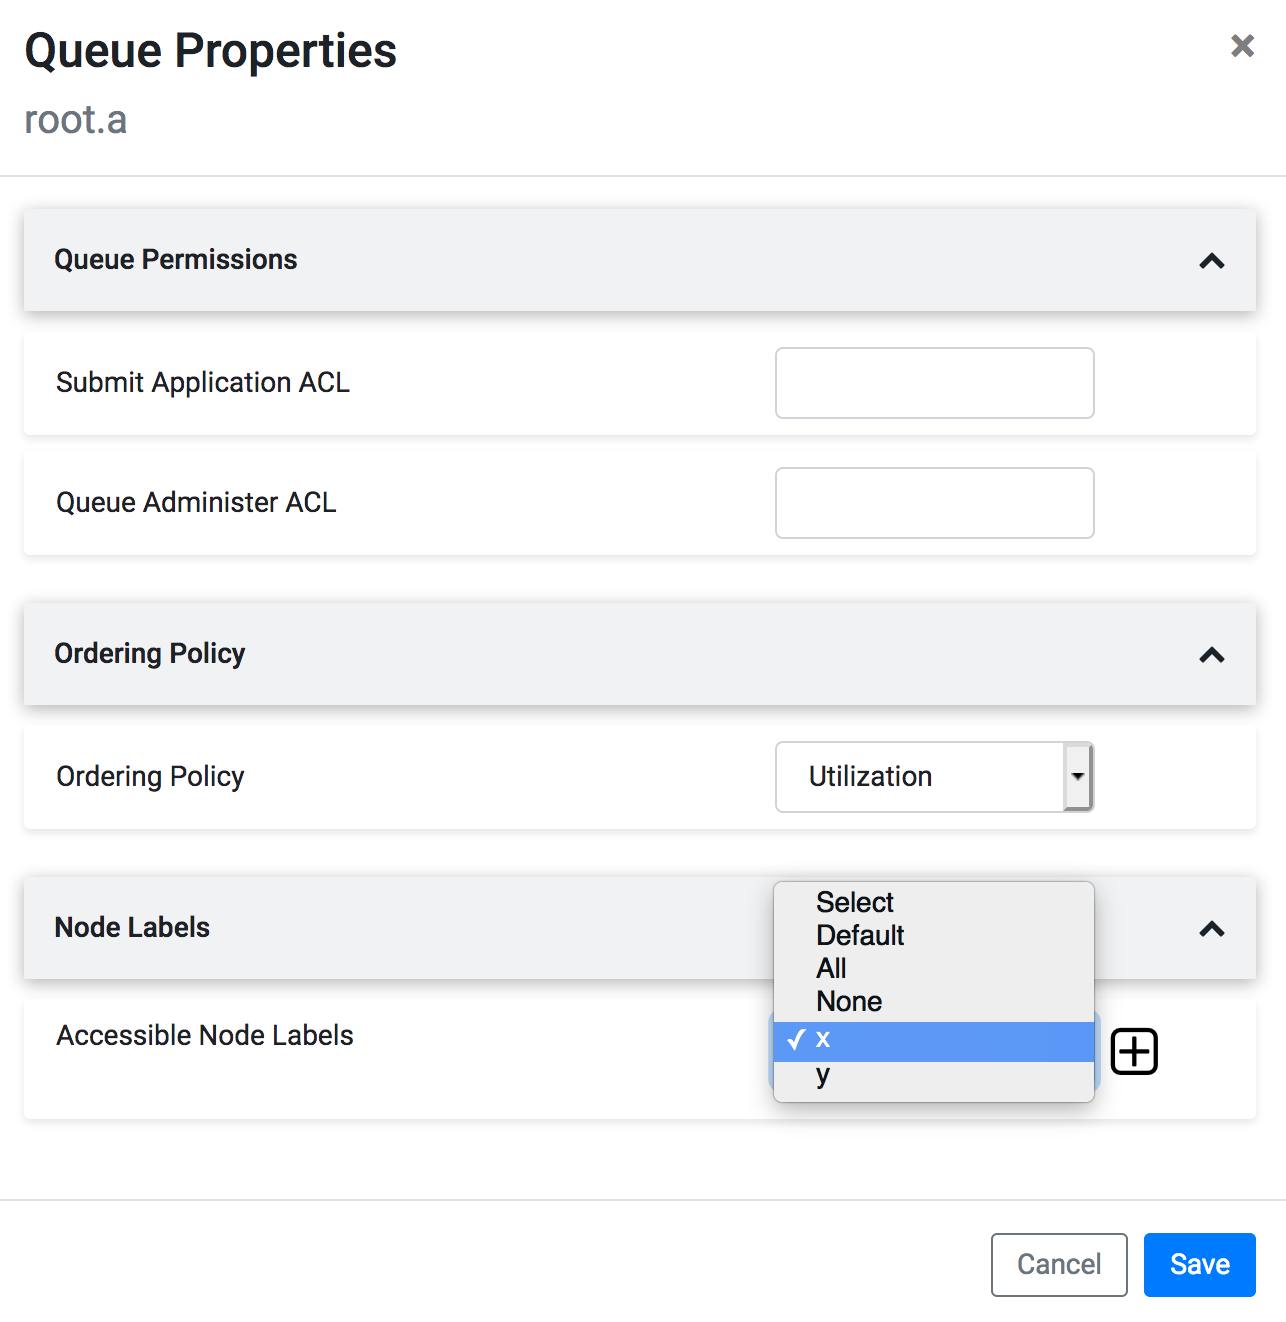
- In the Queue Properties dialog-box , select the x label from the
Accessible Node Labels drop-down box, click +, agiain select
the y label from the Accessible Node Labels drop-down boxand
click Save.
- Repeat the above steps to assign x label for a1 and a2 queues.
- Click on the three vertical dots on b queue and select the View/Edit Queue Properties option.
- In the Queue Properties dialog-box, select the y label from the Accessible Node Labels drop-down box, click +, and click Save.
- Repeat the above steps to assign y label for b1, a, a1, and a2 queue.
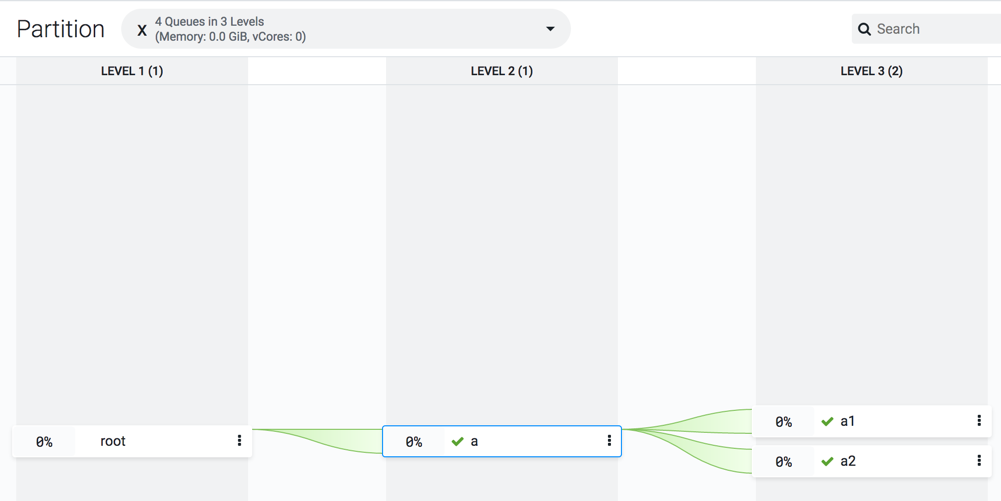
- In the Overview tab, click on the Partition drop-down box and
select label x.
- Click on the three vertical dots on the a queue and select the Edit
Child Queues option.
- Enter the Configured Capacity of a1 to 40 and a2 to 60.
- Click on the three vertical dots on the root queue and select the Edit Child Queues option.
- Enter the Configured Capacity of a to 100 and Click Save.
- Click on the three vertical dots on the root queue and select the Set
Queue Capacity option.
- In the Overview tab, click on the Partition drop-down box and select label y.
- Click on the three vertical dots on the a queue and select the Edit Child Queues option.
- Enter the Configured Capacity of a1 to 50 and a2 to 50 and Click Save.
- Click on the three vertical dots on the b queue and select the Edit Child Queues option.
- Enter the Configured Capacity of b1 to 100 and Click Save.
- Click on the three vertical dots on the root queue and select the Edit Child Queues option.
- Enter the Configured Capacity of a to 50 and b to 50 and Click Save.
- Click on the three vertical dots on the root queue and select the Set Queue Capacity option.