Remove a custom descriptor from Apache Knox
How to remove a custom descriptor from Knox using Cloudera Manager.
You can remove a custom descriptor from Knox when the descriptor is no longer required.
-
Click the + icon, and add the following entries
- Set the Name to the name of the descriptor that you want to delete.
- Set the Value to
remove.
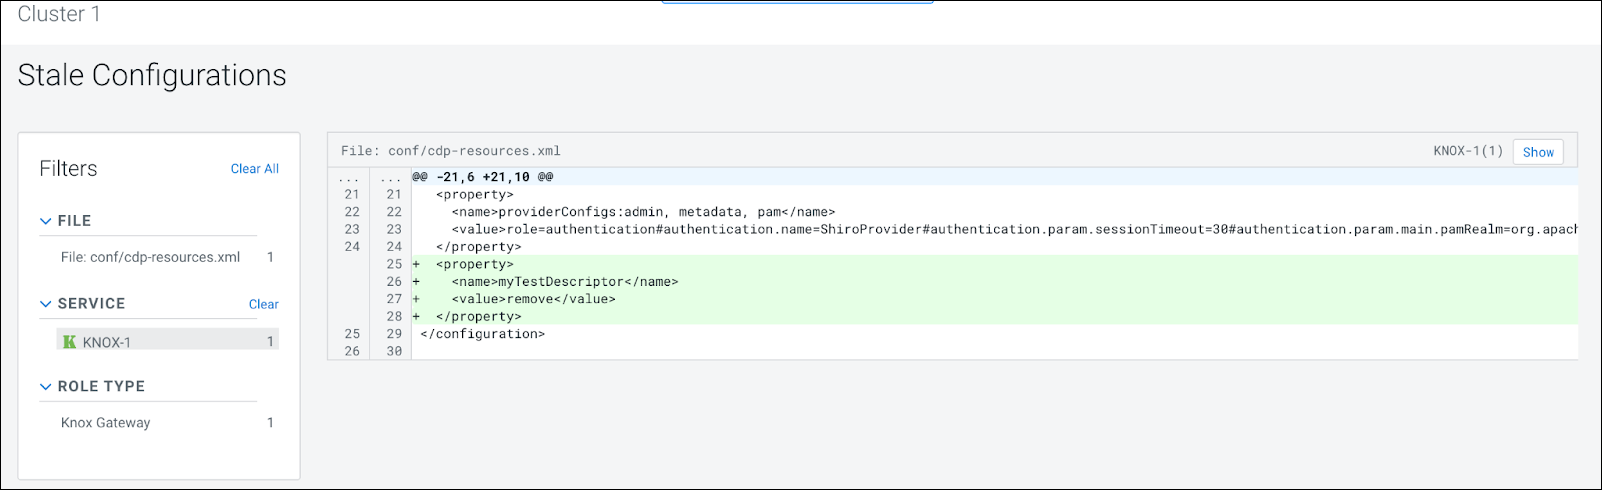
In this example, we remove themyTestDescriptorcustom descriptor.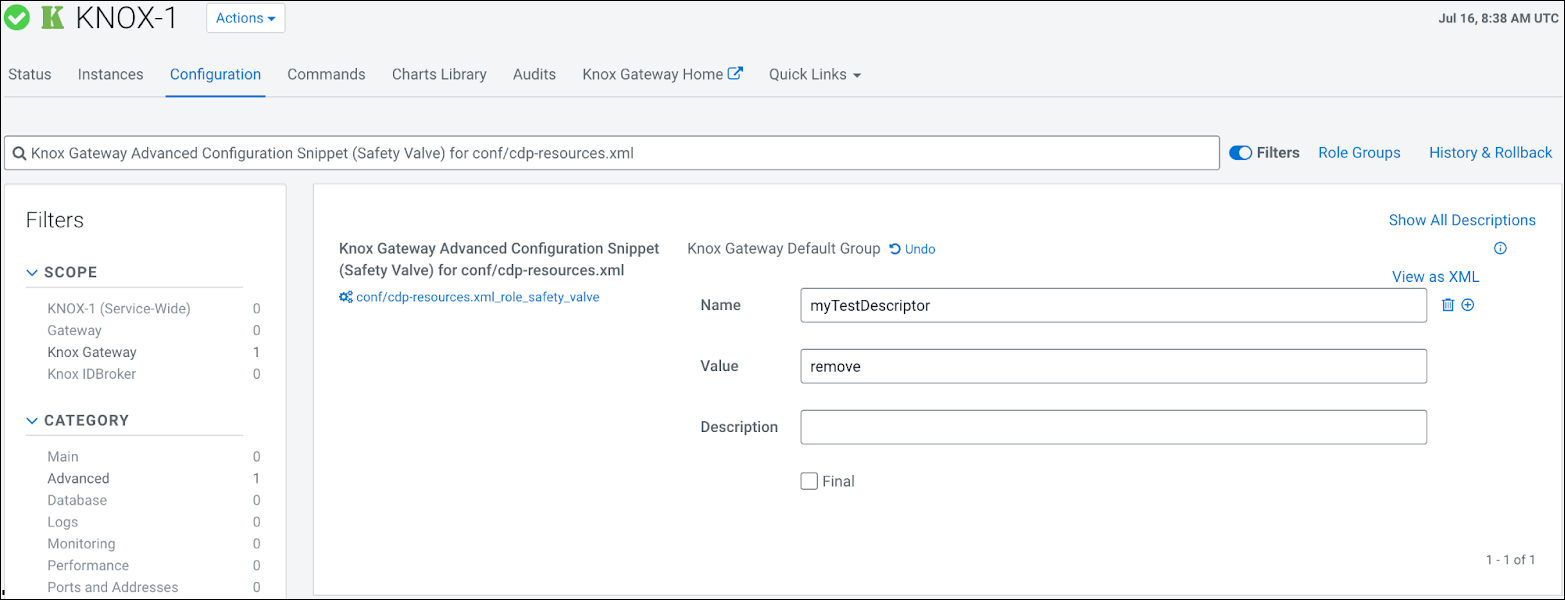
-
Refresh the Knox instances configuration by clicking the Stale
Configuration: Refresh needed indicator and wait until the
refresh process completes.