Creating glossaries
Create glossaries manually or import terms from spreadsheets in one Create Glossary dialog by switching between creation and import modes, downloading templates, and dragging files into the upload area.
Typically you would want to create new glossaries when terms are used by significantly
different audiences or when the same term has significantly different meanings depending on
the context. You can create any number of glossaries; glossary names can include letters,
numbers, spaces, and underscores.
You can open manual creation and glossary import from the same dialog: use the global + Create menu and select Glossary, or start from the Glossary area in the left navigation.
- Open Create Glossary from the global +
Create menu (Glossary) or from the
Glossary area in the Search panel.
Figure 1. Create Glossary entry point in Basic Search 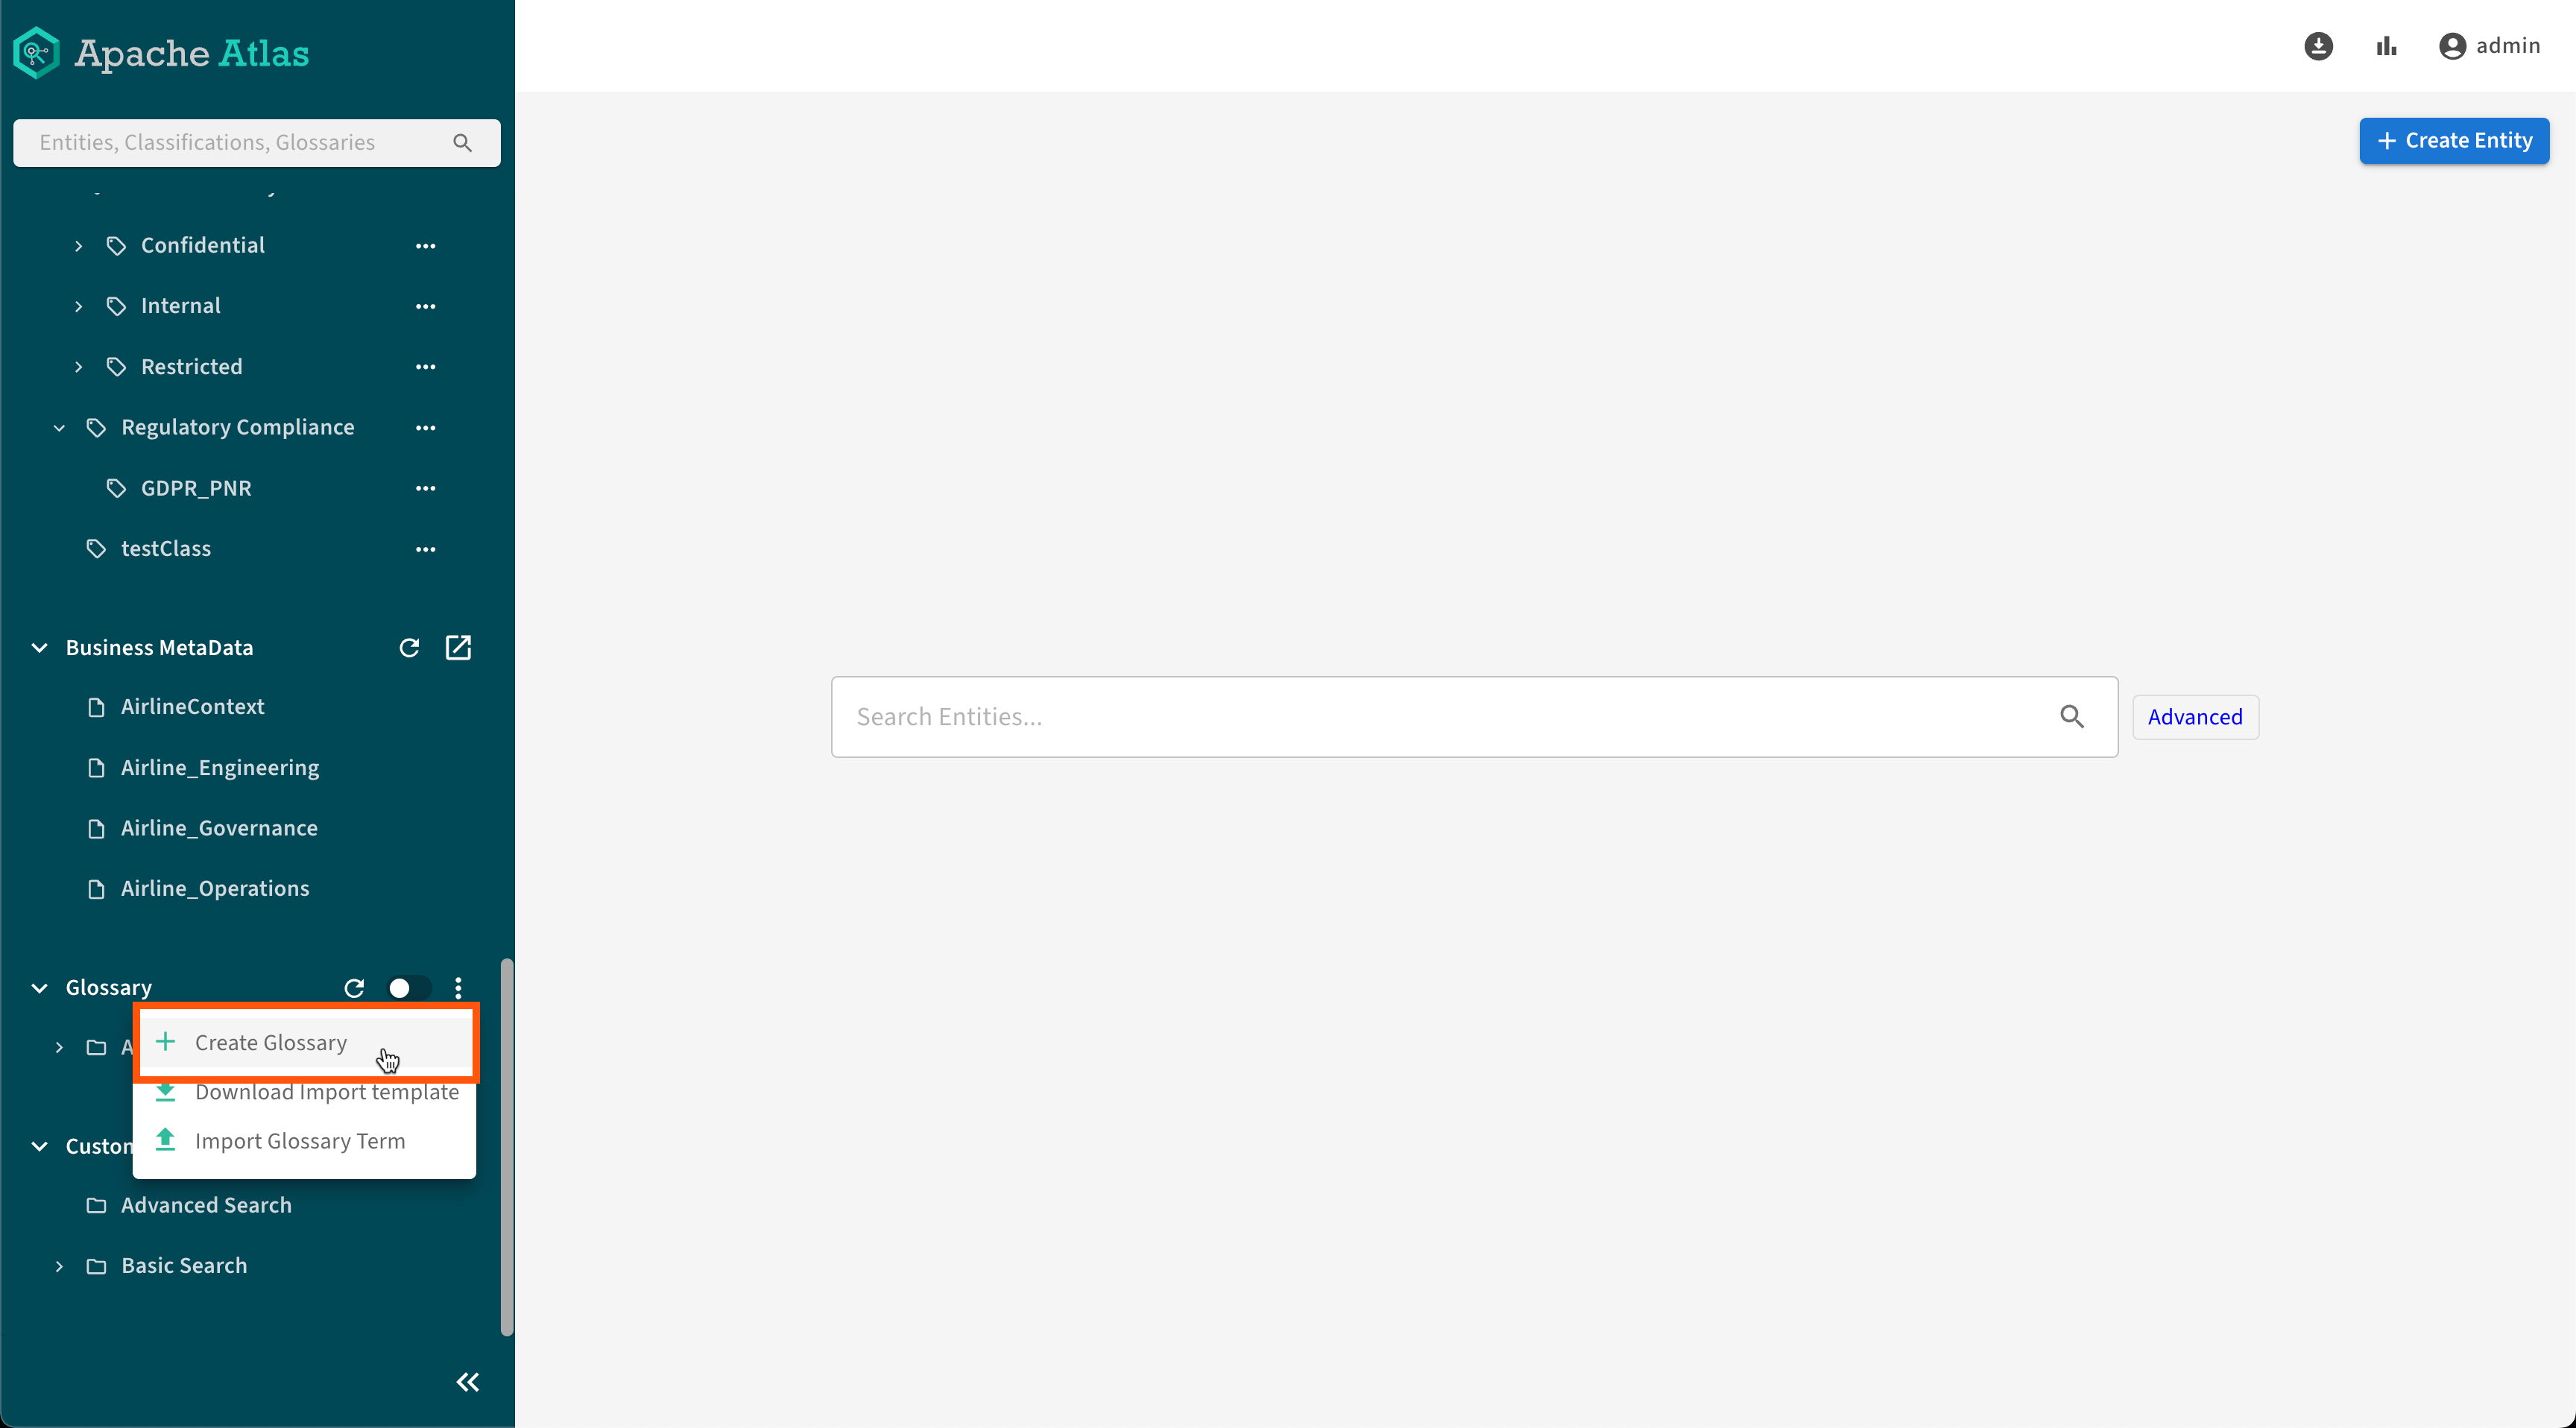
Figure 2. Create Glossary entry point in Create 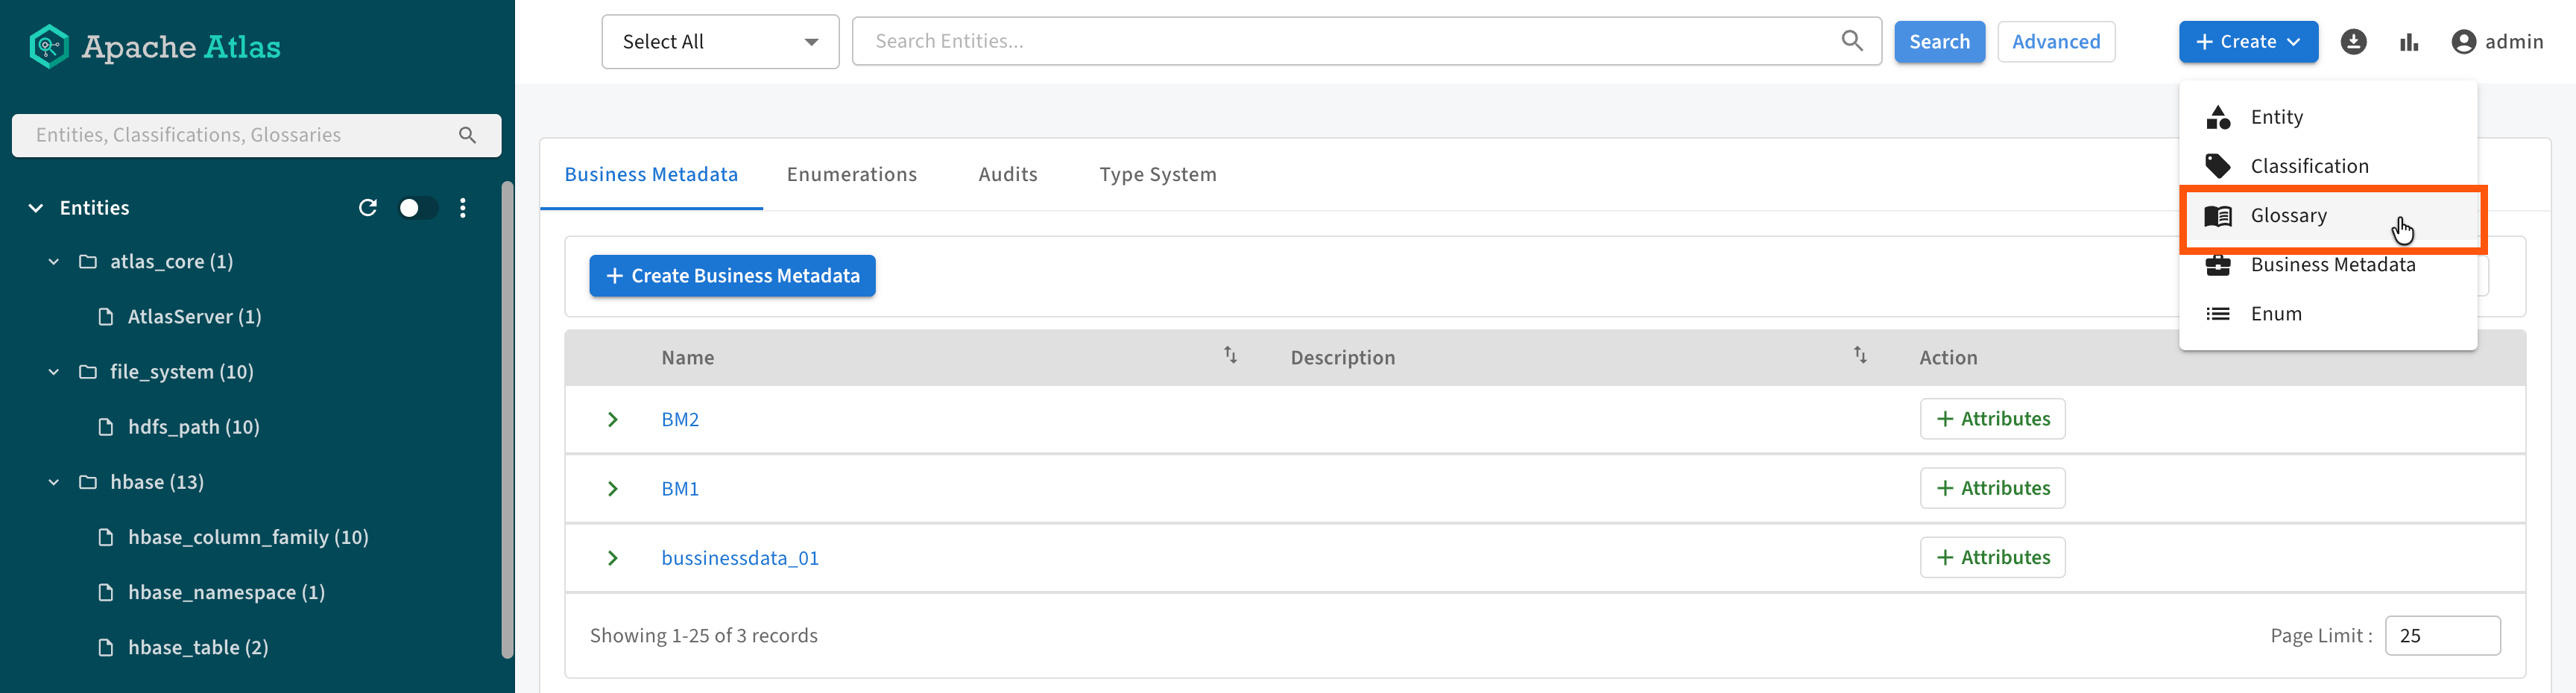
- In the Create Glossary dialog, use the toggle (or tab control) labeled for manual creation versus import to switch modes without leaving the workflow.
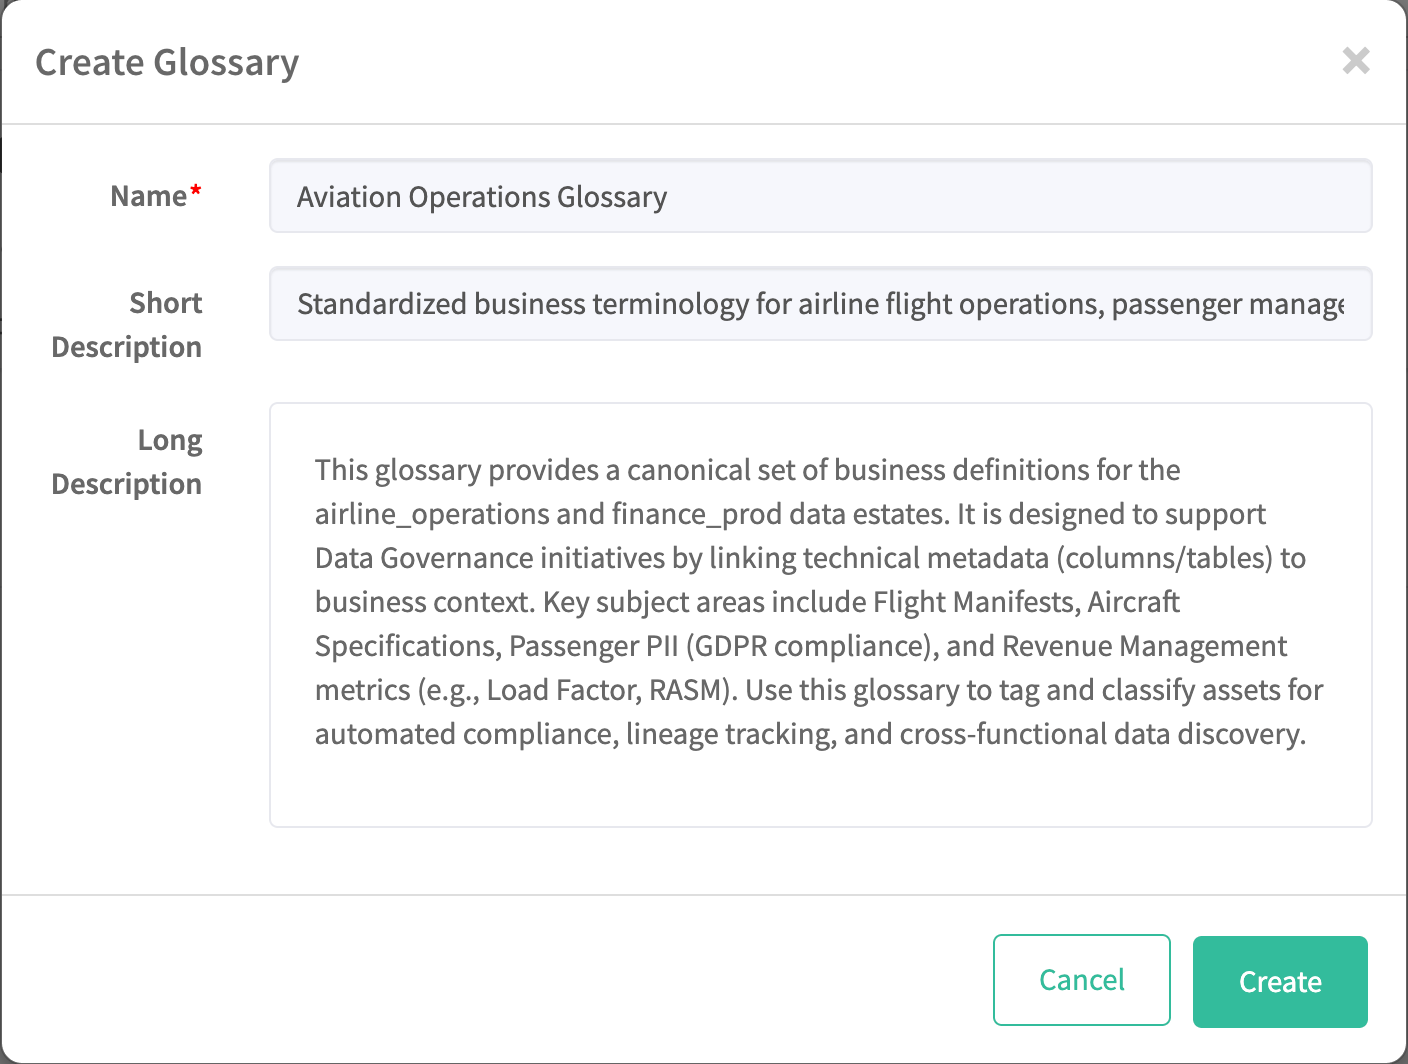
- For manual creation, enter the glossary name and description, then click
Create.
Figure 3. Add glossary details 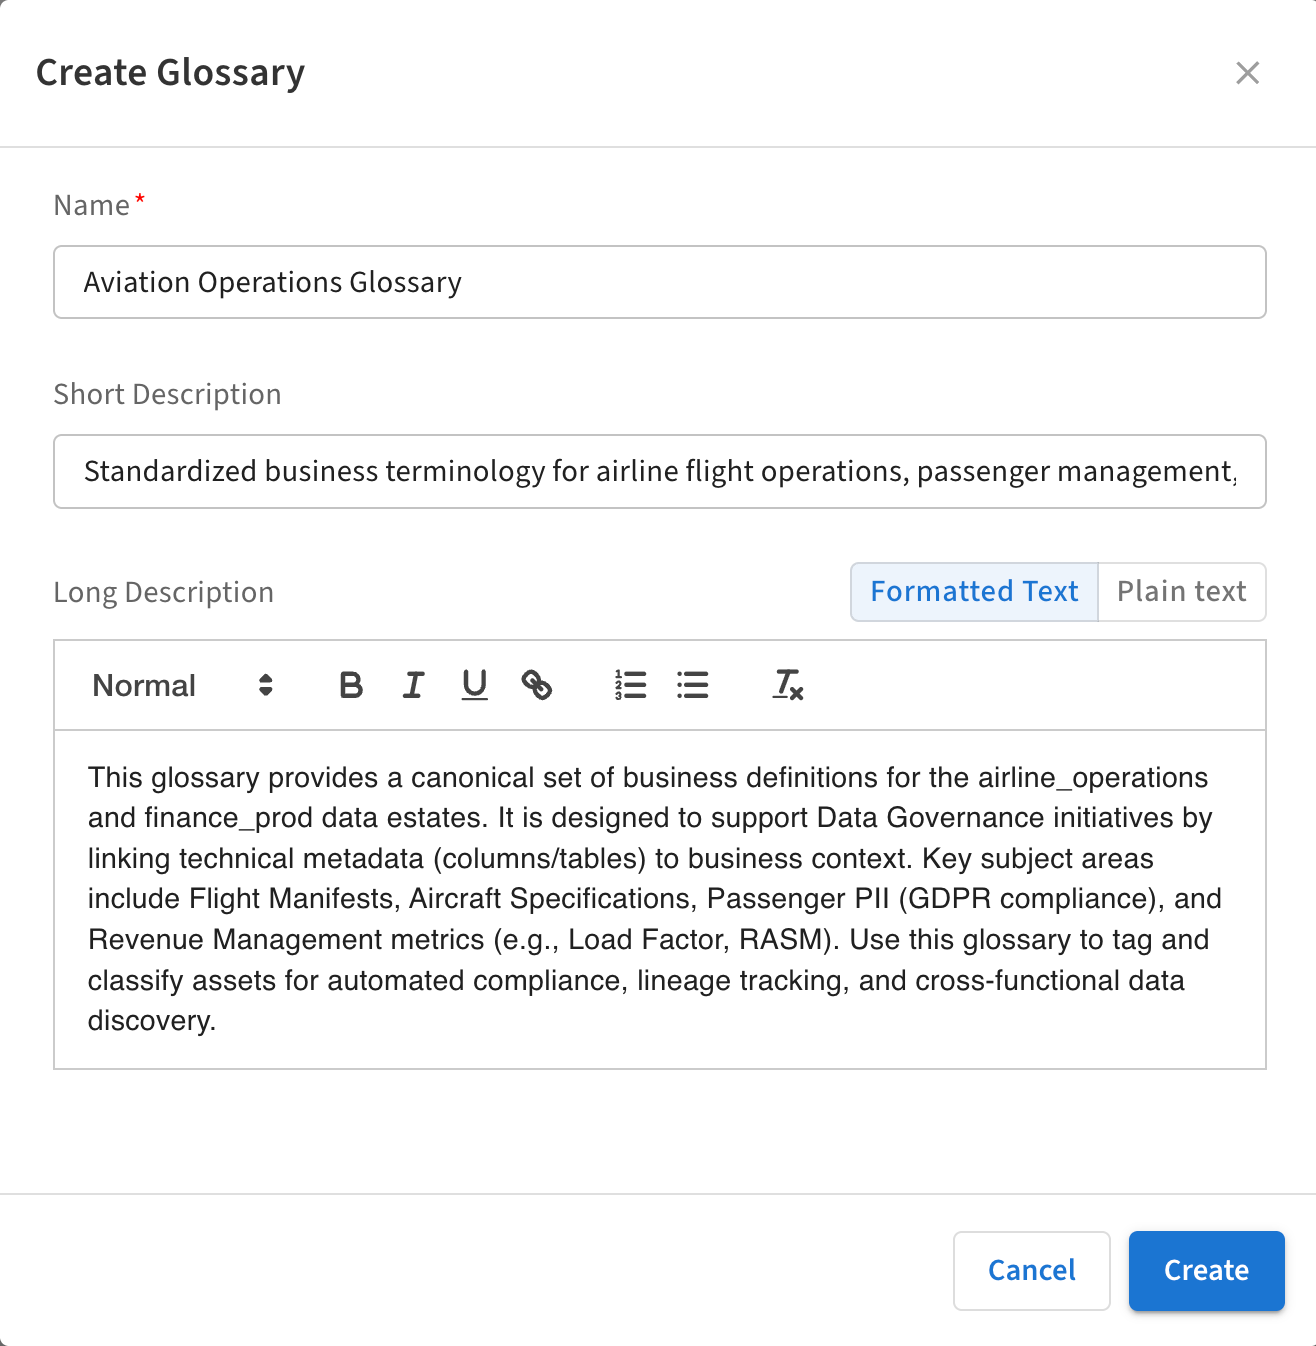
- For import, choose the import side of the toggle, download the provided templates for the layout Atlas expects, then drag .csv, .xls, or .xlsx files into the designated drop zone (or use the file picker if shown). Complete any required mapping or confirmation steps in the dialog, then submit the import.
- Create a new glossary from the Glossary tab in the left
navigation pane:
Figure 4. Create a glossary from the Glossary tab 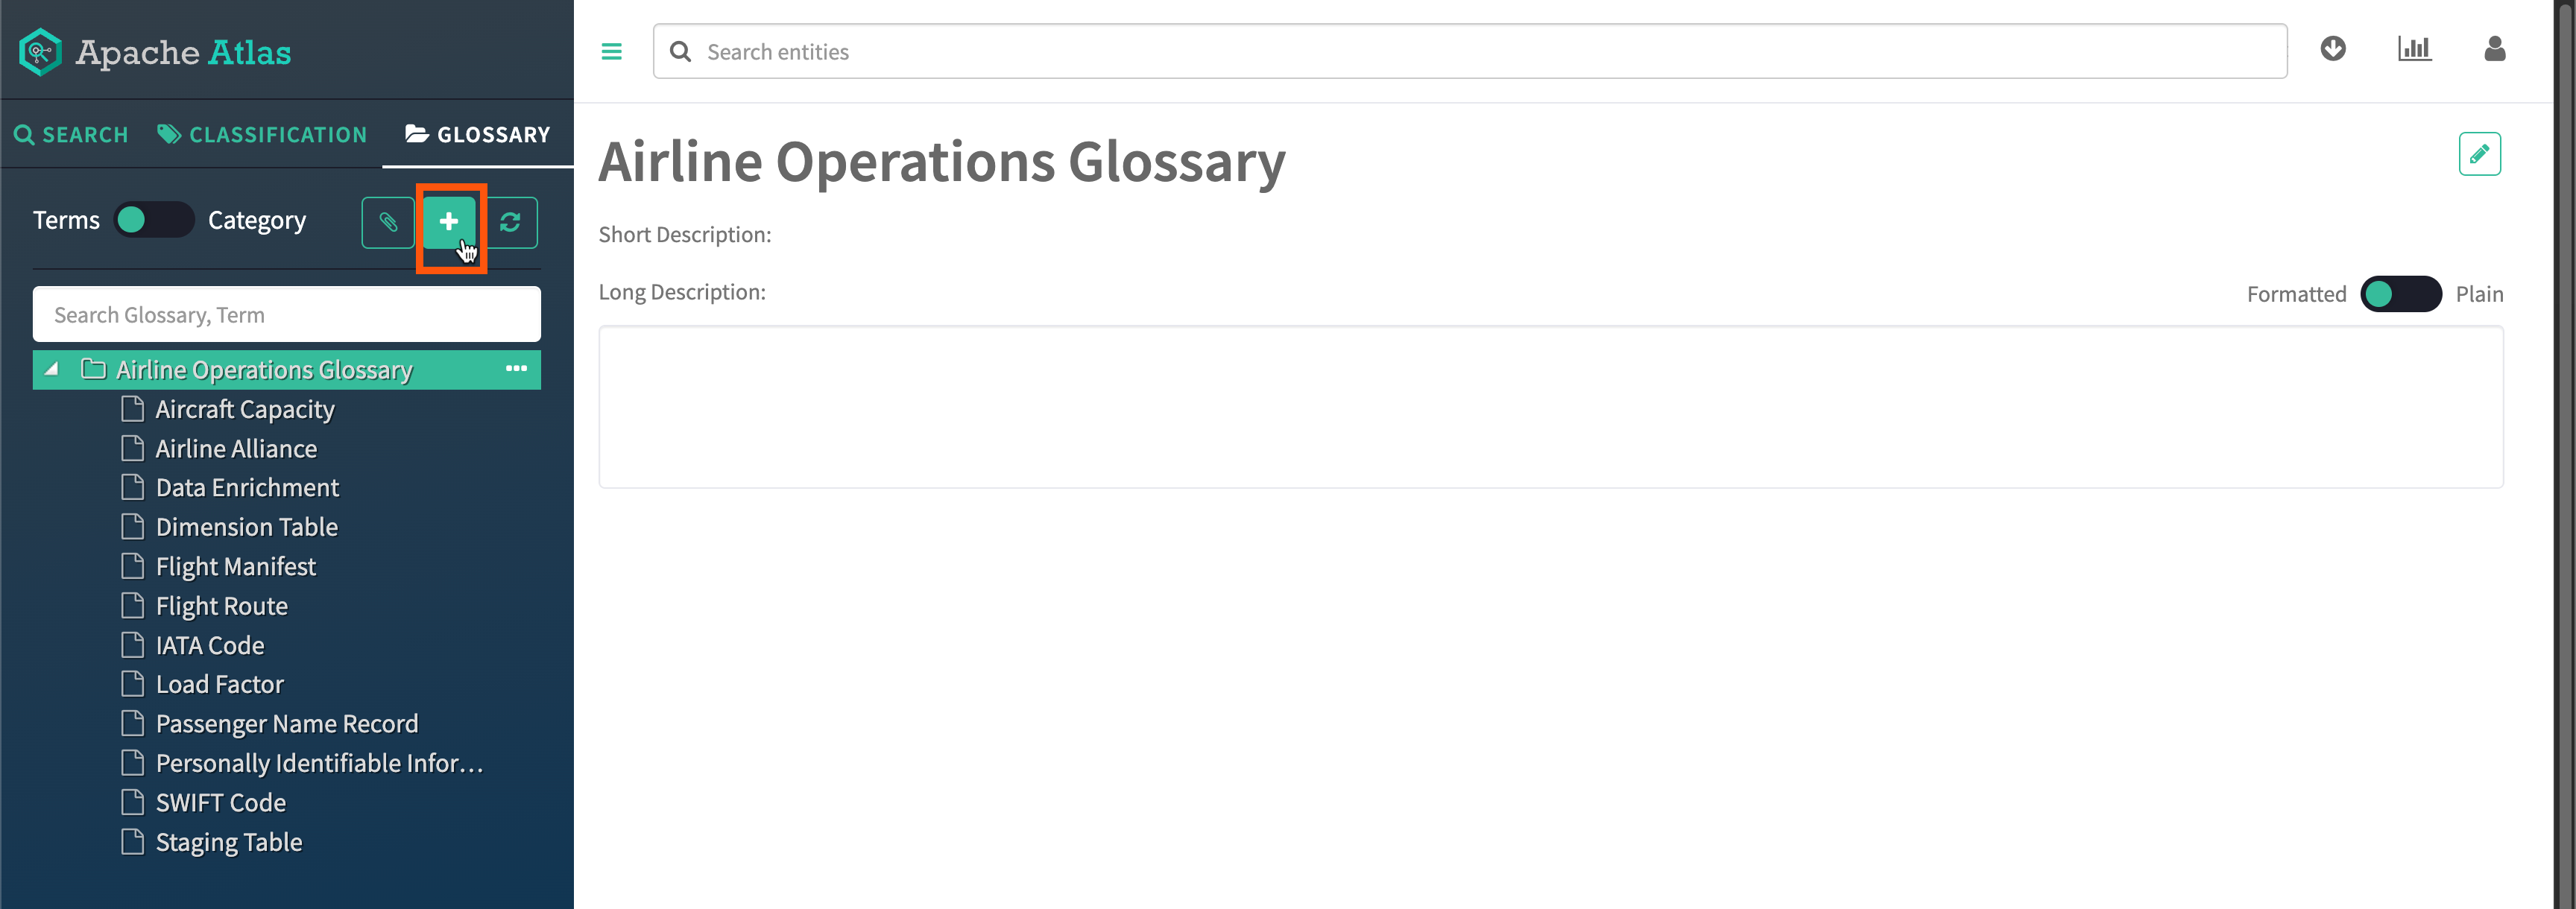
- Enter the glossary name and descriptions, then click
Create.
Figure 5. Add glossary details