Working with Auto Generated Workload Views
Steps for using the Workload XM default workload views.
-
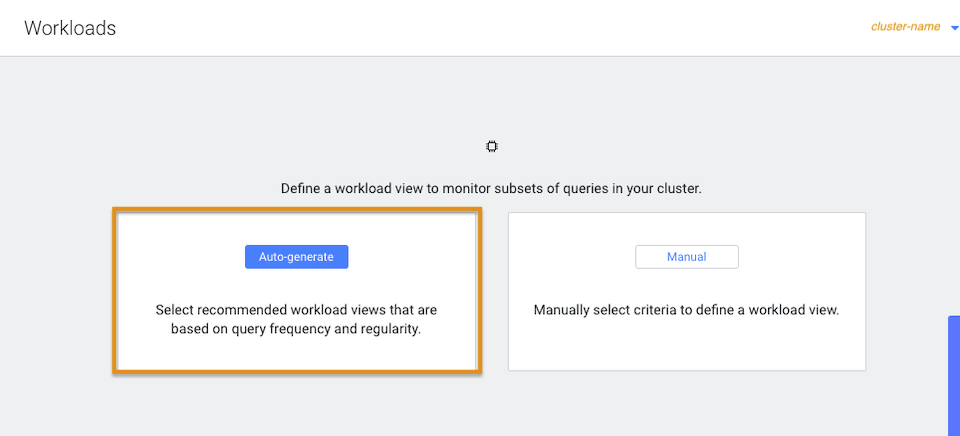
In the Workloads page, click Auto-generate:
-
From the Criteria column, examine the criteria that are
used to create the workload views, select the workload views required, and then
click Add Selected:

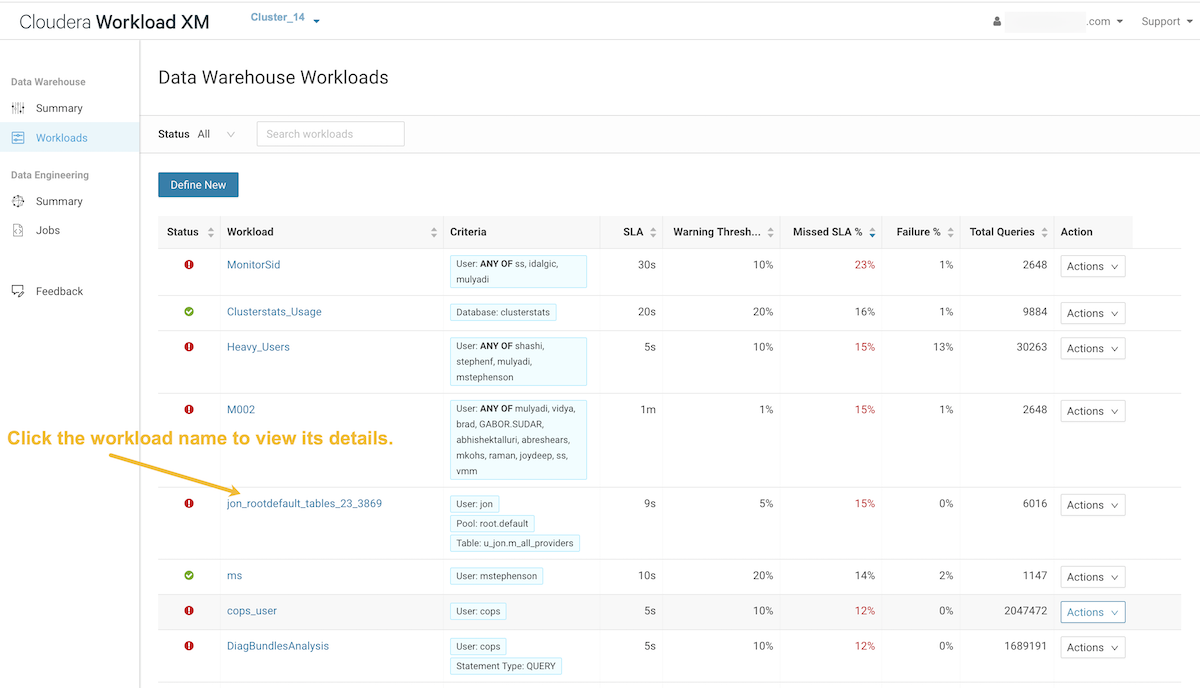
The workload views you selected are saved and displayed on the Workloads page. -
To verify your workload views, from the navigation panel, select
Workloads and then on the Workload page locate the
workload view you just added. When verified, click the workload to view its
details: