

Access Cloudbreak web UI on Azure
Follow these steps to obtain Cloudbreak VM’s public IP address and log in to the Cloudbreak web UI.
Steps
- When your deployment succeeds, you will receive a notification in the top-right corner.
You can click on the link provided to navigate to the resource group created earlier.
 Note
NoteThis only works right after deployment. At other times, you can find your resource group by selecting Resource Groups from the service menu and then finding your resource group by name.
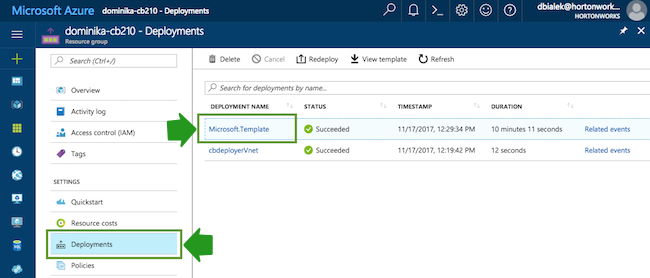
- Once you’ve navigated to your resource group, click on Deployments and then
click on Microsoft.Template:
- From Outputs, you can copy the link by clicking on the copy icon:
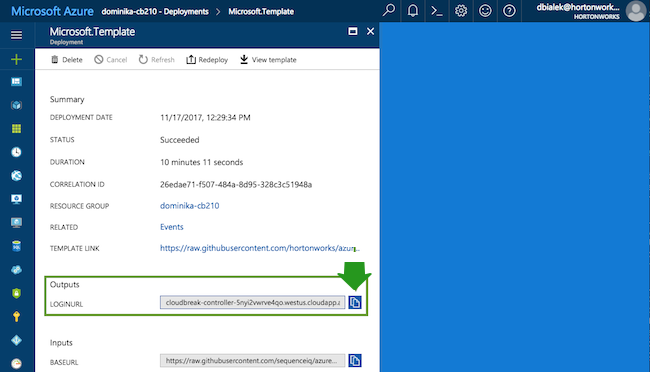
- Paste the link in your browser’s address bar.
- Confirm the security exception to proceed to the Cloudbreak web
UI.The first time you access Cloudbreak web UI, Cloudbreak automatically generates a self-signed certificate, due to which your browser warns you about an untrusted connection and asks you to confirm a security exception.
Browser Steps Firefox Click Advanced > Click Add Exception… > Click Confirm Security Exception Safari Click Continue Chrome Click Advanced > Click Proceed… - The login page is displayed:
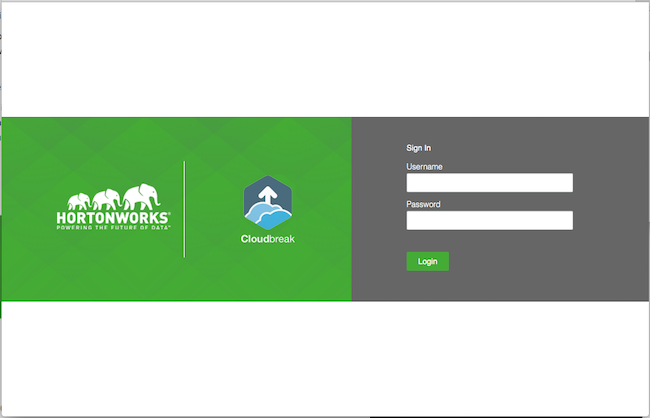
- Log in to the Cloudbreak web UI using the credential that you configured in the CloudFormation template.
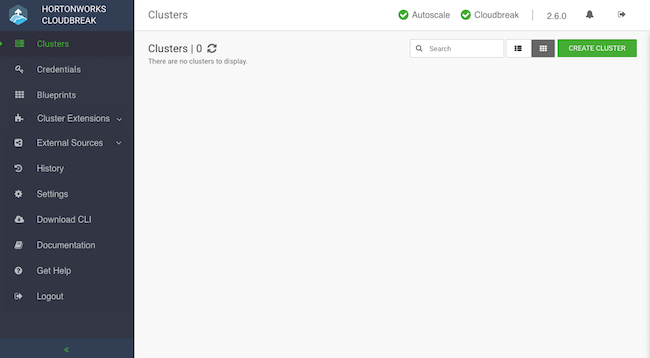
- Upon a successful login, you are redirected to the dashboard:
- Confirm the security exception to proceed to the Cloudbreak web
UI.
The last task that you need to perform before you can use Cloudbreak is to create a Cloudbreak credential.